There is something undeniably magical about the resurgence of hyper-feminine aesthetics. As a stylist, I’ve seen trends come and go, but the ‘Coquette’ movement—with its unapologetic embrace of bows, lace, and vintage charm—felt like a breath of fresh air. It reminded me of playing dress-up in my grandmother’s vanity, but with a modern, high-fashion twist. When I set out to design the ‘Lace, Pearls, and Patisserie’ soirée, I knew I wanted to create more than just a party; I wanted to build a dreamscape where every corner felt like a page from a Victorian scrapbook.
The concept was born from a rainy afternoon spent in a French bakery, staring at the delicate piping on a Mille-feuille. I realized that the Coquette Princess theme isn’t just about pink; it’s about the texture of girlhood—the soft crinkle of silk ribbons, the luster of faux pearls, and the scent of fresh peonies. It’s an aesthetic that celebrates the ‘soft girl’ era while maintaining the regal elegance of a modern-day princess. This setup is designed to make every guest feel like they’ve stepped into a private salon in 18th-century Paris.
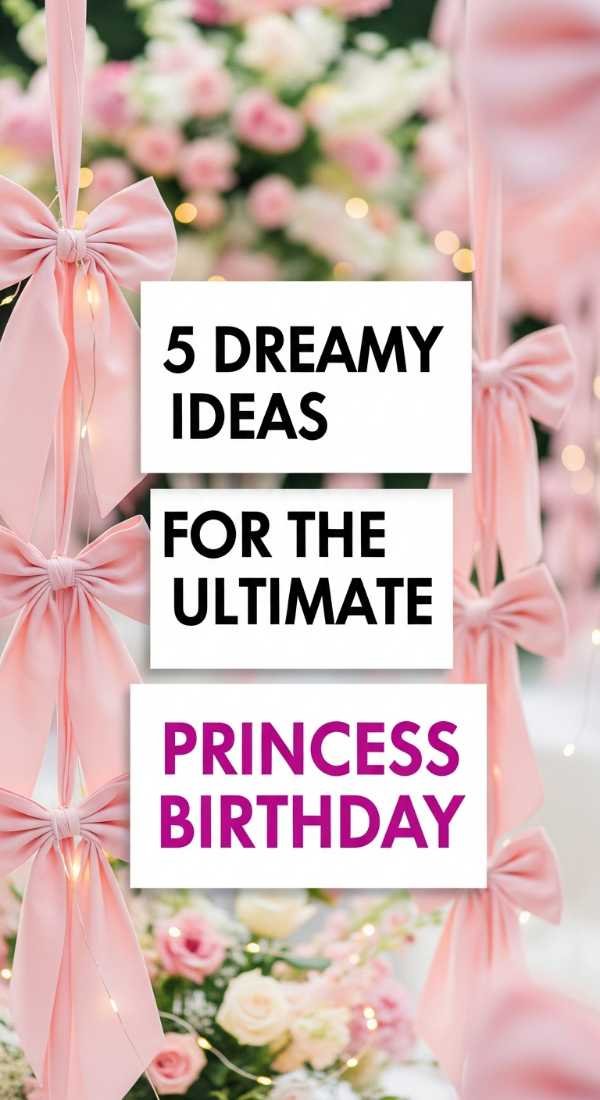
Why You’ll Love This Party Decor Theme
- Ultimate Instagram Appeal: Every detail, from the ribbon-tied candlesticks to the pearl-draped cakes, is designed for the perfect photo op.
- Timeless Elegance: It blends vintage Victorian elements with modern ‘Coquette’ trends, making it sophisticated yet trendy.
- High Customizability: While we focus on pastels, this theme works beautifully in ‘Dark Coquette’ (cherries and black lace) or ‘Garden Coquette’ (florals and greens).
- Interactive Decor: Many elements, like a ribbon-tying station or a vintage mirror photo booth, serve as both decor and entertainment.
Essential Decor Items & Supplies Needed
- Textiles: Cream lace tablecloths, pink satin ribbons (various widths), and sheer tulle table runners.
- Backdrop Essentials: Gold-framed floor mirrors, adjustable backdrop stand, and white draped curtains.
- Floral Elements: Faux peony garlands, fresh baby’s breath, and dried rose petals.
- Lighting: Warm white fairy lights, vintage brass candelabras, and battery-operated taper candles.
- Tableware: Scalloped edge ceramic plates, gold-rimmed glassware, and pearl-handled cutlery.
- Accents: Strands of faux pearls, vintage-style birdcages, and dainty porcelain tea sets.
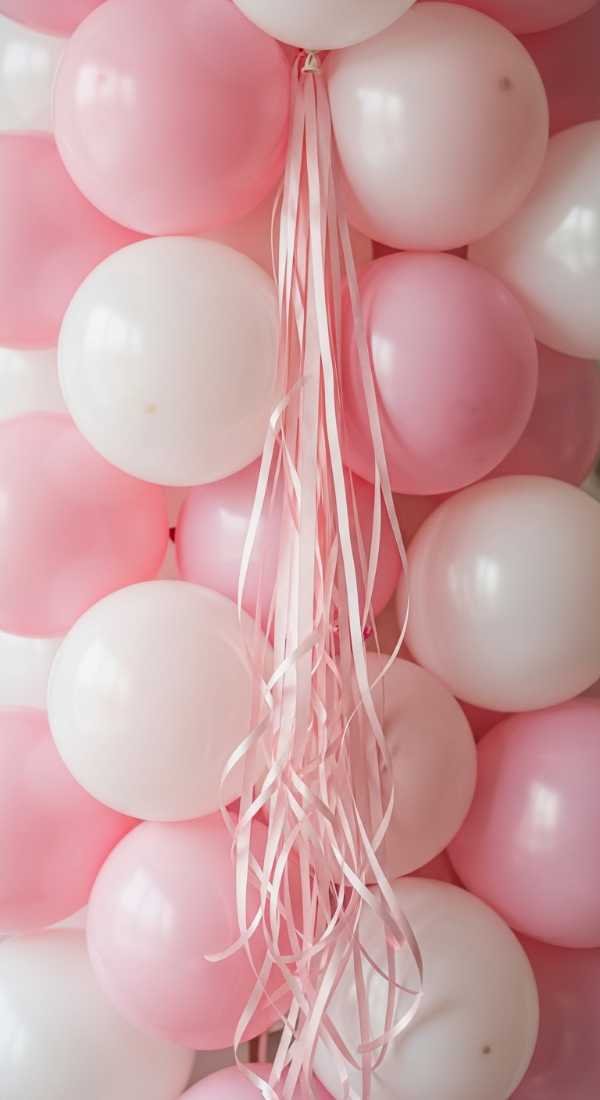
- Balloon Garland: A mix of matte macaron pink, cream, and clear balloons.
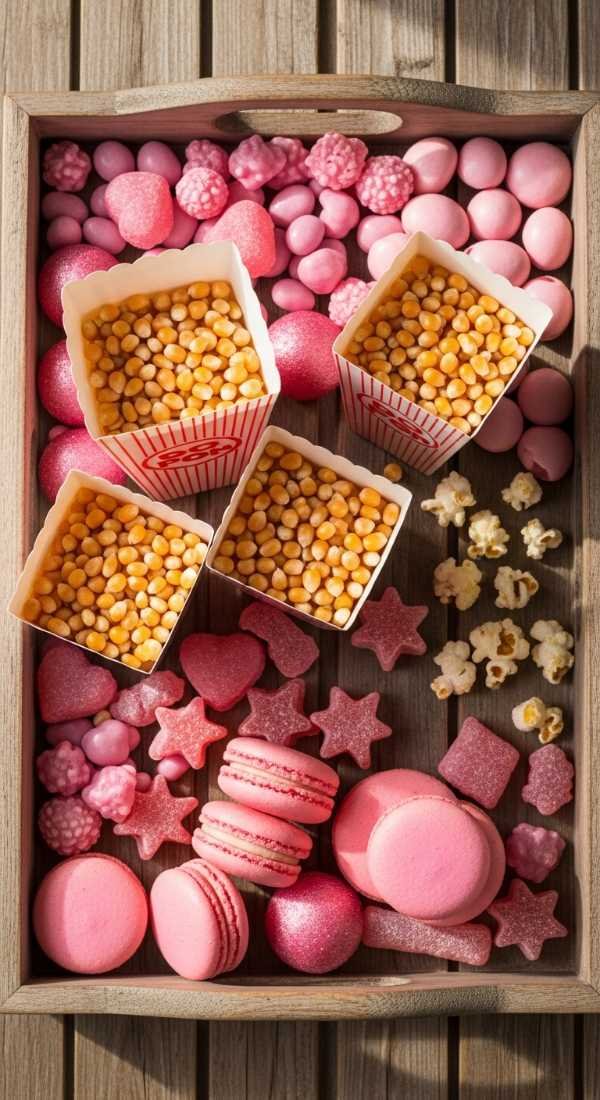
The core of this aesthetic lies in the Color Palette and Texture. We focus on a ‘strawberry cream’ foundation—mixing soft whites, ivory, and various shades of blush and ballet slipper pink. The goal is to avoid harsh contrasts. Instead, we layer textures: the matte finish of ceramic against the sheen of satin ribbons, and the delicate transparency of lace over solid linens. This layering creates a sense of depth and luxury that feels curated rather than cluttered.
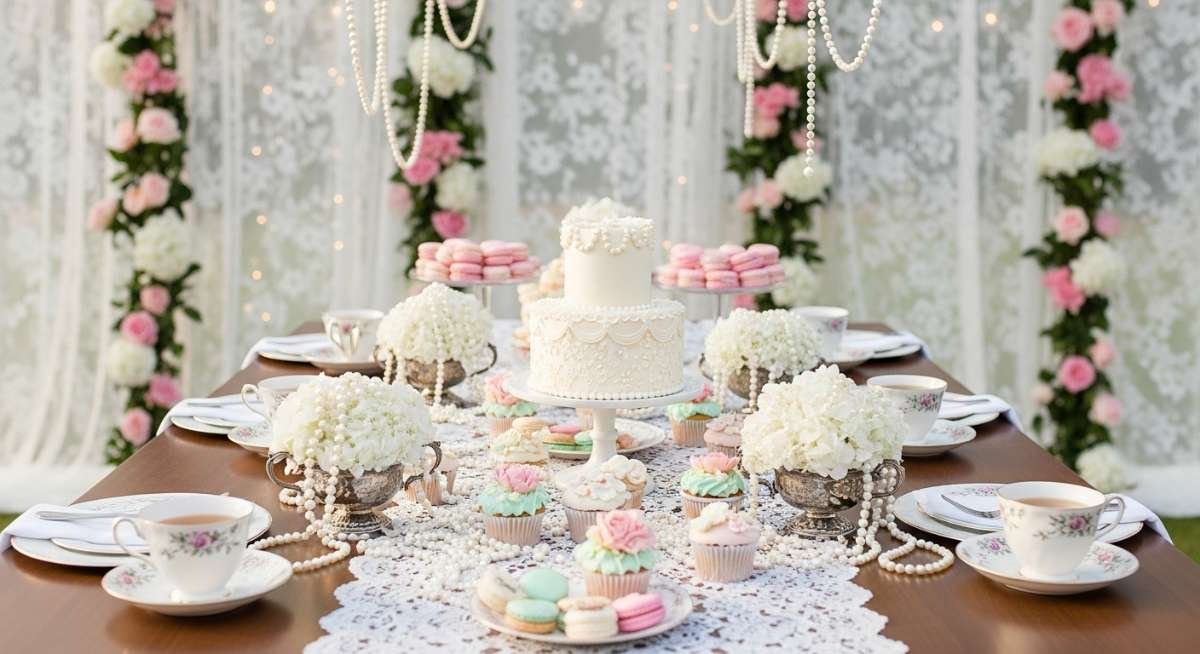
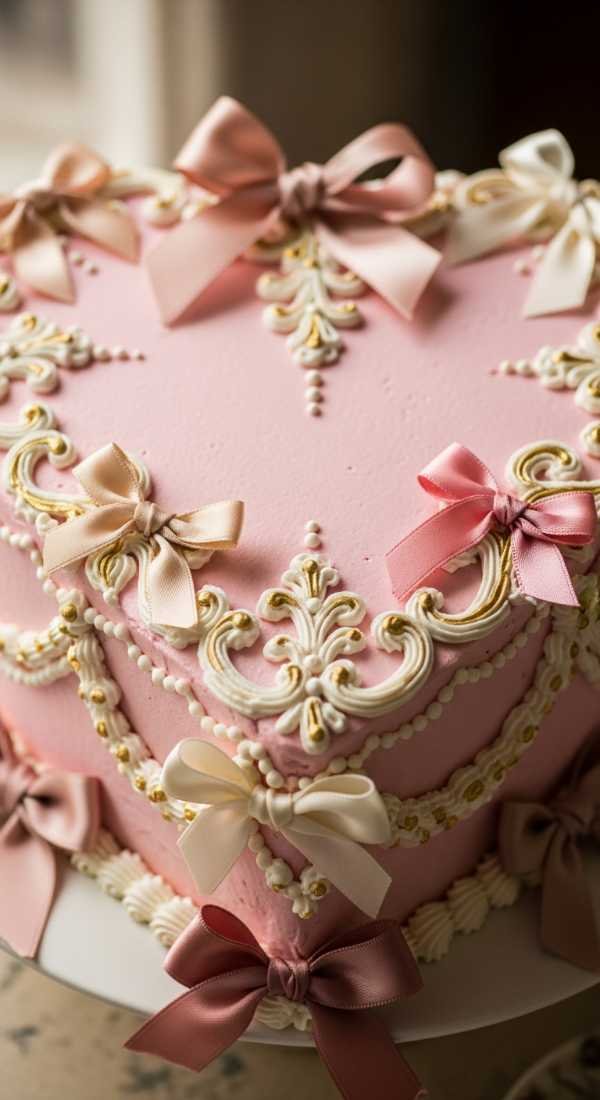
Lighting is the ‘secret sauce’ of a Coquette Princess birthday. We lean heavily into Ambient Glow. Avoid overhead fluorescent lights at all costs. Instead, we use a combination of flickering candlelight (LED for safety) and hidden fairy lights tucked inside tulle drapes. The focal point is always the dessert table—or the ‘Patisserie’—where the cake stands are elevated at different heights and draped in pearls to create a visual hierarchy that draws the eye immediately.
Step-by-Step DIY Setup Guide
- Prep your textiles by steaming every ribbon and tablecloth. Wrinkles are the enemy of the Coquette aesthetic; ensuring your lace and satin are crisp and smooth sets the professional tone.
- Set up the primary backdrop using a floor mirror or draped tulle. Position your largest focal point first, ensuring it catches the best natural light in the room for photos.
- Layer the table linens starting with a solid cream base and adding a lace overlay. Let the lace hang slightly lower than the base cloth to showcase the intricate scalloped edges.
- Construct the ‘Bow-Tree’ or ribbon accents. Tie oversized satin bows onto the backs of every chair and smaller dainty bows onto the stems of wine glasses and the necks of vases.
- Arrange the floral garlands along the center of the table or around the mirror frame. Intertwine fairy lights within the flowers to give the greenery a magical, glowing effect.
- Distribute the ‘Pearl Accents’ across the tablescape. Drape faux pearl strands over the edges of cake stands and spill them out of vintage teacups for a ‘carefully discarded’ look.
- Finalize the Patisserie display with tiered trays. Place macarons, heart-shaped cookies, and the main cake at the center, ensuring the colors of the sweets match the decor palette.
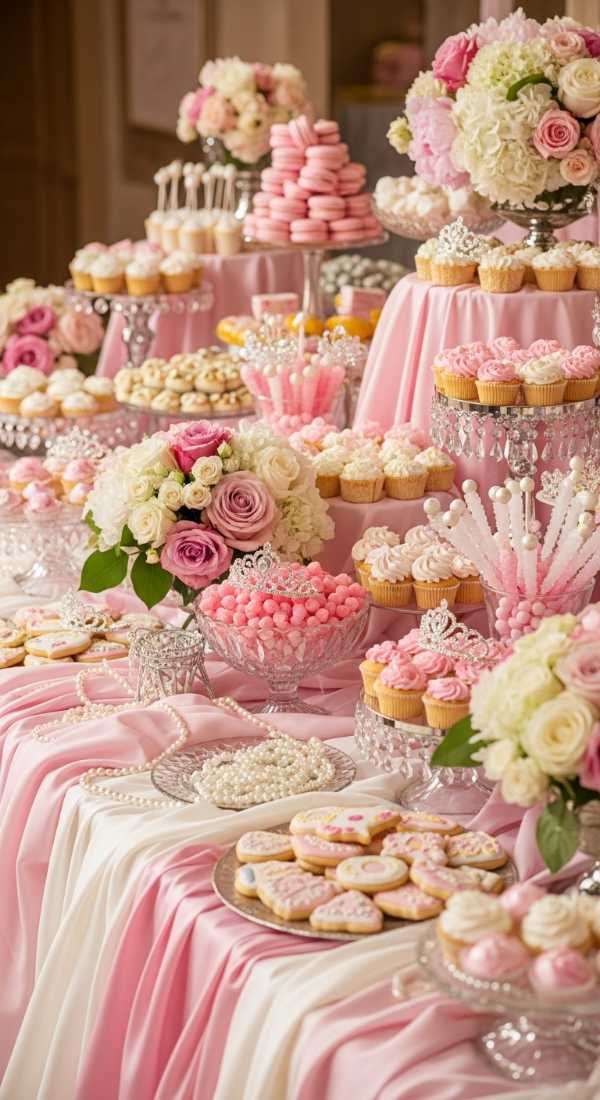
Pro Styling Tips for Aesthetic Coquette Princess Birthday
- The ‘Bow Everything’ Rule: If it stands still, put a bow on it. This includes candlesticks, cutlery bundles, and even individual pieces of fruit on the grazing board.
- Vintage Mirror Signage: Use a white chalk marker to write the birthday girl’s name or the menu directly onto a vintage gold mirror for an instant upscale feel.
- Mismatched China: Scour thrift stores for floral tea sets; the slight variation in patterns adds a ‘shabby chic’ charm that feels more authentic.
- Scented Ambience: Light a subtle rose or vanilla-scented candle near the entrance to engage the sense of smell as soon as guests arrive.
Theme Variations & Table Setting Ideas
- The ‘Marie Antoinette’ Feast: Incorporate more gold accents, towering croquembouche, and feathered fans for a more opulent, historical take.
- The ‘Coquette Garden’ Brunch: Move the setup outdoors, using moss runners instead of lace and hanging ribbons from tree branches.
- The ‘Ballet Core’ Birthday: Focus heavily on tulle, satin slippers as decor, and a strictly pale pink and white color scheme.
For the ultimate table setting, use a ‘layered plate’ approach. Start with a large gold charger, followed by a scalloped dinner plate, and top it with a folded lace napkin secured by a pearl ring. The backdrop should consist of a ‘Ribbon Wall’—dozens of floor-length satin ribbons hanging from a crossbar—creating a soft, moving texture that looks incredible in video content and Reels.
Pre-Party Setup Timeline, Assembly & Teardown
Planning starts one week out. This is when you should source your fresh flowers and pre-tie all your satin bows. Pre-tying saves hours on the day of the event. Organize your decor into bins: one for textiles, one for fragile glass/ceramics, and one for ‘the details’ like pearls and fairy lights. If you are baking your own patisserie items, do this two days before so you aren’t stuck in the kitchen during setup.
On the day of the event, allow at least 3-4 hours for assembly. Start with the ‘heavy lifting’—furniture placement and backdrops—before moving into the delicate styling of the table. The last 30 minutes should be reserved for lighting candles, adjusting the floral placements, and doing a final ‘photo check’ through your phone lens to see what guests will see.
Teardown should be systematic to protect your vintage finds. Have bubble wrap ready for the mirrors and ceramics. Don’t throw away the ribbons! Roll them back onto spools so they stay wrinkle-free for your next event. The beauty of this theme is that many elements, like the pearls and lace, are evergreen staples for any stylist’s kit.
Frequently Asked Questions
How can I achieve the Coquette look on a budget?
Focus on the ‘Bow Trick.’ You can buy rolls of satin ribbon very cheaply at craft stores. Tying bows on existing white plates, chairs, and vases instantly transforms a plain room into a Coquette paradise without needing expensive vintage rentals.
What should the dress code be for a Coquette Princess party?
Encourage guests to wear pastels, lace, floral prints, or ‘ballet-core’ outfits. Mentioning ‘Bows and Pearls’ on the invitation helps guests understand the specific aesthetic you are aiming for.
Where can I find affordable vintage mirrors for the backdrop?
Thrift stores and Facebook Marketplace are gold mines for these. Don’t worry about the frame color—you can easily spray paint a plastic or wooden frame gold or antique white to match the theme.
Is this theme suitable for children or just adults?
It’s perfect for both! For a child’s party, replace the glass candles with LEDs and focus more on ‘Princess’ elements like tiaras. For adults, lean into the ‘Patisserie’ and ‘Coquette’ fashion elements with sophisticated cocktails and fine lace.
Final Thoughts & Party Checklist
The Aesthetic Coquette Princess theme is more than just a trend; it’s an invitation to embrace softness, beauty, and the joy of intricate details. It’s about creating a space where time slows down, and everything is seen through a rose-tinted, pearl-draped lens. Watching your guests walk into a room transformed by lace and ribbons is the ultimate reward for any event planner.
Remember that the most important element of any party is the atmosphere. While the decor provides the visual magic, the music (think soft classical covers of pop songs) and the warmth of your hosting complete the experience. Don’t be afraid to over-accessorize; in the world of Coquette, ‘more is more’ when it comes to ribbons and pearls!
Before you start your styling journey, ensure you have your essentials ready. Use the checklist below to stay organized and ensure no detail is overlooked. Happy planning, and may your soirée be as sweet as a French macaron!
Aesthetic Coquette Princess Birthday Setup Guide
A dreamy, hyper-feminine party setup inspired by Victorian elegance and modern Coquette trends, featuring heavy lace, satin ribbons, and pearl accents.
Stylist: Professional Event Stylist Perspective
Setup Time: 3-4 Hours
Difficulty Level: Medium
Ideal Occasion: Birthdays, Bridal Showers, Tea Parties
Estimated Budget: $150 – $400 (Depending on DIY vs. Rentals)
Key Color Palette: Ballet Pink, Cream, Ivory, Gold
Essentials & Materials
- Satin Ribbons (Pink & Cream)
- Lace Tablecloths & Runners
- Vintage Gold Floor Mirror
- Faux Pearl Strands
- Fairy Lights & Taper Candles
- Tiered Cake Stands
- Pastel Floral Arrangements
Setup Instructions
- Steam all linens and ribbons to ensure a smooth finish.
- Position the main gold mirror as the central photo backdrop.
- Layer solid cream linens with lace overlays on all tables.
- Tie satin bows to chairs, glassware, and serving platters.
- Drape pearl strands over cake stands and mirrors.
- Arrange florals and intertwined fairy lights along the table center.
- Set the patisserie display with heart-shaped treats and the main cake.
Decor Specs & Ambience
Lighting Style: Warm, dim, and flickering candlelit glow. Focal Points: The ‘Patisserie’ dessert station and the oversized ornate floor mirror. Table Arrangement: Symmetrical but textured, featuring layered scalloped plates and ribbon-tied cutlery. Backdrop Details: Tulle draping combined with a ‘Ribbon Wall’ or a vintage mirror for maximum depth and photo appeal.