Enchanted Royal Soirée: My Coquette Princess Era Birthday Recap
There is something undeniably magical about the intersection of hyper-femininity and vintage royalty. Recently, I had the pleasure of bringing the ‘Coquette Princess’ aesthetic to life for a milestone birthday that felt less like a party and more like a fever dream curated by Marie Antoinette herself. From the moment the first satin ribbon was tied, I knew this theme was going to be the blueprint for aesthetic celebrations this year.
The concept was simple yet luxurious: a delicate balance of soft pinks, cream lace, and gilded accents, all tied together (literally) with an abundance of bows. We wanted to move away from the traditional ‘princess’ tropes and lean into the coquette subculture—think Lana Del Rey meets Bridgerton with a dash of 90s nostalgia. Every corner of the venue was designed to be a vignette, a perfect frame for memories and, of course, the perfect Instagram shot.
As an event stylist, my goal was to create an atmosphere that felt lived-in and romantic rather than sterile. We layered textures, played with ambient lighting, and focused on the ‘more is more’ philosophy when it came to florals and fabrics. Seeing the birthday girl step into this pink-hued wonderland was the ultimate reward, proving that the coquette princess era is here to stay.
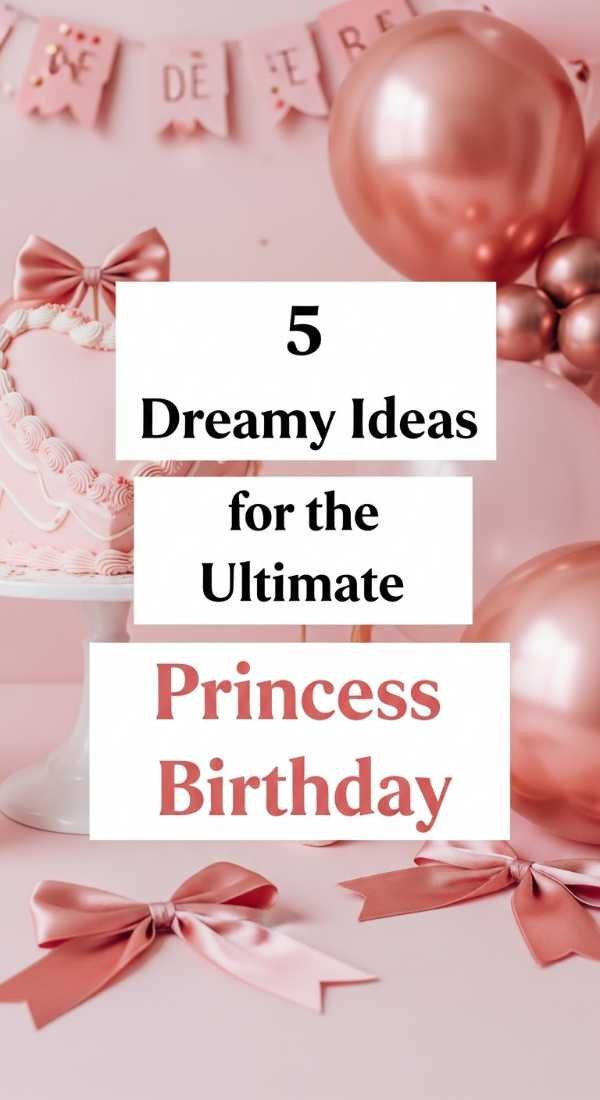
Why You’ll Love This Party Decor Theme
- It is hyper-photogenic and creates a cohesive ‘aesthetic’ look for social media.
- The theme is incredibly versatile, working for everything from a 1st birthday to a 30th ‘dirty thirty’ celebration.
- It blends vintage charm with modern trends, appealing to multiple generations.
- The color palette is soothing and sophisticated, moving away from garish brights into soft pastels.
- It allows for endless DIY opportunities, especially with ribbon and lace accents.
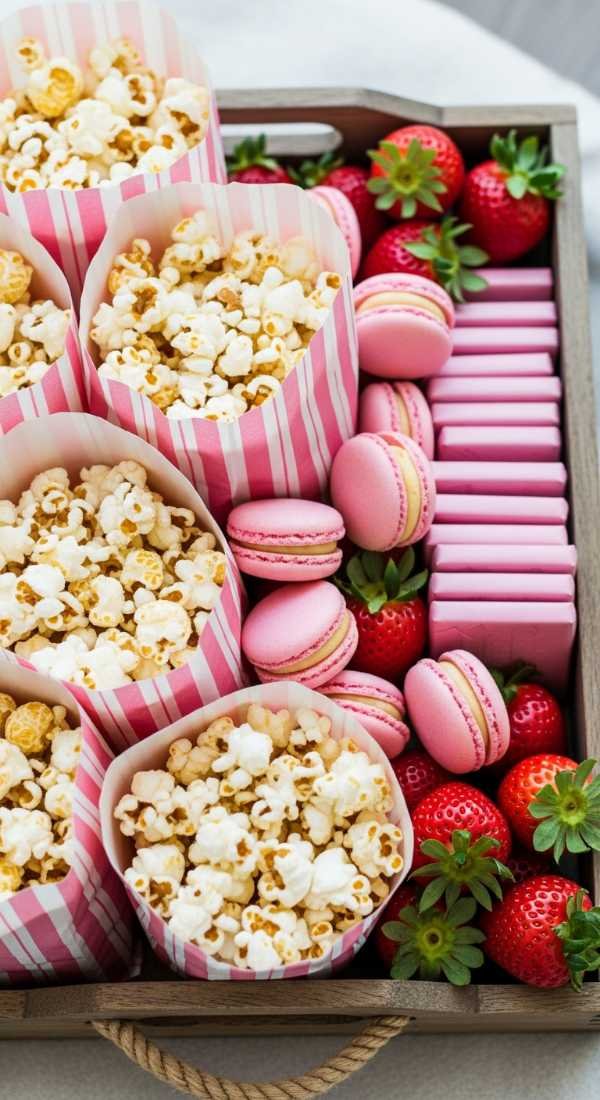
Essential Decor Items & Supplies Needed
- Pastel pink and cream balloon arch kit
- White chiffon or lace backdrop panels
- Heavy-duty backdrop stand
- Satin ribbons in various widths (blush, cream, and gold)
- Dried baby’s breath and fresh silk peony garlands
- Vintage-style gold mirrors and ornate frames
- Heart-shaped cake stands and tiered dessert towers
- Fairy lights and flameless taper candles
- Lace tablecloths and embroidered napkins
- Pearl strands for table scattering
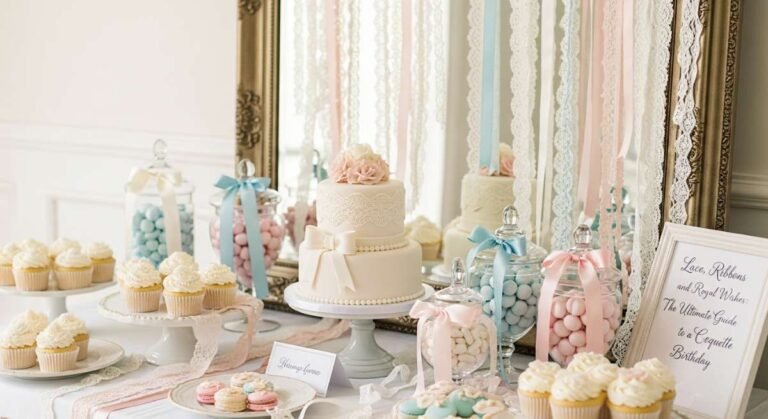
The color scheme for a Coquette Princess birthday is non-negotiable: you must stick to a palette of ‘strawberry cream,’ ‘antique ivory,’ and ‘champagne gold.’ We used a variety of textures—from the smoothness of satin to the intricate patterns of lace—to create depth in the room. By mixing soft fabrics with the hard edges of gilded mirrors, the space felt both cozy and grand simultaneously.
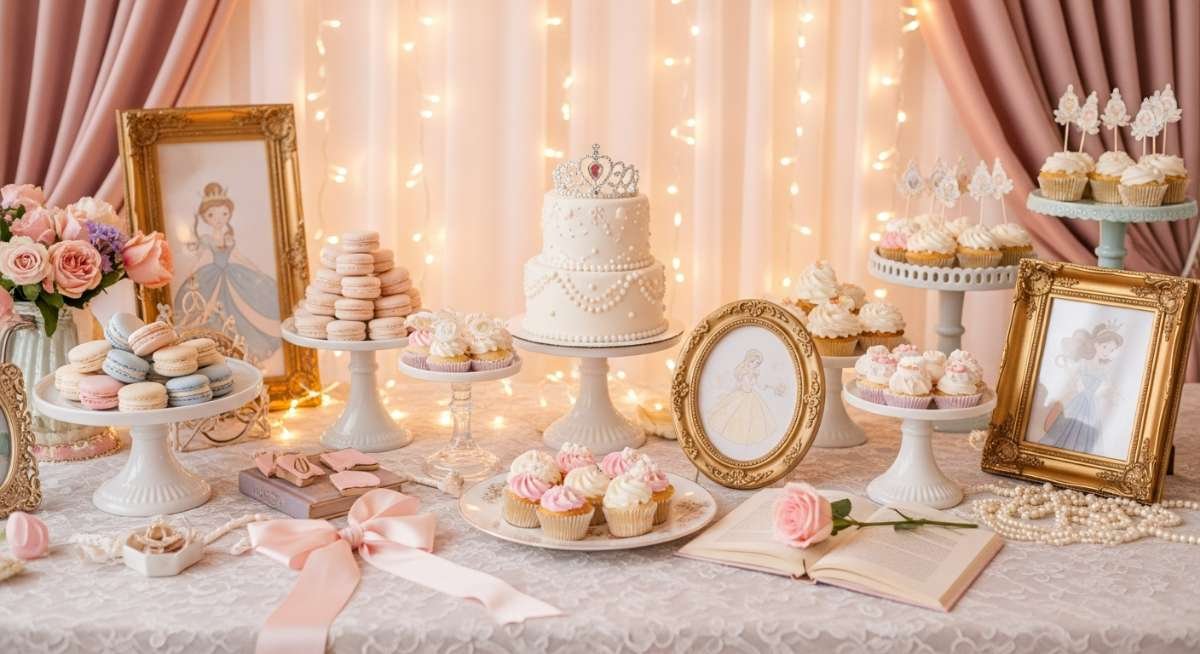
Lighting plays a pivotal role in achieving this aesthetic. We avoided harsh overhead lights at all costs, opting instead for a warm glow provided by strings of fairy lights tucked behind chiffon curtains and flickering LED candles in vintage brass holders. This creates a soft-focus effect that makes every guest look like they’re walking through a dream.
The focal point of the entire setup was the dessert table, which acted as a mini-shrine to all things coquette. We didn’t just place a cake on a table; we framed it with cascading floral garlands, draped it in pearls, and surrounded it with heart-shaped cookies and vintage tea sets. This ‘altar of sweetness’ became the heart of the party where guests naturally gravitated to chat and take photos.
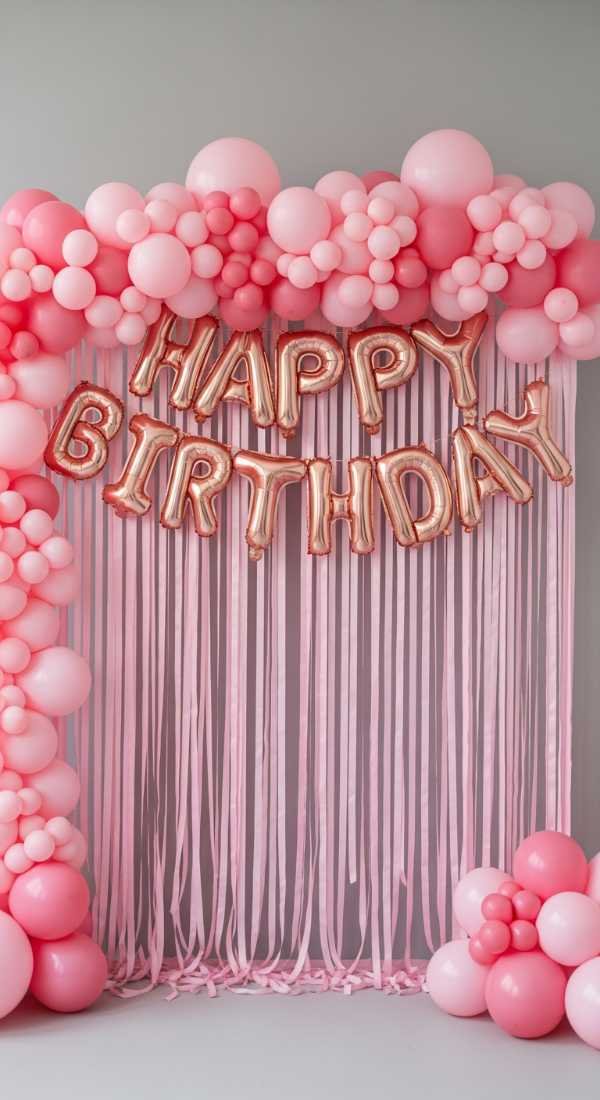
Step-by-Step DIY Setup Guide
- Begin by assembling your main backdrop using a sturdy metal frame draped in layers of floor-length chiffon. Secure the fabric with hidden clips and ensure it puddles slightly on the floor for a high-end, romantic look.
- Construct a soft-toned balloon garland featuring shades of blush, sand, and white. Use a balloon strip to create the shape, then tuck in sprigs of baby’s breath and silk roses to hide any gaps.
- Drape the tables with floor-length lace cloths over a solid pink base layer. This layering technique adds a vintage Victorian feel that is central to the coquette aesthetic.
- Tie oversized satin bows onto the back of every chair and around the stems of glassware. The bow is the signature motif of this theme, so don’t be afraid to use them generously across all decor elements.
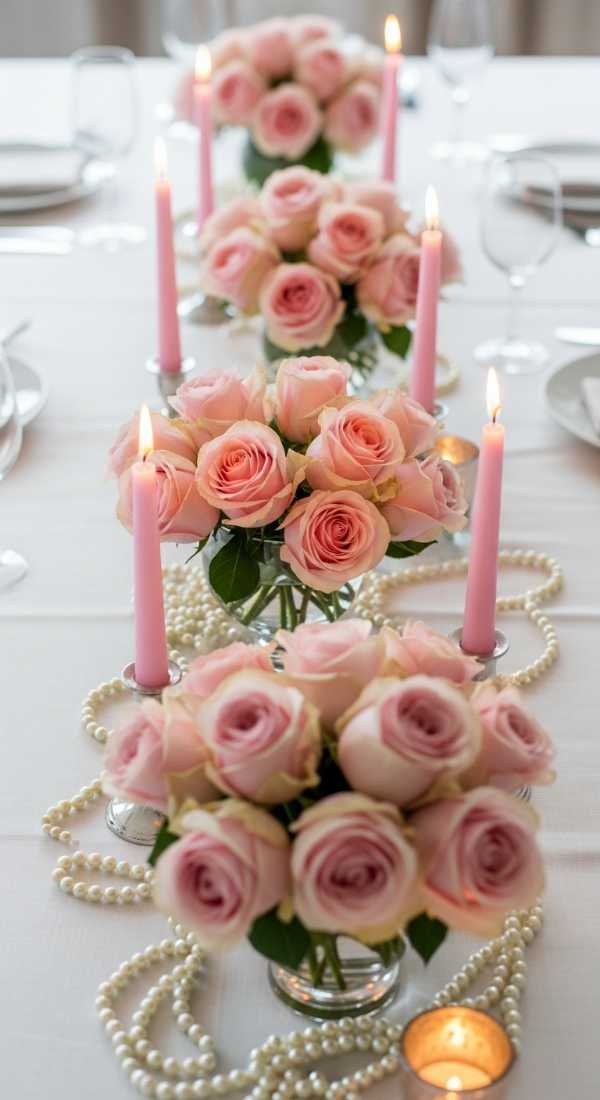
- Arrange the centerpiece by placing a vintage gold mirror flat on the table to act as a tray. Place a mix of taper candles and small floral bud vases on top of the mirror to reflect the light and double the visual impact.
- Finish the scene by scattering faux pearls and dainty heart confetti across the tabletop. These tiny details are what make the setup feel curated and intentional for a ‘Princess Era’ vibe.
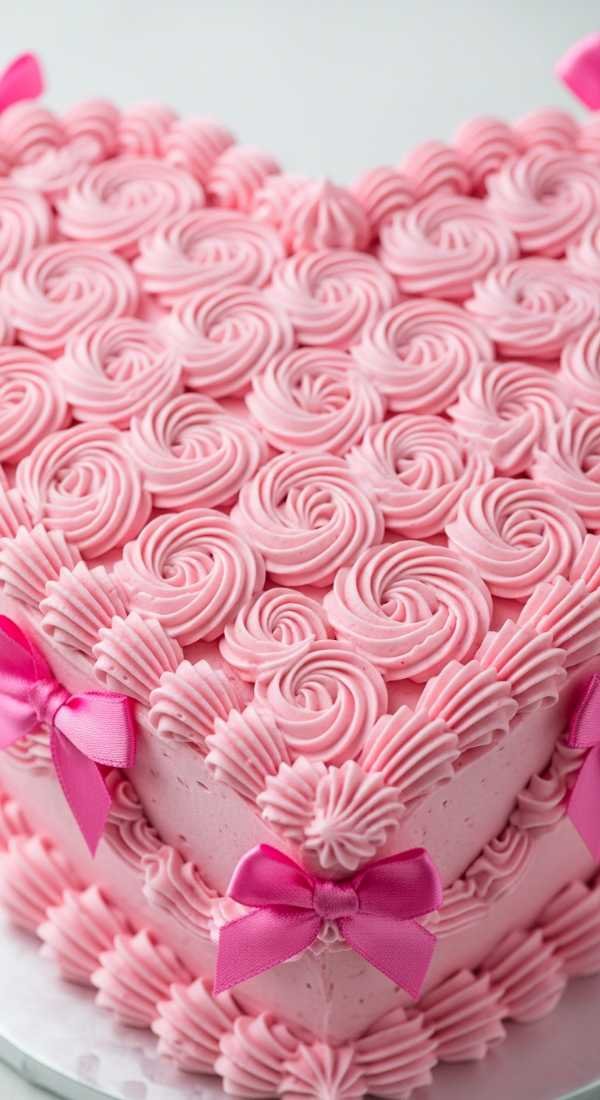
Pro Styling Tips for Aesthetic Coquette Princess Birthday
- Incorporate ‘Coquette Core’ accessories like cherries, ballet slippers, and vintage books into your table vignettes for an authentic feel.
- Mix and match vintage china rather than using a uniform set to give the table an inherited, ‘old money’ princess charm.
- Use height to your advantage by placing some floral arrangements on pedestals and others directly on the table surface to create visual rhythm.
- Personalize the bows by writing guests’ names on the ribbon tails using a gold paint pen to serve as both decor and place cards.
- Filter the light by placing sheer pink fabric over any existing lamps in the room to maintain a consistent rosy glow.
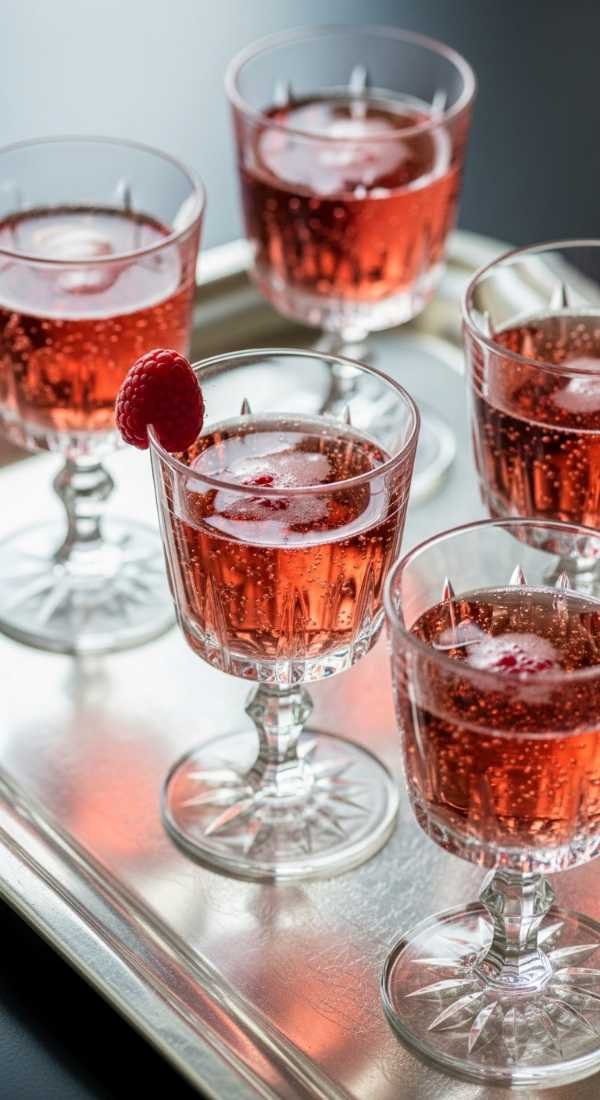
Theme Variations & Table Setting Ideas
- The ‘Dark Coquette’ Twist: Swap the blush pinks for deep burgundy and black lace for a moody, gothic princess aesthetic.
- Garden Princess Tea Party: Move the setup outdoors and use natural greenery as your backdrop, adding picnic blankets and wicker baskets.
- Y2K Princess Flashback: Add glitter accents, butterflies, and holographic elements to the pink palette for a nostalgic early 2000s vibe.
- Minimalist Royal: Focus on a monochromatic white-on-white palette with only gold accents for a clean, modern take on the theme.
For the table settings, we recommend a ‘layered luxury’ approach. Start with a gold charger plate, followed by a scalloped white dinner plate and a heart-shaped salad plate. The napkins should be folded into a bow shape or cinched with a pearl ring. Place a single stem of a rose or a sprig of lavender on each setting to provide a fresh scent as guests sit down. The backdrop behind the head table should feature the birthday girl’s name in a delicate script font, framed by more ribbons and soft-glow fairy lights.
Pre-Party Setup Timeline, Assembly & Teardown
Preparation should begin at least two weeks out with the sourcing of all ribbons and specific lace fabrics, as these are the hardest to find in the perfect shade of ‘coquette pink.’ Three days before the event, prepare all DIY elements like tying the larger bows and cleaning the vintage mirrors. On the day before, if the venue allows, set up the backdrop stand and the heavy furniture pieces to ensure the foundation of your design is solid.
On the morning of the party, focus on the ‘perishables.’ Inflate the balloons, set out the fresh florals, and arrange the dessert table. Save the placement of small items like pearls and candles for the final hour to ensure nothing gets bumped or moved during the general setup. This is also the time to test your lighting and make sure the ‘glow’ is consistent across the entire room.
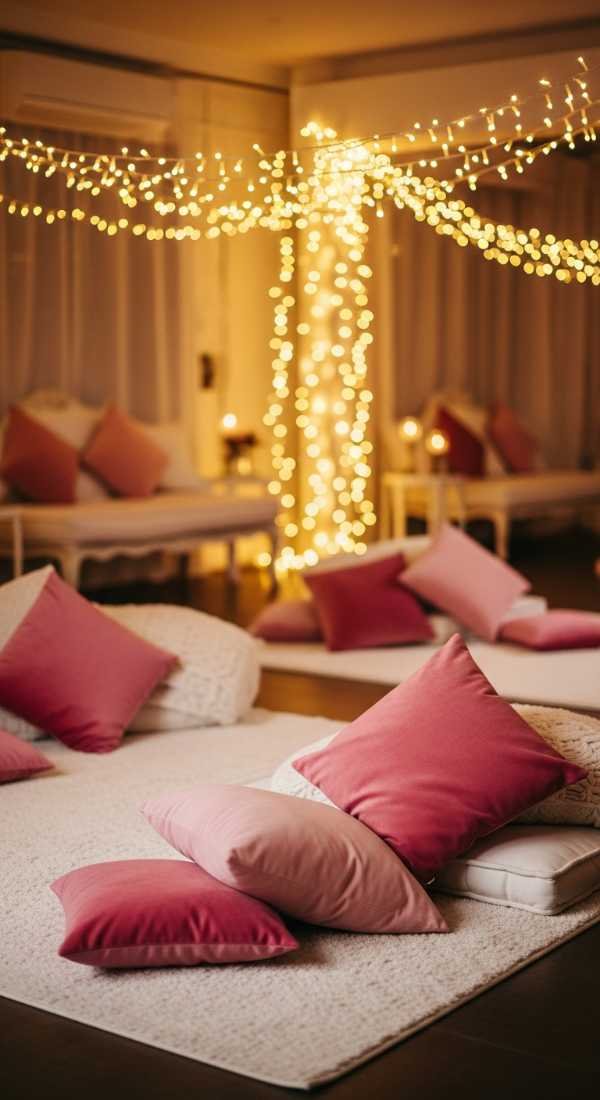
Teardown should be handled with care, especially if you’re using rented vintage pieces. Start by clearing the tables of any glass and porcelain before tackling the balloon arch and backdrop. Deflate the balloons (or give them away to guests!) and carefully fold the lace linens to prevent snagging. Organize your ribbons by color and size so they can be reused for future ‘aesthetic’ events—a true stylist always thinks about the next party!
Frequently Asked Questions
How much does a Coquette Princess setup usually cost?
The cost varies depending on whether you source vintage items from thrift stores or buy new. A DIY setup can range from $200 to $500, while a professional styling package with premium rentals can go upwards of $1,500.
Can I do this theme in a small apartment?
Absolutely! Focus on one ‘hero’ wall for the backdrop and dessert table. Use the vertical space with hanging ribbons and fairy lights to make the room feel larger and more magical without cluttering the floor.
What is the best way to attach bows to everything?
For fabrics like chairs and curtains, use safety pins hidden behind the knot. For glassware or candles, a small dot of low-temp hot glue or double-sided fashion tape works wonders without damaging the items.
What kind of music fits this party aesthetic?
Create a playlist that mixes classical ‘Bridgerton-style’ covers of modern pop songs with ethereal indie artists like Lana Del Rey, Mitski, and Mazzy Star to capture that dreamy coquette mood.
Final Thoughts & Party Checklist
Stepping into your ‘Princess Era’ is about more than just pretty decor; it’s about celebrating yourself with the same grace and beauty you see in the world. This Coquette Princess theme is the perfect vehicle for that celebration, offering a nostalgic yet trendy backdrop that makes every guest feel like they’ve been invited to a royal court. Whether you’re planning this for yourself or a loved one, remember that the magic is in the details.
Don’t get overwhelmed by the scale of the setup. Focus on the core elements—the bows, the lace, and the lighting—and everything else will fall into place. This theme is meant to be soft and inviting, so if a ribbon is slightly crooked or a flower is out of place, it only adds to the romantic, ‘shabby-chic’ charm of the occasion.
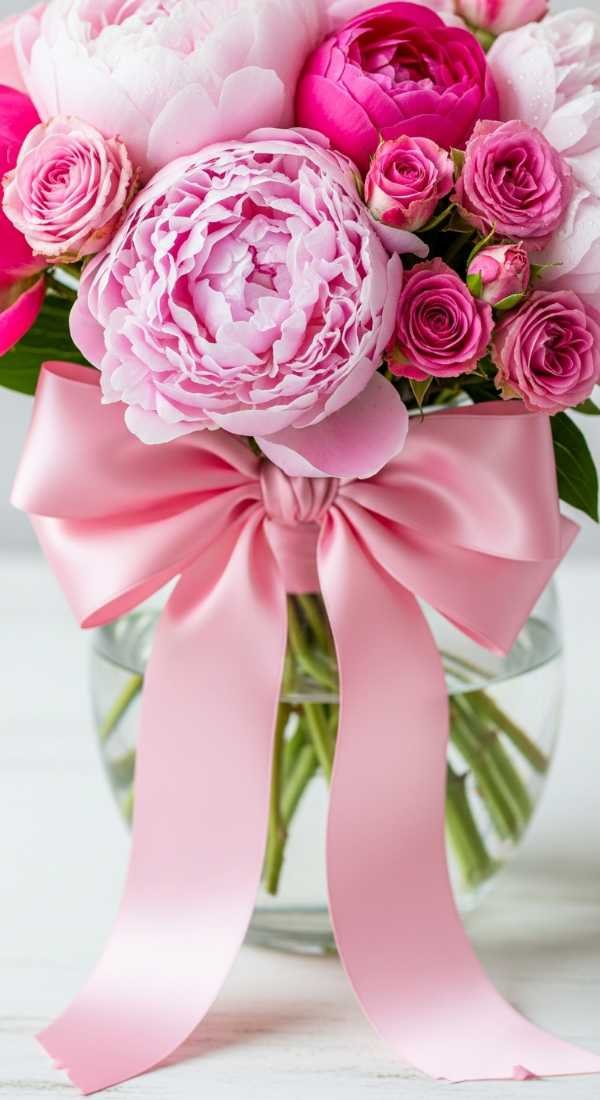
As you prepare for your enchanted soirée, use this checklist to ensure no pearl is left un-scattered. When the candles are lit and the music starts playing, you’ll realize that all the effort was worth it for that one perfect, aesthetic moment. Cheers to your most beautiful birthday yet!
Aesthetic Coquette Princess Birthday Setup Guide
A dreamlike, hyper-feminine party setup inspired by vintage royalty and modern coquette trends, featuring soft textures and iconic bow motifs.
Stylist: The Aesthetic Event Pro
Setup Time: 4-6 Hours
Difficulty Level: Intermediate
Ideal Occasion: Birthdays, Bridal Showers, Sweet Sixteens
Estimated Budget: $300 – $800
Key Color Palette: Blush Pink, Cream, Champagne Gold, Antique White
Essentials & Materials
- 10 yards of cream lace and pink chiffon
- 50+ assorted satin ribbons (various widths)
- Gold ornate mirrors and picture frames
- Pastel balloon kit with floral inserts
- Pearl strands and heart-shaped table scatter
- Flameless taper candles and fairy lights
Setup Instructions
- Layer the backdrop using chiffon and lace panels.
- Inflate and style the floral balloon arch.
- Set the tables with lace linens and gold chargers.
- Attach satin bows to chairs, vases, and cutlery.
- Arrange the ‘mirror-base’ centerpieces with candles.
- Style the heart-themed dessert table as the focal point.
Decor Specs & Ambience
Lighting Style: Soft, warm, and diffused using fairy lights and candles. Focal Points: The tiered heart-cake display and the draped photo backdrop. Table Arrangement: Symmetrical but textured with layered plates and silk napkins. Backdrop Details: Floor-to-ceiling fabric with cascading floral vines and a custom name sign.