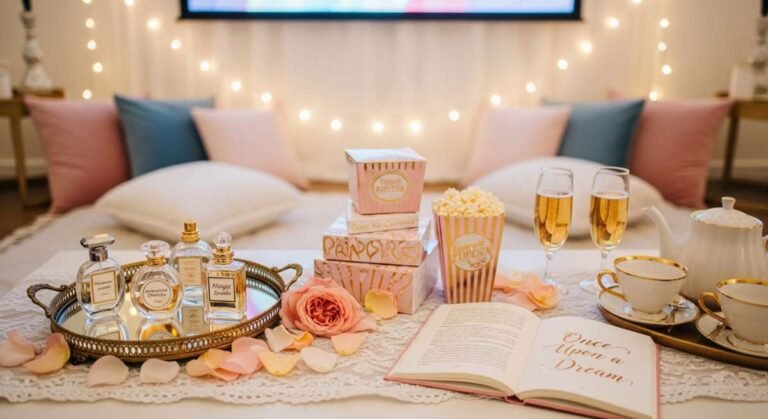
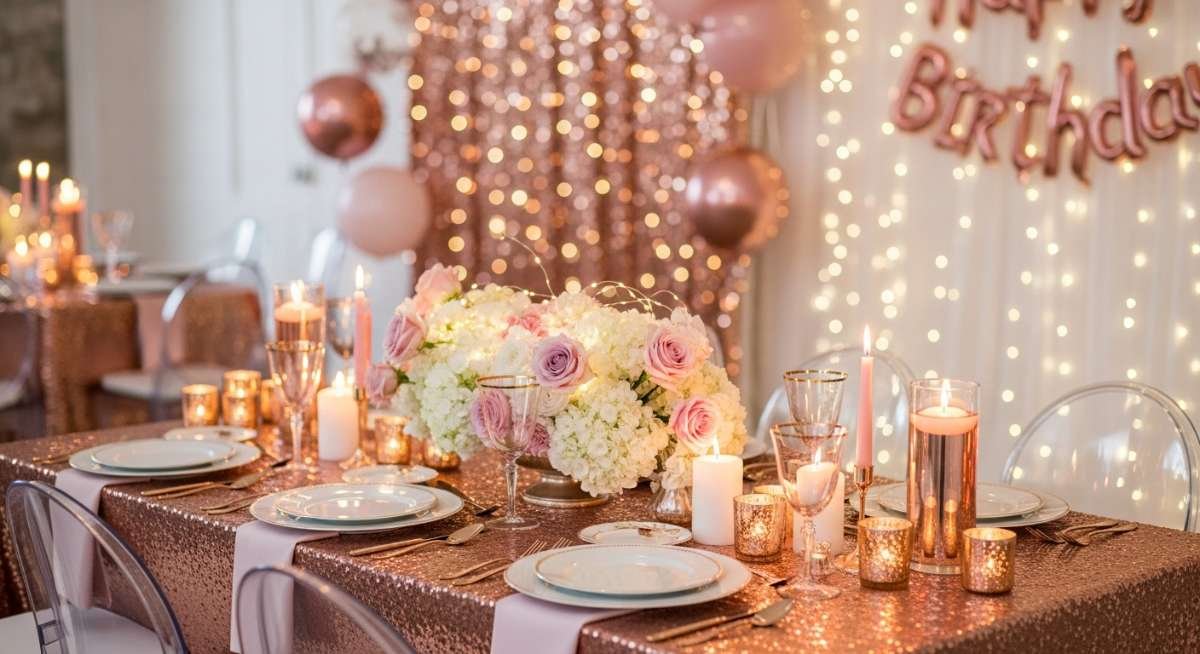
Royal Core & Rose Gold: Designing a Modern Ethereal Gala
Stepping into the world of event styling often feels like playing architect to someone’s wildest dreams. Last spring, I received a request that challenged my perception of a classic theme: a ‘Modern Royal Core’ birthday party. The client didn’t want the typical bright pinks and plastic tiaras; she wanted an ethereal, sophisticated gala that felt like a high-fashion editorial meeting a Bridgerton garden party. We leaned heavily into rose gold accents, layered textures, and a palette of dusty mauves and creams.
The transformation was nothing short of magical. By blending vintage elements with contemporary minimalist decor, we created a space that felt both timeless and trend-forward. This party wasn’t just about celebrating a birthday; it was about creating an atmosphere where every guest felt like they had stepped into a royal court designed for the 21st century. It’s about that perfect balance between ‘extra’ and ‘elegant’ that makes a celebration truly viral-worthy.
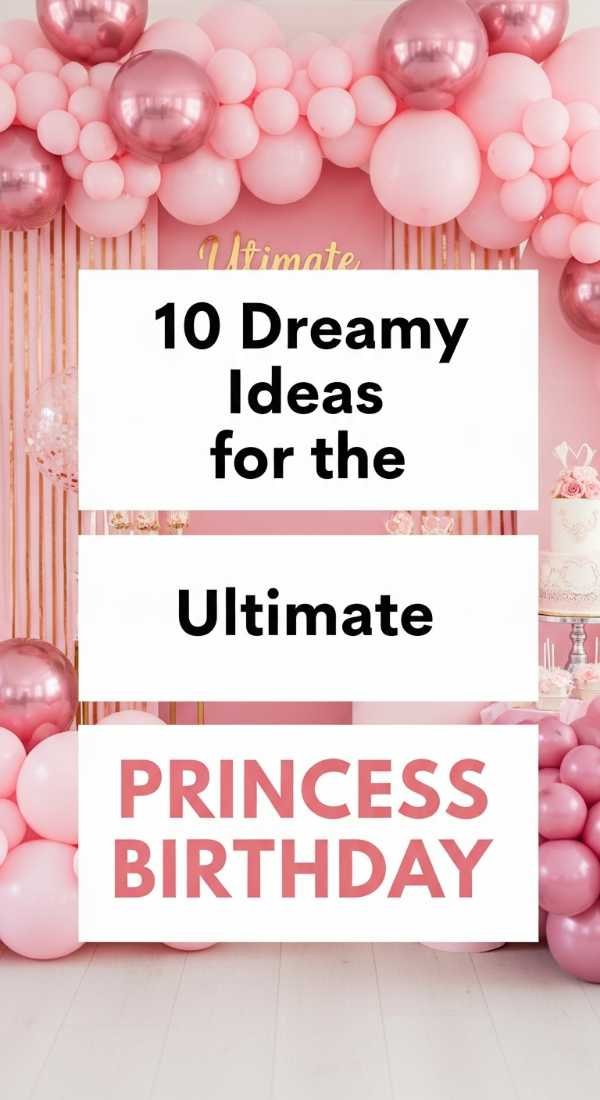
Why You’ll Love This Party Decor Theme
- Timeless Sophistication: The rose gold and cream palette offers a luxury feel that never goes out of style.
- Instagrammable Moments: Every corner, from the balloon arches to the velvet seating, serves as a perfect backdrop for photos.
- Versatile for All Ages: While perfect for a ‘Sweet Sixteen’ or a 21st, the ‘Royal Core’ aesthetic works beautifully for toddlers or even 30th birthday celebrations.
- Budget-Friendly Luxury: You can achieve a high-end look using DIY floral arrangements and strategic lighting without the professional price tag.
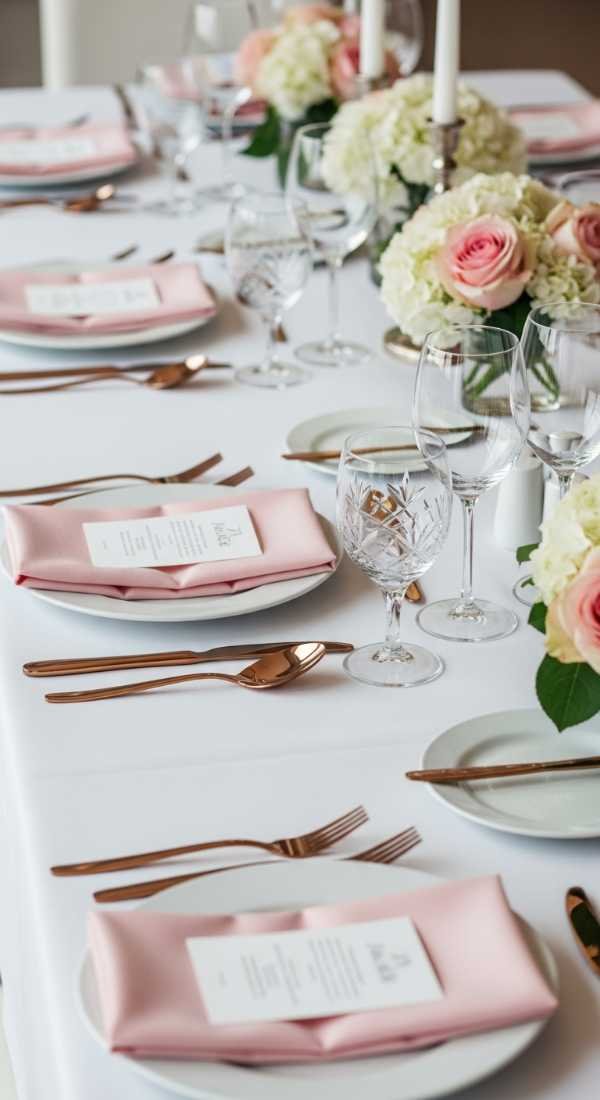
Essential Decor Items & Supplies Needed
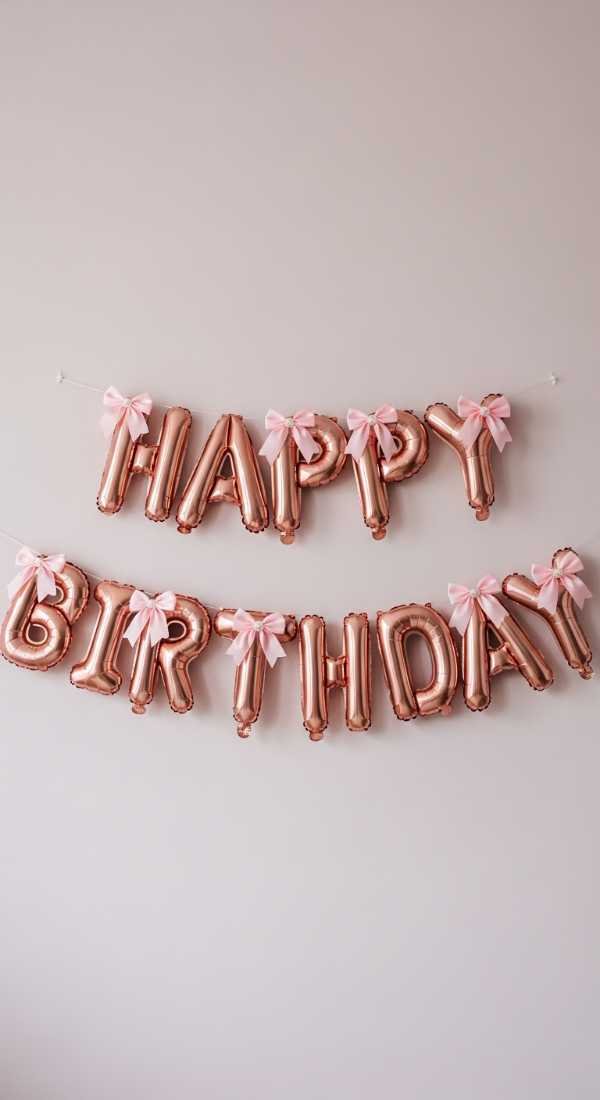
- Rose gold and champagne chrome balloons in various sizes
- Heavyweight satin or velvet table linens in dusty rose
- Sheer tulle or chiffon backdrop curtains
- Golden floor-standing candelabras
- Faux silk peony and eucalyptus garlands
- Adjustable metal backdrop stand
- Warm white fairy lights and LED tea candles
- Ornate gold-framed mirrors for signage
- Rose gold laser-cut name cards and acrylic chargers
The secret to nailing this aesthetic lies in the interplay of textures. I always suggest pairing ‘hard’ elements like metallic rose gold chargers and gold-rimmed glassware with ‘soft’ elements like flowing chiffon and plush velvet. This contrast creates a tactile richness that makes the room feel expensive. Lighting is your best friend here; avoid harsh overhead lights and instead rely on the golden glow of fairy lights nestled within the fabric of your backdrop.
Another key focal point is the ‘Grand Table.’ Instead of multiple small tables, a long banquette style table creates a sense of royal community. Use a mixture of high and low floral arrangements to keep the eye moving across the room. By focusing on a few high-impact areas—the cake display, the main table, and the photo booth—you create a cohesive narrative that feels curated rather than cluttered.
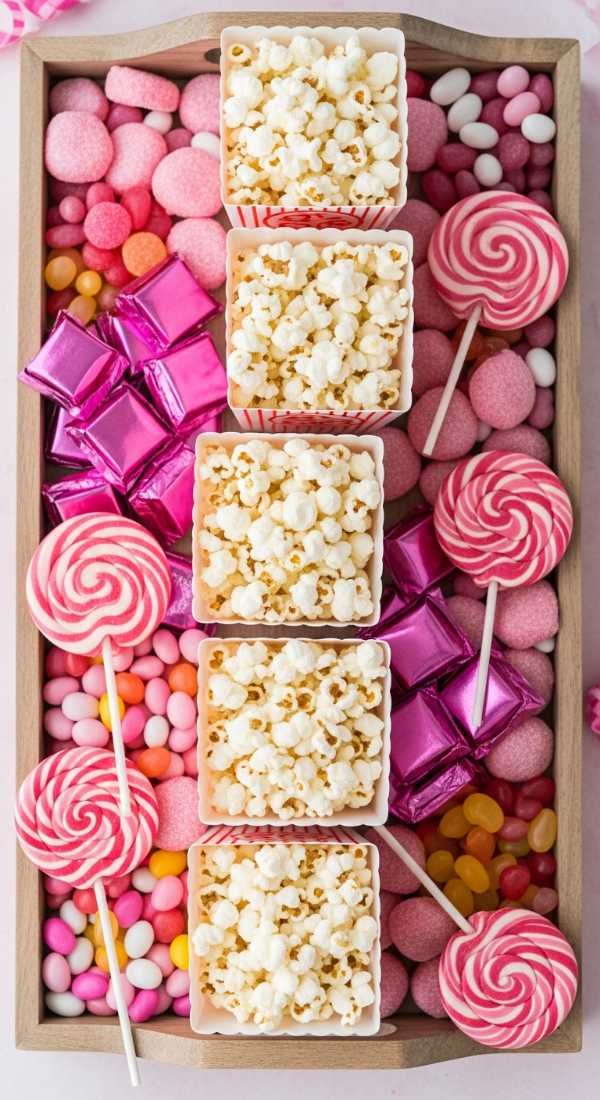
Step-by-Step DIY Setup Guide
- Define your focal point and set the backdrop stand. Place your adjustable stand against the main wall and drape layers of sheer tulle and rose gold fringe to create depth.
- Inflate and assemble your organic balloon garland. Use a mix of 5-inch, 11-inch, and 24-inch balloons in champagne and rose gold, securing them with balloon tape and fishing wire.
- Dress the tables with floor-length linens. Ensure your linens touch the floor for that ‘grand gala’ feel, smoothing out any wrinkles with a handheld steamer.
- Layer your floral garlands along the center of the table. Interweave eucalyptus with silk peonies, ensuring the greenery spills over the edges for an ethereal, overgrown look.
- Arrange the place settings with precision. Position the acrylic chargers first, followed by the napkins tucked into gold rings, and top with custom name cards.
- Integrate the ambient lighting. String fairy lights through the backdrop and place LED candles inside lanterns at the base of your displays to create a warm, inviting glow.
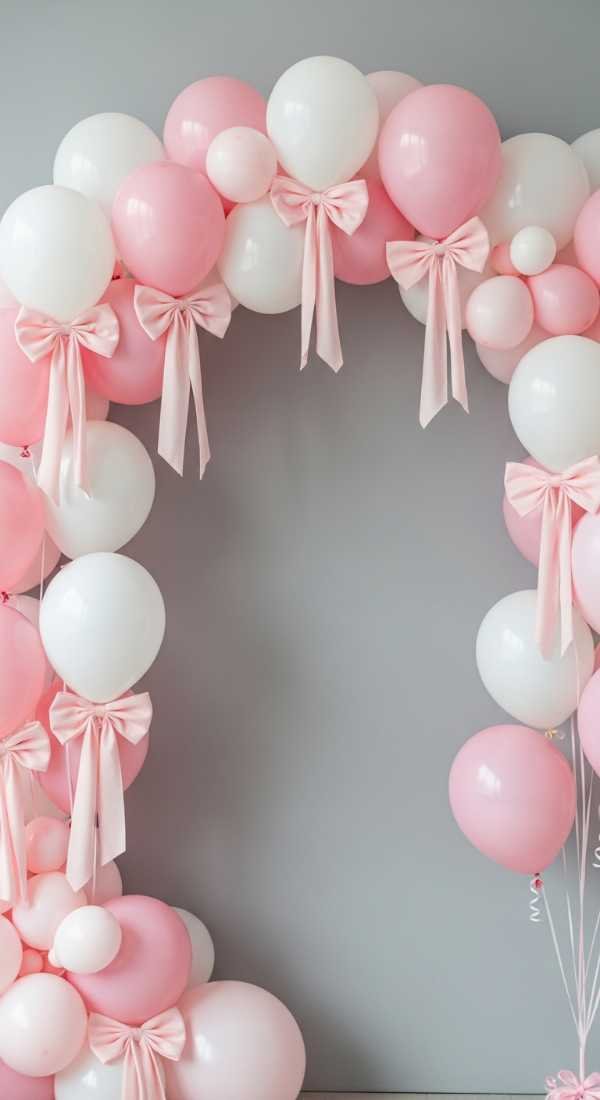
Pro Styling Tips for Aesthetic Princess Birthday Party
- Monochrome Magic: Stick to varying shades of the same color family to create a sophisticated, high-end aesthetic.
- Height Variation: Use acrylic risers on your dessert table to create different levels of visual interest.
- Scented Atmosphere: Light a subtle rose or vanilla-scented candle near the entrance to engage the guests’ senses immediately.
- Personalized Details: Add a ‘royal’ touch by using a wax seal on the menu cards or party favors.
- Nature’s Touch: Always include some form of greenery; it grounds the metallic rose gold and prevents the decor from looking too artificial.
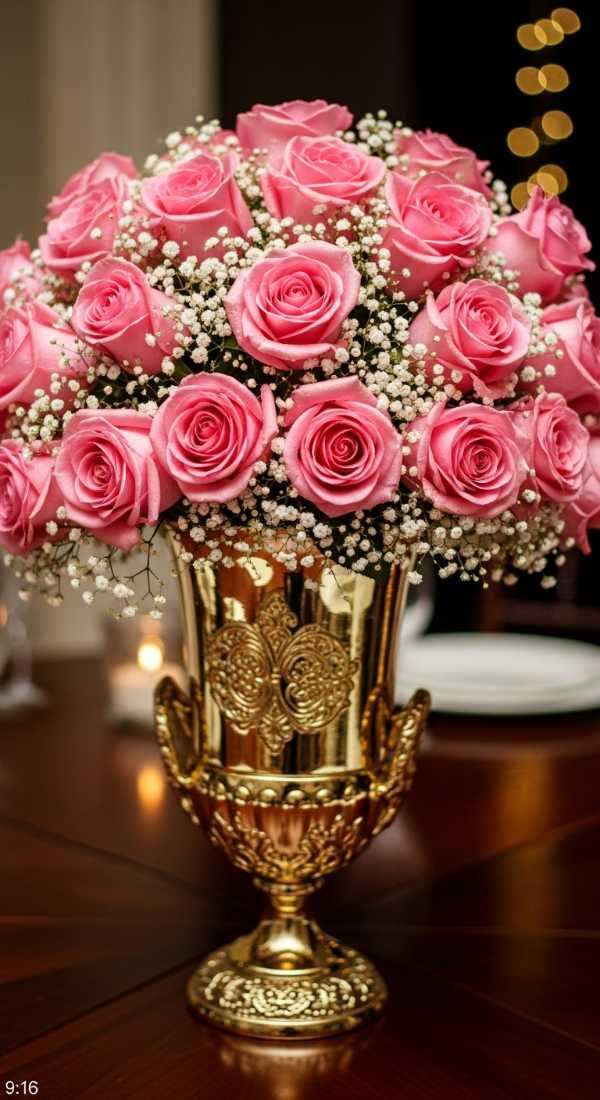
Theme Variations & Table Setting Ideas
- The Enchanted Forest Princess: Incorporate more moss, dark woods, and hanging wisteria for a moody, magical vibe.
- The Minimalist Monarch: Focus on clean white lines, marble accents, and just a few pops of rose gold for a modern, sleek look.
- The Vintage Victorian: Use antique lace runners, mismatched china, and dried roses for a nostalgic, romantic feel.
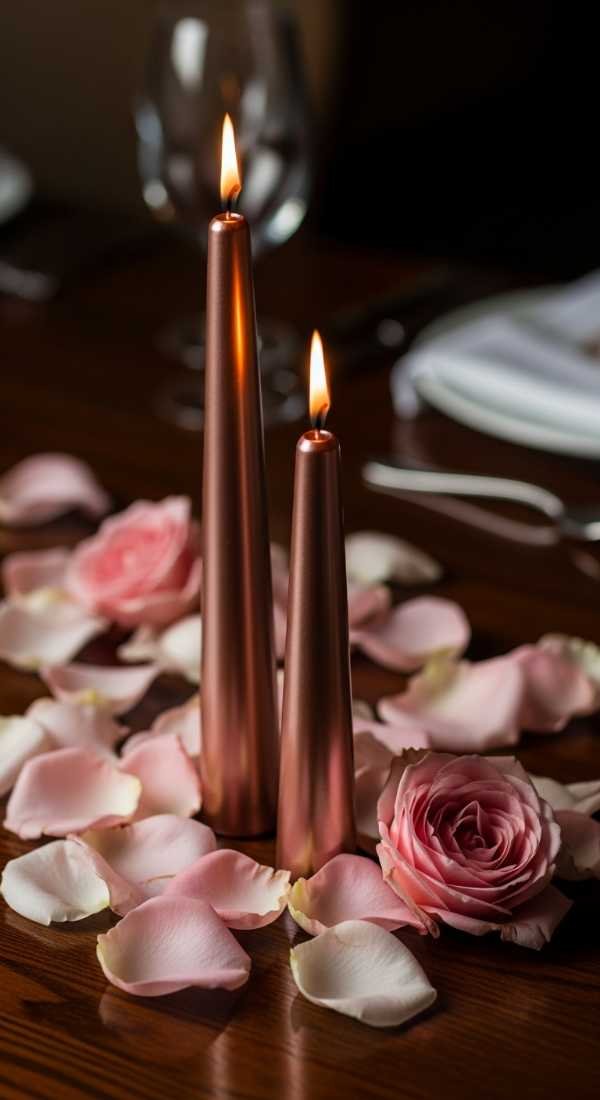
For the table setting, consider using a ‘cascading’ arrangement. Start with a central tall candelabra and let the floral runners spill down to the floor at the ends of the table. Use rose gold cutlery and crystal-cut glassware to catch the light from the flickering candles, creating a shimmering effect that looks stunning in person and on camera.
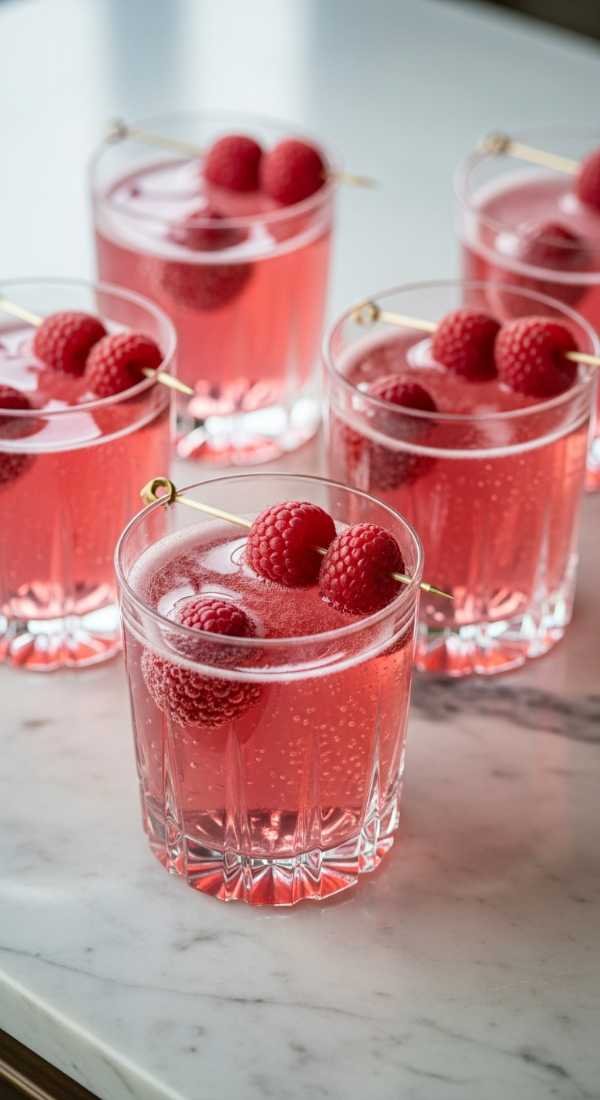
Pre-Party Setup Timeline, Assembly & Teardown
Preparation should begin at least 48 hours before the event. Start by steaming your linens and assembling any dry decor elements like signage or favor boxes. If you are using fresh flowers, pick them up 24 hours in advance and keep them in a cool place. This is also the ideal time to inflate your balloons if you are using hi-float treatment, though I recommend doing the main assembly on-site if possible to avoid transport damage.
On the day of the party, allow at least 4 to 5 hours for the setup. Begin with the ‘heavy lifting’—the backdrop and the table placements. Once the foundation is set, move on to the delicate floral work and the balloon garland. Save the placement of the cake and the lighting of the candles for the final 30 minutes before the guests arrive to ensure everything looks fresh and the atmosphere is perfectly set.
Teardown is often the most overlooked part of planning. Have a clear system for packing away fragile items like glassware and candelabras first. Assign a specific person to handle the balloon removal—popping them can be loud, so try to do this after guests have departed. Having pre-labeled bins for linens, florals, and hardware will make the post-party cleanup much faster and ensure your supplies stay in good condition for your next gala.
Frequently Asked Questions
How can I make the party feel ‘royal’ without looking like a kid’s party?
The key is the color palette and texture. Swap bright pinks for dusty rose, mauve, and metallic gold. Use ‘adult’ fabrics like velvet and silk rather than paper or plastic. Focus on sophisticated lighting like candelabras and fairy lights instead of bright, direct overhead lights.
What is the best way to secure a heavy balloon arch?
Use a sturdy metal backdrop frame as your base. Secure the balloon clusters to the frame using 260Q balloons (the long skinny ones) or high-quality fishing wire. If you are outdoors, ensure you have heavy sandbags to weigh down the base of the stand.
Can I use real flowers for the entire setup?
While real flowers are beautiful, they can be expensive and wilt quickly. I recommend a ‘high-low’ mix: use high-quality silk flowers for the large garlands and backdrop, and supplement with real, fragrant blooms in the small vases or centerpieces where guests will see them up close.
How do I choose the right size for my table linens?
For a formal princess gala, you want ‘puddle’ or ‘floor-length’ linens. Measure the height of your table and the length/width. A standard 6-foot rectangular table requires a 90×132 inch cloth to reach the floor on all sides.
Final Thoughts & Party Checklist
Creating a Royal Core birthday party is all about embracing the magic of the moment and paying attention to the small, luxurious details. When you see the guest of honor’s face light up as they enter a room filled with shimmering rose gold and soft florals, all the hours of steaming linens and tying balloons become worth it. It’s about creating a memory that feels as grand as it looks.
Remember that the best parties are the ones where the host is relaxed. By following a strict timeline and having your supplies organized, you can enjoy the ‘regal’ atmosphere you’ve worked so hard to create. Don’t be afraid to add your own personal flair—after all, every princess (or prince) deserves a kingdom that reflects their unique personality.
Stay inspired, keep experimenting with textures, and always remember that in the world of event styling, more is often more—as long as it’s curated with love and an eye for elegance. Now, let’s get styling and make your next birthday gala a viral sensation!
Aesthetic Princess Birthday Party Setup Guide
A sophisticated, modern take on the royal theme featuring a rose gold and dusty mauve palette with ethereal lighting and floral textures.
Stylist: Professional Event Planner Perspective
Setup Time: 4-6 Hours
Difficulty Level: Intermediate
Ideal Occasion: Birthdays (All Ages), Bridal Showers, Quinceañeras
Estimated Budget: $200 – $500 (DIY Scale)
Key Color Palette: Rose Gold, Champagne, Dusty Rose, Cream
Essentials & Materials
- Backdrop Stand & Sheer Curtains
- Rose Gold Balloon Kit (Multi-size)
- Velvet/Satin Table Linens
- Peony & Eucalyptus Garlands
- Gold Candelabras & LED Candles
- Acrylic Chargers & Custom Name Cards
Setup Instructions
- Assemble the backdrop frame and drape sheer fabrics.
- Build the organic balloon arch and secure it to one side of the frame.
- Place linens on the main table, ensuring a floor-length drop.
- Run the floral garlands down the center of the table.
- Add the table settings: chargers, napkins, and name cards.
- Install fairy lights and lanterns for the final ambient glow.
Decor Specs & Ambience
The lighting style should be warm and diffused, utilizing ‘golden hour’ tones from fairy lights and candles. Focal points include a 7-foot balloon arch and a grand banquette table. The table arrangement follows a symmetrical pattern with varying heights of floral decor. The backdrop features layered textures of tulle and metallic accents to create depth for photography.