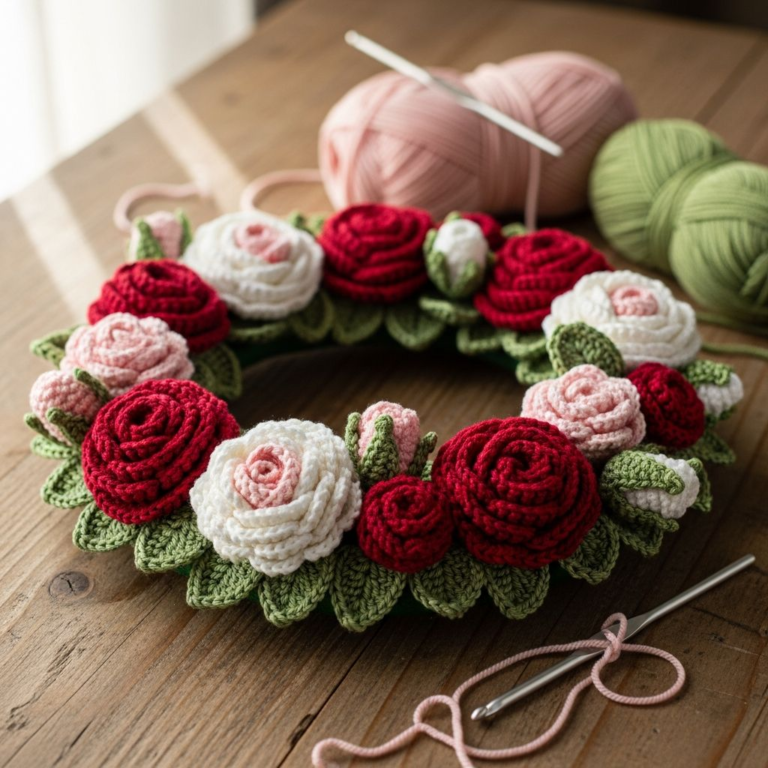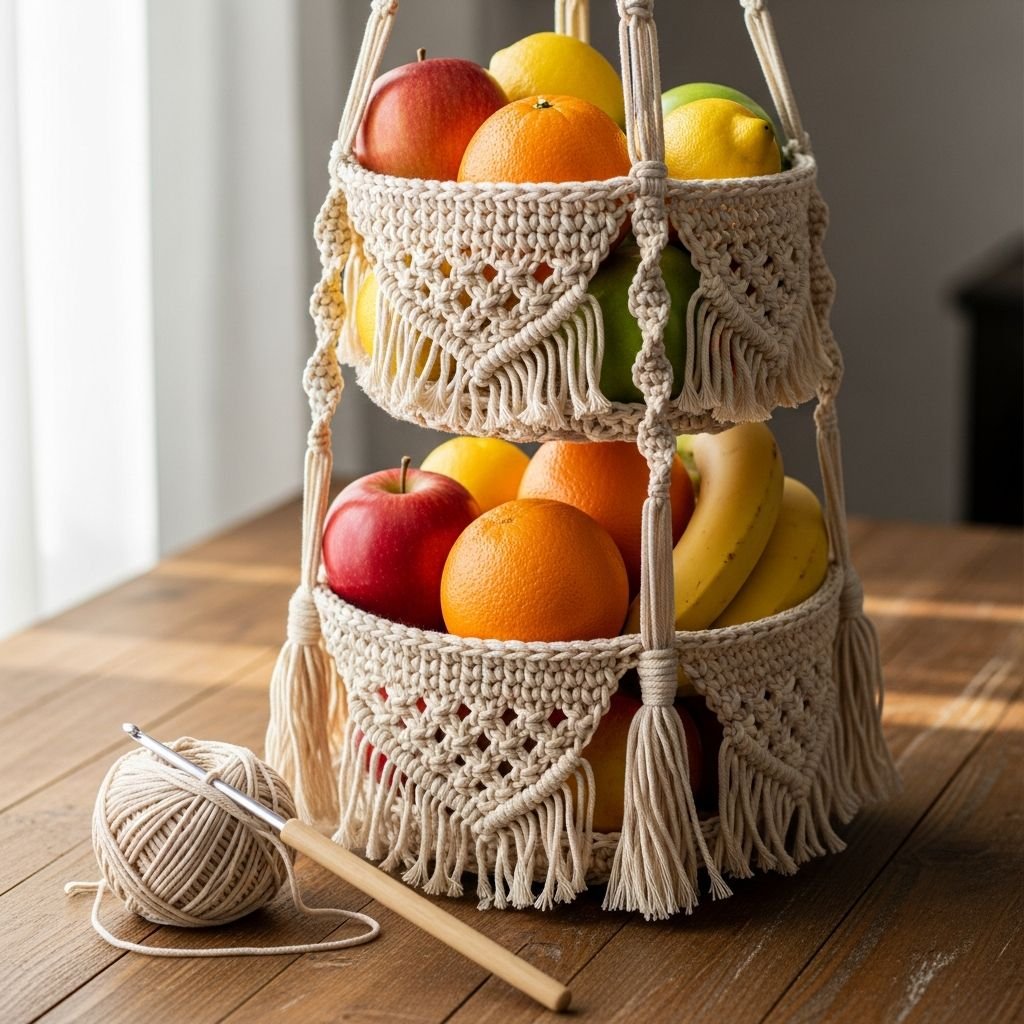
Bohemian 3-Tier Crochet Hanging Fruit Basket-Transform your kitchen storage with this elegant and functional 3-tier hanging fruit basket. Inspired by boho-chic macramé but crafted with the versatility of crochet, this project utilizes sturdy cotton cord to create a breathable mesh design that keeps produce fresh while saving precious counter space. As your Master Crochet Instructor, I will guide you through the process of creating three graduated baskets and securing them for maximum durability.
Materials Needed
- 400m of 4mm Cotton Cord or Bulky T-shirt Yarn
- 8.0mm (L) Crochet Hook
- 3 Metal or Bamboo Hoops (6-inch, 8-inch, and 10-inch diameters)
- Measuring Tape
- Large-eye Tapestry Needle
- Heavy-duty Scissors
Abbreviations
- ch: chain
- sc: single crochet
- dc: double crochet
- sl st: slip stitch
- st(s): stitch(es)
- mr: magic ring
Step 1: The Tassel and Base Foundation

- Begin by creating a large tassel approximately 8 inches long using 20-30 strands of cord, securing the top with a separate tie.
- Create a Magic Ring (MR) directly above the tassel head to start the bottom-most (largest) basket.
- Work 12 single crochet (sc) stitches into the MR and join with a slip stitch to the first sc.
- Pull the ring tight to ensure the tassel is centered and securely attached to the base of your crochet work.
- Check that your tension is firm to prevent the base from sagging under the weight of heavier fruits.
Step 2: Creating the Large Mesh Basket

- Round 2: Chain 4 (counts as 1 dc and ch 1), work 1 dc in the same stitch, then work (dc, ch 1, dc) in each remaining stitch around.
- Round 3: Chain 5, skip the next dc and chain space, sc into the next dc; repeat this mesh pattern around to create large open diamonds.
- Continue increasing the number of chain spaces for 5-6 rounds until the flat circle is slightly wider than your 10-inch hoop.
- Work two final rounds without increases to create the ‘bowl’ depth required to hold larger items like bananas and avocados.
- Maintain a consistent gauge so the mesh remains symmetrical and visually appealing when stretched.
Step 3: Attaching the Structural Hoops

- Place your largest hoop inside the top edge of the crochet mesh bowl.
- Work a round of single crochet stitches directly over the hoop, catching the mesh stitches from the previous row to encase the hoop completely.
- Ensure the stitches are packed tightly together around the hoop so no metal or wood is visible.
- Fasten off and weave in the ends securely using your tapestry needle.
- Repeat this process for the medium and small baskets using the 8-inch and 6-inch hoops respectively, adjusting the round count to fit the smaller circumferences.
Step 4: Crafting the Medium and Small Tiers

- Follow the same mesh pattern used in Step 2, but reduce the starting base rounds to accommodate the smaller hoop sizes.
- For the medium basket, stop increasing once the diameter reaches 7.5 inches before adding the depth rounds.
- For the smallest top basket, stop increasing at 5.5 inches to ensure a snug fit around the 6-inch hoop.
- Check that the depth of the smaller baskets is shallower (approx 3-4 inches) than the bottom basket (approx 5-6 inches) for a balanced look.
- Count your stitches carefully on each tier to ensure the structural supports in the next step will be perfectly aligned.
Step 5: Constructing Vertical Support Straps

- Cut three lengths of cord, each approximately 4 feet long, to serve as the vertical supports that connect the tiers.
- Attach the first cord to the bottom hoop using a lark’s head knot or a series of tight slip stitches.
- Measure 12 inches up the cord and secure it to the middle hoop, ensuring it is perfectly vertical.
- Continue to the top hoop, leaving another 10-12 inches of space between the middle and top tiers.
- Repeat this for the other two cords, spacing them exactly 120 degrees apart around the circumference of the hoops.
Step 6: Strengthening the Support Braids

- To ensure the basket doesn’t stretch over time, work a row of slip stitches or a ‘chain wrap’ around the vertical support cords.
- Alternatively, you can crochet a 4-stitch wide i-cord to replace the single cords for a more heavy-duty industrial look.
- Check the level of each tier by hanging the assembly from a temporary hook to make sure it doesn’t tilt to one side.
- Apply extra knots or decorative ‘DNA’ twists (half-square knots) around the cords between the baskets for added aesthetic flair.
- Tighten all connections to ensure the weight of the fruit will be distributed evenly across all three support pillars.
Step 7: Final Assembly and Hanging Loop

- Gather the three support cords at the very top, approximately 15 inches above the smallest basket.
- Tie them together in a secure overhand knot, then crochet a thick ring of 15 sc stitches around the gathered cords to create a hanging loop.
- Reinforce the loop by working a second round of sc stitches over the first round (crab stitch or reverse sc works well here).
- Trim any excess cord and use the tapestry needle to hide the tail ends inside the crochet stitches.
- Give the entire structure a firm tug to set the knots and ensure the tiers are level before adding your fruit.
Frequently Asked Questions
Q: How much weight can this crochet basket realistically hold?
A: When using 4mm cotton cord and reinforced hoops, the basket can safely hold between 8-12 lbs of produce. Distribute the heaviest items (like citrus or apples) in the bottom tier and lighter items (like garlic or bananas) in the upper tiers.
Q: Will the cotton cord stretch out over time?
A: Cotton has minimal stretch compared to acrylic, but some ‘settling’ is normal. By crocheting over solid hoops and adding reinforced vertical straps as described in Step 6, you significantly reduce the risk of the baskets sagging.
Q: How do I clean the basket if fruit juice or dirt gets on it?
A: If you used 100% cotton cord, you can spot clean with mild soap and water. For a deep clean, hand wash in a basin of cool water and air dry flat or hanging. Avoid machine washing to prevent the hoops from warping or the cord from fraying.
Conclusion
Congratulations on completing your Professional Hanging Fruit Basket! This project is a wonderful example of how crochet can be both beautiful and incredibly practical. By mastering the mesh stitch and structural reinforcement, you’ve created a piece that will serve your home for years to come. Fill it with vibrant oranges, limes, and bananas to bring a pop of natural color into your kitchen space. Happy making!