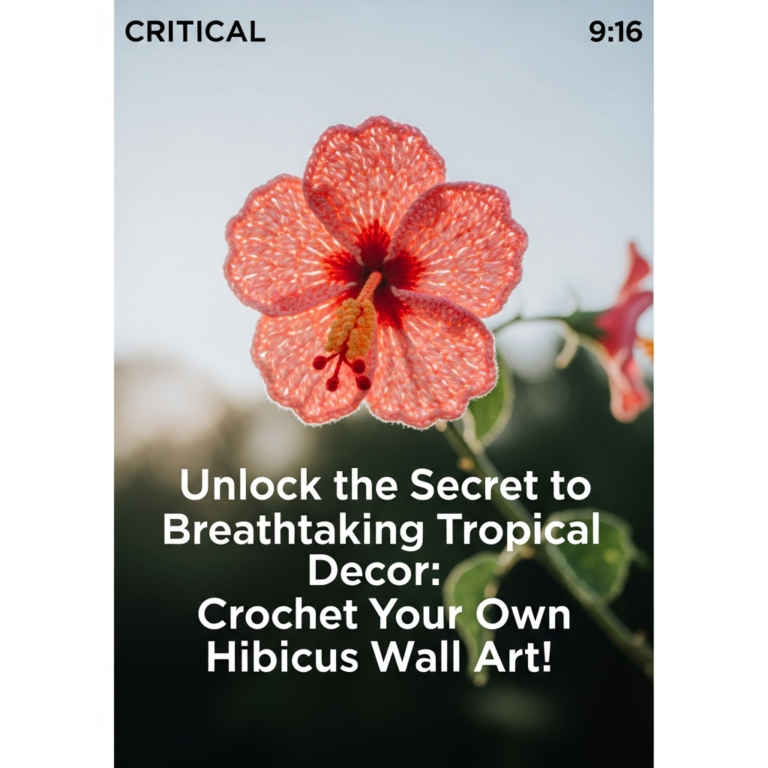
Ethereal Garden: Hand-Crocheted Floral Garland Curtain-Bring the eternal beauty of a blooming meadow into your home with this exquisite floral garland curtain. As a Master Crochet Instructor, I have designed this pattern to showcase a variety of textures—from layered 3D roses to delicate daisies—strung together on organic vertical vines. This project is perfect for those looking to master dimensional crochet while creating a functional piece of fiber art that filters light into soft, botanical shadows.
Materials Needed
- Mercerized cotton yarn (Size 3 or 4) in pastel pink, lavender, lilac, cream, and sage green
- 3.0mm crochet hook (Size C or D)
- Tapestry needle for weaving in ends
- Sharp embroidery scissors
- Wooden dowel or tension rod (for mounting)
- Measuring tape
Abbreviations
- ch: chain
- sc: single crochet
- hdc: half double crochet
- dc: double crochet
- tr: treble crochet
- sl st: slip stitch
- mr: magic ring
- st(s): stitch(es)
Step 1: Creating the Flower Hearts

- Begin by creating a Magic Ring (MR) using a contrasting center color like soft yellow or cream to represent the pollen center.
- Work 6 single crochet (sc) stitches into the ring, then pull the tail tight to close the center hole completely.
- Slip stitch to the first sc to join the round, then fasten off leaving a 4-inch tail for later assembly.
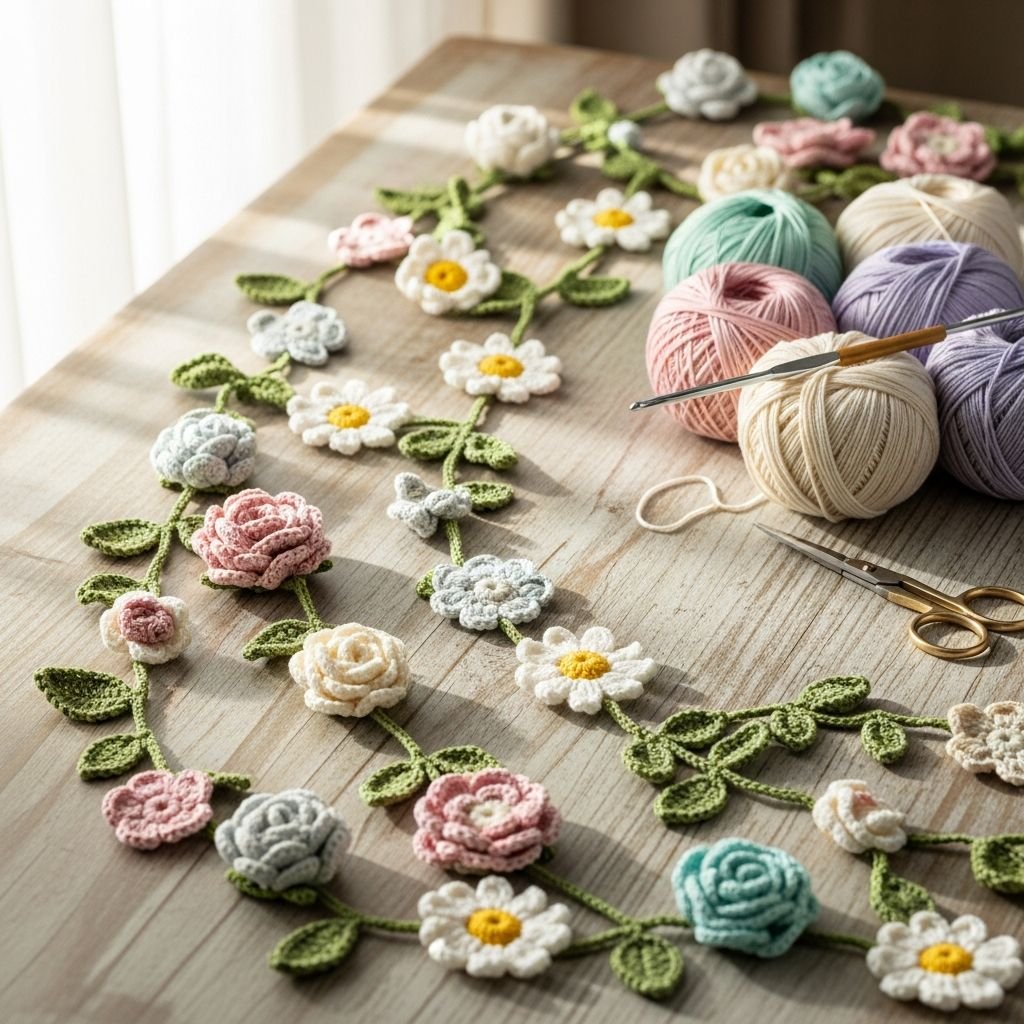
- Repeat this process to create approximately 40-60 centers, varying the colors to match the diverse garden aesthetic shown in the image.
Step 2: Crafting Multi-Layered 3D Petals

- Join your petal color yarn to any front loop of the center ring and chain 3 (counts as first dc).
- Work a sequence of (dc, tr, dc, ch 2, sl st) into each stitch around to create the first layer of small petals.
- To add dimension, work into the back loops of the center ring: (ch 4, 3 tr, ch 4, sl st) in each stitch to create a larger outer layer of petals.
- For the ‘Rose’ style flowers, work in a continuous spiral, increasing the height of the stitches from sc to tr to create a ruffled, overlapping effect.
- Fasten off and weave in the petal ends, but keep the center tails if you plan to tie them directly to the vine.
Step 3: Sculpting the Accent Buds and Berries

- Create the small spherical ‘buds’ seen between the flowers by working a 4-dc cluster (bobble stitch) into a magic ring.
- Alternatively, work 6 sc into a MR, then work one round of 6 sc, and finally a round of sc2tog (decrease) to create a small stuffed ball.
- Switch to sage green yarn to create the ‘sepal’ at the base of the bud by chaining 3 and slip stitching back into the base of the sphere.
- Make a variety of these in pink, white, and blue to act as spacers that prevent the larger flowers from tangling.
Step 4: Crocheting the Organic Vines

- Using the sage green yarn, create a foundation chain the length of your window plus an extra 10 inches for hanging loops and fringe.
- Work a row of slip stitches back down the chain to reinforce the vine, occasionally chaining 5 and working (sc, hdc, dc, hdc, sc) back down those 5 chains to create integrated leaves.
- Ensure the ‘vine’ is strong enough to support the weight of multiple flowers without stretching excessively over time.
- Prepare 10 to 15 of these vertical vines depending on the width of the window you wish to cover.
Step 5: Vertical Assembly and Composition

- Lay your green vines flat on a clean surface and arrange your flowers and buds along the length to ensure a balanced distribution of color.
- Using a tapestry needle and the yarn tails from the flowers, sew each bloom securely onto the green vine at 4-6 inch intervals.
- Stagger the placement of flowers on adjacent vines so that they do not all line up horizontally; this creates a more natural, ‘climbing’ appearance.
- Double-knot the yarn on the back of the vine and weave the ends through the body of the flower to hide them completely.
Step 6: Mounting and Tensioning

- Slide the top loop of each vine onto your tension rod or wooden dowel, ensuring even spacing (typically 2-3 inches apart).
- If the vines appear curled, use a hand steamer to lightly block the cotton yarn, allowing the weight of the flowers to pull the vines straight.
- Adjust the height of individual flowers by sliding them slightly up or down if your attachment method allows, or add small crochet ‘tendrils’ at the bottom for extra length.
- Step back and view the curtain against the light to ensure there are no large gaps, adding extra buds or leaves where necessary.
Frequently Asked Questions
Q: How do I prevent the vertical garlands from tangling when the window is open?
A: To minimize tangling, you can add a small glass bead or a slightly heavier crochet ‘berry’ at the very bottom of each strand to act as a weight. This keeps the vines hanging straight even in a light breeze.
Q: What is the best way to clean this crochet curtain?
A: Because of the delicate 3D elements, hand washing is highly recommended. Submerge the curtain in cool water with a gentle wool wash, rinse without wringing, and lay flat on towels to air dry. Do not hang it while wet, as the weight of the water will stretch the vines.
Q: Can I use acrylic yarn instead of cotton?
A: While you can use acrylic, mercerized cotton is preferred for this project. Cotton has less ‘stretch’ over time, meaning your curtain won’t grow longer and hit the floor, and it provides the crisp stitch definition needed for the intricate petal shapes.
Conclusion
Congratulations on completing your Ethereal Garden Curtain! This project is a labor of love that transforms a simple room into a sanctuary. By mixing different floral patterns and organic vine elements, you’ve created a unique piece of home decor that captures the essence of springtime year-round. Happy crocheting!