The Ultimate Guide to Brewing a DIY Potion Bar at Your Next Wizarding Event
There is something inherently nostalgic and electric about the world of witchcraft and wizardry. I remember the first time I tried to ‘brew’ a potion in my backyard using mud and flower petals, dreaming of a secret school hidden behind a brick wall. As an event stylist, that childhood wonder is exactly what I strive to recreate for my clients. A Magical Wizarding World Party isn’t just about the props; it’s about the atmosphere—the smell of old parchment, the flicker of candlelight, and the mystery of a bubbling cauldron.
The centerpiece of any truly immersive magical event is the Potion Bar. It’s more than just a drink station; it’s an interactive experience where guests become part of the story. Whether you are hosting a milestone birthday, a themed bridal shower, or a movie marathon night, a well-executed DIY Potion Bar transforms a standard room into a mystical apothecary. Today, I’m pulling back the velvet curtain to show you exactly how to style a setup that would make any headmaster proud.
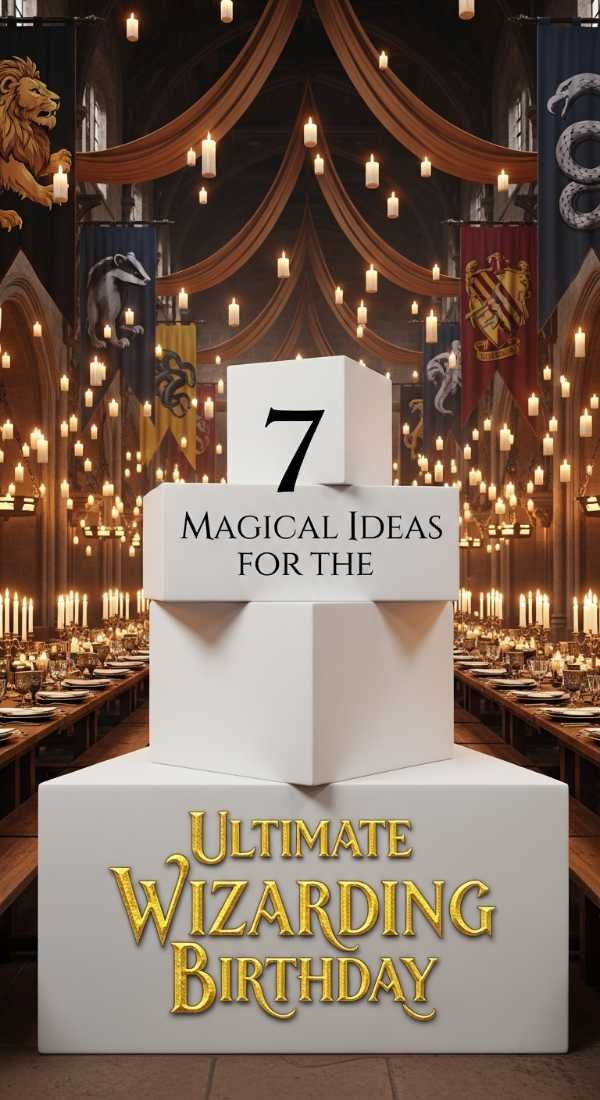
Why You’ll Love This Party Decor Theme
- Total Immersion: It transports guests out of the everyday world and into a cinematic fantasy setting.
- Interactive Elements: Guests love the ‘chemistry’ of mixing their own drinks and seeing reactions (like dry ice or edible shimmer).
- Highly Customizable: You can lean into a ‘Dark Arts’ vibe with deep purples and blacks or a ‘Herbology’ vibe with greenery and wood tones.
- Budget-Friendly DIY: Many of the best props can be found at thrift stores or created with simple printable labels and glass jars.
- Timeless Appeal: From kids to adults, the wizarding world remains a fan favorite across generations.
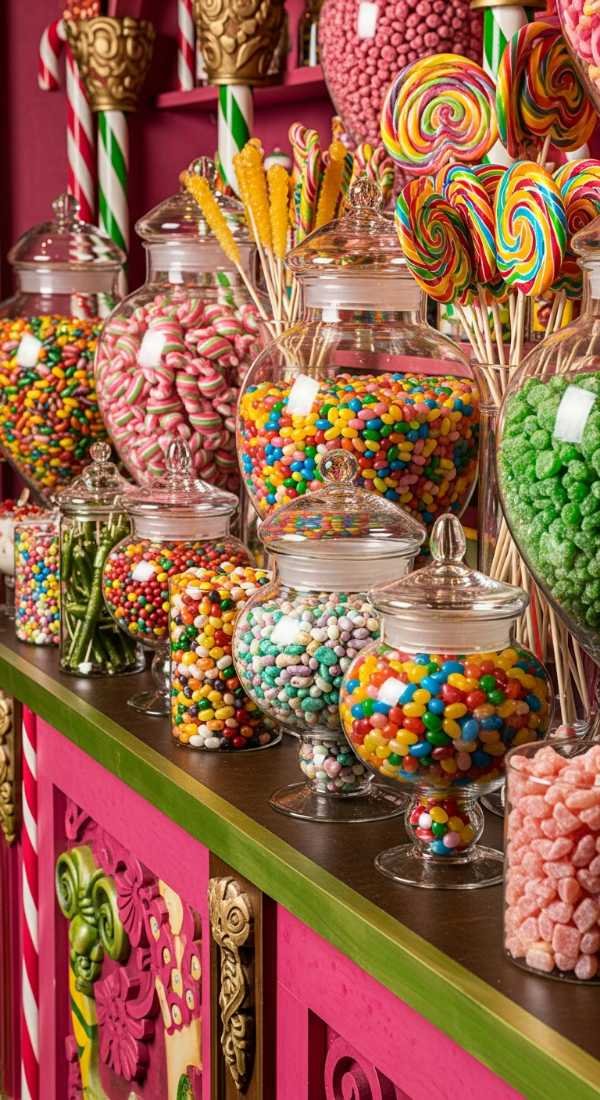
Essential Decor Items & Supplies Needed
- Assorted Glassware: Apothecary jars, vintage decanters, beakers, and mismatched crystal glasses.
- Backdrop Elements: A distressed wood wall, dark velvet curtains, or a stone-patterned vinyl backdrop.
- Lighting: Battery-operated taper candles (floating if possible!), fairy lights, and color-changing LED pucks for under-bottle lighting.
- Table Linens: Crinkled velvet, faux leather runners, or cheesecloth dyed in dark tones.
- Florals & Greenery: Dried eucalyptus, ‘mandrakes’ (potted roots), and dark moss.
- Thematic Props: Old leather-bound books, quills, ink pots, crystal balls, and brass scales.
- Signage: Custom ‘Potions Class’ signs and ingredient labels (e.g., ‘Dragon Blood’, ‘Gillyweed’).
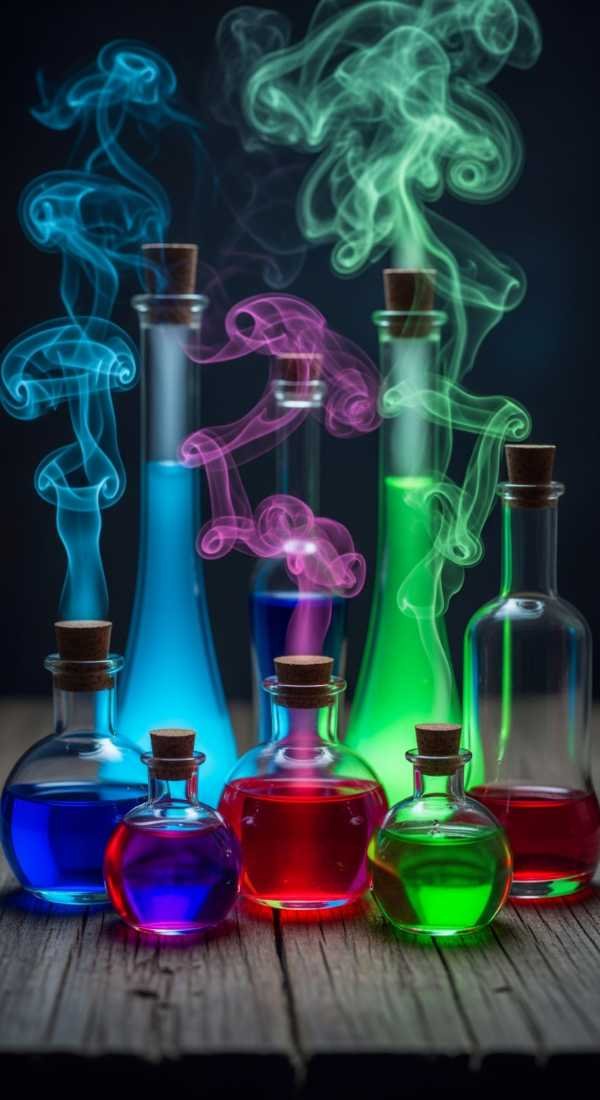
The secret to a professional-looking Potion Bar lies in the color scheme and texture layering. I recommend sticking to a base of ‘Old World’ neutrals—think charred wood, aged parchment, and blackened iron. To this, add your ‘magical’ accents. Deep emerald greens, rich burgundy, and royal purples create a moody, academic feel, while metallic accents in tarnished gold or bronze provide that necessary touch of sparkle.
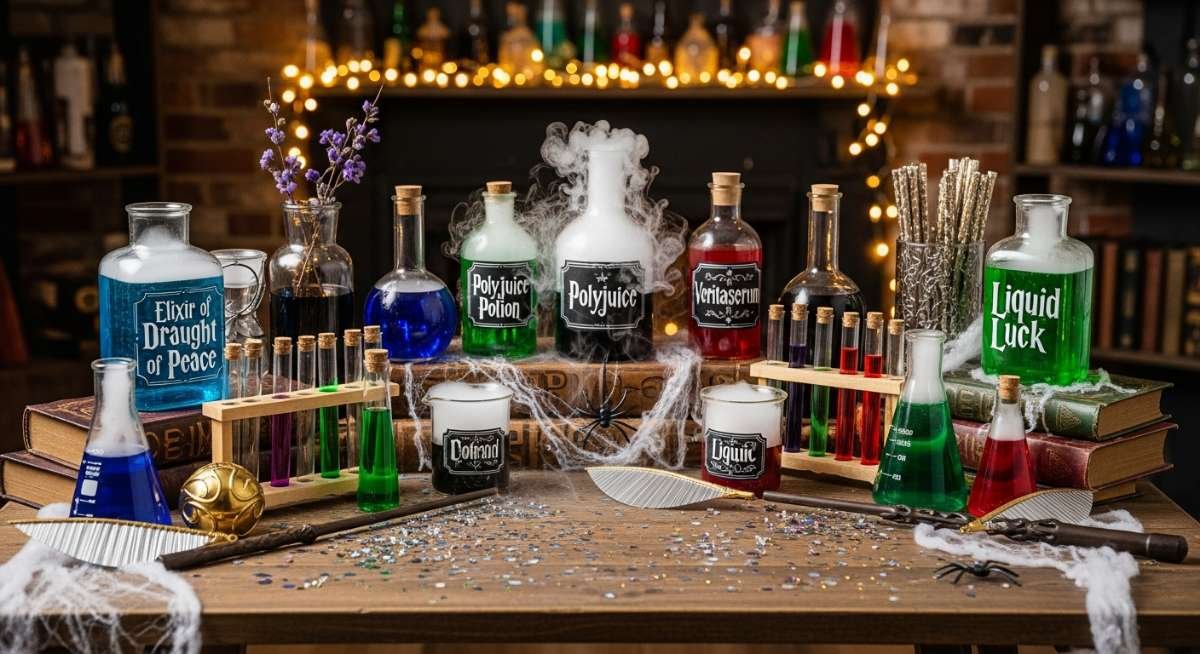
Lighting is your best friend when it came to focal points. Use varying heights to draw the eye across the display. Place your tallest decanters in the center or back-corners, and use ‘spell books’ as risers to elevate smaller jars. The glow is essential; hide fairy lights inside empty bottles or under moss to give the impression that the ingredients themselves are glowing with magical energy.
Step-by-Step DIY Setup Guide
- Define your workspace by laying down a base layer of textured fabric. Start with a dark tablecloth and layer a tattered cheesecloth or a velvet runner over the top to create depth and ‘age’.
- Position your largest focal points first to establish the layout. Place your main punch bowl or ‘cauldron’ in the center and use wooden crates or stacks of books on either side to create different levels for glassware.
- Affix custom labels to your bottles and jars before filling. Use a light adhesive so you can reuse the bottles later, and ensure the labels look slightly weathered by lightly dabbing them with a wet tea bag.
- Arrange your ‘ingredients’ from back to front. Place larger bottles filled with colored liquids (using juice or food coloring) in the rear and smaller vials of ‘add-ins’ (like edible glitter or sprinkles) in the front for easy access.
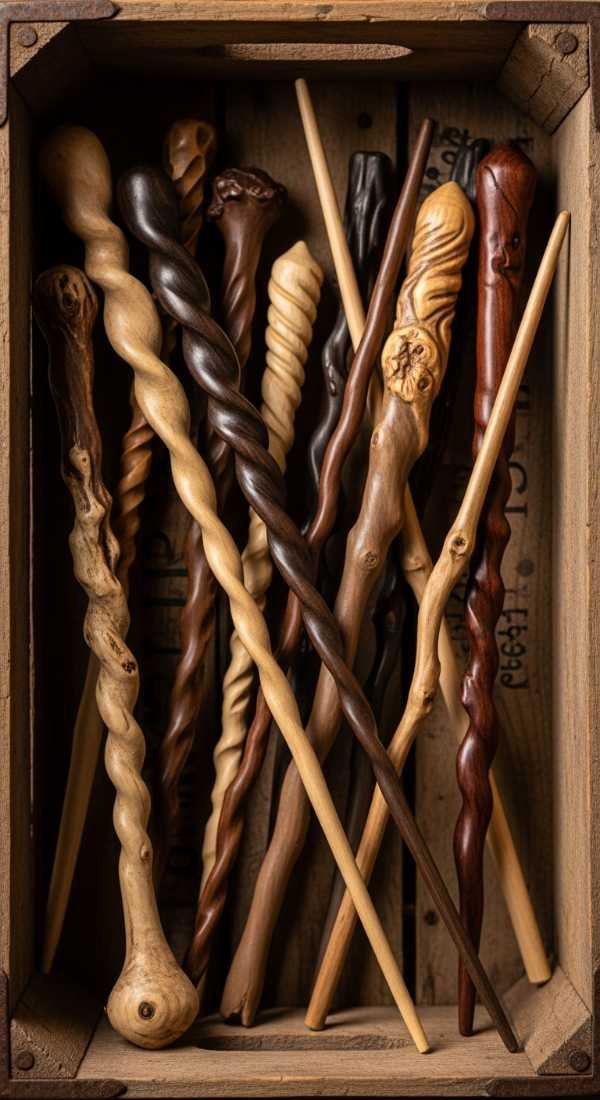
- Integrate greenery and props to fill any ‘dead’ space. Tuck moss between the jars and place a few ‘wand’ stir sticks in a tall vase to round out the apothecary aesthetic.
- Activate the lighting and special effects just before guests arrive. Turn on all candles and, if using dry ice for a ‘smoking’ effect, add small chips to the main cauldron at the very last second.
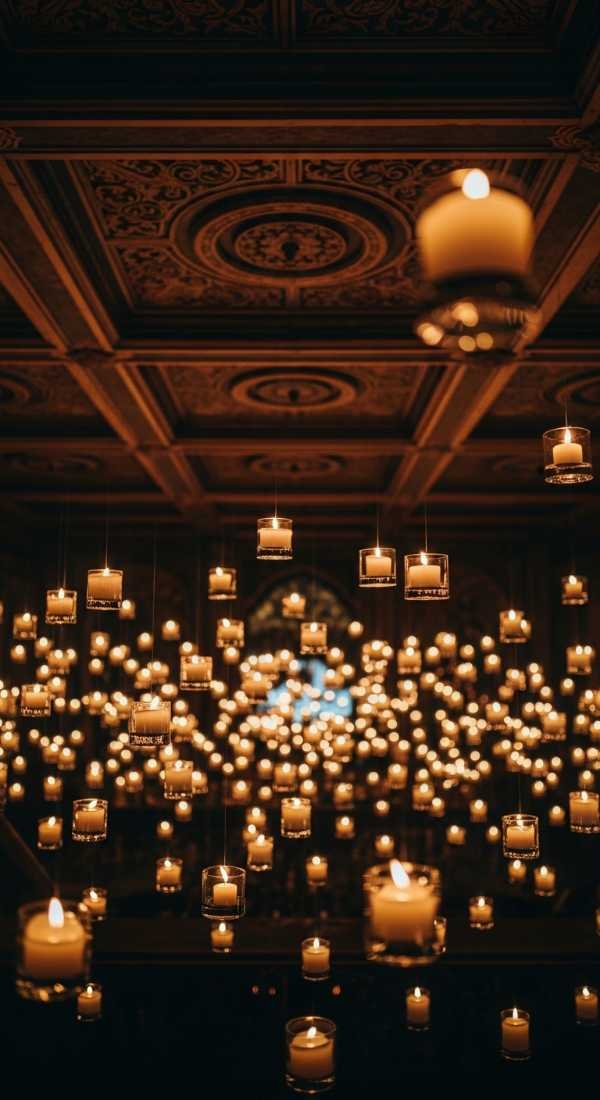
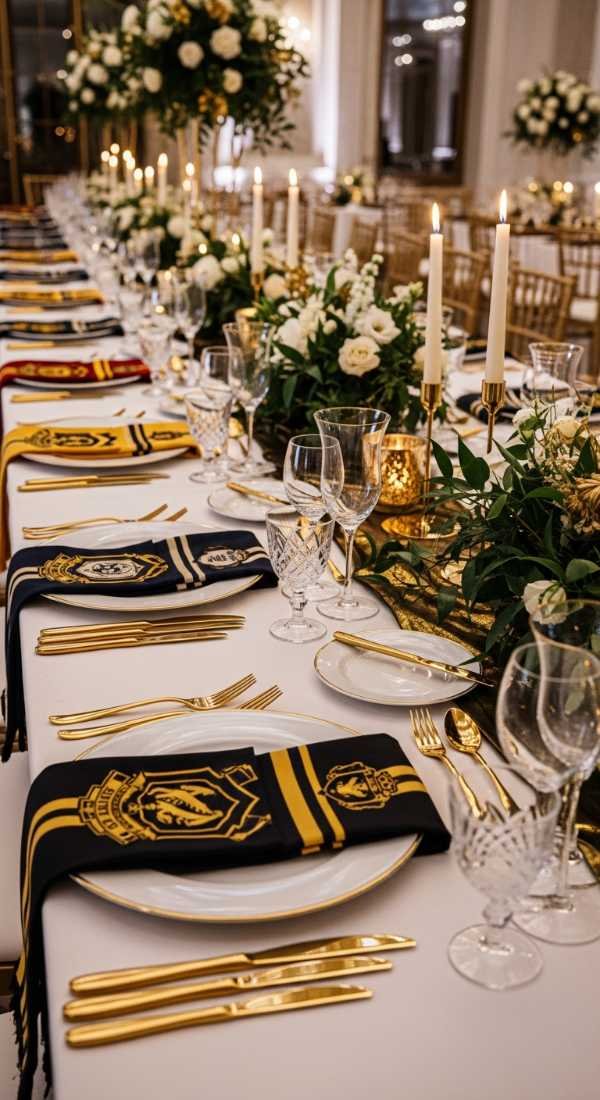
Pro Styling Tips for Magical Wizarding World Party
- Vary your heights to keep the eye moving and make the table look lush and overfilled.
- Use ‘aged’ parchment paper for menus and ingredient lists to enhance the historical feel of the apothecary.
- Incorporate edible shimmer dust into the clear liquids to give them a swirling, magical ‘potion’ appearance when stirred.
- Add a scent element like cinnamon, cedarwood, or lavender to engage more senses than just sight and taste.
- Create a ‘Brewing Instructions’ card so guests know which ‘ingredients’ to mix for specific ‘spells’ or flavors.
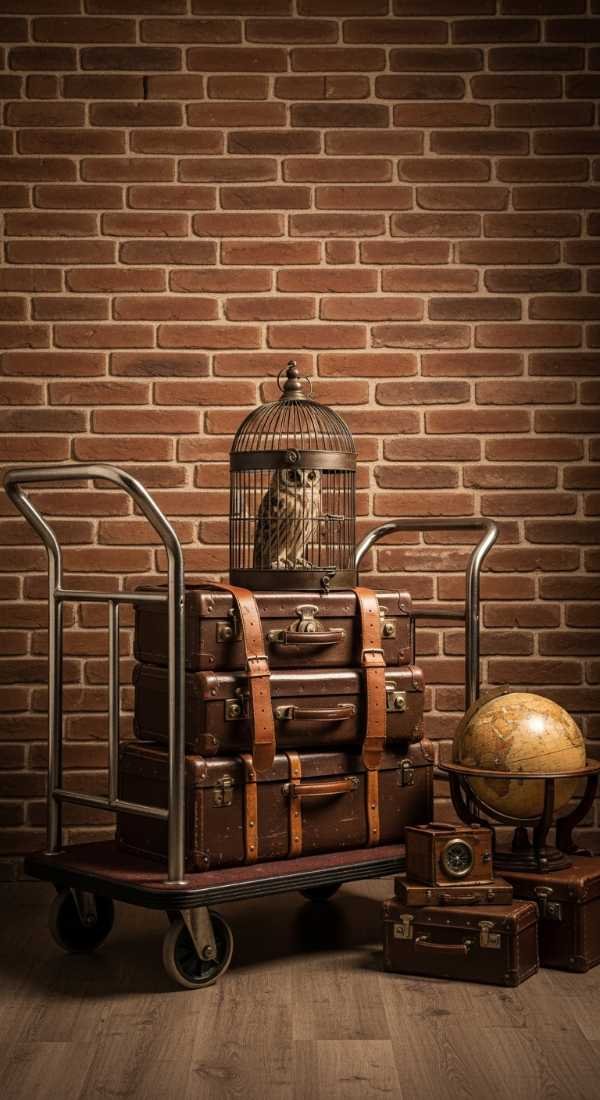
Theme Variations & Table Setting Ideas
- The Forbidden Forest: Lean heavily into moss, tangled vines, and bark textures with ‘unicorn hair’ (white cotton candy) accents.
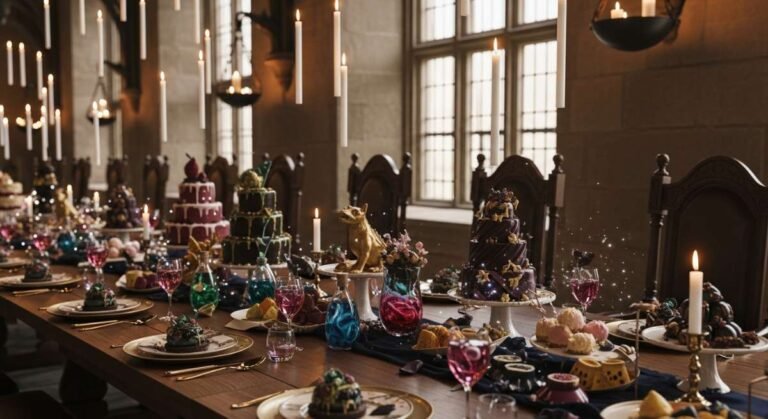
- The Great Hall Feast: Focus on floating candles, long wooden tables, and gold-rimmed plates for a more formal, celebratory vibe.
- Dark Arts & Divination: Use lots of crystal balls, tea leaves, black velvet, and deep violet lighting for a moodier, mysterious setup.
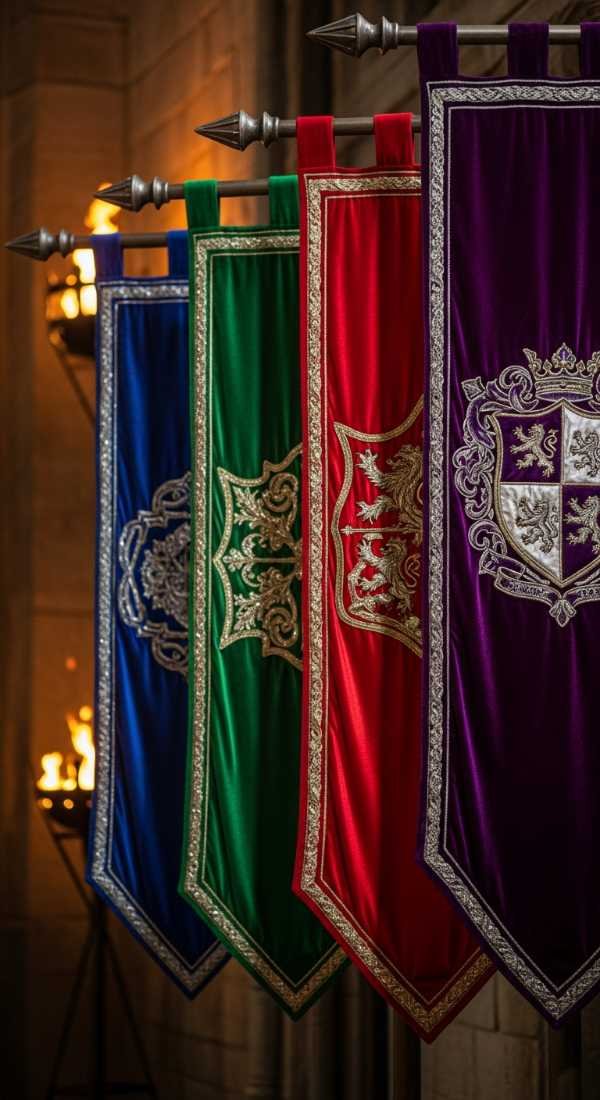
- Common Room Cozy: Incorporate house colors (scarlet/gold, etc.), comfy pillows, and ‘butter’ flavored treats.
For the ultimate backdrop arrangement, consider hanging old keys from the ceiling with invisible fishing line or creating a ‘floating’ book installation. If your Potion Bar is against a wall, a simple brick-patterned paper or a tapestry featuring a medieval map can instantly ground the theme. Keep the lighting low—shadows are your friend when you’re trying to build mystery!
Pre-Party Setup Timeline, Assembly & Teardown
Preparation should begin at least a week in advance. This is the time to source your vintage glassware from thrift shops and print your apothecary labels. Don’t worry about matching sets; the more eclectic the glassware, the more authentic the ‘potion shop’ looks. Three days before the event, wash all glassware and apply your labels. If you are making ‘aged’ paper, do it now so it has time to dry completely without curling.
The day before the party, set up your furniture, linens, and all non-perishable props. This ‘dry run’ allows you to see if you need more height or filler items like moss or extra books. Mix any juice-based potions and store them in the fridge in sealed containers. On the day of the event, simply pour the liquids into their respective decanters, add your ice or dry ice, and light your candles thirty minutes before the first guest is scheduled to walk through the door.
Teardown is surprisingly simple if you plan ahead. Keep the original boxes for your glassware to prevent breakage. Have a designated ‘wash station’ for the bottles, especially if you used sugary syrups or shimmer dust. The labels can usually be soaked off in warm soapy water, leaving your vintage finds ready for your next creative project!

Frequently Asked Questions
Is dry ice safe to use in drinks?
Dry ice is safe to use for a smoking effect as long as it does not come into direct contact with the skin and is NOT swallowed. It should only be handled with tongs and placed in a container where it can sublimate safely without being consumed by guests.
How can I make the potions look ‘magical’ without using chemicals?
Edible luster dust is your best friend! A tiny pinch in a drink creates a swirling, pearlescent effect. You can also use natural color changers like butterfly pea flower tea, which turns from blue to purple when you add lemon juice (acid).
Where do I find cheap apothecary-style bottles?
Check local thrift stores, antique malls, and even the dollar store. Many modern vinegar or oil bottles have great shapes—just remove the labels. You can also buy ‘swing top’ bottles in bulk online.
Can this theme work for an outdoor party?
Absolutely! An outdoor wizarding party feels like the Forbidden Forest. Use battery-operated candles for safety against wind, and hang lanterns from tree branches to create a magical canopy.
Final Thoughts & Party Checklist
Creating a Magical Wizarding World Party is a labor of love that pays off the moment you see your guests’ eyes light up. It’s a theme that rewards attention to detail—the more ‘hidden’ elements you include, like a rogue spider on the moss or a secret message in invisible ink, the more memorable the experience becomes. Remember that the goal isn’t perfection; it’s about creating a sense of story and escape.
As you plan, don’t forget to curate a playlist of atmospheric fantasy music or movie scores to play softly in the background. It bridges the gap between the visual decor and the overall mood. If you’re feeling overwhelmed, start with the Potion Bar as your main ‘moment’ and let the rest of the decor be simple and understated. A few well-placed props are often more effective than a room full of clutter.
Before you start brewing, double-check your checklist: glassware cleaned, labels applied, lighting batteries tested, and ingredients prepped. With these steps, you are well on your way to hosting an event that will be talked about in common rooms for years to come. Happy brewing, and may your party be truly enchanting!
Magical Wizarding World Party Setup Guide
A comprehensive blueprint for styling a high-end, immersive apothecary and potions station for any fantasy-themed gathering.
Stylist: Professional Event Planner Style | Setup Time: 2-3 Hours | Difficulty Level: Intermediate | Ideal Occasion: Birthdays, Halloween, Movie Premieres | Estimated Budget: $100-$250 | Key Color Palette: Emerald, Plum, Aged Gold, Charcoal
Essentials & Materials
- Variety of glass bottles, vials, and decanters
- Textured linens (Velvet and Cheesecloth)
- LED taper candles and fairy lights
- Custom weathered apothecary labels
- Props: Old books, cauldrons, quills, and moss
- Edible luster dust and colorful beverage bases
Setup Instructions
- Foundation: Drape the table with dark velvet and layer with distressed cheesecloth.
- Elevation: Use vintage books and wooden crates to create 3-4 different height levels.
- Labeling: Apply ‘Potion’ labels to all glassware and fill with colorful beverages.
- Detailing: Fill gaps with moss, dried botanicals, and thematic props like wands.
- Atmosphere: Place LED candles and hidden fairy lights to create a warm, mysterious glow.
Decor Specs & Ambience
The lighting style should be low and warm, mimicking a candlelit dungeon. The main focal point is the large ‘cauldron’ punch bowl, ideally placed on a central riser. Arrange the table in a ‘U’ shape or tiered rows to maximize visibility. The backdrop should be dark and textured (wood or stone) to make the glassware ‘pop’. Ensure the scent of cedar or spice is present to complete the sensory immersion.