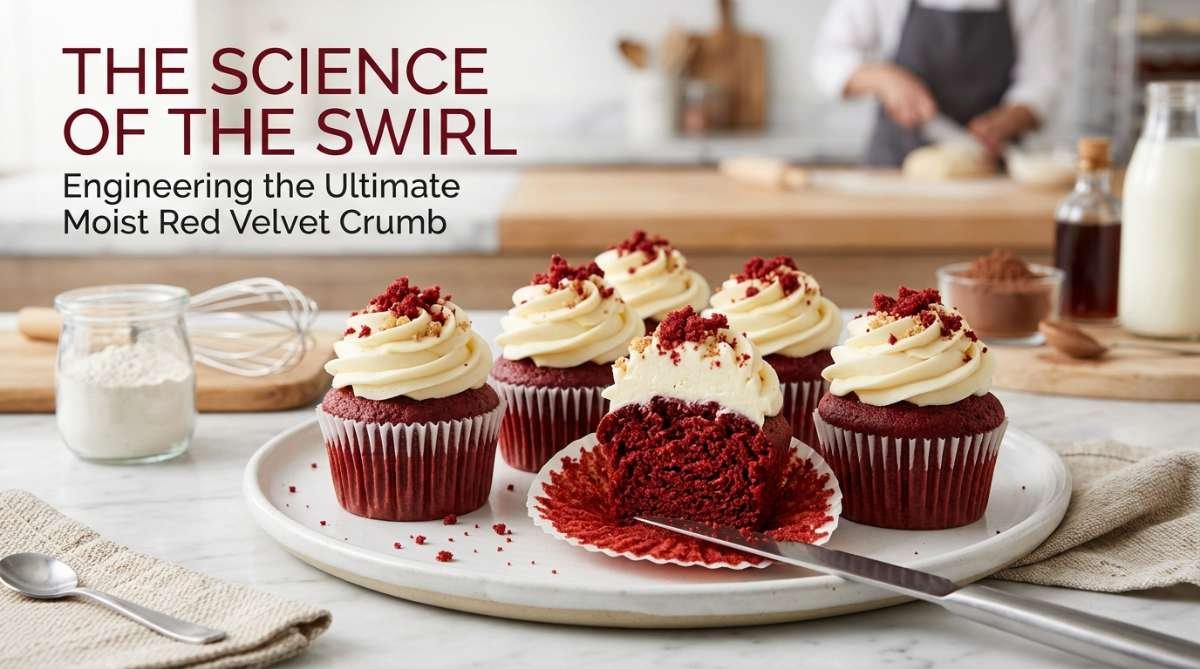
There is something inherently celebratory about red velvet. For years, I struggled to find the ‘perfect’ recipe; most were either too dry, resembling a colored sponge, or too oily, lacking that signature velvety texture. My obsession began at a small bakery in Savannah, where I had a cupcake so tender it practically melted. I spent months in my kitchen, acting like a mad scientist with buttermilk and vinegar, until I finally cracked the code to what I call ‘The Ultimate Moist Red Velvet Crumb.’
This recipe isn’t just about the striking crimson hue; it’s about the chemistry between the cocoa and the acid. It’s that subtle tang paired with a rich, buttery finish that sets a gourmet cupcake apart from a boxed mix. Whether you are baking for a birthday, a holiday, or just a Tuesday treat, these cupcakes are designed to impress even the toughest dessert critics.
Why You’ll Love This Recipe
- Superior Texture: The combination of buttermilk and vinegar creates a chemical reaction that ensures a tender, velvet-like crumb.
- Gourmet Flavor: We use a touch of high-quality cocoa powder for a deep, complex flavor profile that isn’t just ‘sweet.’
- Show-Stopping Looks: The vibrant red color paired with a high-swirl cream cheese frosting makes these bakery-quality.
- Foolproof Method: My step-by-step instructions take the guesswork out of the ‘science’ of baking.
Ingredients
- 2 ½ cups All-purpose flour
- 1 ½ cups Granulated sugar
- 1 tsp Baking soda
- 1 tsp Salt
- 1 tsp Cocoa powder (unsweetened)
- 1 ½ cups Vegetable oil
- 1 cup Buttermilk (room temperature)
- 2 Large eggs (room temperature)
- 2 tbsp Red food coloring (gel preferred)
- 1 tsp White distilled vinegar
- 1 tsp Vanilla extract
The secret to the perfect red velvet lies in the buttermilk and the vinegar. These two acidic ingredients work together to activate the baking soda, providing a significant lift and a tender crumb. Unlike a standard chocolate cake, red velvet only uses a hint of cocoa powder, which reacts with the acid to bring out those iconic reddish tones naturally, though we enhance it for that ‘wow’ factor.
Always ensure your eggs and buttermilk are at room temperature. Cold ingredients don’t emulsify properly, which can lead to a dense, heavy cupcake. Using a neutral vegetable oil instead of butter ensures that these cupcakes stay moist even after being refrigerated—a common necessity when working with cream cheese frosting.
Step-by-Step Instructions
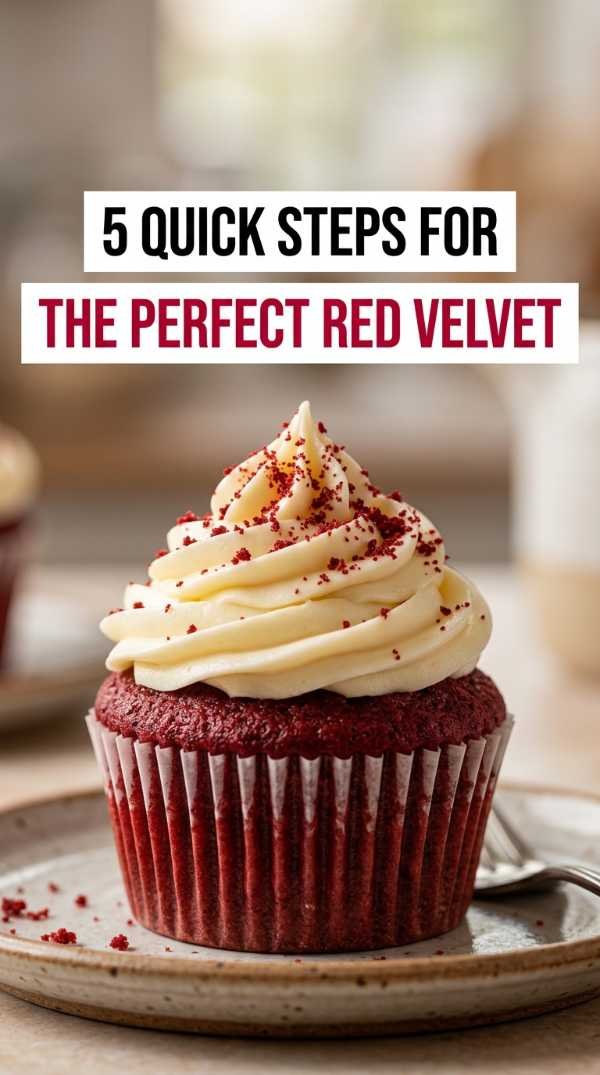
- Preheat your oven to 350°F (175°C) and line two standard muffin tins with paper liners. This ensures the oven is at a stable temperature before the cupcakes go in.
- Whisk together the dry ingredients in a medium bowl. Combine the flour, sugar, baking soda, salt, and cocoa powder until well-incorporated.
- Mix the wet ingredients in a separate large bowl. Beat the oil, buttermilk, eggs, food coloring, vinegar, and vanilla until the mixture is smooth and the color is uniform.
- Gradually fold the dry ingredients into the wet mixture. Use a spatula or a whisk to combine until just smooth, being careful not to overmix the batter.
- Fill each cupcake liner about two-thirds of the way full. This allows enough room for the cupcakes to rise without overflowing.
- Bake for 18-22 minutes or until a toothpick inserted into the center comes out clean. Allow the cupcakes to cool in the pan for 5 minutes before transferring them to a wire rack to cool completely.
Pro Tips for the Best Gourmet Red Velvet Cupcakes
- Use Gel Food Coloring: This provides a more intense color without thinning out your batter like liquid drops do.
- Don’t Overmix: Stop mixing as soon as the dry streaks disappear to prevent a tough, bready texture.
- Sift Your Cocoa: Cocoa powder tends to clump; sifting ensures a smooth batter and even flavor distribution.
- Check for Doneness Early: Every oven is different, so start checking at the 18-minute mark to avoid drying them out.
Variations & Serving Ideas
- Chocolate Chip Red Velvet: Fold in half a cup of mini semi-sweet chocolate chips for an extra cocoa punch.
- Blue Velvet: Simply swap the red food coloring for royal blue for a stunning, moody alternative.
- Miniature Treats: Use a mini-muffin tin and bake for 10-12 minutes for the perfect party bite.
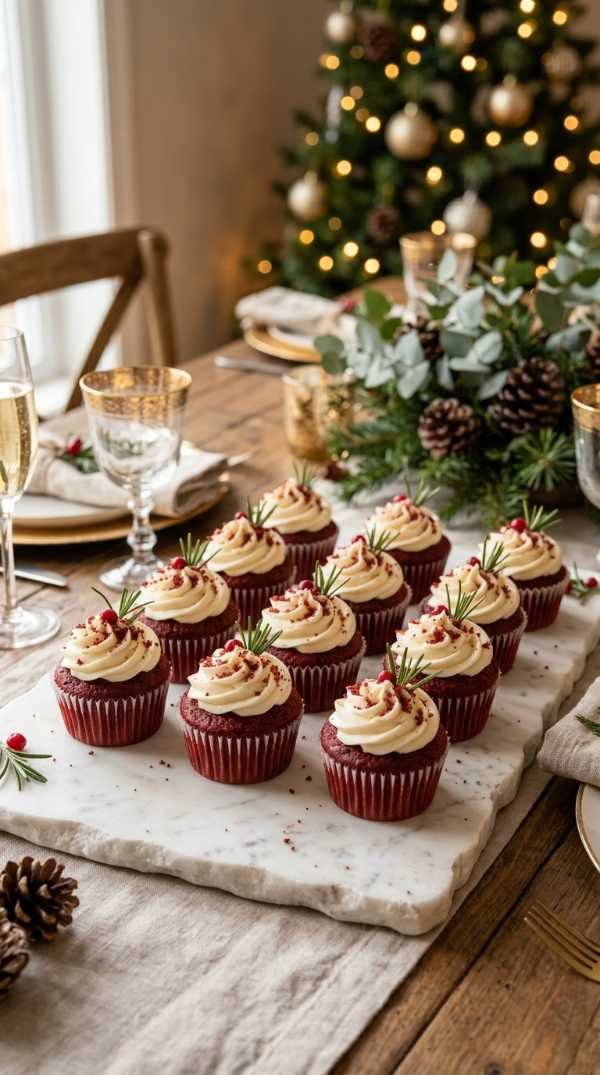
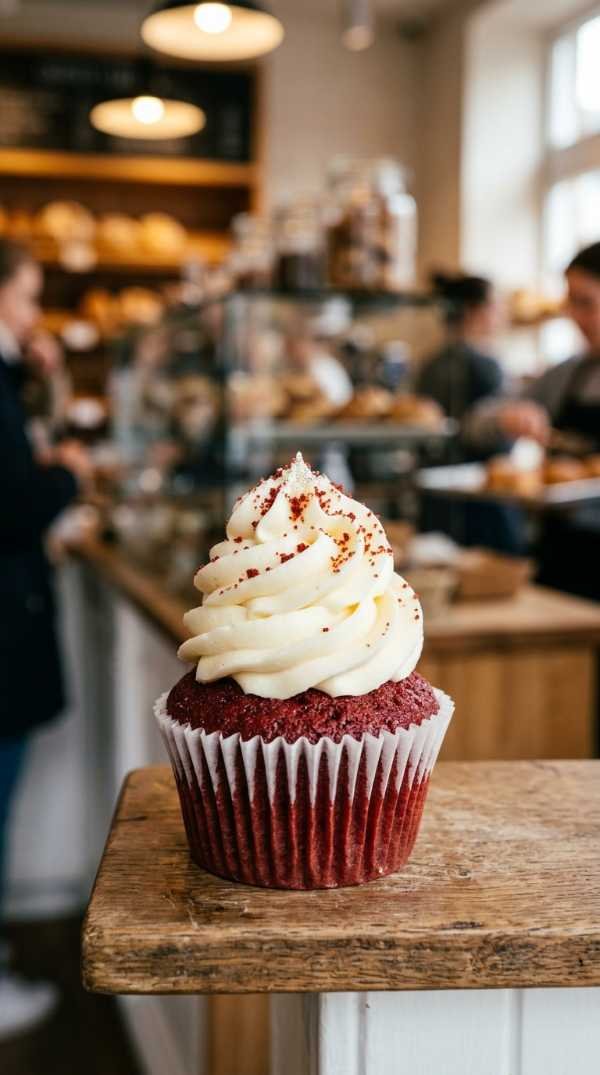
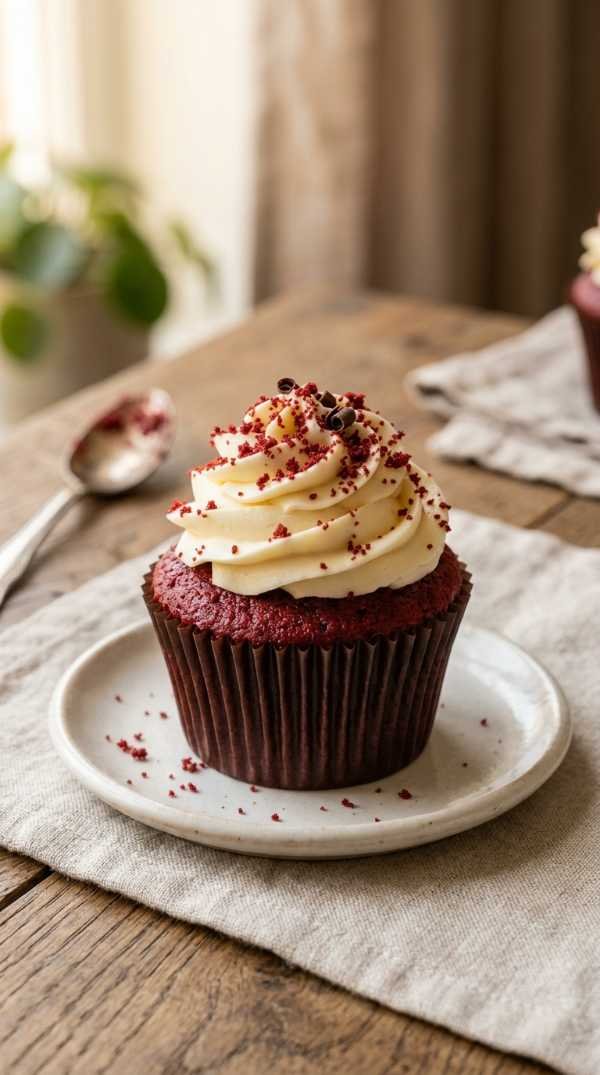
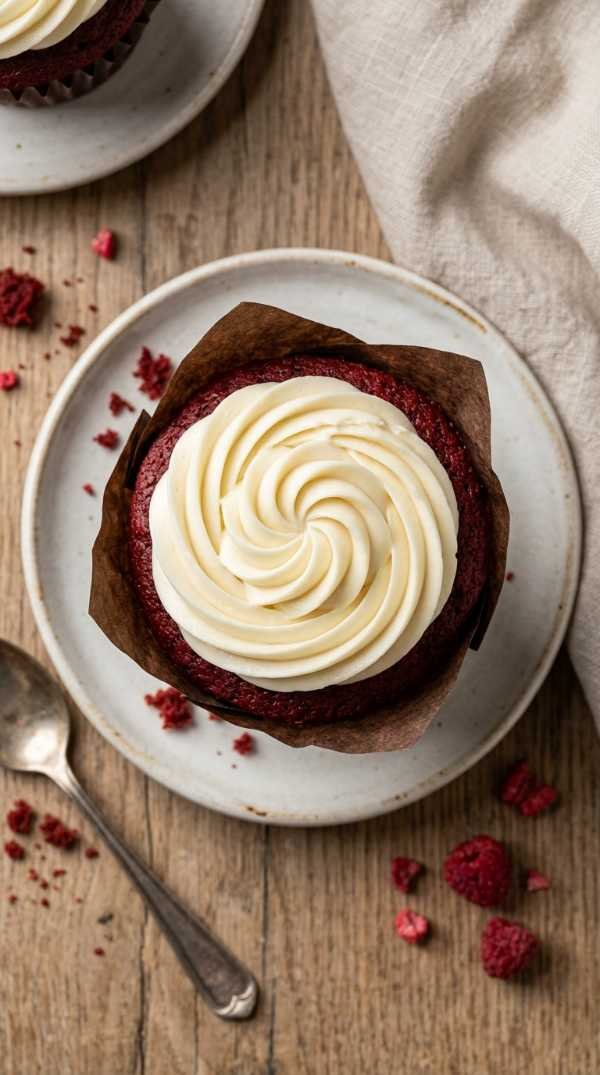
When serving, I highly recommend a classic, stiff cream cheese frosting. For a truly gourmet look, use a large round or star piping tip to create a high, swirling mound of frosting. Sprinkle a few crumbs from a ‘sacrificial’ cupcake on top for a professional finish that hints at the goodness inside.
Storage, Make-Ahead & Reheating
Because these cupcakes feature a cream cheese frosting, they must be stored in the refrigerator. Place them in an airtight container to prevent them from absorbing other food odors. They will stay fresh and moist for up to 4 to 5 days.
If you want to make these ahead of time, you can bake the cupcakes and freeze them unfrosted. Wrap each cupcake individually in plastic wrap and store them in a freezer-safe bag for up to 3 months. Thaw at room temperature before frosting and serving.
While red velvet is best served at room temperature or slightly chilled, you can let refrigerated cupcakes sit on the counter for 20-30 minutes before eating. This allows the crumb to soften and the flavors to bloom.
Frequently Asked Questions
Is red velvet just chocolate cake with red dye?
Not exactly! While it contains cocoa, the flavor profile is much tangier due to the vinegar and buttermilk. It has a lighter, finer crumb than a traditional heavy chocolate cake.
Can I use natural coloring like beet juice?
You can, but be aware that the earthy flavor of beets may come through. Also, the color may shift to a brownish-red during the baking process due to the pH levels.
Why is my red velvet cupcake dry?
Overbaking is the most common culprit. Another reason could be overmixing the flour, which develops gluten and creates a dense, dry texture.
Can I use this recipe for a layer cake?
Absolutely! This batter works beautifully for two 8-inch round cake pans. Just increase the bake time to approximately 30-35 minutes.
Final Thoughts
Baking the perfect red velvet cupcake is as much about the process as it is about the ingredients. By understanding the ‘science’ of how the acid interacts with the cocoa and leavening agents, you’ve unlocked the secret to a professional-grade dessert right in your own kitchen.
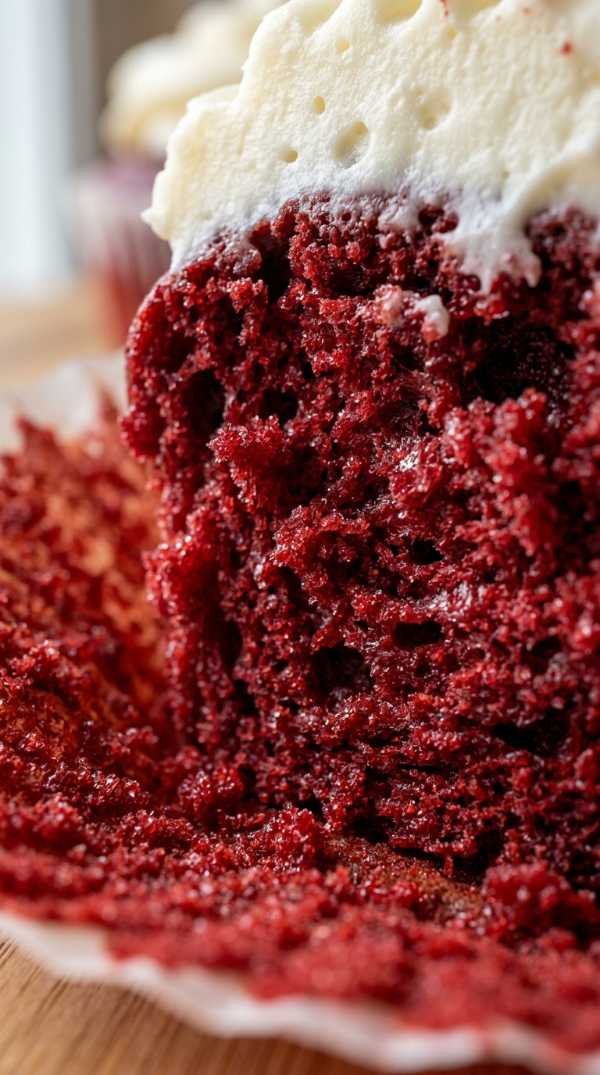
I hope these cupcakes bring a little extra joy to your next gathering. There is something so satisfying about peeling back that paper liner to reveal a perfectly moist, crimson crumb. It’s a classic for a reason, and now you have the tools to make it your signature bake.
Don’t forget to tag me in your photos if you try this recipe! I love seeing your beautiful swirls and hearing how much your friends and family enjoyed them. Happy baking!
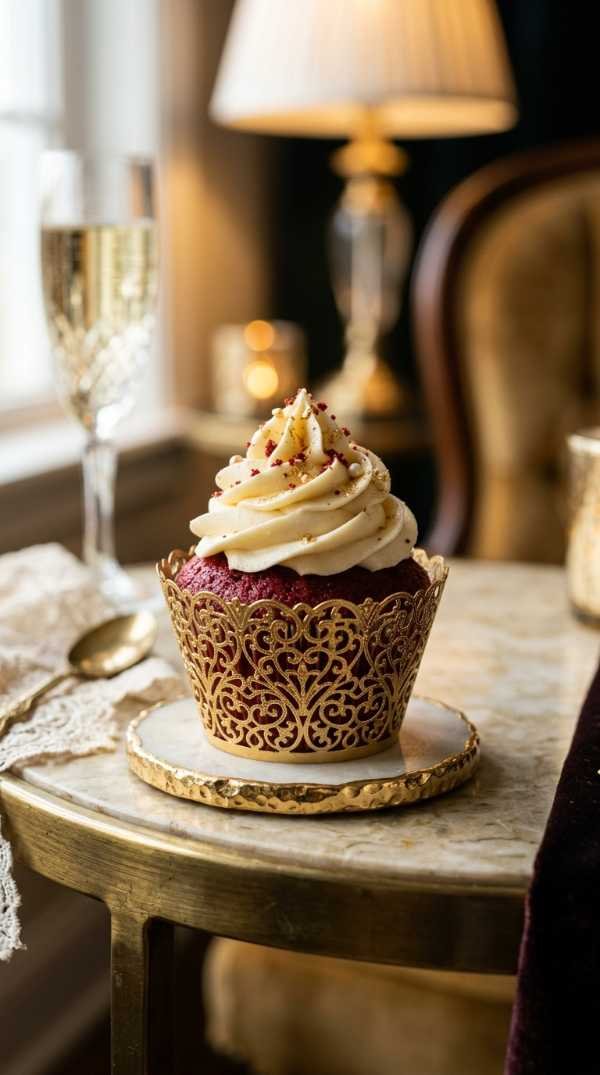
Gourmet Red Velvet Cupcakes
A decadent, moist, and vibrant red velvet cupcake topped with a luscious cream cheese frosting swirl.
Author: Lifestyle EatsPrep Time: 20 minutesCook Time: 20 minutesTotal Time: 40 minutesYield: 24 cupcakesCategory: DessertMethod: BakingCuisine: American
Ingredients
- 2.5 cups All-purpose flour
- 1.5 cups Sugar
- 1 tsp Baking soda
- 1 tsp Salt
- 1 tsp Cocoa powder
- 1.5 cups Vegetable oil
- 1 cup Buttermilk
- 2 Eggs
- 2 tbsp Red gel food coloring
- 1 tsp White vinegar
- 1 tsp Vanilla
Instructions
- Preheat oven to 350°F and line muffin tins.
- Whisk dry ingredients (flour, sugar, soda, salt, cocoa).
- Mix wet ingredients (oil, buttermilk, eggs, color, vinegar, vanilla).
- Combine wet and dry ingredients until just smooth.
- Fill liners 2/3 full and bake for 18-22 minutes.
- Cool completely before frosting.
Nutrition
Serving Size: 1 cupcake | Calories: 280 | Sugar: 18g | Sodium: 150mg | Fat: 14g | Carbohydrates: 32g | Protein: 3g