
Is there anything more satisfying than that first bite of a pickle? You know the sound—that sharp, satisfying ‘snap’ that echoes through the kitchen and promises a burst of tangy, salty goodness. For years, I was a victim of the ‘mushy pickle’ syndrome. I’d try to make my own at home, only to end up with limp, soggy cucumbers that were more disappointing than a rainy day at the beach. I almost gave up until I realized that pickling isn’t just about vinegar; it’s a science.
Last summer, determined to conquer the crunch, I spent weeks experimenting in my sun-drenched kitchen, surrounded by piles of dill and stacks of mason jars. My family became my reluctant taste testers until finally, I cracked the code. The secret isn’t magic—it’s a combination of three specific techniques that preserve the structural integrity of the cucumber. Now, these Easy Homemade Crunchy Dill Pickles are a staple in our fridge, and I never have to buy those store-brand jars again.
Today, I’m sharing my secrets with you so you can skip the trial and error and go straight to pickle perfection. Whether you’re topping a backyard burger or snacking straight from the jar at midnight, these pickles deliver that legendary crunch every single time. Get ready to be the hero of your next picnic!

Why You’ll Love This Recipe
- Unbeatable Crunch: These are crispier than anything you can find on a grocery store shelf.
- Simple Ingredients: No weird yellow dyes or preservatives—just fresh, pantry-stable items.
- Customizable Flavor: Easily adjust the garlic, spice, or dill levels to suit your palate.
- Beginner Friendly: No complex canning equipment required for this refrigerator-style method.
- Fast Results: They are ready to eat in as little as 24 hours!
Ingredients
- 1.5 lbs Kirby (Pickling) Cucumbers
- 2 cups Water (filtered is best)
- 1 cup White Distilled Vinegar
- 2 tablespoons Kosher Salt (or pickling salt)
- 1 tablespoon Sugar (optional, to balance acidity)
- 4-6 cloves Garlic, smashed
- 1 bunch Fresh Dill (heads and stems)
- 2 teaspoons Whole Black Peppercorns
- 1 teaspoon Mustard Seeds
- 1/4 teaspoon Red Pepper Flakes (optional for heat)
- The Secret Ingredient: 2 Fresh Bay Leaves or a pinch of loose black tea
The foundation of a great pickle is the cucumber itself. You must use Kirby or Persian cucumbers; the standard thick-skinned slicing cucumbers are too watery and will never stay crunchy. Look for firm, small cucumbers with bumpy skin—the smaller they are, the better the snap!
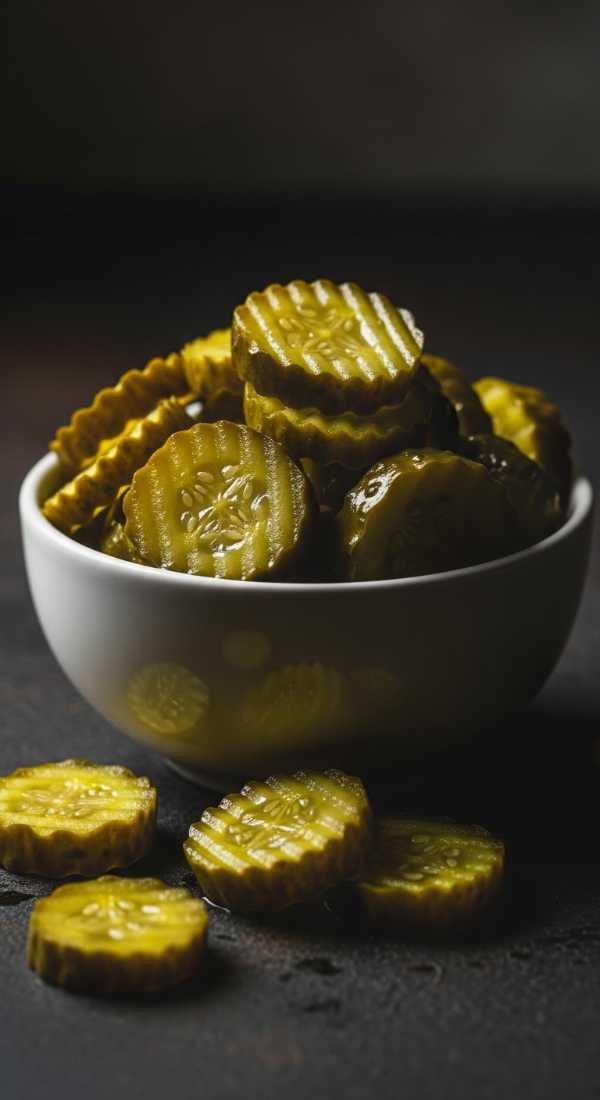
The ‘secret ingredient’ mentioned above is actually about tannins. Bay leaves, grape leaves, or even a tiny bit of black tea contain tannins that prevent the cell walls of the cucumber from breaking down. This is the scientific key to that professional-grade texture. Also, using filtered water prevents any minerals or chlorine from affecting the clarity and taste of your brine.
Step-by-Step Instructions
- Prep the cucumbers by soaking them in an ice bath for 30 minutes. This helps firm up the skin before they ever touch the brine.
- Trim the blossom end off each cucumber. The blossom end contains enzymes that can cause softening, so slicing off about 1/8th of an inch is crucial for crunch.
- Prepare the brine by combining water, vinegar, salt, and sugar in a small saucepan. Bring the mixture to a simmer over medium heat, stirring until the salt and sugar are completely dissolved, then remove from heat and let it cool slightly.
- Pack your clean mason jars with garlic, peppercorns, mustard seeds, and plenty of fresh dill. Don’t be afraid to really stuff the dill in there for maximum flavor!
- Tightly pack the cucumber spears or slices into the jars. You want them snug so they don’t float, but leave about half an inch of headspace at the top.
- Pour the warm brine over the cucumbers until they are completely submerged. Make sure the spices are distributed between the jars.
- Seal the jars and let them cool to room temperature on the counter. Once cooled, move them to the back of the refrigerator where it is coldest.
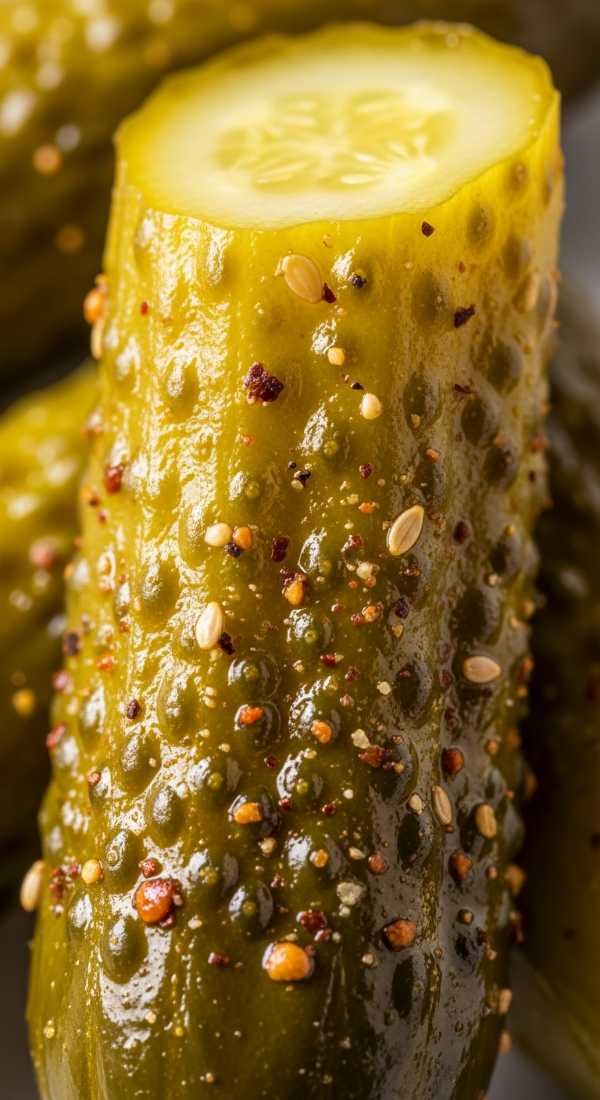
Pro Tips for the Best Easy Homemade Crunchy Dill Pickles
- Use the freshest cucumbers possible—ideally picked the same day or bought from a farmer’s market for the best cellular structure.
- Remove the blossom end without fail; this is the number one reason homemade pickles turn out mushy.
- Don’t boil the cucumbers in the brine; pour the brine over them to maintain their raw, crisp texture.
- Add a bay leaf to every jar to provide the tannins necessary for long-term crunch.
- Chill before eating for at least 24 hours to allow the flavors to fully penetrate the cucumber walls.
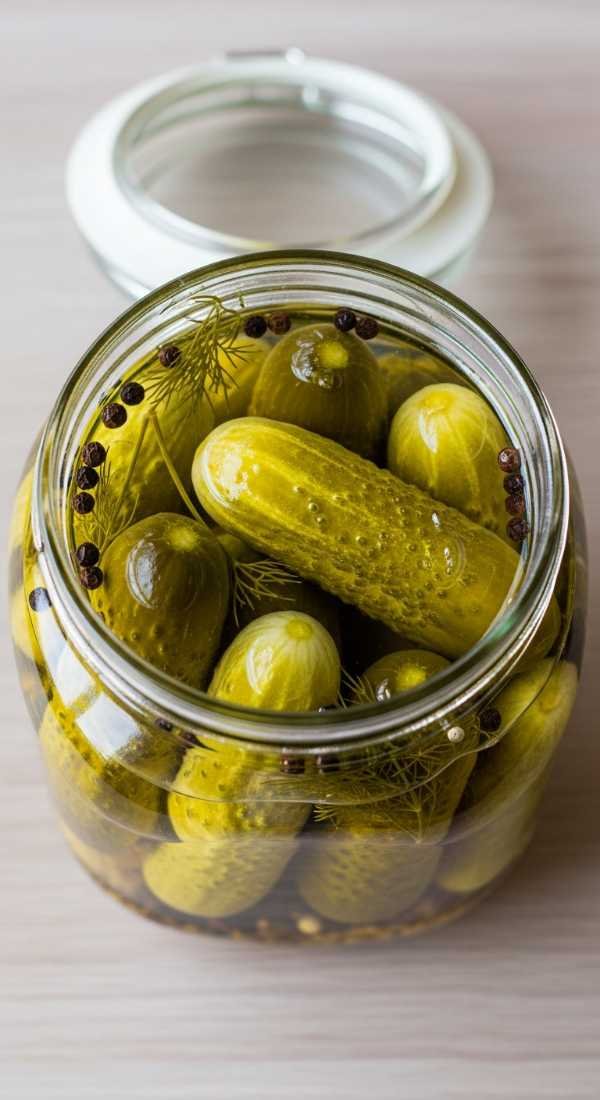
Variations & Serving Ideas
- Spicy Garlic Dill: Triple the red pepper flakes and add sliced jalapeños to the jar.
- Sweet and Tangy: Increase the sugar to 1/2 cup for a bread-and-butter style vibe.
- Smoky Pickles: Add a half teaspoon of liquid smoke or smoked paprika to the brine.
- Herbaceous Blend: Mix in fresh thyme or oregano along with the dill.
These pickles are the ultimate companion for a classic deli sandwich or a greasy smash burger. I also love chopping them up finely into a homemade tartar sauce or a zesty potato salad. If you’re feeling adventurous, try deep-frying the slices for a pub-style appetizer that will disappear in seconds!
Storage, Make-Ahead & Reheating
Since these are refrigerator pickles and not shelf-stable canned goods, they must be stored in the fridge at all times. They will stay perfectly crunchy and safe to eat for up to 4 to 6 weeks. In fact, the flavor actually improves after the first week as the garlic and dill mellow out and infuse deeper into the cucumber.
If you want to make these ahead for a party, I recommend making them 3 to 5 days in advance. This gives them enough time to reach peak flavor without losing that signature ‘snap’ that we worked so hard to achieve. Always use a clean fork to grab pickles from the jar to avoid introducing bacteria that could spoil the brine.
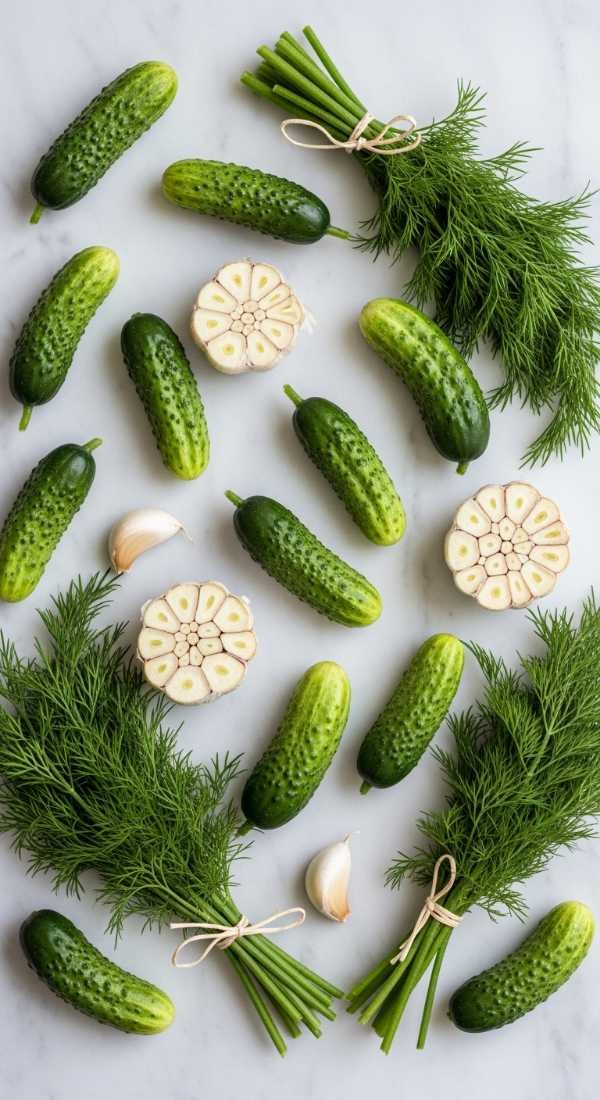
As for reheating—don’t! These are meant to be enjoyed cold. If you are using them in a cooked dish like a Cuban sandwich, the heat of the press is fine, but for snacking, the colder the pickle, the better the crunch feels on the teeth.
Frequently Asked Questions
Can I use table salt instead of Kosher salt?
It is not recommended. Table salt contains anti-caking agents and iodine which can turn your brine cloudy and give the pickles a slightly metallic aftertaste. Always stick to Kosher salt or specialized pickling salt.
Why did my brine turn cloudy?
Cloudy brine can be caused by using tap water with high mineral content or using table salt. However, if it happens after a few weeks and is accompanied by a foul smell or a bubbling film, it could mean spoilage, and the pickles should be discarded.
Do I have to use fresh dill?
While dried dill seed can be used in a pinch, fresh dill weed and dill heads provide that bright, iconic ‘green’ flavor that defines a classic deli pickle. If you must use dried, use 1 tablespoon of dill seed per jar.
Can I reuse the leftover pickle brine?
Absolutely! You can use it to marinate chicken, add it to a bloody mary, or even toss in some sliced red onions to quick-pickle them. Just don’t use it to make a second batch of cucumbers, as the salt/acid ratio will be diluted.
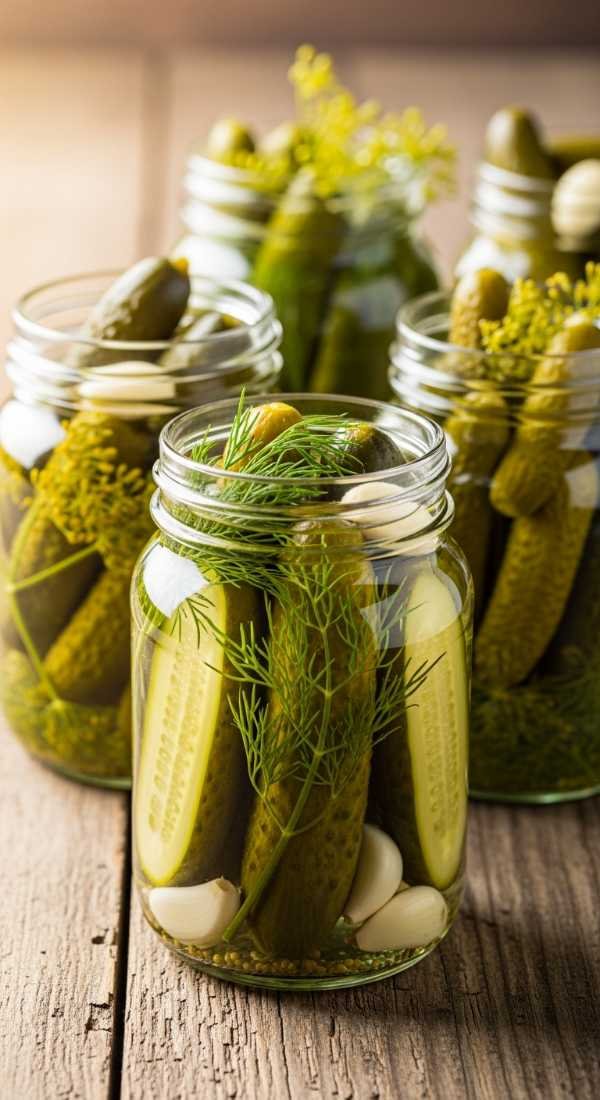
Final Thoughts
Making your own pickles is one of those small kitchen projects that yields massive rewards. There is a specific kind of pride that comes with pulling a jar of bright, green, perfectly spiced pickles out of your own fridge. It connects us to a long tradition of food preservation while giving us total control over the ingredients we feed our families.
I hope these three secrets—the ice bath, the blossom trim, and the tannins—help you achieve the pickle of your dreams. No more sad, soggy spears on your plate! Once you master this base recipe, the world of pickling opens up to you. You’ll be pickling carrots, green beans, and radishes before you know it.
Thank you so much for joining me in the kitchen today. If you make these, please tag me in your photos—I want to hear that crunch all the way from here! Happy pickling, friends!
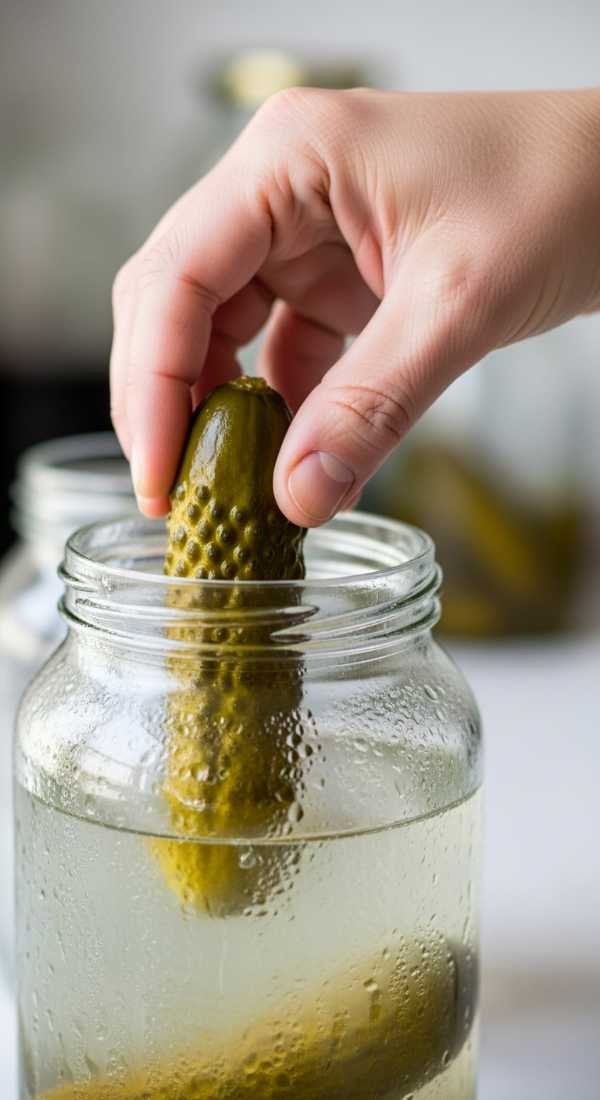
Easy Homemade Crunchy Dill Pickles
A foolproof refrigerator pickle recipe that guarantees a sharp snap and bold garlic-dill flavor every time.
Author: Foodie Haven | Prep Time: 20 mins | Cook Time: 5 mins | Total Time: 25 mins (plus chilling) | Yield: 2 quart jars | Category: Snack/Appetizer | Method: Refrigerator Pickling | Cuisine: American
Ingredients
- 1.5 lbs Kirby cucumbers
- 2 cups water
- 1 cup white vinegar
- 2 tbsp kosher salt
- 1 tbsp sugar
- 6 cloves garlic
- 1 bunch fresh dill
- 2 tsp peppercorns
- 1 tsp mustard seeds
- 2 bay leaves
Instructions
- Soak cucumbers in ice water for 30 minutes, then trim 1/8 inch off the blossom ends.
- Boil water, vinegar, salt, and sugar until dissolved; let cool slightly.
- Place 3 garlic cloves, half the dill, 1 tsp peppercorns, and 1 bay leaf into each of two clean quart jars.
- Pack cucumbers into jars tightly.
- Pour brine over cucumbers, leaving 1/2 inch headspace.
- Seal and refrigerate for at least 24 hours before serving.
Nutrition
Serving Size: 1 spear | Calories: 10 kcal | Sugar: 1g | Sodium: 280mg | Fat: 0g | Carbohydrates: 2g | Protein: 0g