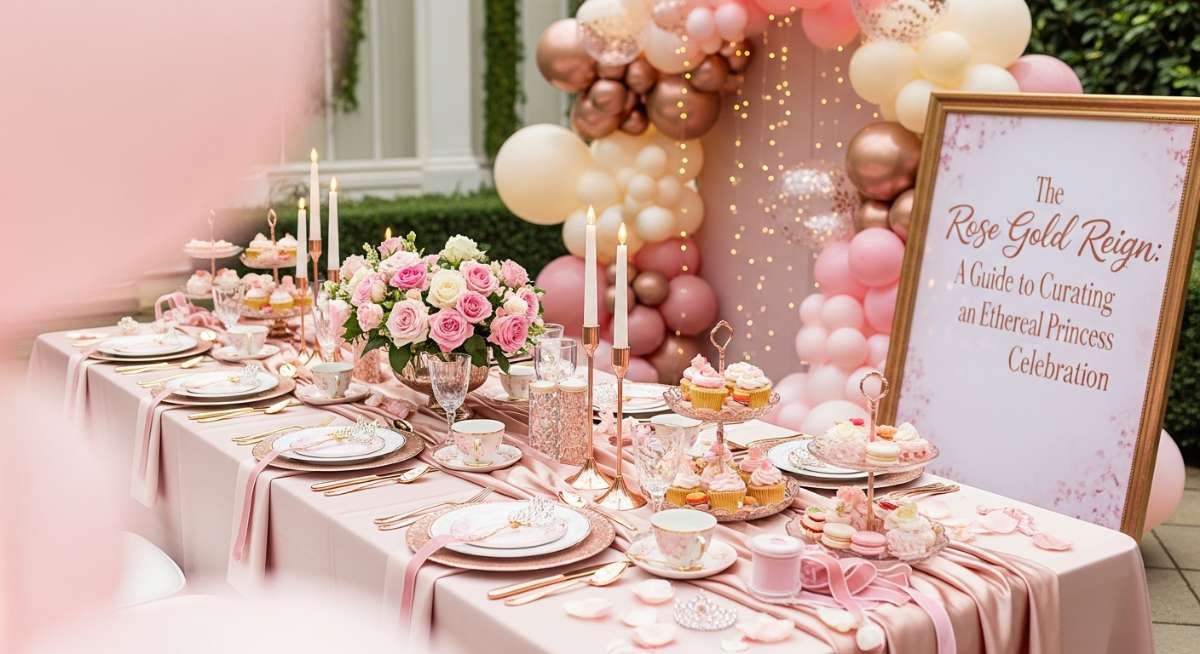
The Rose Gold Reign: A Guide to Curating an Ethereal Princess Celebration
Every little girl dreams of a royal celebration, but as an event stylist, my goal is to transform that classic trope into something truly breathtaking and modern. I remember planning a first birthday for a client who wanted ‘royalty’ without the bright, neon pinks of the early 2000s. We pivoted toward a palette of dusty rose, champagne, and shimmering rose gold. The result was a soft, ethereal atmosphere that felt more like a Parisian dream than a standard party rental hall. It was the moment I realized that an aesthetic princess party is all about the layers of texture and the subtlety of light.
Creating an aesthetic pink princess birthday party is about capturing a feeling of whimsy and sophistication simultaneously. It’s not just about throwing tiaras on a table; it’s about the drape of the velvet, the sparkle of the fairy lights behind a sheer curtain, and the way the floral arrangements catch the afternoon sun. Whether you are planning this for a toddler or a teenager who loves the coquette aesthetic, this guide will help you curate a celebration that is worthy of a crown.

Why You’ll Love This Party Decor Theme
- Timeless Elegance: This theme moves away from cartoonish colors and focuses on a sophisticated palette that looks stunning in photos.
- Versatile for All Ages: From a ‘Sweet One’ to a ‘Sweet Sixteen,’ the aesthetic princess vibe adapts beautifully.
- High Social Media Appeal: The soft textures and warm lighting are a dream for Instagram and Pinterest-worthy captures.
- Customizable DIY Potential: Many of the high-end looks can be achieved with strategic DIY projects, like custom balloon garlands and floral wall panels.
Essential Decor Items & Supplies Needed
- Rose gold and blush pink balloon arch kit
- Acrylic or white ornate backdrop stands
- Sheer tulle or chiffon fabric drapes
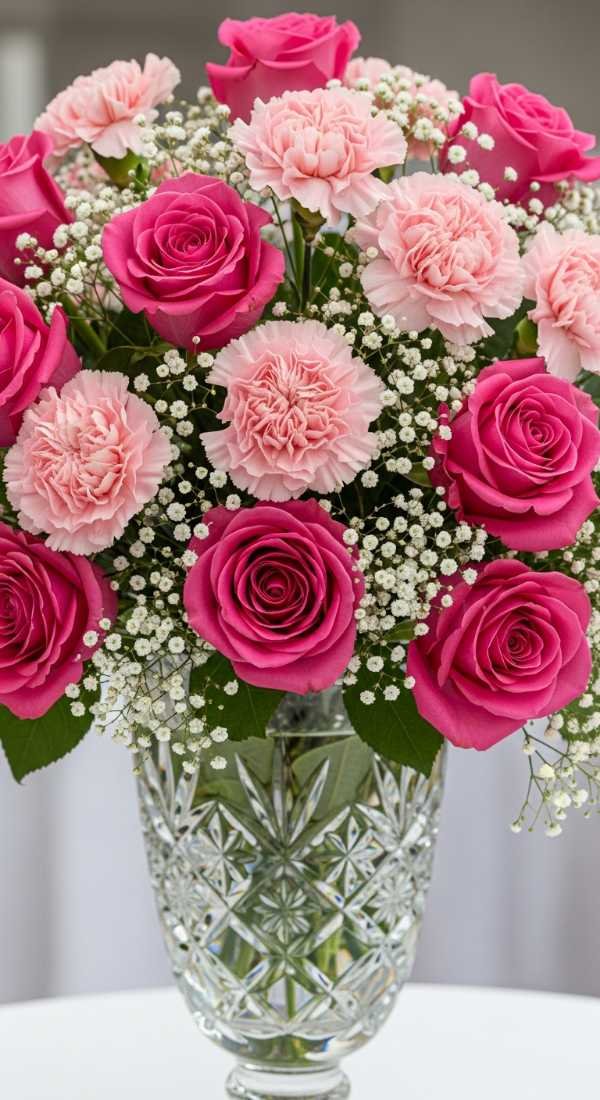
- Silk floral garlands (peonies and roses)
- Rose gold sequin or velvet table runners
- Fairy lights (warm white) and LED taper candles
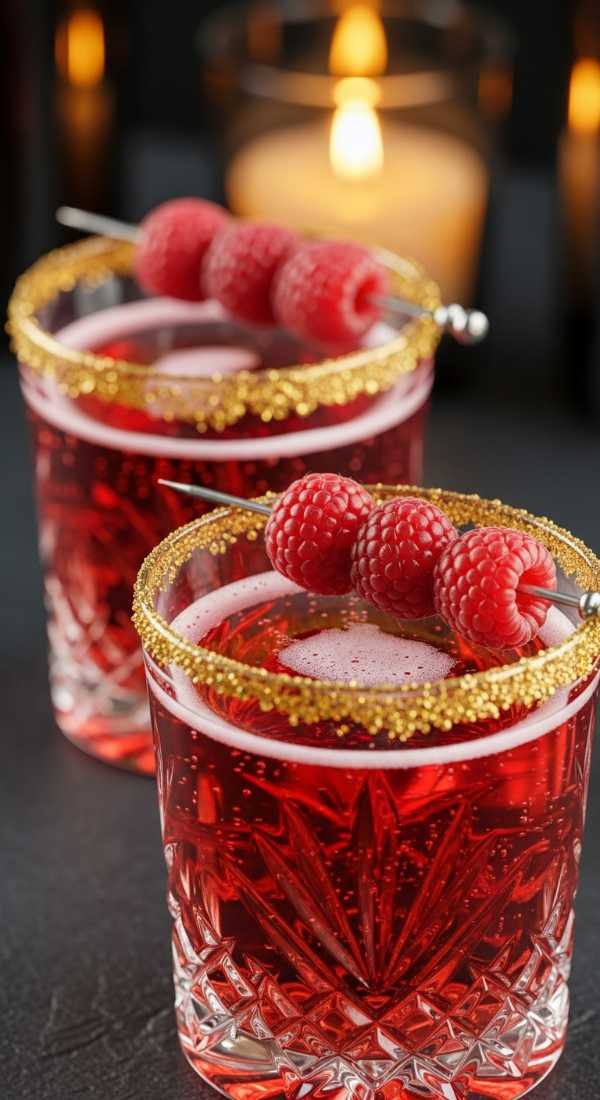
- Ornate gold-rimmed glassware and tableware
- Tiered dessert pedestals and acrylic cake stands
- Personalized neon ‘Princess’ or name sign
The foundation of this look is the color scheme. We are focusing on a monochromatic yet layered approach using shades like petal pink, dusty rose, champagne, and metallic rose gold. By mixing these tones, you create depth that prevents the decor from looking flat or washed out. Texture plays a vital role here; think of the contrast between a smooth acrylic ghost chair and a plush velvet cushion, or the softness of silk petals against the hard shine of metallic balloons.
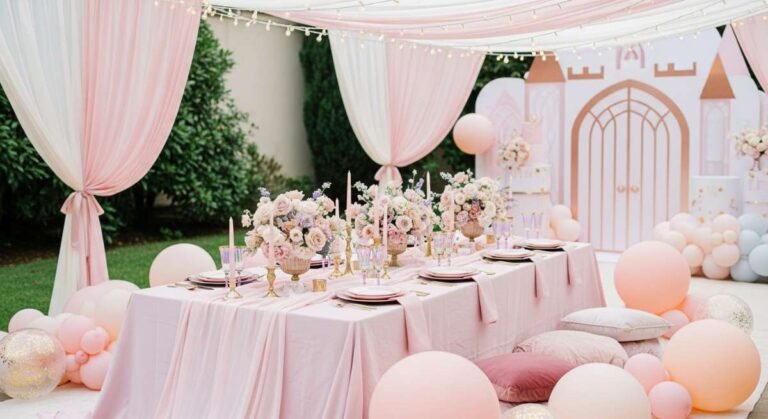
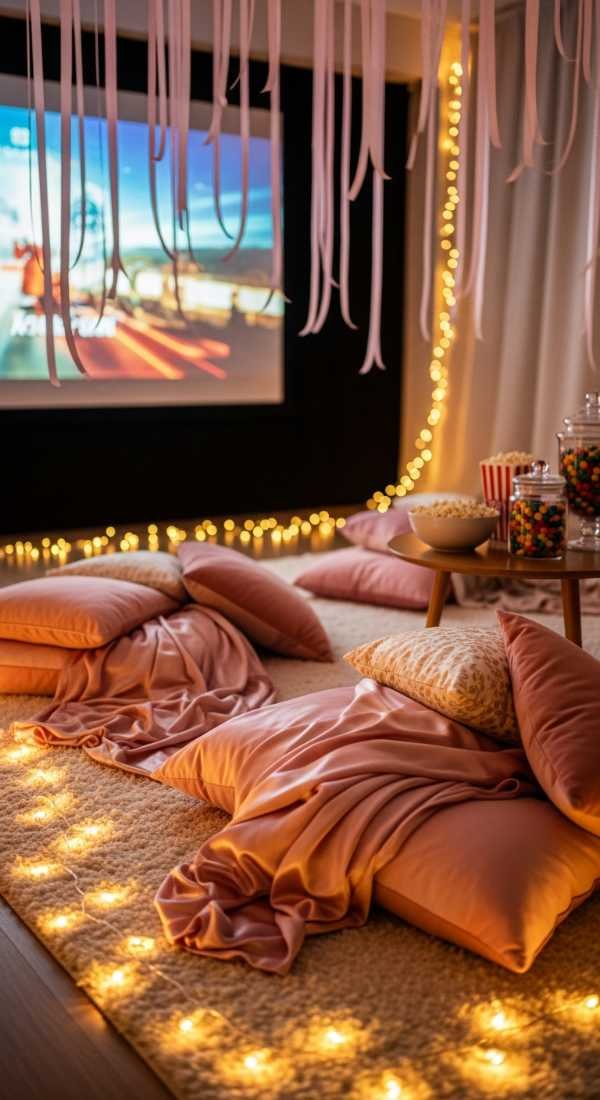
Lighting is the secret ingredient that elevates the entire setup from a ‘party’ to an ‘event.’ Hidden LED uplights can wash the walls in a soft pink glow, while strings of fairy lights tucked into tulle draping create a magical, starry effect. For the main focal point, always prioritize the dessert table or the throne chair area. This is where the majority of your photos will be taken, so ensure the backdrop is lush, centered, and well-lit to serve as the heart of your ethereal kingdom.
Step-by-Step DIY Setup Guide
- Start by assembling your main backdrop frame in the desired focal area. Whether using a circular hoop or a rectangular stand, ensure it is weighted properly before adding heavy fabrics or florals.
- Drape your chiffon or tulle fabric across the frame to create a soft, romantic base. Secure the fabric with clear zip ties or clips, allowing it to pool slightly at the floor for a more luxurious look.
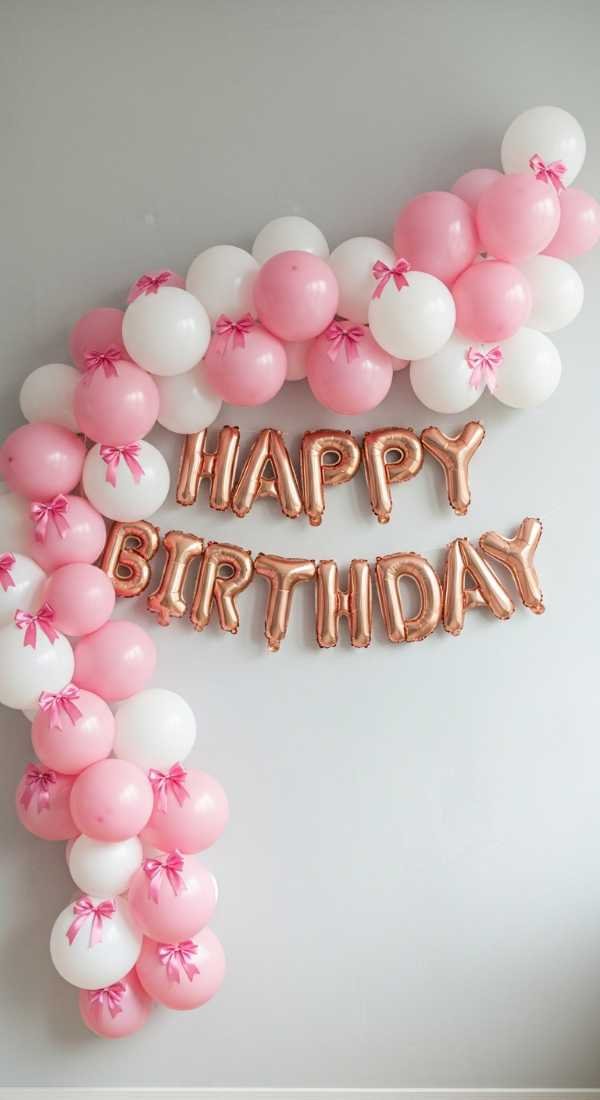
- Inflate your balloon garland using a mix of 5-inch, 10-inch, and 18-inch balloons. Weave the garland along one side of the backdrop, ensuring you mix the different shades of pink and rose gold for a balanced ombré effect.
- Intertwine silk floral garlands into the gaps of the balloon arch. This adds an organic, high-end feel that softens the plastic look of the balloons.
- Layer your table linens starting with a floor-length white base and adding a rose gold runner. This creates a professional look that hides table legs and provides a clean canvas for your decor.
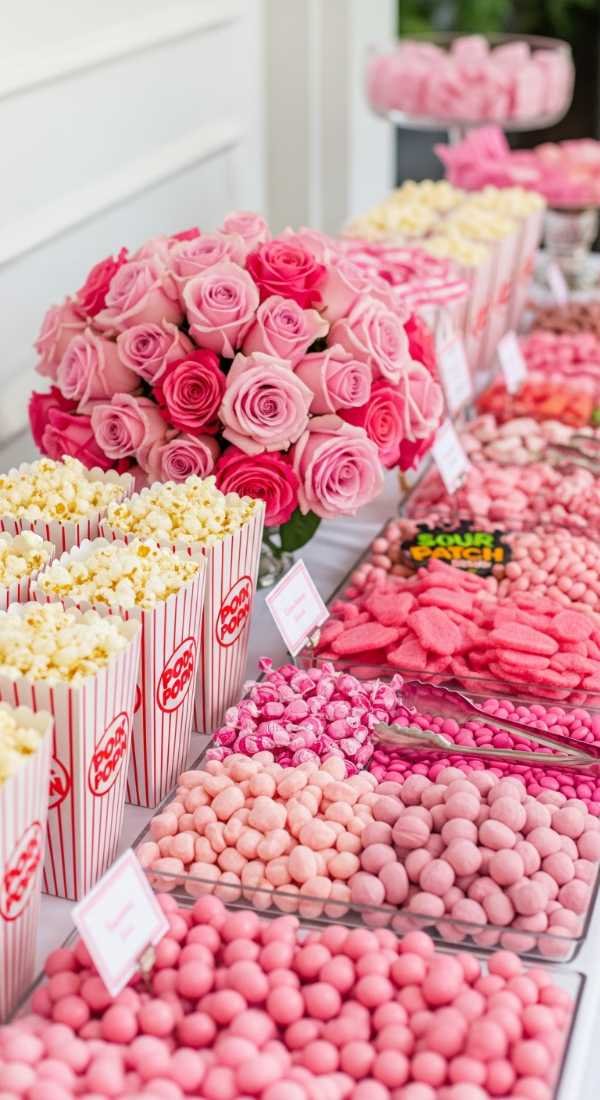
- Arrange your tiered stands and platters at varying heights. Using acrylic risers helps create visual interest and makes the dessert spread look more abundant.
- Finish the look by weaving battery-operated fairy lights through the table decor and backdrop. Turn them on just before guests arrive to ensure the ‘magic’ lasts throughout the event.
Pro Styling Tips for Aesthetic Pink Princess Birthday Party
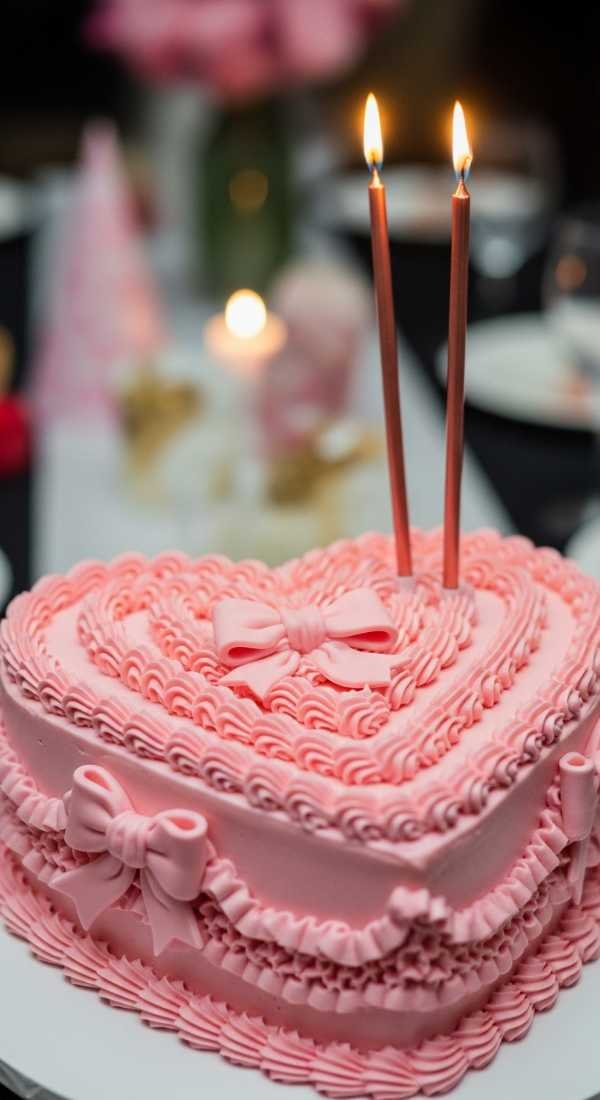
- Monochrome Magic: Use at least four different shades of pink to create a professional, layered look rather than a flat one-tone environment.
- Height Variation: Use pedestals of different heights for your cake and treats to keep the eye moving across the display.
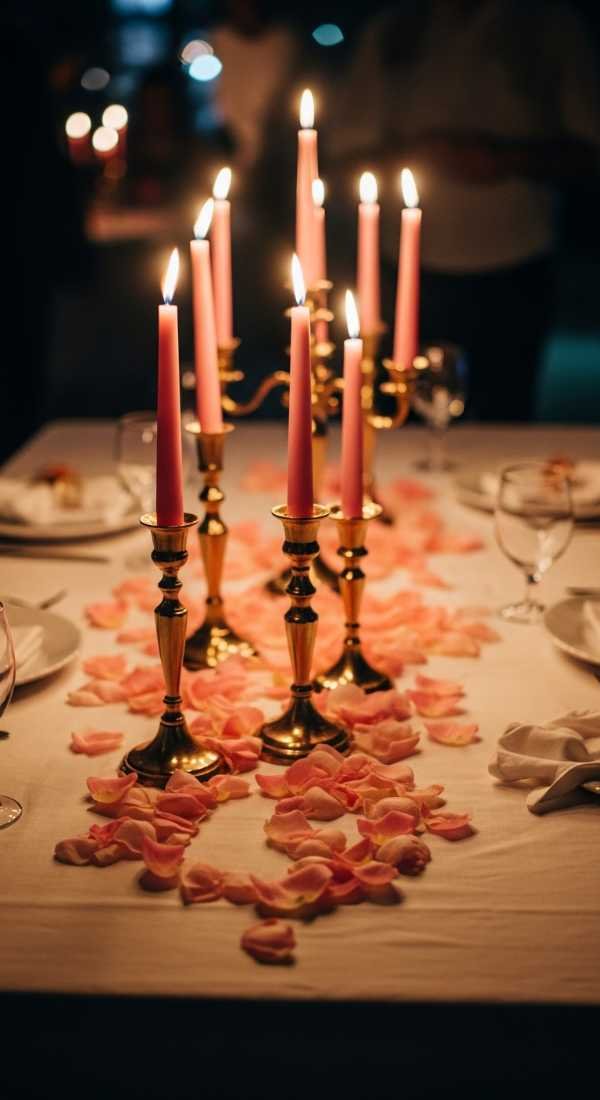
- Scented Ambience: Light rose or vanilla-scented candles (safely placed) to engage all the senses as guests enter the room.
- Hidden Mechanics: Use clear fishing line and command hooks to hang decor elements so they appear to be floating.
- Personalized Accents: Add the birthday girl’s name in a custom gold acrylic script to the backdrop for that bespoke luxury feel.
Theme Variations & Table Setting Ideas
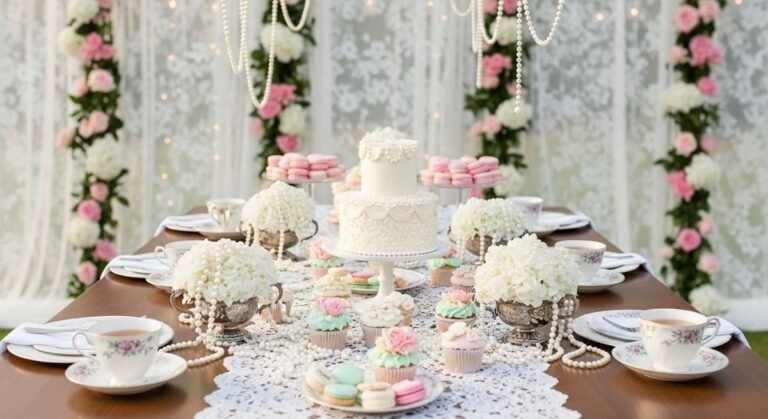
- Vintage Royal Tea Party: Incorporate mismatched floral china, lace doilies, and antique gold birdcages filled with roses.
- Modern Minimalist Princess: Focus on clean lines, white space, ghost chairs, and a single dramatic floral installation rather than heavy draping.
- Whimsical Garden Princess: Add heavy greenery, moss table runners, and butterfly clips attached to the balloon arch.
For the table setting, prioritize the ‘place-setting layer’ technique. Start with a rose gold charger plate, topped with a soft pink dinner plate and a folded linen napkin held by a crown-shaped ring. Place a small sprig of dried baby’s breath on each napkin for an ethereal touch. Arrange your backdrop so it sits directly behind the head of the table, creating a perfect frame for the guest of honor during the cake-cutting ceremony.
Pre-Party Setup Timeline, Assembly & Teardown
The key to a stress-free setup is starting early. Two days before the event, inflate all of your non-helium balloons and store them in large plastic bags. This is also the time to polish any glassware and ensure your linens are steamed and wrinkle-free. Trying to steam a tablecloth on the day of the party is a recipe for stress!
On the morning of the party, focus on the ‘heavy lifting’ first: the backdrop stands, tables, and chair placements. Once the structure is in place, attach your pre-made balloon garlands and floral elements. Save the delicate items—like the cake, fresh desserts, and lighting adjustments—for the final two hours before the event starts. This ensures everything looks fresh and the lighting is adjusted to the current natural light in the room.
Teardown should be systematic to save your sanity. Start by removing the perishables and gifts. Deflate balloons using a small snip at the neck (rather than popping them, which can be startling) and pack away your reusable decor like fabric drapes and acrylic stands in labeled bins. If you’ve used high-quality silk florals, store them in a way that doesn’t crush the petals so they can be used for your next royal engagement!
Frequently Asked Questions
How can I make a princess party look ‘aesthetic’ instead of ‘childish’?
The secret lies in the color palette and materials. Avoid bright ‘Barbie’ pinks and opt for muted tones like blush, mauve, and dusty rose. Incorporate high-end materials like velvet, chiffon, and acrylic rather than paper streamers and plastic tablecloths.
What is the best way to hang a heavy balloon arch?
Always use a sturdy metal backdrop stand as your anchor. Secure the garland to the stand using 260Q balloons (the long skinny ones) or heavy-duty zip ties. If you are attaching it to a wall, use high-quality command hooks and fishing line for a ‘floating’ effect.
Can I pull off this theme on a tight budget?
Absolutely! Focus your budget on one ‘wow’ factor—like the backdrop—and keep the rest of the decor simple. DIY-ing the balloon arch and using thrifted gold frames for signage can save hundreds of dollars while maintaining the aesthetic.
What lighting works best for afternoon parties?
If you have natural light, let it in! Use sheer curtains to soften the glare. Supplement with warm-toned fairy lights and LED candles to fill in the shadows and create that ‘ethereal’ glow that natural light alone can’t provide.
Final Thoughts & Party Checklist
Planning an Aesthetic Pink Princess birthday party is a labor of love that results in memories (and photos!) that will be cherished for years. It is about creating a space where the birthday girl feels truly celebrated in a setting that reflects her unique personality. By focusing on the details—the shimmer of the rose gold, the softness of the florals, and the warmth of the lights—you create a magical world for one day.
Remember that the most important element of any party is the joy of the person it’s for. Don’t get so caught up in the placement of every single petal that you forget to enjoy the celebration yourself. A relaxed host makes for a happy guest of honor, and in a room this beautiful, happiness is the ultimate accessory.
Before you start your shopping spree, make sure to cross-reference your guest list with your seating plan. Ensure you have enough rose gold accents for every guest to feel like royalty. With this guide in hand, you are well on your way to reigning over the most beautiful event of the season!
Aesthetic Pink Princess Birthday Party Setup Guide
A sophisticated and ethereal take on the classic princess theme, focusing on dusty rose tones, rose gold accents, and lush textures to create a dreamy, photogenic atmosphere.
Stylist: Professional Event Curator
Setup Time: 3-4 Hours
Difficulty Level: Intermediate
Ideal Occasion: 1st Birthdays, Quinceañeras, Sweet 16s, Bridal Showers
Estimated Budget: $200 – $500 (DIY)
Key Color Palette: Blush, Dusty Rose, Champagne, Rose Gold
Essentials & Materials
- Backdrop Frame (Round or Rectangular)
- Premium Latex Balloon Kit (Blush & Rose Gold)
- 3-5 Yards of Chiffon or Tulle Draping
- Artificial Peony & Rose Garlands
- Rose Gold Table Linens & Runners
- Battery-Operated Fairy Lights
- Gold or Acrylic Cake Stands
Setup Instructions
- Assemble and stabilize the backdrop frame in a central location.
- Drape fabric across the frame, securing it with clear clips for a soft aesthetic.
- Build and attach a multi-sized balloon garland to one side of the frame.
- Tuck silk flowers into the balloon arch to hide gaps and add texture.
- Set the table with a base cloth, runner, and layered place settings.
- Arrange desserts on varied-height stands to create a focal point.
- Switch on fairy lights and hidden LEDs to create a warm, ethereal glow.
Decor Specs & Ambience
The lighting style should be warm and diffused, utilizing hidden LED uplights and fairy lights to create a ‘glow’ effect. Focal points are centered on the dessert table and the royal seating area. Table arrangements feature layered textures (velvet/sequins) and metallic accents. The backdrop details combine structured balloons with soft, flowing fabrics to achieve the perfect balance between modern and whimsical.