The Midas Touch: Elevating Red Velvet Cupcakes with Edible 24k Accents
There’s something truly magical about the moment you peel back the liner of a perfectly baked cupcake, but when that cupcake is a deep, sultry crimson and topped with literal gold, the experience transcends dessert. I first made these Red Velvet Party Cupcakes for my best friend’s 30th birthday gala. I wanted something that felt like high-fashion in edible form, a treat that whispered luxury while still delivering that nostalgic, cocoa-infused hug that only red velvet can provide.
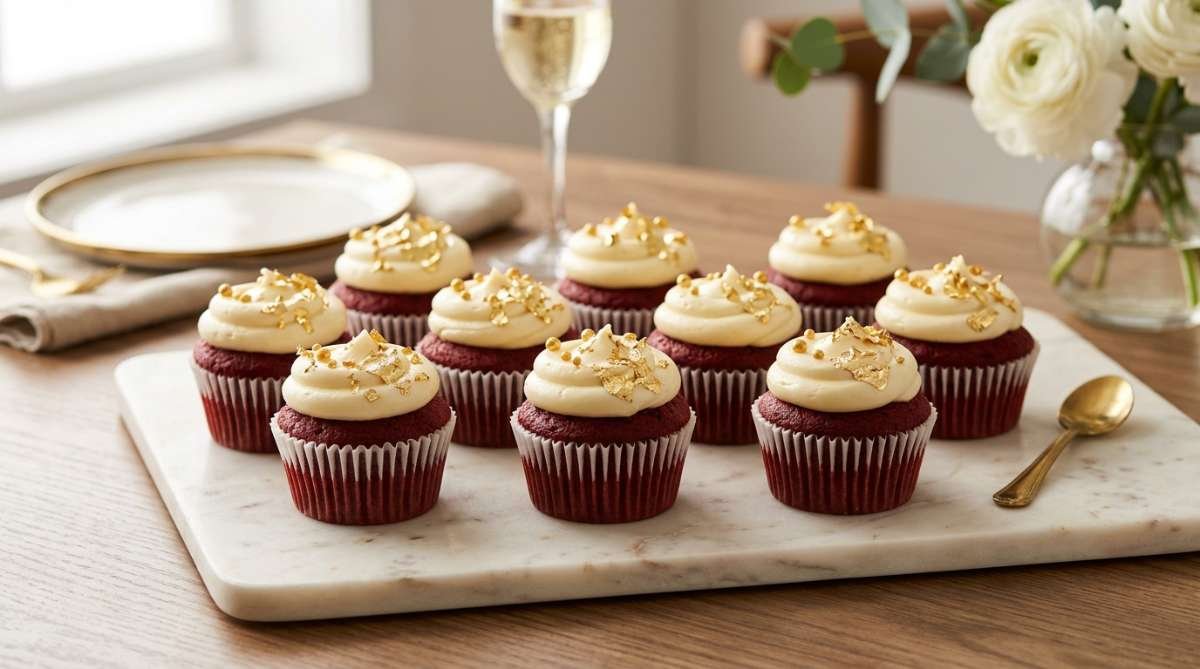
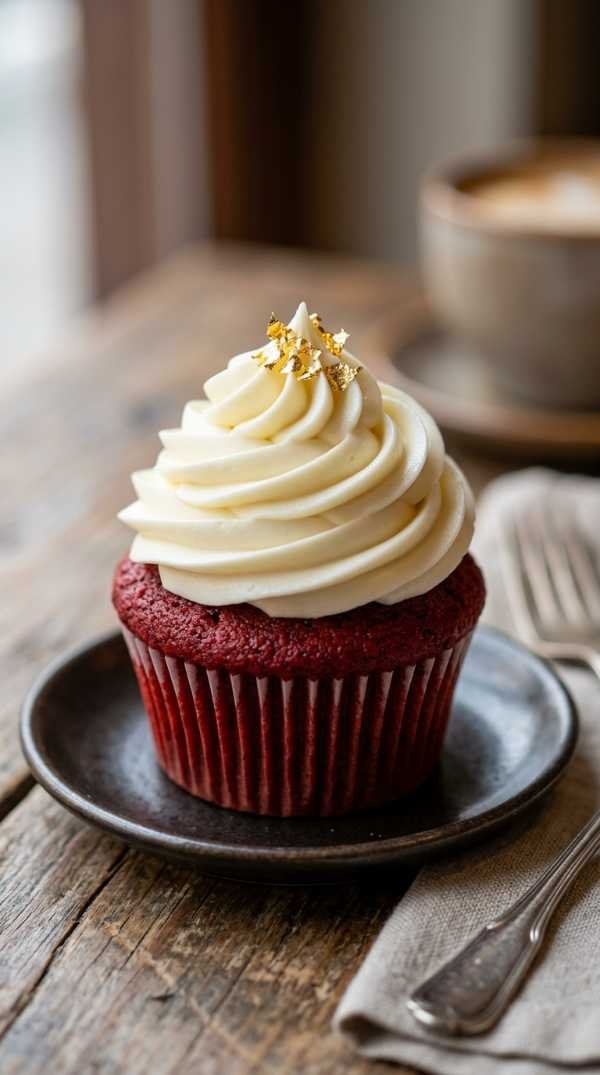
As I placed the final flake of edible 24k gold leaf onto the swirls of cream cheese frosting, I realized I wasn’t just baking; I was creating a centerpiece. The kitchen was a mess of flour and red food gel, but the result was breathtaking. When the guests arrived, these were the first things they reached for, their eyes widening at the shimmer of the gold against the rich red cake. It’s a recipe that has since become my go-to for any celebration that requires a little extra ‘wow’ factor.
Whether you’re hosting a New Year’s Eve bash, an elegant wedding shower, or just want to treat yourself to something spectacular on a Tuesday night, these cupcakes are the answer. They are surprisingly simple to execute but carry an air of sophistication that makes everyone feel like royalty. Let’s dive into how you can bring a touch of Midas to your own kitchen.
Why You’ll Love This Recipe
- Visual Showstopper: The contrast between the vibrant red cake, snowy white frosting, and 24k gold is unmatched.
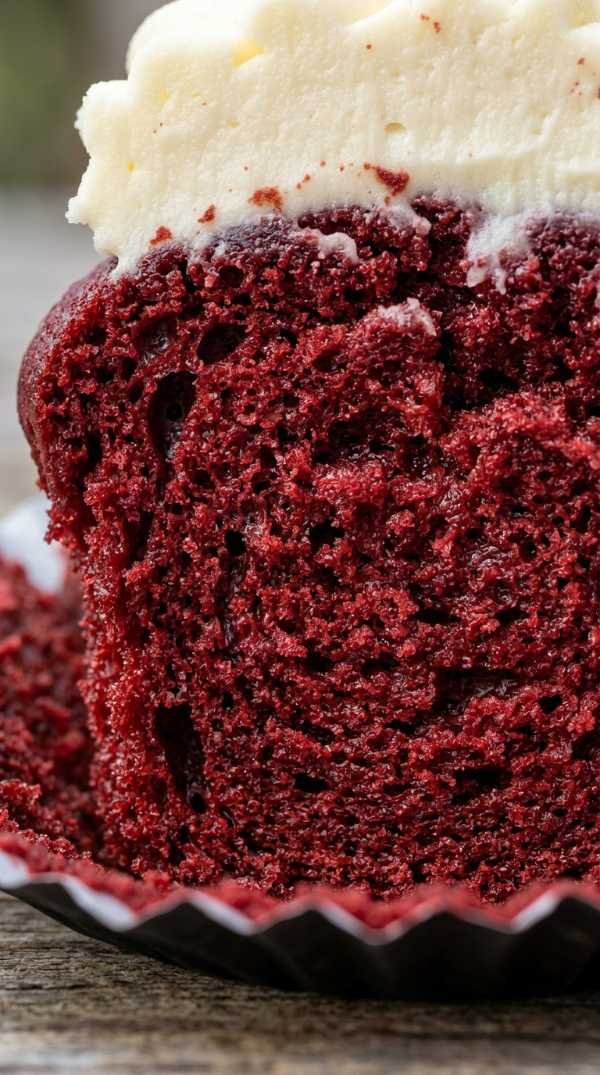
- Perfect Texture: These cupcakes are incredibly moist with a tight, velvety crumb that melts in your mouth.
- Classic Flavor: A balanced hint of cocoa paired with the signature tang of buttermilk and vinegar.
- Easy Elegance: Edible gold leaf is a simple way to make homemade treats look professionally catered.
- Party Ready: They hold up beautifully at room temperature, making them ideal for dessert tables.
Ingredients
- All-purpose flour
- Unsweetened cocoa powder
- Baking soda and salt
- Granulated sugar
- Vegetable oil
- Large eggs (room temperature)
- Buttermilk
- Red food coloring (gel preferred)
- Vanilla extract
- Distilled white vinegar
- Full-fat cream cheese
- Unsalted butter
- Powdered sugar
- Edible 24k gold leaf sheets or flakes
The secret to the perfect red velvet flavor lies in the chemistry between the cocoa powder, buttermilk, and vinegar. This trio creates the subtle tang and reacts with the baking soda to give the cupcakes their signature airy lift. I always recommend using a high-quality cocoa powder; even though it’s a small amount, it provides the structural backbone of the flavor profile.
When it comes to the color, gel food coloring is your best friend. Unlike liquid drops, gel is highly concentrated, meaning you can achieve that deep, dramatic red without adding excess moisture to your batter. For the topping, ensure your gold leaf is labeled as ‘edible’ and ’24k’—this ensures it is safe for consumption and won’t have a metallic aftertaste.
Step-by-Step Instructions
- Preheat your oven and prep the tins. Set your oven to 350°F (175°C) and line a standard muffin tin with high-quality paper liners to prevent sticking.
- Whisk the dry ingredients together. In a medium bowl, sift together the flour, cocoa powder, baking soda, and salt to ensure there are no lumps in your velvet crumb.
- Cream the sugar and oil. In a large mixing bowl, beat the sugar and vegetable oil together until well combined, then add the eggs one at a time, beating well after each addition.
- Incorporate the color and flavor. Stir in the red food gel, vanilla extract, and vinegar until the mixture is a uniform, vibrant crimson.
- Alternate the flour and buttermilk. Gradually add the dry ingredients to the wet mixture, alternating with the buttermilk, beginning and ending with the flour until just combined.
- Bake to perfection. Fill the cupcake liners about two-thirds full and bake for 18-22 minutes, or until a toothpick inserted into the center comes out clean.
- Cool and frost. Allow the cupcakes to cool completely before piping on a generous swirl of silky cream cheese frosting.
- Apply the gold leaf accents. Using clean tweezers or a dry paintbrush, gently lift small flakes of gold leaf and press them onto the fresh frosting for a gilded finish.
Pro Tips for the Best Red Velvet Party Cupcakes with Gold Leaf
- Use room temperature ingredients to ensure the batter emulsifies perfectly and the frosting stays smooth and lump-free.
- Don’t overmix the batter once you add the flour; overmixing develops gluten, which can lead to a tough cupcake rather than a velvety one.
- Handle gold leaf with care by using dedicated tweezers or a brush, as the oils from your fingers will cause the gold to stick to you instead of the cupcake.
- Sift your powdered sugar before making the frosting to achieve that professional, airbrushed look in your piping.
- Apply gold leaf last right before serving if possible, though it will hold up fine, it looks its most brilliant when freshly applied.
Variations & Serving Ideas
- Chocolate Heart Center: Drop a small piece of dark chocolate into the batter before baking for an oozing surprise.
- Ombre Frosting: Tint portions of your cream cheese frosting in varying shades of pink or red for a gradient effect under the gold.
- Miniature Gilded Bites: Use a mini-muffin tin for bite-sized party favors that look like tiny jewels.
- Champagne Pairing: Serve these alongside a glass of crisp Rosé or Champagne to highlight the elegance of the gold.
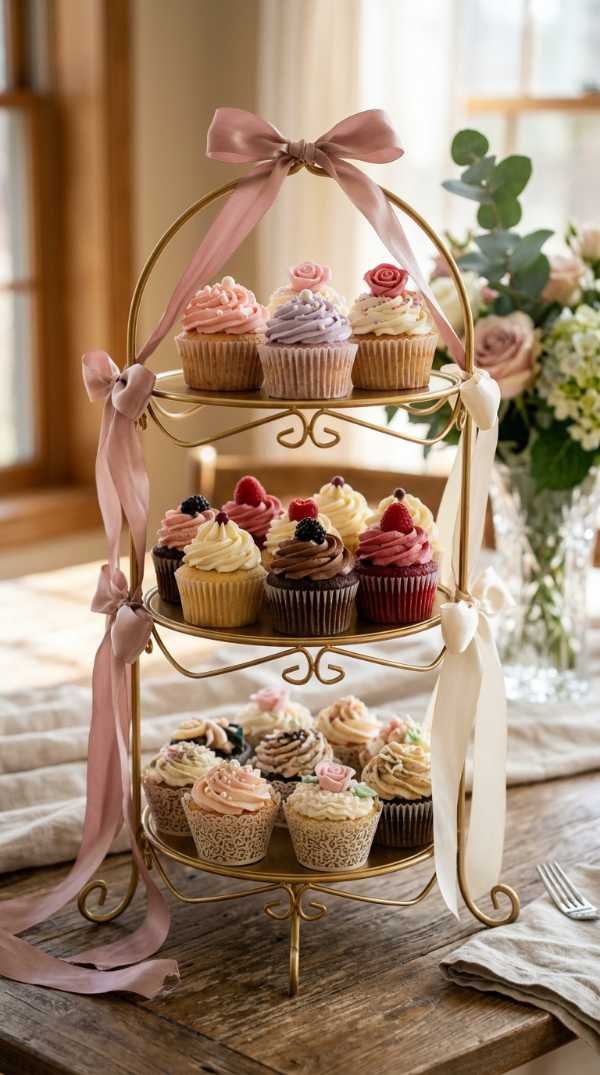
When serving these at a party, I love to use a dark slate or a white marble cake stand. The contrast against the dark background makes the gold pop, while the marble emphasizes the clean, sophisticated look of the white frosting. Space them out generously to let each ‘jewel’ shine on its own.
Storage, Make-Ahead & Reheating
These cupcakes are wonderful for planning ahead. You can bake the cake bases up to two days in advance; just store them in an airtight container at room temperature. The cream cheese frosting can also be made ahead and kept in the fridge, but I recommend giving it a quick whip with a hand mixer before piping to restore its fluffy texture.
Because of the cream cheese in the frosting, assembled cupcakes should be stored in the refrigerator if they won’t be eaten within a few hours. In an airtight container, they will stay fresh for up to 4 days. Before serving, let them sit at room temperature for about 20-30 minutes so the frosting softens and the flavors can fully bloom.
I do not recommend reheating these once they are frosted, as the cream cheese will melt into a puddle. However, if you have unfrosted leftovers, a quick 5-10 seconds in the microwave can revive that fresh-from-the-oven warmth. For long-term storage, unfrosted cupcakes freeze beautifully for up to 3 months when wrapped tightly in plastic wrap.
Frequently Asked Questions
Is edible gold leaf real gold?
Yes, edible 24k gold leaf is real gold that has been hammered into incredibly thin sheets. Because gold is chemically inert, it passes through the digestive system without being absorbed, making it safe to eat in small decorative quantities.
Can I use natural food coloring for the red?
You can use beet powder or natural red dyes, but keep in mind that the color may turn more of a brownish-maroon rather than bright red due to the pH levels and heat of the oven. For that iconic ‘party’ red, gel colors are the most reliable.
Why did my gold leaf clump up?
Gold leaf is extremely sensitive to moisture and static. Ensure your hands are completely dry and avoid touching it directly. Using a static-free wooden skewer or a dedicated dry brush is the best way to handle it.
How do I keep my cream cheese frosting from being runny?
The key is to use cold, block-style cream cheese (not the spreadable kind in a tub) and room temperature butter. Beat the butter first until creamy, then add the cold cream cheese and sugar quickly to avoid over-warming the fats.
Final Thoughts
Bringing these Red Velvet Party Cupcakes to your next gathering is more than just providing a snack; it’s providing an experience. There’s a psychological joy in eating something that looks so precious, and the classic flavor profile ensures that the taste lives up to the visual hype. I’ve seen these cupcakes turn a standard office party into a gala and a simple birthday into a royal affair.
Remember that baking is an art form, and the gold leaf is your final brushstroke. Don’t worry if the flakes aren’t perfectly symmetrical—the organic, shattered look of the gold is part of its charm. It reflects the light beautifully and tells your guests that you put thought into every single detail of their treat.
I hope you enjoy the process of making these as much as your guests will enjoy eating them. There’s a little bit of magic in every red velvet crumb, and with that golden touch, you’re truly the master of your kitchen. Happy baking, and may your celebrations always be as bright as 24k gold!
Red Velvet Party Cupcakes with Gold Leaf
An ultra-moist, classic red velvet cupcake topped with velvety cream cheese frosting and genuine edible gold leaf flakes for a luxurious finish.
Author: Gourmet Lifestyle Blog
Prep Time: 25 mins
Cook Time: 20 mins
Total Time: 45 mins
Yield: 12 Cupcakes
Category: Dessert
Method: Baking
Cuisine: American
Ingredients
- 1 1/2 cups all-purpose flour
- 1 cup granulated sugar
- 1 tsp baking soda
- 1/2 tsp salt
- 1 tsp cocoa powder
- 3/4 cup vegetable oil
- 1/2 cup buttermilk
- 1 large egg
- 1 tbsp red food gel coloring
- 1/2 tsp distilled white vinegar
- 1/2 tsp vanilla extract
- 8 oz cream cheese (chilled)
- 1/2 cup unsalted butter (softened)
- 3 cups powdered sugar
- 1 sheet edible 24k gold leaf
Instructions
- Preheat oven to 350°F and line cupcake tray.
- Whisk flour, sugar, baking soda, salt, and cocoa in a bowl.
- In a separate bowl, whisk oil, buttermilk, egg, food coloring, vinegar, and vanilla.
- Combine wet and dry ingredients until smooth.
- Divide batter into liners and bake for 18-20 minutes.
- Beat butter and cream cheese together, then add powdered sugar until fluffy.
- Pipe frosting onto cooled cupcakes.
- Gently apply gold leaf flakes using tweezers.
Nutrition
Serving Size: 1 cupcake | Calories: 380 | Sugar: 32g | Sodium: 210mg | Fat: 22g | Saturated Fat: 8g | Carbohydrates: 44g | Protein: 3g