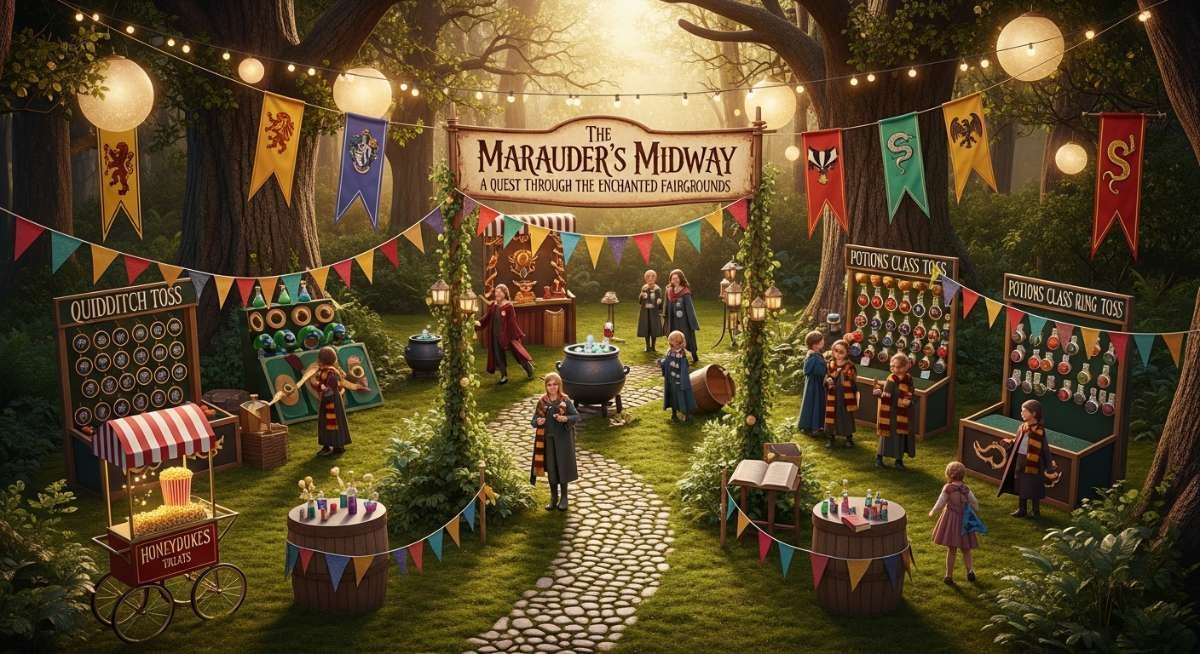
There is something inherently magical about the intersection of a vintage Victorian carnival and the mystical world of wizardry. I remember the first time I sat down to sketch ‘The Marauder’s Midway.’ It wasn’t just about putting a wizard hat on a popcorn machine; it was about creating a sensory experience where the smell of butterscotch popcorn meets the visual wonder of floating candles and red-striped circus tents. This theme is for the dreamers who want to bring a bit of Hogsmeade flair to a classic fairground atmosphere.
As an event stylist, I’m always looking for that ‘perfect fusion’ that feels both nostalgic and fresh. By blending deep burgundy and gold accents with the whimsy of a carnival boardwalk, we create a space that feels like a secret map come to life. Whether you’re planning a milestone birthday or a sophisticated gathering for Potter-heads, this setup transforms any venue into an enchanted fairground where every corner holds a new mystery to discover.
The goal is to move beyond basic party supplies and lean into textures like velvet, aged parchment, and polished brass. Imagine a dessert table that looks like a high-end curiosity shop, flanked by striped banners and glowing lanterns. It’s about the details—the way the light flickers off a golden snitch hidden in a pile of prize tickets. Let’s dive into how you can bring this magical midway to life in your own home or event space.
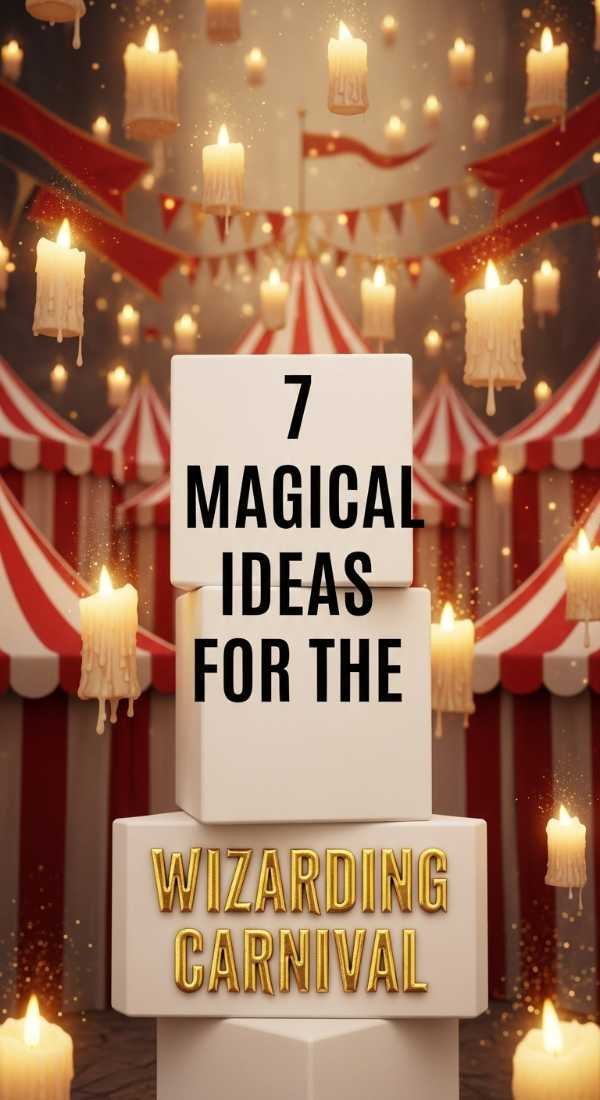
Why You’ll Love This Party Decor Theme
- Unique Fusion: It combines the beloved wizarding aesthetic with the high-energy fun of a vintage carnival.
- Visual Richness: The contrast between dark magical elements and bright carnival stripes creates stunning photography backdrops.
- Interactive Elements: Every ‘booth’ becomes a game or a magical lesson, keeping guests engaged for hours.
- Highly Customizable: You can lean more into the ‘spooky’ dark arts side or keep it whimsical and bright for younger children.
- Timeless Appeal: This theme bridges the gap between childhood wonder and adult nostalgia perfectly.
Essential Decor Items & Supplies Needed
- Textiles: Red and white striped fabric bolts, burgundy velvet table runners, and cheesecloth for ‘cobweb’ effects.
- Lighting: Battery-operated floating LED candles, warm white fairy lights, and vintage-style Edison bulb strands.
- Furniture: Rustic wooden crates, vintage trunks, and gold-painted birdcages.
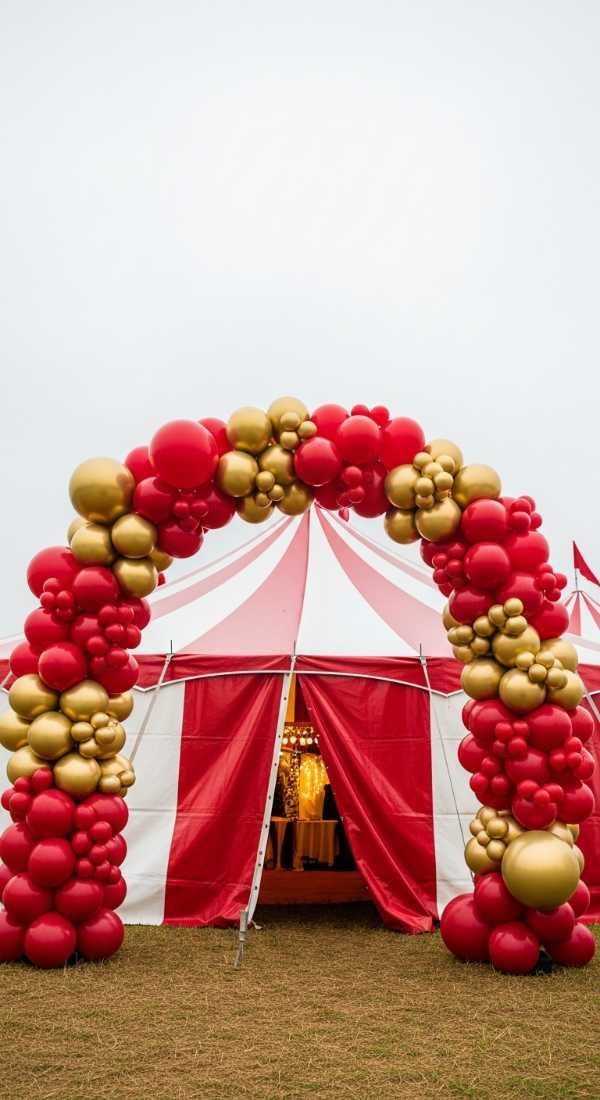
- Balloons & Backdrops: A 7ft circular backdrop stand, matte gold and deep maroon balloons, and a ‘Marauder’s Map’ inspired floor vinyl.
- Floral & Greenery: Dried eucalyptus, dark red roses, and faux willow branches to add an organic, ancient feel.
- Tableware: Gold-rimmed plates, ‘potion’ bottle glassware, and striped popcorn boxes with custom wax seals.
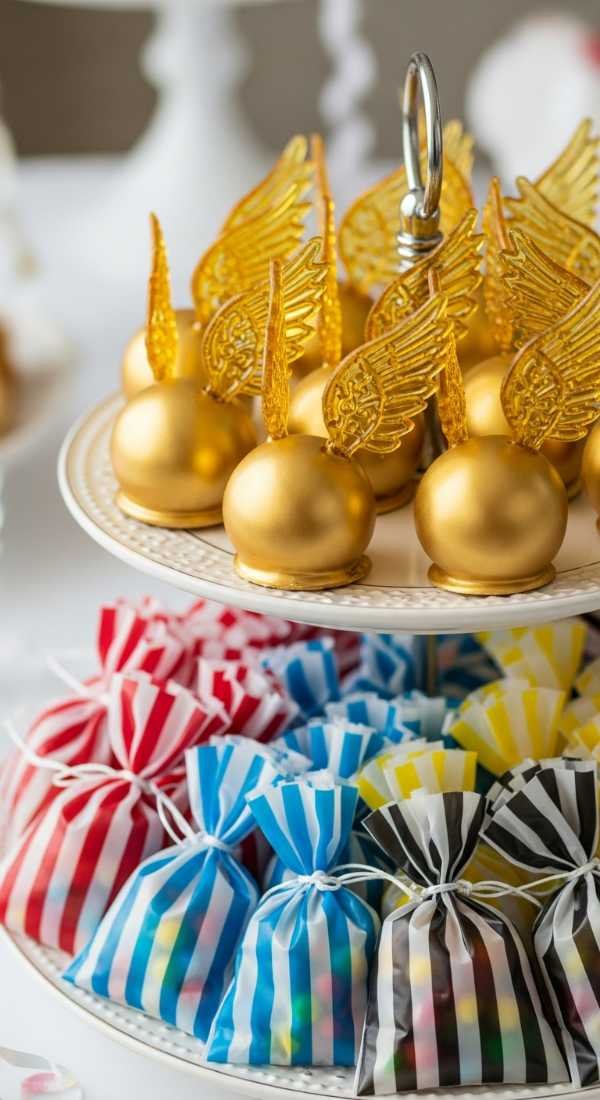
To master the look, your color scheme should focus on ‘Antiqued Carnival.’ Think deep oxblood red, burnt gold, and charcoal black, accented with the classic circus white-and-red stripe. This palette keeps the vibe sophisticated rather than cartoonish. The textures should be a mix of rough and smooth: think distressed wood booths paired with silky ribbons and metallic accents.
Lighting is the most critical component of the Marauder’s Midway. You want a ‘dimly lit fairground’ vibe. Use fairy lights inside glass cloches to mimic captured fireflies, and hang floating candles at varying heights to create a sense of vertical movement. This layered approach ensures that even the simplest corner feels like it’s glowing with enchantment.
Step-by-Step DIY Setup Guide
- Construct your ‘Tent’ focal point. Use a large backdrop stand and drape red and white striped fabric from the center point outwards to create a canopy effect that mimics a circus big top.
- Layer your base lighting. String Edison bulbs across the ceiling or the top of your backdrop to provide a warm, amber glow that anchors the entire room.
- Build the ‘Concessions’ apothecary. Use rustic crates to create different heights on your main table, placing ‘Potions’ (colored sodas) and ‘Cauldron Cakes’ (cupcakes) at varying levels.
- Install the floating candle ceiling. Using clear fishing wire, hang battery-operated LED candles from the ceiling or the frame of your tent canopy for that iconic wizarding world look.
- Add the ‘Carnival’ signage. Create or print signs in a vintage circus font that say things like ‘Strength Test: The Giant’s Hammer’ or ‘Divination Hoop Toss’ to label your activities.
- Detail with magical props. Scatter gold-painted snitches, old leather-bound books, and oversized playing cards around the table settings to tie the two themes together.
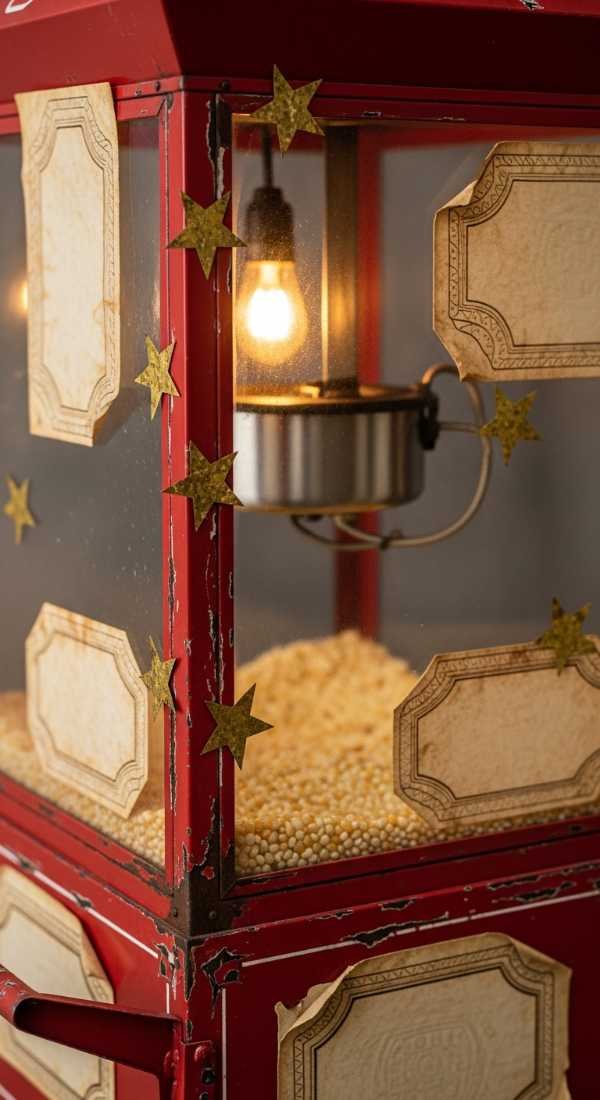
Pro Styling Tips for Magical Wizarding Carnival Birthday
- Mix your metals. Use a combination of tarnished silver and polished gold to give the impression of a collection gathered over centuries.
- Use scent as decor. Place a cinnamon or butterscotch scented diffuser near the dessert table to evoke the smell of magical treats.
- Height is everything. Never let your decor sit flat on a table; use old books or upturned wooden buckets to create a skyline of treats and treasures.
- Personalize the tickets. Create custom ‘Midway Passes’ for each guest that look like aged parchment but feature carnival-style tear-off stubs.
Theme Variations & Table Setting Ideas
- The Dark Arts Carnival: Lean into deep greens, silvers, and black lace for a Slytherin-inspired ‘Nocturn Alley’ fairground vibe.
- The Yule Ball Midway: Use icy blues, silver glitter, and white fur textures for a winter-themed magical carnival.
- The Quidditch World Cup Fair: Focus on sporty elements, using broomsticks as table runners and house-colored pennants as bunting.
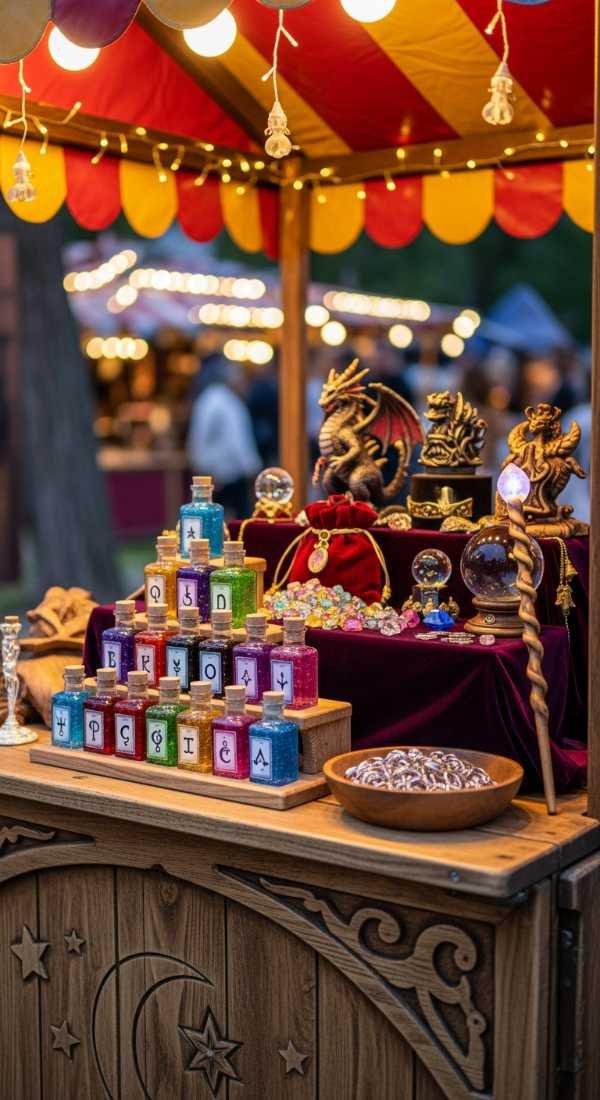
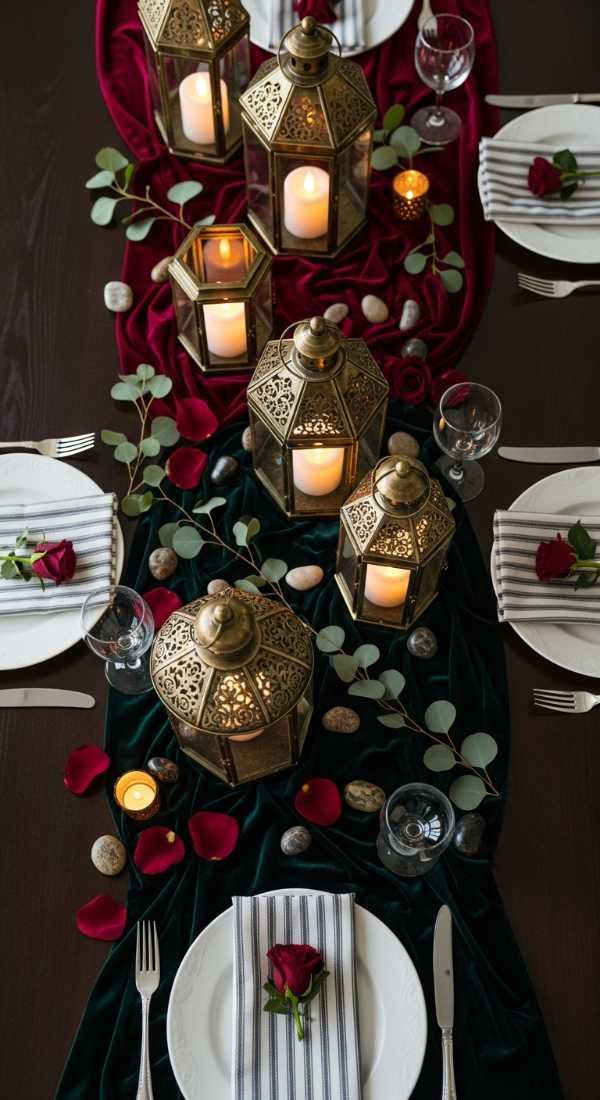
For the table settings, I recommend using a base of charcoal grey linen to let the gold accents pop. Place a single ‘Golden Snitch’ (a Ferrero Rocher with paper wings) at each setting. Use vintage-style carnival tickets as place cards, tucked into the tines of a gold fork. The centerpiece should be a mixture of tall candelabras and low-lying ‘crystal balls’ (clear glass globes filled with iridescent tinsel or fairy lights).
Pre-Party Setup Timeline, Assembly & Teardown
Two days before the event, focus on your ‘hard’ builds. This includes assembling the backdrop frame, painting any crates or signs, and prep-filling your potion bottles. This is also the best time to test your floating candles to ensure all batteries are working and the fishing line is secure.
On the day of the party, start from the top down. Hang your ceiling elements (canopy and candles) first so you aren’t bumping into table decor later. Once the ‘sky’ is set, move to the large furniture pieces, then the balloons, and finally the delicate table items and florals. Save the food and ‘potions’ for the final hour to keep everything fresh.
Teardown should be handled systematically to preserve your props. Start by removing all battery-operated lights and storing them in a dedicated bin. Deflate balloons (or give them away to guests!), and fold your fabrics along the seams to prevent heavy wrinkling. If you’ve used fresh greenery, compost it immediately to avoid a mess in your storage bins.
Frequently Asked Questions
How do I keep the floating candles from tangling?
The trick is to use a slightly thicker fishing line (at least 10lb test) and hang them at least 12 inches apart. If you are outdoors, ensure they are sheltered from heavy wind, or use small dabs of poster putty to anchor the bottom of the candle to a nearby surface if needed.
What is the best way to create a ‘gold snitch’ without spending a fortune?
You can use gold-wrapped chocolate truffles and attach small white paper wings using a tiny dot of hot glue or glue dots. Alternatively, spray-paint ping pong balls gold and use white feathers for a more durable decor piece.
Can this theme work for an outdoor venue?
Absolutely! In fact, a backyard setting can enhance the ‘traveling circus’ vibe. Just ensure your backdrop stands are weighted with sandbags and that your ‘floating’ elements are hung from tree branches or a sturdy pergola.
How can I make the carnival games feel ‘magical’?
It’s all in the naming and the props. Instead of a ‘Ring Toss,’ call it ‘Mandrake Restraint.’ Use a ‘Crystal Ball’ for a bowling game, or have a ‘Spell Casting’ station where guests have to knock over targets using a ‘wand’ (a bean bag or small ball).
Final Thoughts & Party Checklist
Creating a Marauder’s Midway is about more than just a beautiful setup; it’s about crafting a world where your guests can lose themselves in the magic. The contrast of the whimsical carnival and the mysterious wizarding world offers endless opportunities for creativity. When you see your guests’ faces light up as they walk under the ‘big top’ and see the floating candles for the first time, all the effort in the details will feel worth it.
Remember to stay organized and stick to your timeline. A party this detailed requires a bit of logistical planning, but the result is a breathtaking, viral-worthy event that will be talked about for years. Don’t forget to take photos before the guests arrive to capture the pristine beauty of your hard work!
Stay magical, keep dreaming, and may your midway be filled with nothing but wonder and joy. Happy planning!
Magical Wizarding Carnival Birthday Setup Guide
A comprehensive guide to creating a high-end, immersive wizarding world fairground experience right in your living room or event space.
Stylist: Professional Event Designer | Setup Time: 4-6 Hours | Difficulty Level: Intermediate | Ideal Occasion: Birthdays, Themed Galas | Estimated Budget: $200 – $500 | Key Color Palette: Burgundy, Gold, Red/White Stripes, Charcoal
Essentials & Materials
- Red and white striped backdrop fabric
- Floating LED candles with remote
- Vintage wooden trunks and crates
- Gold foil star and orb balloons
- Custom parchment-style signage
- Apothecary jars and glass cloches
Setup Instructions
- Establish the ‘Big Top’ focal point using a backdrop stand and draped fabric.
- Hang the floating candles using clear fishing wire at varying heights.
- Set up the main ‘Concessions’ table with tiered crates and thematic food.
- Place interactive ‘Game Booths’ around the perimeter of the room.
- Add the final layer of ambient lighting with fairy lights and Edison bulbs.
Decor Specs & Ambience
The lighting should be warm and atmospheric, utilizing amber tones to mimic candlelight. The focal point is the dessert table, designed to look like a magical stall. Table arrangements should be layered with vintage books and gold accents. The backdrop should provide a high-contrast ‘circus’ feel that anchors the entire room’s aesthetic.