The Coquette Court: How to Style a Dreamy Pastel Ribbon Birthday
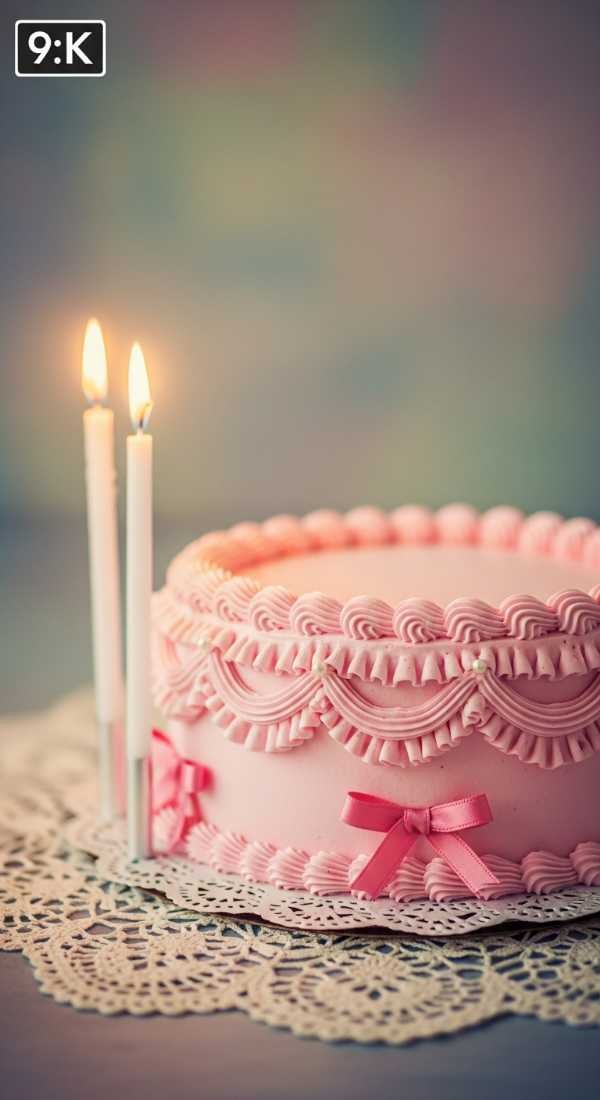
Last spring, I had the pleasure of designing a birthday celebration for a client who wanted something that felt like a modern-day fairytale. She didn’t want the traditional bright tiaras and plastic castle props; she wanted something sophisticated, soft, and deeply rooted in the ‘coquette’ aesthetic. We spent weeks sourcing the perfect shades of ‘stolen cherry’ pink and champagne cream, eventually settling on a theme we dubbed ‘The Coquette Court.’ It was a masterclass in using delicate textures—satin ribbons, sheer tulle, and delicate pearls—to create an atmosphere that felt both royal and effortlessly chic.
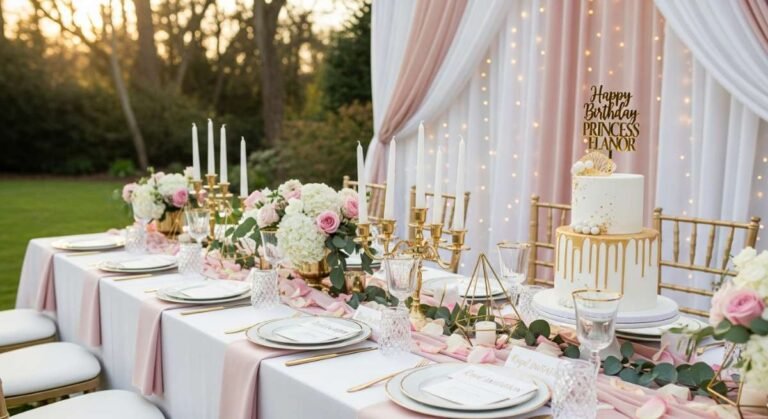
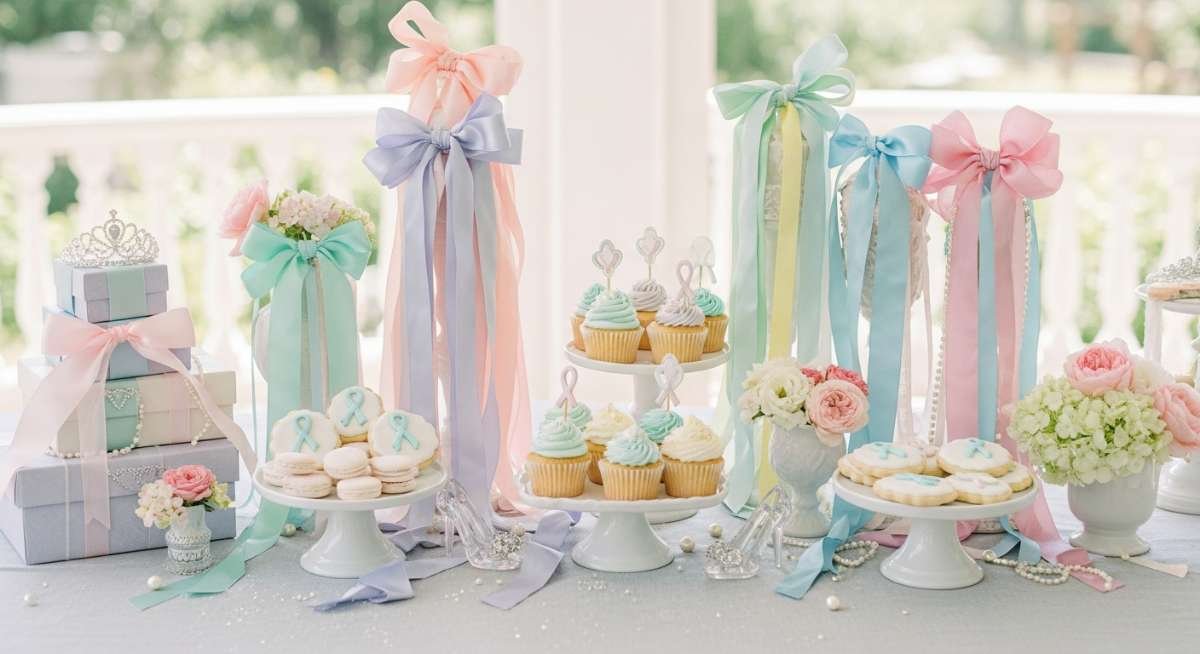
The magic of an Aesthetic Princess Birthday lies in the details. It’s about moving away from the loud, saturated colors of childhood and embracing a palette that feels like a vintage French patisserie. Think mounds of baby’s breath tucked into velvet ribbons, antique gold accents catching the light of a hundred flickering candles, and a sense of whimsy that invites every guest to feel like a modern-day debutante. This isn’t just a party; it’s a curated experience designed for the ultimate photo-op and memory-making.
Whether you are planning this for a toddler’s first birthday or a sophisticated ‘Sweet 21st,’ the principles remain the same: softness, symmetry, and a touch of vintage charm. By the end of this guide, you’ll know exactly how to transform a standard living room or garden space into a dreamy pastel sanctuary that would make Marie Antoinette herself swoon with envy.
Why You’ll Love This Party Decor Theme
- Timeless Elegance: The combination of pastels and ribbons never goes out of style.
- High Social Media Appeal: Every corner is a ‘Pinterest-perfect’ moment.
- Scalable Budget: You can achieve a high-end look with DIY ribbon crafts and thrifted glassware.
- Versatile Age Range: Works beautifully for little girls, teens, and even bridal showers.
- Texture-Rich Environment: The mix of satin, lace, and florals creates a sensory delight.
Essential Decor Items & Supplies Needed
- Assorted Satin & Grosgrain Ribbons: Shades of blush, cream, and sage green.
- Balloon Arch Kit: Double-stuffed balloons in matte pastel tones for a ‘pro’ look.
- Gold Frame Mirrors: For signage and vanity displays.
- Sheer Tulle Fabric: For table draping and backdrop layering.
- Floral Garlands: Faux or fresh roses, peonies, and plenty of baby’s breath.
- Fairy Lights & Taper Candles: To create a soft, warm glow.
- Vintage-Style Tableware: Scalloped plates, gold flatware, and crystal coupes.
- Pearl Strings: For draping over floral arrangements and cake stands.
The color scheme is the foundation of the ‘Coquette Court.’ Aim for a base of ‘Antique Cream’ and ‘Warm White,’ then layer in ‘Petal Pink’ and ‘Dusty Rose.’ To prevent the look from becoming too monochromatic, add small pops of ‘Sage Green’ through greenery or ‘Icy Blue’ ribbons. These secondary colors provide depth and prevent the setup from looking flat in photographs. Lighting should be strictly warm-toned; avoid harsh overhead lights and instead rely on the golden flicker of candles and the twinkle of LED fairy lights hidden beneath tulle layers.
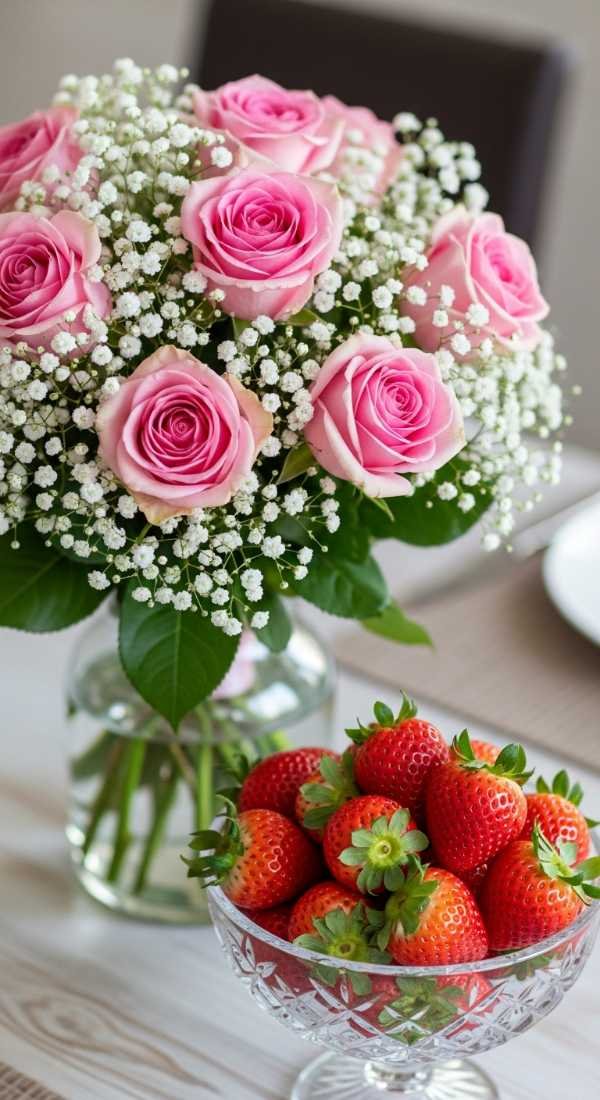
Textures are what give this theme its ‘Aesthetic’ title. You want to contrast the smoothness of satin ribbons against the frothiness of tulle and the organic softness of fresh flowers. Focal points should be strategically placed to guide the eye: a massive ribbon-adorned backdrop behind the cake table, a low-seated picnic arrangement with plush velvet cushions, and a ‘gift vanity’ styled with vintage perfume bottles and pearls. These zones create mini-vignettes that keep the guests engaged and the space feeling full and intentional.
Step-by-Step DIY Setup Guide
- Prep your ribbon bundles in advance. Cut varying lengths of satin ribbons in your chosen palette and notch the ends for a polished look.
- Construct the main focal backdrop. Use a telescopic stand to drape sheer tulle fabric, then tie your pre-cut ribbons along the top bar so they hang vertically like a soft waterfall.
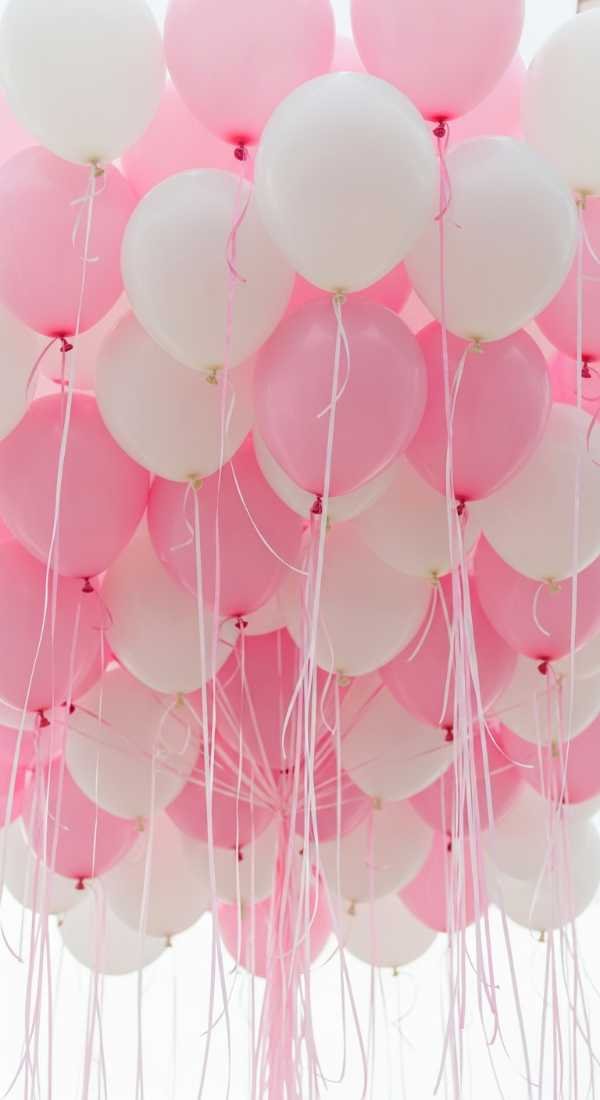
- Inflate and assemble the matte balloon garland. Use a mix of 5-inch, 11-inch, and 18-inch balloons to create an organic shape, then tuck in sprigs of baby’s breath and small ribbon bows.
- Set the royal table scape. Lay down a tulle runner, place your scalloped chargers, and tie a small ribbon bow around each linen napkin.
- Style the ‘Mirror Signage’. Use a white chalk marker to write a welcome message or the menu on a large vintage-style gold mirror.
- Final floral and pearl touches. Drape pearl strands over the cake stand and scatter rose petals around the base of your taper candles for a romantic finish.
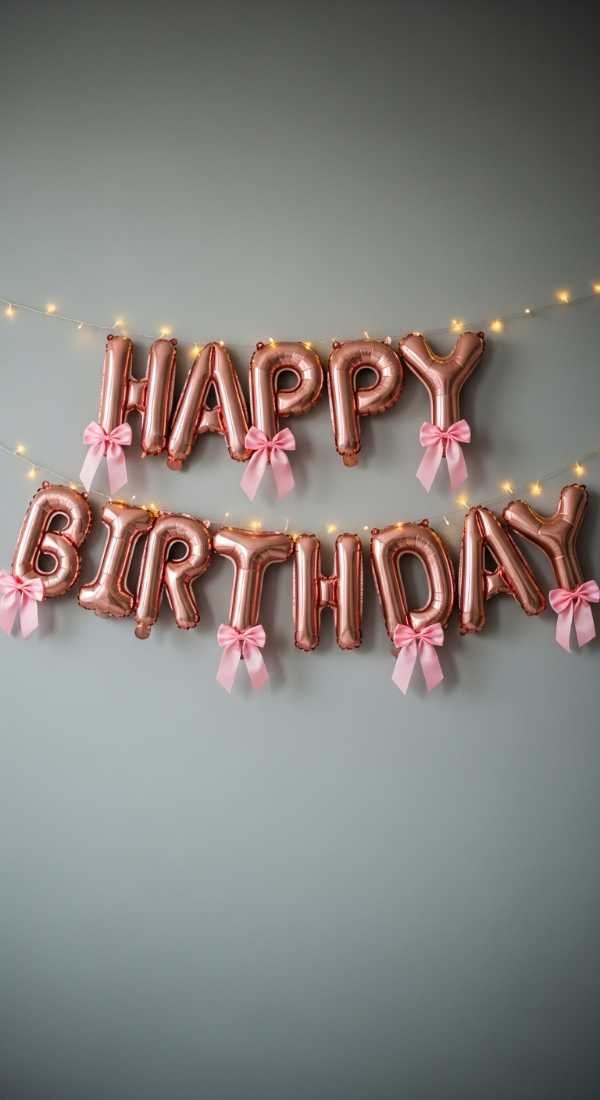
Pro Styling Tips for Aesthetic Princess Birthday Party
- Layer your linens. Use a solid floor-length tablecloth as a base and layer a shorter lace or tulle cloth on top for dimension.
- Use ‘Double-Stuffing’ for balloons. Put a dark balloon inside a light one to create custom, opaque pastel colors that look much more expensive.
- Incorporate ‘Bow-Core’. Tie ribbons on everything—from the stems of wine glasses to the backs of chairs and even around the necks of vases.
- Scent the space. Use rose or vanilla candles (if safe) or a room spray to ensure the party smells as dreamy as it looks.
- Personalize the place settings. Use small cardstock tags with guests’ names written in calligraphy, attached with a tiny pearl pin.
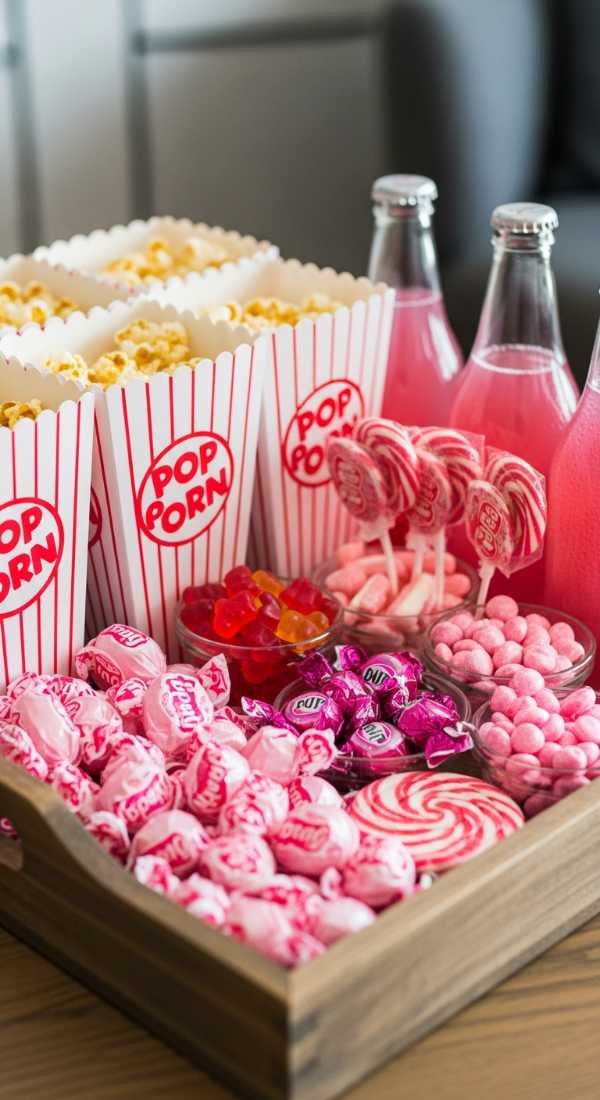
Theme Variations & Table Setting Ideas
- The Secret Garden Princess: Focus heavily on moss runners, climbing ivy, and wilder floral arrangements mixed with the ribbon elements.
- Modern Rococo: Introduce more gold accents, ornate cherub figurines, and a palette featuring ‘Powder Blue’ and ‘Gold Leaf.’
- The Minimalist Coquette: Keep the colors strictly cream and white, using only ribbons and pearls for decor with no balloons or heavy florals.
For the ultimate table setting, arrange your backdrop behind the main seating area so it frames the guests. Use a mix of high and low centerpieces to create visual interest. Ambient lighting is best achieved by placing fairy lights inside glass cloches or weaving them through the floral garlands. If the party is outdoors, ensure the ribbons are long enough to dance in the breeze, creating a sense of movement and life.
Pre-Party Setup Timeline, Assembly & Teardown
Preparation begins one week prior. This is when you should source all your materials, cut your ribbons, and ensure your linens are steamed and wrinkle-free. If you are using fresh flowers, pick them up two days before the event and keep them in a cool dark place. Prepare any DIY signage and ‘stuff’ your balloons if you are using the double-stuffing method to save time on the day of the event.
On the day of the party, give yourself at least four hours for assembly. Start with the ‘heavy lifting’—the backdrop stand and the balloon arch. Once the structure is in place, move to the tablescape. Setting the table is a meditative process that should be done before the guests arrive to ensure every fork is aligned and every ribbon is perfectly tied. The last 30 minutes should be reserved for lighting candles and doing a final ‘walk-through’ to tuck in any stray wires or stems.
Teardown should be handled with care to preserve items for future use. Untie ribbons and roll them neatly to avoid creases. If you used faux florals, pack them in lidded bins. Mirrors should be wiped down immediately with glass cleaner to remove chalk marker residue. The goal is to leave the space as pristine as you found it, with nothing but beautiful photos and happy memories remaining.
Frequently Asked Questions
Can I pull off this theme in a small apartment?
Absolutely! Focus on one ‘Power Wall’—usually the cake table. By concentrating your ribbons, balloons, and mirrors in one area, you create a high-impact zone that defines the whole room without cluttering the floor space.
How do I stop the candles from being a fire hazard?
I highly recommend high-quality LED taper candles. They look incredibly realistic in photos, and you don’t have to worry about guests (or little princesses) knocking them over or wax dripping on your beautiful ribbons.
What if I can’t find vintage gold mirrors?
Check local thrift stores or Facebook Marketplace. Even a cheap plastic mirror can be transformed with a can of antique gold spray paint. You can also use large picture frames with the backing removed and write on the glass.
Are fresh flowers necessary?
While fresh flowers add a lovely scent, high-quality silk flowers look just as good in photos. I often mix the two: use silk flowers for the high-up arches and fresh baby’s breath for the table arrangements where guests can see them closely.
Final Thoughts & Party Checklist
The ‘Coquette Court’ theme is more than just a decor trend; it’s a celebration of femininity, grace, and the joy of the ‘extra.’ By focusing on the interplay of soft colors and delicate textures, you create an environment that feels curated and deeply personal. Remember that the best parties aren’t just about how things look, but how they make your guests feel. A space filled with ribbons and soft light naturally encourages conversation and a sense of wonder.
As you prepare for your setup, don’t feel pressured to make everything ‘perfect.’ The beauty of this aesthetic is its slightly whimsical, ‘undone’ elegance. A ribbon that’s a little crooked or a balloon arch that’s slightly asymmetrical only adds to the charm of a handmade, heart-filled celebration. Take your time, enjoy the creative process, and don’t forget to step back and take a photo of your hard work before the first guest rings the doorbell.
Before you begin your styling journey, ensure you have your checklist ready. From the first ribbon snip to the last candle lit, staying organized is the secret to a stress-free hosting experience. May your Aesthetic Princess Birthday be as dreamy as the visions in your head and as beautiful as the person you are celebrating!
Aesthetic Princess Birthday Party Setup Guide
A sophisticated take on the princess theme, focusing on the ‘coquette’ aesthetic with heavy use of ribbons, pearls, and pastel textures.
Stylist: Professional Event Planner Style | Setup Time: 4-5 Hours | Difficulty Level: Moderate | Ideal Occasion: Birthdays, Bridal Showers, Baby Showers | Estimated Budget: $$ | Key Color Palette: Blush, Cream, Sage, Gold
Essentials & Materials
- Pastel Satin Ribbons (various widths)
- Double-stuffed matte balloons
- Tulle fabric (10-20 yards)
- Baby’s breath and spray roses
- Vintage gold mirrors
- LED taper candles and fairy lights
- Pearl strands and scalloped tableware
Setup Instructions
- Assemble the ribbon waterfall backdrop using a telescopic stand.
- Create an organic balloon garland and attach it to one side of the backdrop.
- Layer the dining table with floor-length linens and a tulle runner.
- Place centerpieces including florals, candles, and scattered pearls.
- Tie ribbon bows on chair backs, napkins, and glassware stems.
- Set up a mirror welcome sign and ensure all ambient lighting is turned on.
Decor Specs & Ambience
Lighting Style: Warm, diffused, and golden. Avoid overhead lights; use candles and fairy lights. Focal Points: Ribbon backdrop, styled vanity, and the tiered cake display. Table Arrangement: Symmetrical and layered with a mix of heights. Backdrop Details: Vertical ribbons mixed with tulle and balloon accents for a textured, 3D effect.