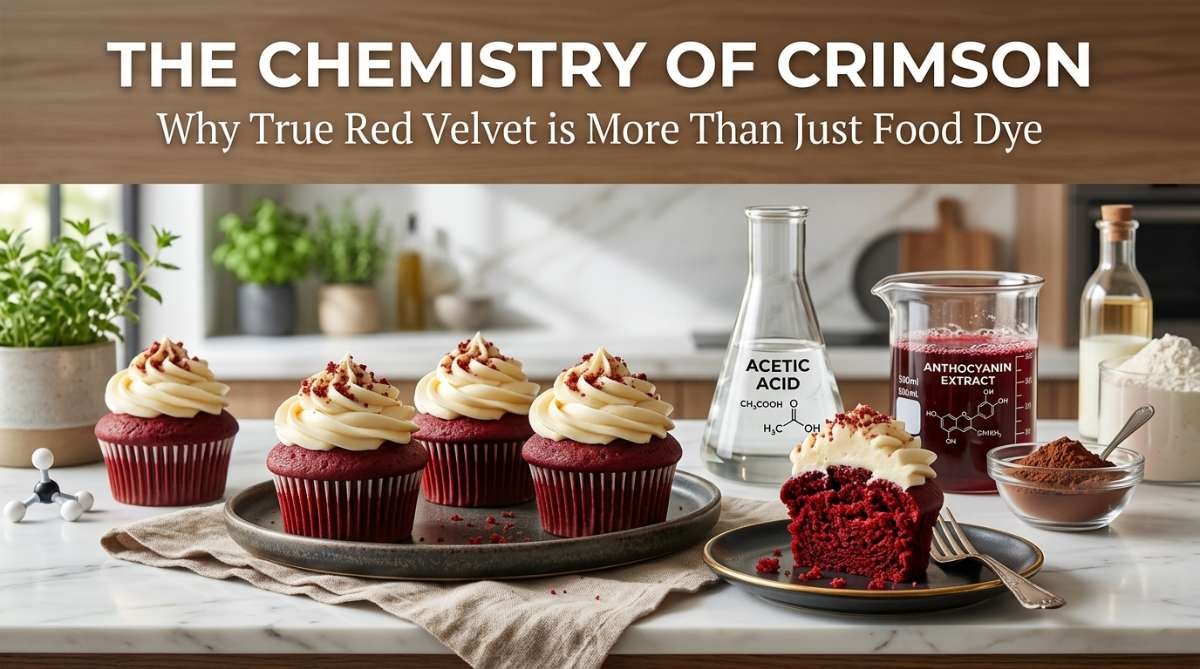
Growing up, my grandmother’s kitchen was a laboratory of sorts, though I didn’t know it then. I remember watching her reach for the white vinegar and buttermilk, wondering why on earth she was putting salad ingredients into a cake batter. She would wink and tell me, “It’s the chemistry of crimson, darling.” Back then, I thought it was just a fancy name, but as I grew into my own baking journey, I realized that true Red Velvet is a delicate dance between acid and alkali, producing a crumb so tender it feels like, well, velvet.
There’s a common misconception that Red Velvet is just a chocolate cake with a bottle of red dye dumped in. If that’s what you’ve been eating, I’m so sorry to tell you—you haven’t had the real thing yet. Authentic Red Velvet has a very specific flavor profile: it’s mild on the cocoa, distinctively tangy from the buttermilk, and has a slight zing from the vinegar that cuts through the rich cream cheese frosting. It’s a sophisticated flavor that deserves more than just a drop of color.
This recipe is my tribute to that kitchen laboratory. I’ve spent years perfecting the ratio to ensure these cupcakes are moist every single time, with a deep, sultry red hue that looks as good as it tastes. Whether you’re baking for a romantic Valentine’s Day, a holiday party, or just a Tuesday treat, these cupcakes are guaranteed to disappear within minutes. 
Why You’ll Love This Recipe
- The perfect balance of cocoa and tanginess.
- Incredibly moist crumb that stays soft for days.
- The classic chemistry reaction between vinegar and baking soda ensures a beautiful lift.
- Simple, pantry-staple ingredients with a gourmet result.
- A fail-proof cream cheese frosting that pipes like a dream.
Ingredients
- All-purpose flour
- Unsweetened cocoa powder
- Baking soda
- Salt
- Granulated sugar
- Vegetable oil
- Large eggs (room temperature)
- Red food coloring (gel preferred)
- Vanilla extract
- Buttermilk (room temperature)
- Distilled white vinegar
- Cream cheese (for frosting)
- Unsalted butter (for frosting)
- Powdered sugar (for frosting)
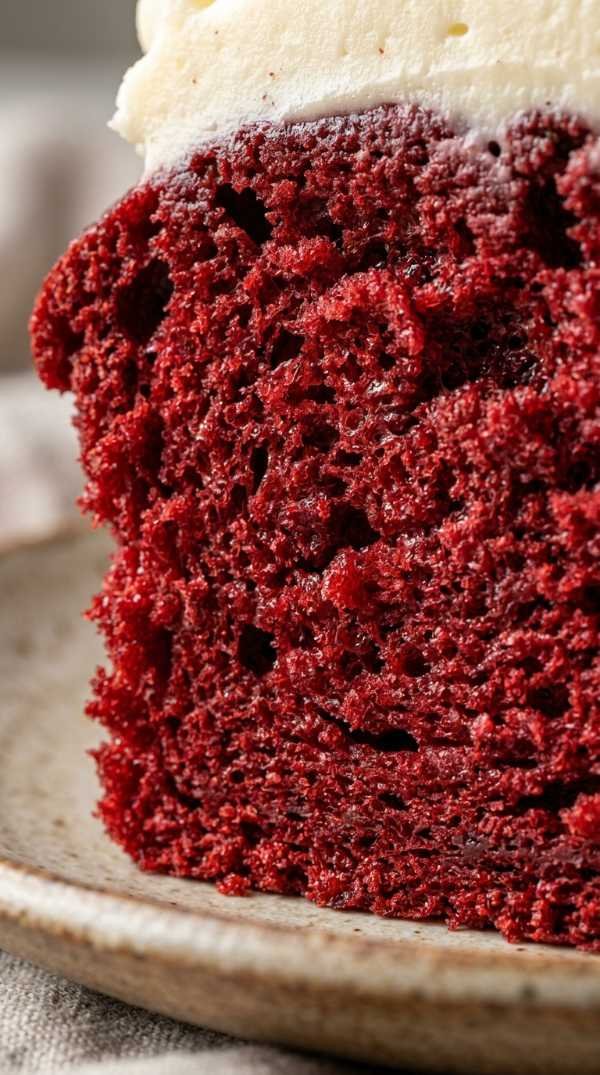
The secret to the unique texture of these cupcakes lies in the interaction between the buttermilk and the vinegar. These acidic components react with the baking soda to create tiny air bubbles, which results in a lighter-than-air crumb. Traditionally, this reaction also reacted with non-alkalized cocoa powder to create a natural reddish tint, though we use a bit of help from food coloring today for that iconic vibrant look.
Choosing the right oil is also crucial. While butter-based cakes are delicious, vegetable oil provides a superior moisture level that keeps the cupcakes from drying out, even when refrigerated. Combined with the tang of the buttermilk, you get a richness that isn’t heavy, allowing the vanilla and subtle cocoa notes to shine through beautifully. 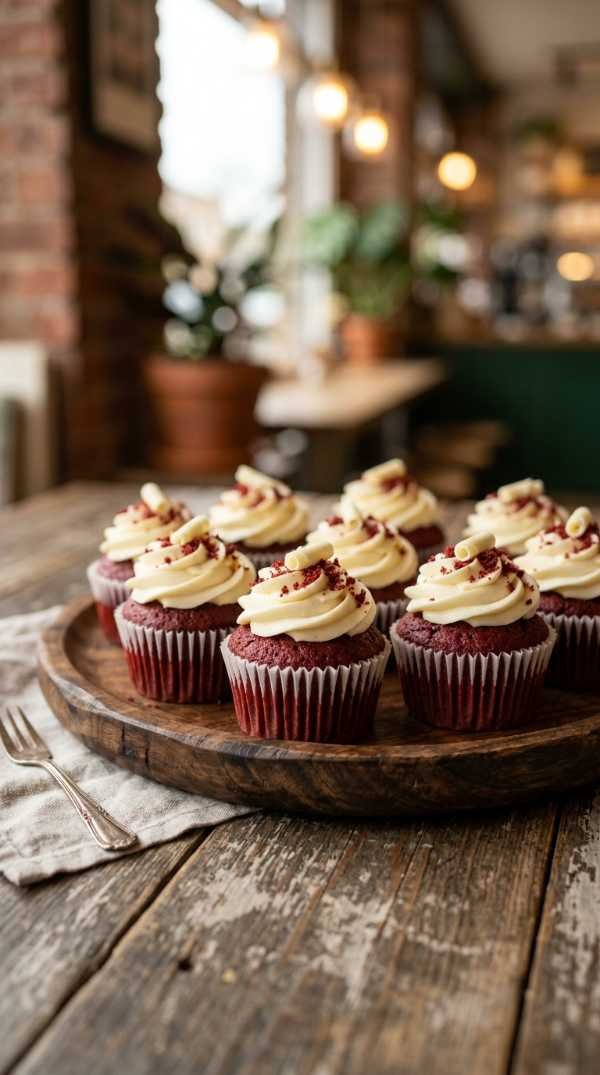
Step-by-Step Instructions
- Preheat your oven to 350°F (175°C) and line a muffin tin with cupcake liners. This ensures your oven is at the correct temperature for that initial rise.
- Whisk together the flour, cocoa powder, baking soda, and salt in a medium bowl. Sifting the cocoa powder is highly recommended to avoid any bitter clumps in your batter.
- In a large bowl, beat the sugar and vegetable oil until well combined. Add the eggs one at a time, beating well after each addition until the mixture is smooth and pale.
- Stir in the red food coloring and vanilla extract. Be sure to mix until the color is uniform throughout the wet ingredients before adding the dry components.
- Add the dry ingredients in three parts, alternating with the buttermilk. Start and end with the dry ingredients, mixing just until combined to avoid overworking the gluten.
- Whisk in the vinegar at the very end. You may see a few tiny bubbles; this is the chemistry happening in real-time to ensure your cupcakes are fluffy.
- Divide the batter evenly among the liners, filling each about 2/3 full. Bake for 18-22 minutes or until a toothpick inserted into the center comes out clean.
Pro Tips for the Best Red Velvet Cupcakes
- Use room temperature ingredients to ensure the batter emulsifies perfectly without curdling.
- Don’t overmix the batter once you add the flour, as this can lead to tough, dense cupcakes.
- Gel food coloring is superior to liquid coloring because it provides a more intense hue without thinning out the batter.
- Check for doneness early because overbaking is the number one enemy of a moist red velvet cupcake.
- Let the cupcakes cool completely before frosting, otherwise, your cream cheese frosting will melt and slide right off.
Variations & Serving Ideas
- Natural Dye Variation: Swap the red food coloring for 2 tablespoons of beet powder for a more natural, earthy crimson.
- Chocolate Chip Surprise: Fold in half a cup of mini chocolate chips for an extra texture contrast.
- Mini Cupcakes: Use a mini muffin tin and reduce baking time to 10-12 minutes for bite-sized party favors.
- Blue Velvet: Swap the red gel for royal blue gel for a striking, unconventional twist on the classic.
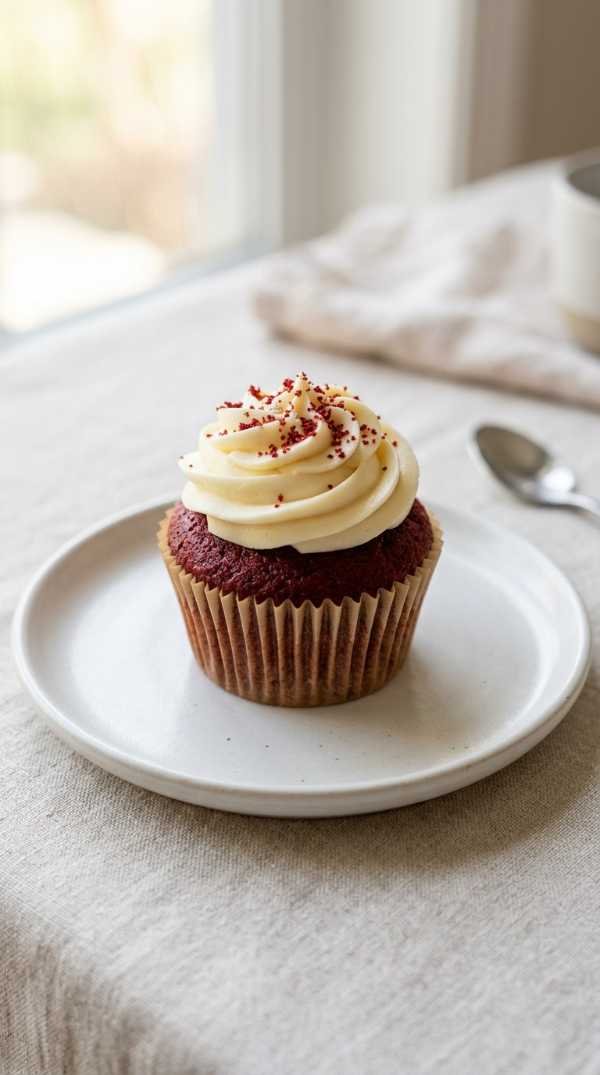
When serving, I love to sprinkle a few leftover cake crumbs on top of the cream cheese swirls. It gives them a professional, bakery-style finish. For a more decadent presentation, drizzle a little dark chocolate ganache over the frosting or top with a single fresh raspberry to highlight the red theme. 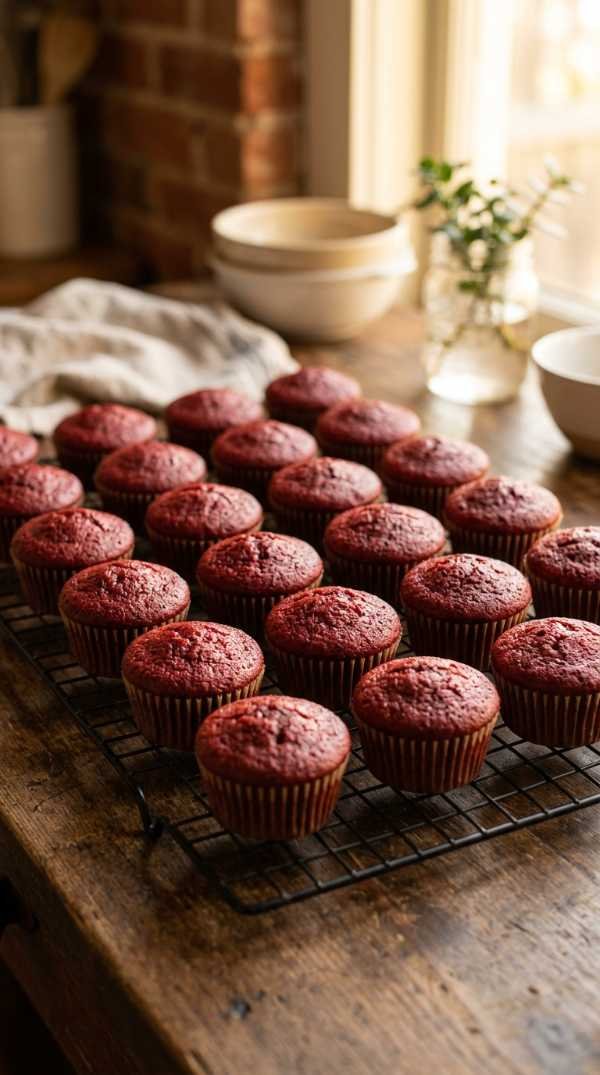
Storage, Make-Ahead & Reheating
Since these cupcakes feature a cream cheese frosting, they must be stored in the refrigerator if not eaten within two hours. Place them in an airtight container to prevent them from picking up any fridge odors. They will stay fresh and delicious for up to 4 to 5 days, though they are best enjoyed within the first 48 hours.
If you want to make these ahead of time, you can bake the cupcake bases and freeze them (unfrosted) for up to 3 months. Simply wrap them individually in plastic wrap and place them in a freezer bag. Thaw at room temperature before frosting. The frosting can also be made 3 days in advance and kept in the fridge; just give it a quick whip with a mixer before using.
While Red Velvet is usually served cold or at room temperature, if you prefer a softer bite, let the refrigerated cupcake sit on the counter for 20 minutes before eating. We do not recommend reheating frosted cupcakes in the microwave, as the cream cheese frosting will melt instantly into a sugary puddle! 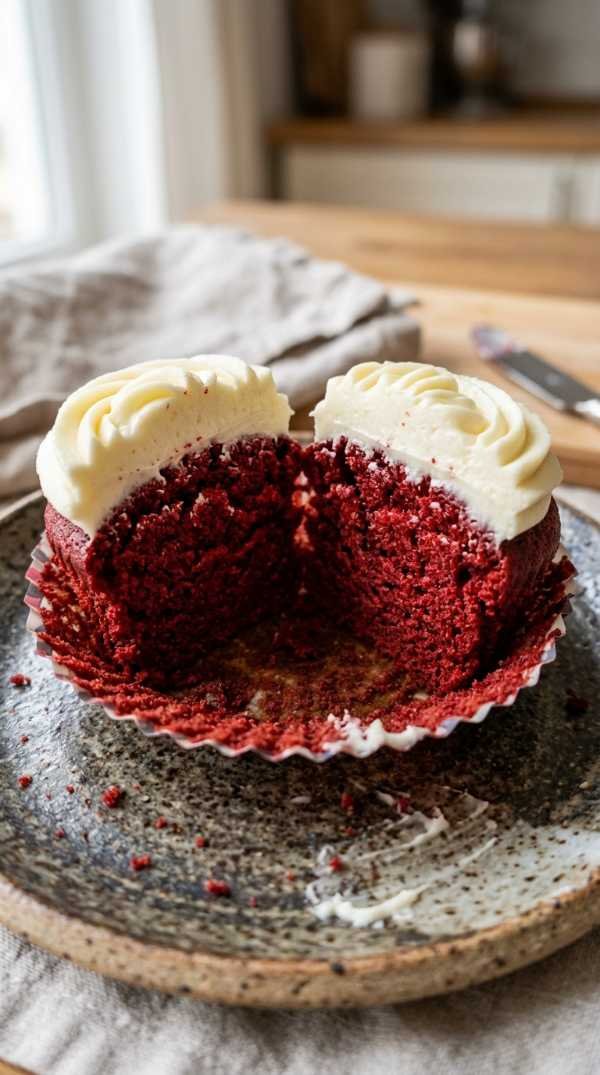
Frequently Asked Questions
Can I use butter instead of oil?
Yes, you can substitute the oil with melted unsalted butter in a 1:1 ratio. The cupcakes will have a more buttery flavor but may be slightly less moist and will firm up more when refrigerated.
Why is my red velvet more brown than red?
This usually happens if you use too much cocoa powder or a Dutch-processed cocoa which is darker. Stick to 2 tablespoons of natural cocoa powder and ensure your food coloring is fresh and vibrant.
What if I don’t have buttermilk?
You can make a DIY version by adding 1 tablespoon of lemon juice or white vinegar to 1 cup of whole milk. Let it sit for 5-10 minutes until it curdles slightly before using in the recipe.
Why did my cupcakes sink in the middle?
Sinking usually occurs if the oven door was opened too early during baking, or if the baking soda was expired and couldn’t hold the structure of the cake as it rose.
Final Thoughts
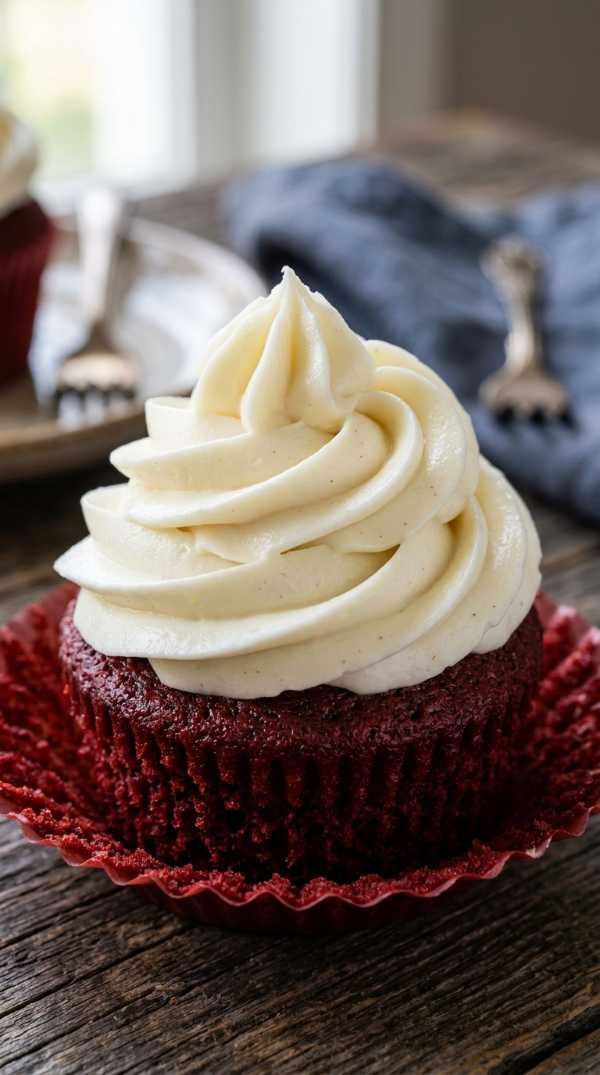
Baking these Red Velvet cupcakes always feels like a special occasion, even if I’m just making them for a quiet weekend at home. There is something so satisfying about the way the bright white frosting contrasts against the deep red cake, making every bite feel like a celebration of classic American baking.
I hope this recipe brings a bit of that “chemistry of crimson” magic into your kitchen. Don’t be afraid to experiment with the decorations or the presentation—after all, baking is as much about the joy of creating as it is about the final taste. If you follow the steps and trust the science of the vinegar and buttermilk, you’ll have perfect results every time.
Be sure to share your creations with me on social media! There’s nothing I love more than seeing your beautiful bakes and hearing about the memories you create around the table. Happy baking, and enjoy every velvety bite! 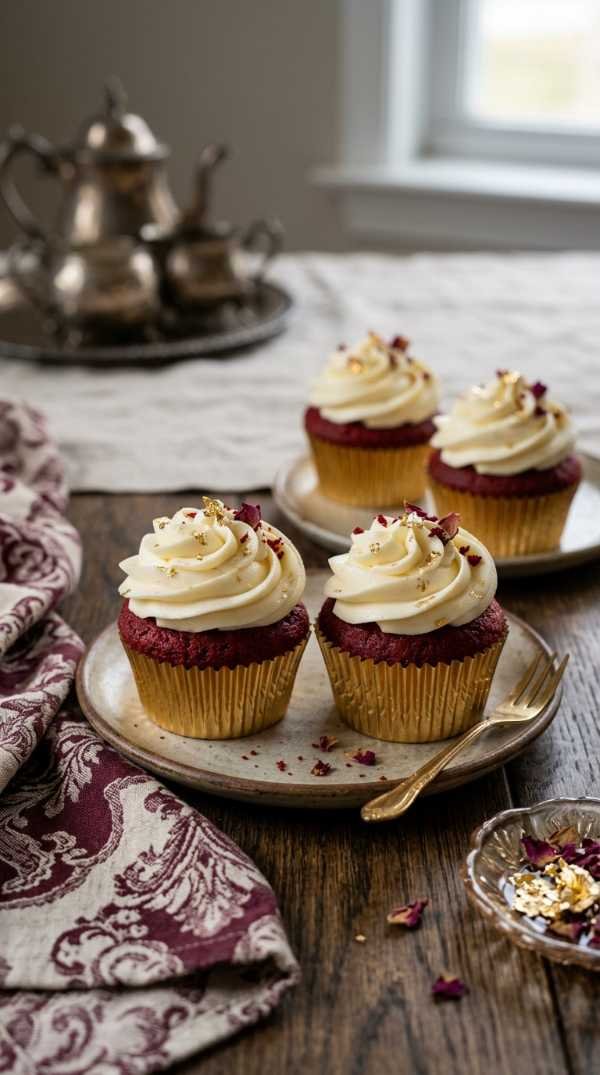
Red Velvet Cupcakes
A classic, moist, and tangy red velvet cupcake topped with a luscious, velvety cream cheese frosting.
Author: Home Kitchen Scientist
Prep Time: 20 mins
Cook Time: 20 mins
Total Time: 40 mins
Yield: 12 cupcakes
Category: Dessert
Method: Baking
Cuisine: American
Ingredients
- 1 1/2 cups all-purpose flour
- 2 tbsp unsweetened cocoa powder
- 1/2 tsp baking soda
- 1/4 tsp salt
- 1 cup granulated sugar
- 3/4 cup vegetable oil
- 1 large egg
- 1 tbsp red gel food coloring
- 1 tsp vanilla extract
- 1/2 cup buttermilk
- 1 tsp white vinegar
- 8 oz cream cheese, softened
- 1/2 cup butter, softened
- 3 cups powdered sugar
Instructions
- Preheat oven to 350°F and line muffin tin.
- Whisk dry ingredients (flour, cocoa, baking soda, salt).
- Beat oil, sugar, and egg. Add food coloring and vanilla.
- Alternate adding dry ingredients and buttermilk to the wet mix.
- Stir in vinegar and divide batter into liners.
- Bake for 18-22 minutes. Cool completely.
- Whip cream cheese, butter, and powdered sugar for frosting. Pipe onto cooled cupcakes.
Nutrition
Serving Size: 1 cupcake | Calories: 385kcal | Sugar: 32g | Sodium: 180mg | Fat: 22g | Protein: 3g