There’s a specific kind of magic that happens in the air during the last week of senior year. I remember my first ‘Senior Sunset’ event as a stylist; the parking lot was filled with laughter, but the cars? Well, they were a bit of a mess. Someone had used actual house paint (nightmare!), and another had streamers flapping dangerously over their side mirrors. That’s when I realized that a car is more than just transportation—it’s a moving canvas for the most important milestone of a young adult’s life.
As an event planner, I treat a car parade like a mobile gala. It’s not just about slapping on a ‘Class of 2024’ sticker; it’s about creating a cohesive, high-impact aesthetic that reflects the graduate’s personality while keeping their vehicle’s resale value intact. Whether it’s a vintage convertible or a trusty sedan, the goal is to create a look that stops traffic for all the right reasons.

Why You’ll Love This Party Decor Theme
- Instant Visibility: These ideas ensure your graduate stands out in the parade line with professional-looking graphics.
- Paint Safety: Every suggestion focuses on non-permanent, car-safe materials that won’t leave a trace.
- Customization: From minimalist chic to over-the-top school spirit, these ideas are easily adaptable.
- Budget-Friendly: You don’t need a professional wrap to get a high-end look; most of these items are DIY-accessible.
- Perfect Photo Ops: A decorated car serves as a gorgeous, mobile backdrop for those final high school group photos.
Essential Decor Items & Supplies Needed
- Liquid Chalk Markers: Multi-color pack of high-quality, rain-resistant window markers.
- Removable Vinyl Decals: Custom-cut names and graduation years in gloss or matte finish.
- Car-Safe Magnets: Large magnetic sheets for the doors or hood to display school logos.
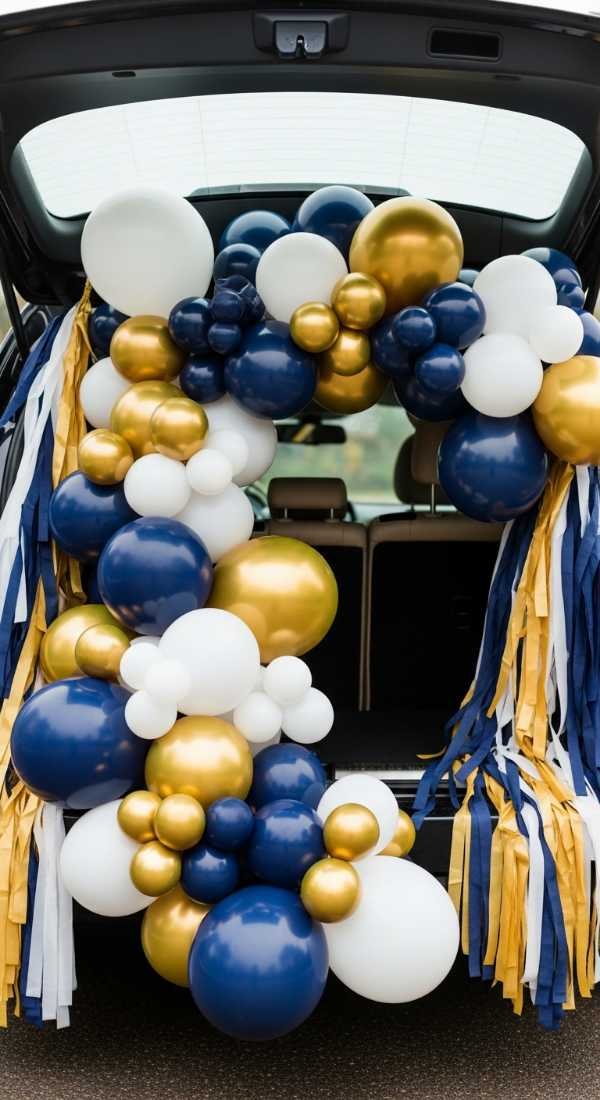
- Balloons & Balloon Weights: High-quality latex and foil balloons with heavy-duty suction cups.
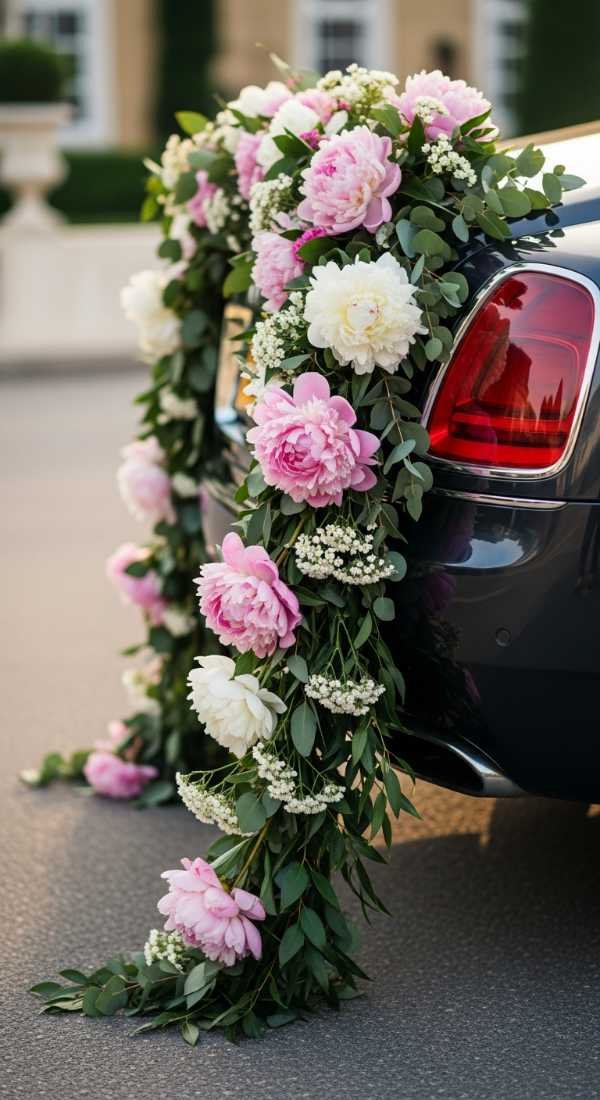
- Tulle and Floral Garlands: Weather-resistant faux greenery or soft fabrics for the trunk or roof rack.
- Microfiber Cloths & Glass Cleaner: Essential for prep and post-event cleanup.
- Heavy-Duty Suction Hooks: To secure 3D elements without using damaging tape.
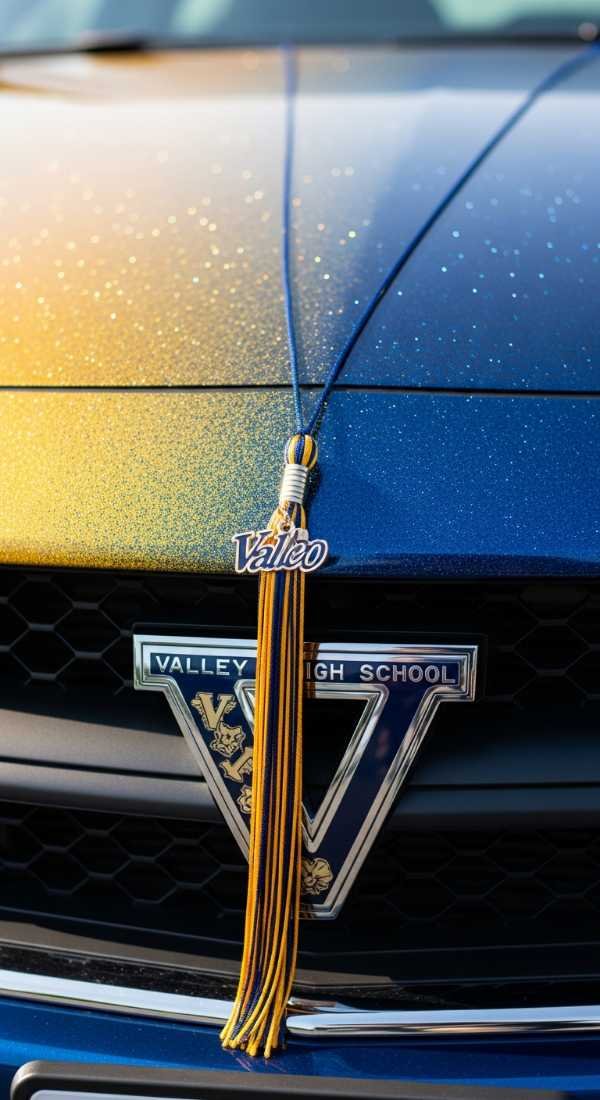
When it comes to the color scheme, think beyond just the school colors. While incorporating the official school palette is classic, I love layering in ‘transition colors’—if the school colors are blue and gold, try adding shades of navy, champagne, and cream for a sophisticated, tonal look. Textures also play a huge role; matte vinyl paired with high-shine metallic balloons creates a visual depth that looks incredible in motion.
Lighting is often overlooked for daytime parades, but adding battery-operated LED fairy lights inside the windows can create a subtle glow if the parade runs toward dusk. Focus on key focal points: the rear window for messages, the side doors for large-scale decals, and the trunk for three-dimensional elements like floral sprays or oversized tassels. Always keep the driver’s visibility clear while maximizing the ‘wow’ factor on the non-functional glass surfaces.
Step-by-Step DIY Setup Guide
- Deep Clean the Canvas: Start by washing the car thoroughly and using a specialized glass cleaner on all windows to ensure decals and markers adhere perfectly.
- Map Your Layout: Use painter’s tape to lightly mark where the largest elements will go, ensuring the design is balanced from all angles.
- Apply the Foundation Decals: Start with the largest vinyl or magnetic pieces, smoothing them from the center outward to avoid air bubbles.
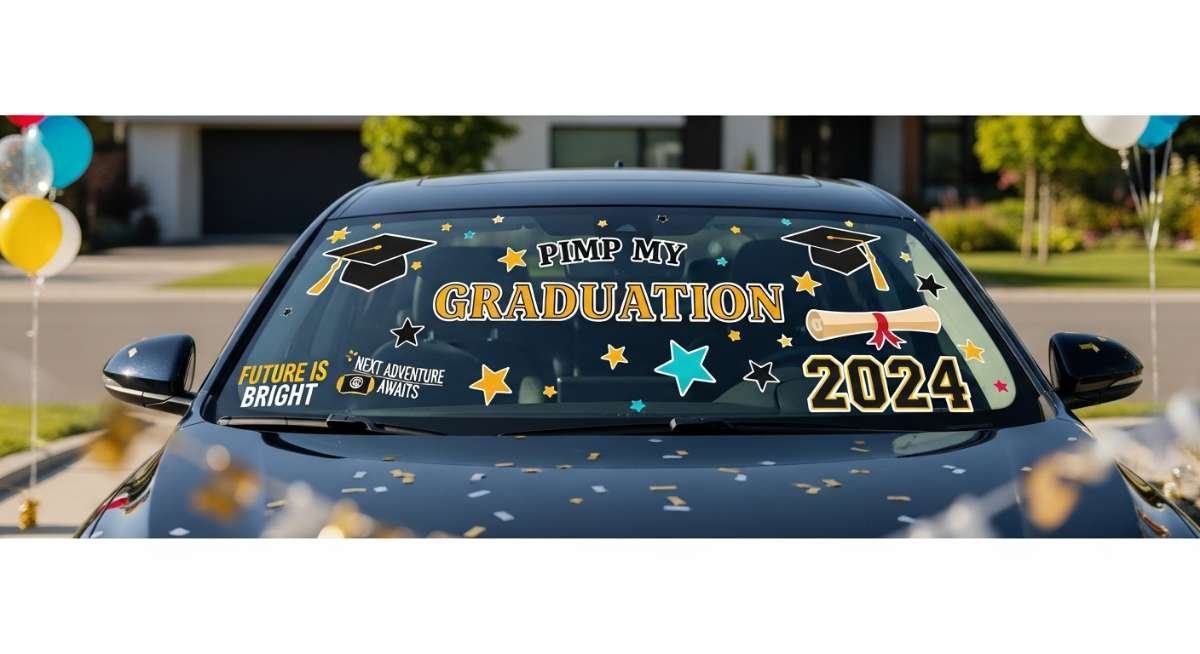
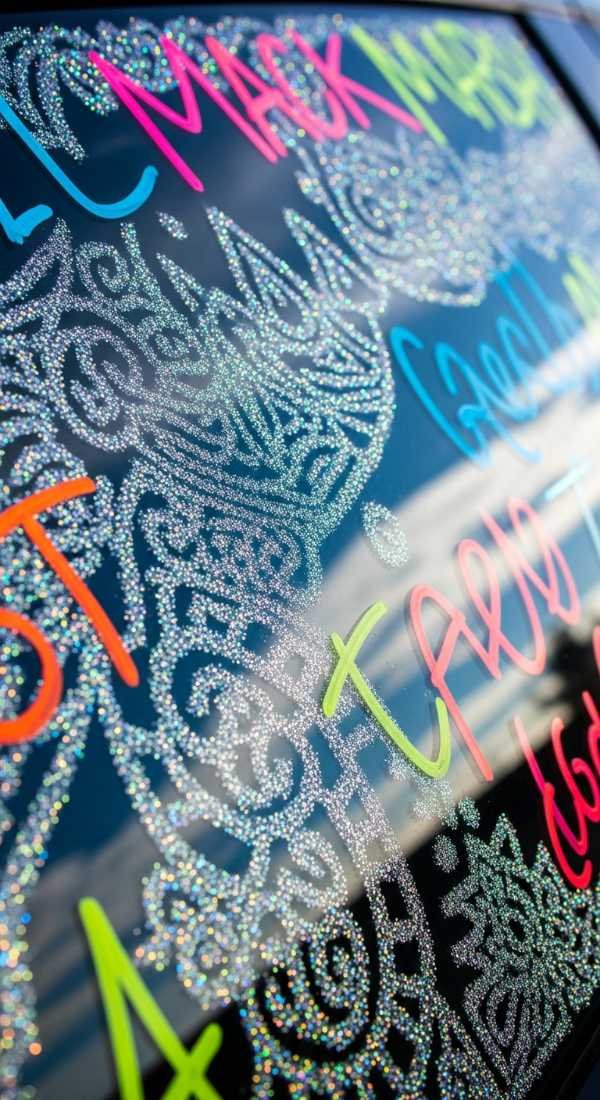
- Layer with Window Markers: Add personalized messages, hand-drawn stars, or school mottos using liquid chalk markers on the side and rear windows.
- Secure the 3D Elements: Use suction hooks to attach floral garlands or tulle to the trunk and roof, ensuring everything is tight enough to withstand 15mph winds.
- The Final Polish: Wipe away any fingerprints and do a ‘tug test’ on all ribbons and balloons to ensure safety during the drive.
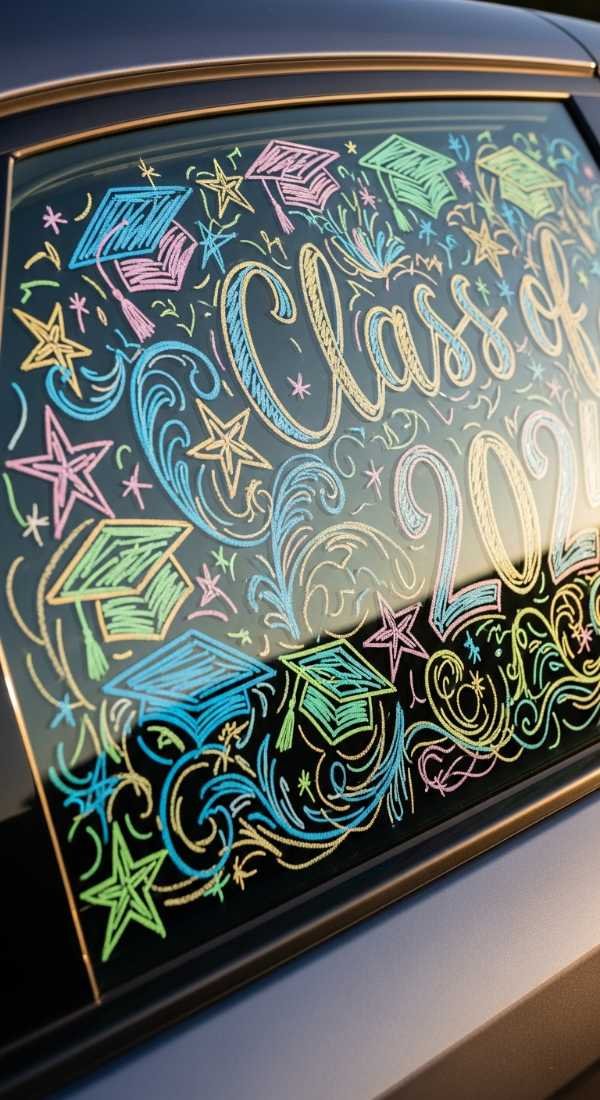
Pro Styling Tips for Senior Car Decorating Ideas for Graduation
- Focus on Contrast: White or neon markers pop best on tinted windows, while dark vinyl is better suited for light-colored car paint.
- Weatherproof Your Design: If there’s a chance of rain, stick to vinyl decals and magnets rather than paper-based streamers or basic markers.
- Check Local Laws: Always ensure your decorations do not block the driver’s line of sight or cover the license plate.
- Mix Your Media: Combine flat decals with textured items like faux eucalyptus or pampas grass for a high-end, boho-chic graduate look.
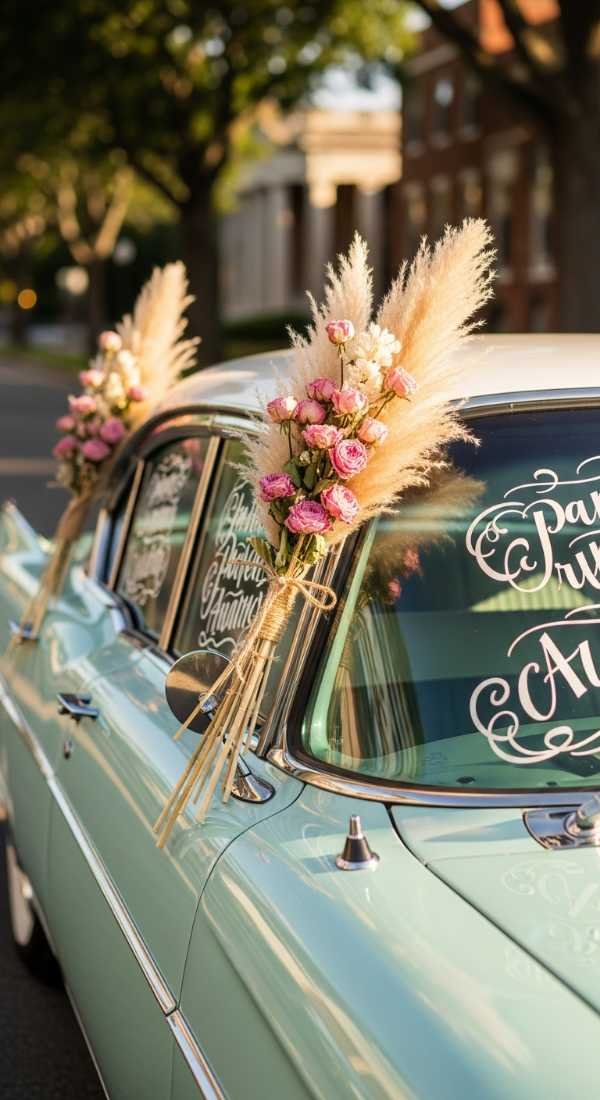
Theme Variations & Table Setting Ideas
- The ‘Future Alumna’ Aesthetic: Incorporate the colors of the college they are heading to next, using pennants and collegiate font styles.
- Retro Throwback: Use 70s-style bubble fonts, daisies, and vibrant oranges and pinks for a ‘Groovy Grad’ vibe.
- Sporty Spirit: Focus on the graduate’s specific sport with oversized magnetic balls (basketballs, soccer balls) and jersey-number decals.
- Glitz & Glam: Use exclusively gold, silver, and black with plenty of glitter cardstock elements and metallic fringe.
Even though the car is the main event, consider setting up a ‘Pit Stop’ table at the start of the parade. Use a simple folding table draped in a matching linen, decorated with a balloon arch that frames the car as it pulls up. Ambient lighting like lanterns or battery-powered spotlights can highlight the car’s details if the event is held in the evening, while a backdrop of shimmering fringe can serve as a secondary photo booth area.
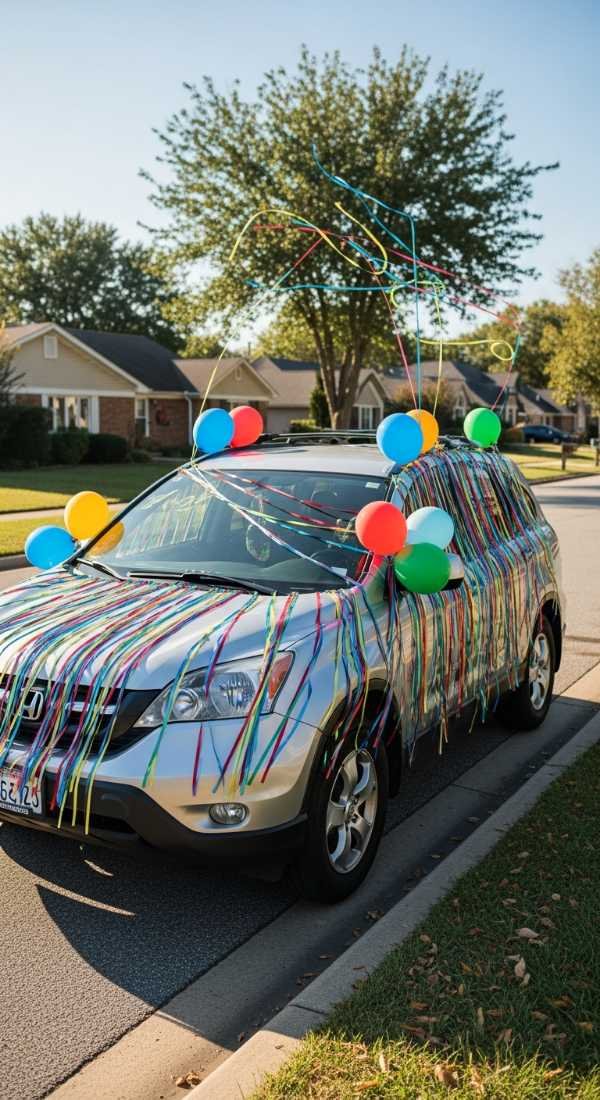
Pre-Party Setup Timeline, Assembly & Teardown
Preparation begins two days before the event. This is when you should gather all your supplies and, if you’re using custom vinyl, cut or order those pieces. I always recommend doing a ‘dry run’ on a piece of paper to sketch out the layout so you aren’t guessing where things go when the sun is beating down on the driveway. Ensure your car is washed and dried 24 hours in advance to allow all surfaces to fully de-gas.
On the day of the graduation parade, aim to start your decorating at least two hours before you need to leave. Weather conditions like heat or humidity can affect how markers dry or how suction cups stick. Start with the windows first, as they are the most time-consuming, then move to the body of the car. If you are using balloons, blow them up and attach them at the very last second to ensure they stay plump and buoyant for the duration of the drive.
Teardown is the most critical part for paint preservation. Never peel off decals that have been sitting in the hot sun for hours; wait until the car has cooled down in the shade. Use a plastic scraper or a credit card wrapped in a microfiber cloth to gently lift the edges of vinyl. For chalk markers, a simple mixture of water and vinegar will take the residue right off without scratching the glass. Always give the car a quick rinse after the decor is removed to clear any lingering adhesive.
Frequently Asked Questions
Will the window markers come off if it rains?
Most high-quality liquid chalk markers are water-resistant once they have fully dried (about 10 minutes). However, a heavy downpour might cause some running. For a 100% rain-proof option, I recommend using removable vinyl decals instead.
Can I drive on the highway with these decorations?
It is not recommended to drive at high speeds (above 25-30 mph) with car decorations. Items like balloons, streamers, and garlands are prone to flying off, which can be a safety hazard for you and other drivers. Save the decor for the low-speed parade route!
Do magnets damage the car’s paint?
Magnets are generally safe as long as both the magnet and the car surface are perfectly clean before application. If dirt or grit gets trapped underneath, it can act like sandpaper. Always wipe the area with a microfiber cloth before ‘sticking’ your magnets.
How do I attach balloons so they don’t fly away?
Forget the tape! Use heavy-duty suction cups designed for car glass. Tie the balloon ribbons directly to the suction cup hooks. For extra security, tie them in groups of three and tether them to a secondary point like a roof rack or a door handle.
Final Thoughts & Party Checklist
Decorating a car for graduation is a rite of passage that bridges the gap between childhood and the next big adventure. It’s a chance for the graduate to literally drive into their future with style and a sense of accomplishment. By choosing high-impact, car-safe materials, you ensure that the memories remain sweet and the car remains spotless.
Remember that the best designs are those that feel personal. Whether it’s an inside joke written on the bumper or a massive bow that matches the graduate’s favorite color, it’s those small details that make the parade special. Don’t be afraid to go big—just be sure to go safe! Your graduate has worked hard for four years; they deserve a mobile tribute that reflects that effort.
Before you hit the road, do one final walk-around. Check your mirrors, make sure your lights aren’t covered, and keep a ‘touch-up kit’ in the glove box just in case. Now, put on your favorite playlist, roll down the windows, and get ready to celebrate a milestone that only happens once. Happy decorating!
Senior Car Decorating Ideas for Graduation Setup Guide
Transform any vehicle into a high-end celebratory float using professional stylist techniques that prioritize both aesthetic impact and vehicle safety.
Stylist: Professional Event Planner Style | Setup Time: 1.5 – 2 Hours | Difficulty Level: Easy to Moderate | Ideal Occasion: Graduation Parades, Last Day of School, Senior Sunset | Estimated Budget: $40 – $100 | Key Color Palette: School Colors + Metallic Accents
Essentials & Materials
- Liquid Chalk Window Markers (Rain-resistant)
- Removable Vinyl Lettering
- Car-Safe Door Magnets
- Weather-proof Tulle or Floral Garlands
- Industrial Strength Suction Hooks
- Balloon Kit (High-quality latex + weights)
- Microfiber Prep Cloths
Setup Instructions
- Clean all car surfaces with a non-wax soap and dry completely.
- Apply large-scale vinyl or magnetic graphics to the center of the door panels.
- Use chalk markers to letter the rear window, keeping the center clear for driver visibility.
- Attach 3D elements like garlands or bows using suction hooks on the glass or trunk.
- Inflate and secure balloons to roof racks or side mirrors using reinforced knots.
- Double-check all attachments for wind-resistance and visibility compliance.
Decor Specs & Ambience
The overall vibe should be ‘Celebratory Chic.’ Focus on high-contrast visuals using bright white lettering against dark windows. Lighting should be natural sunlight, complemented by the reflective surfaces of metallic balloons. The focal point is the rear window and the passenger side profile, which faces the crowd during most parades. Ensure all streamers and fabrics are trimmed to avoid tangling in tires or blocking exhaust pipes.