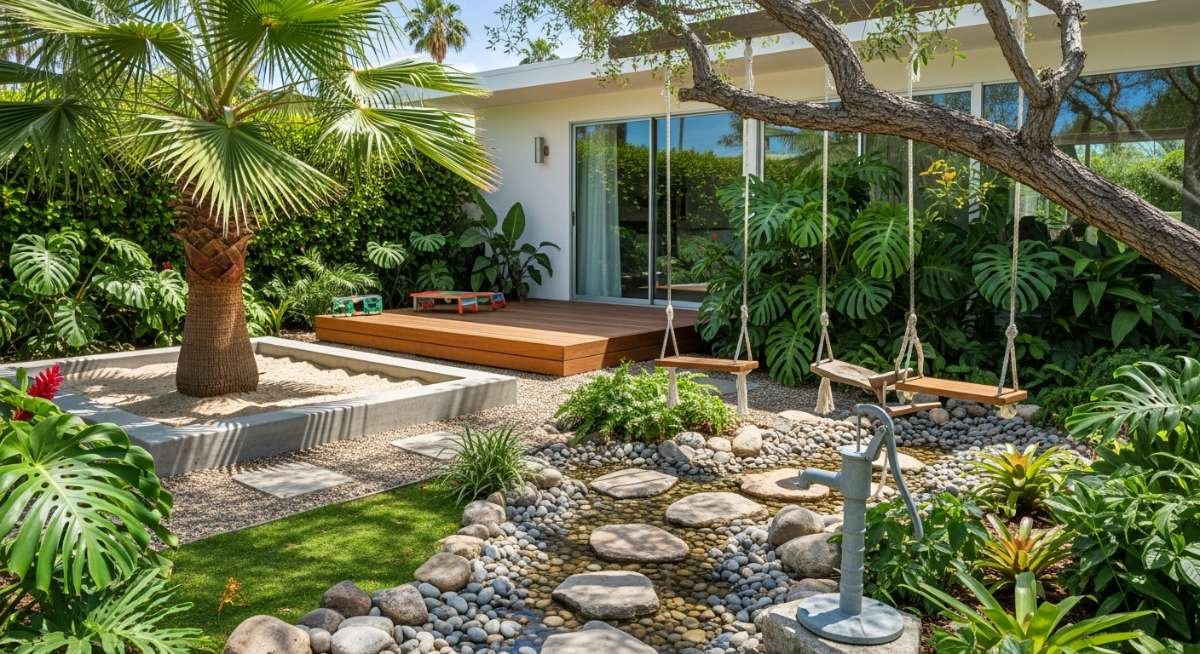
Palm Springs Meets Play: Designing a Minimalist Backyard Jungle
Good morning, my loves. Imagine waking up, wrapping your hands around a warm ceramic mug of oat milk latte, and stepping out onto the patio to see a backyard that feels less like a plastic-cluttered chaos and more like a serene, high-end desert retreat. I’ve been dreaming of a space where the clean lines of mid-century Palm Springs architecture meet the wild, joyful laughter of our little ones. A place where aesthetic and play aren’t just roommates, but soulmates.
We often think we have to sacrifice our ‘grown-up’ style for the sake of a playground, but that couldn’t be further from the truth. This journey is about creating a minimalist backyard jungle that celebrates soft textures, natural woods, and the kind of breezy, tropical vibes that make every afternoon feel like a staycation at the Parker. Let’s build something beautiful together, shall we?
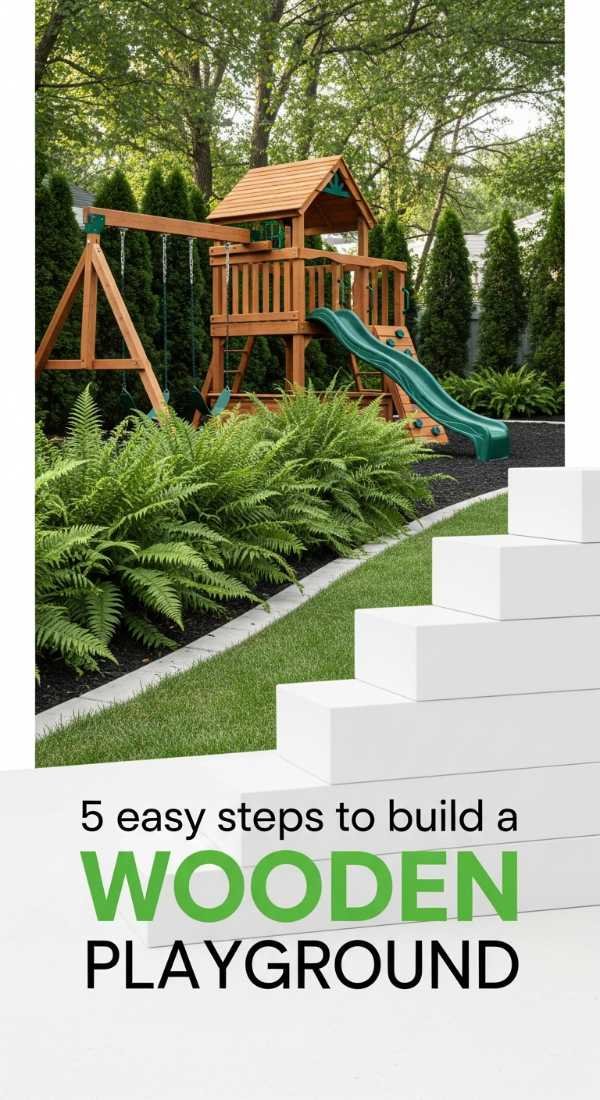
5 Easy Steps to Build a Wooden Playground
Why to love this Decor:
There is something so grounding about the scent of raw cedar and the sight of clean, geometric lines against a bright blue sky. This wooden playground isn’t an eyesore; it’s a sculptural piece of art that invites your children to climb, dream, and grow without overwhelming your landscape’s natural beauty.
Items needed:
- Premium Cedar 4×4 posts
- Weather-resistant decking screws
- Heavy-duty swing brackets
- Sandpaper (medium and fine grit)
- Eco-friendly wood sealant
How to Prepare:
- Measure and level your ground space, ensuring a 6-foot safety buffer.
- Cut your cedar posts to height and sand every surface until it’s smooth as silk.
- Construct the A-frame supports using heavy-duty brackets for structural integrity.
- Secure the crossbeam and install the play platform using decking screws.
- Apply two coats of clear sealant to protect the wood’s golden hue from the sun.
Budget Range
- Cedar Lumber: $400 – $600
- Hardware Kit: $150 – $200
- Sealant: $50
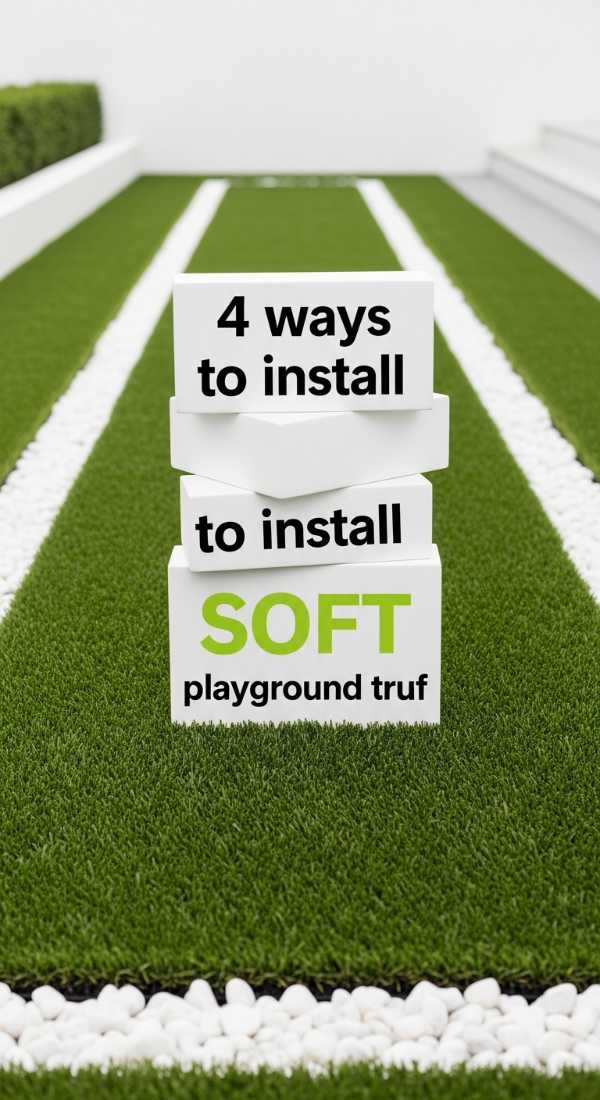
4 Ways to Install Soft Playground Turf
Why to love this Decor:
Imagine the feeling of soft, cool grass beneath bare feet, but without the mud or the constant mowing. High-quality playground turf brings that lush, Palm Springs green to your yard year-round, providing a cushioned landing pad that looks effortlessly manicured and feels like a cloud.
Items needed:
- Antibacterial synthetic turf rolls
- Crushed stone base (fines)
- Landscape staples
- Seam tape and turf adhesive
How to Prepare:
- Excavate the area 3 inches deep and clear all debris.
- Layer and compact the crushed stone base to create a smooth, draining surface.
- Roll out the turf, letting it sit in the sun for an hour to remove wrinkles.
- Secure the edges with staples and join any seams with adhesive tape.
Budget Range
- Premium Turf (per sq ft): $3 – $6
- Crushed Stone Base: $100 – $200
- Installation Hardware: $50
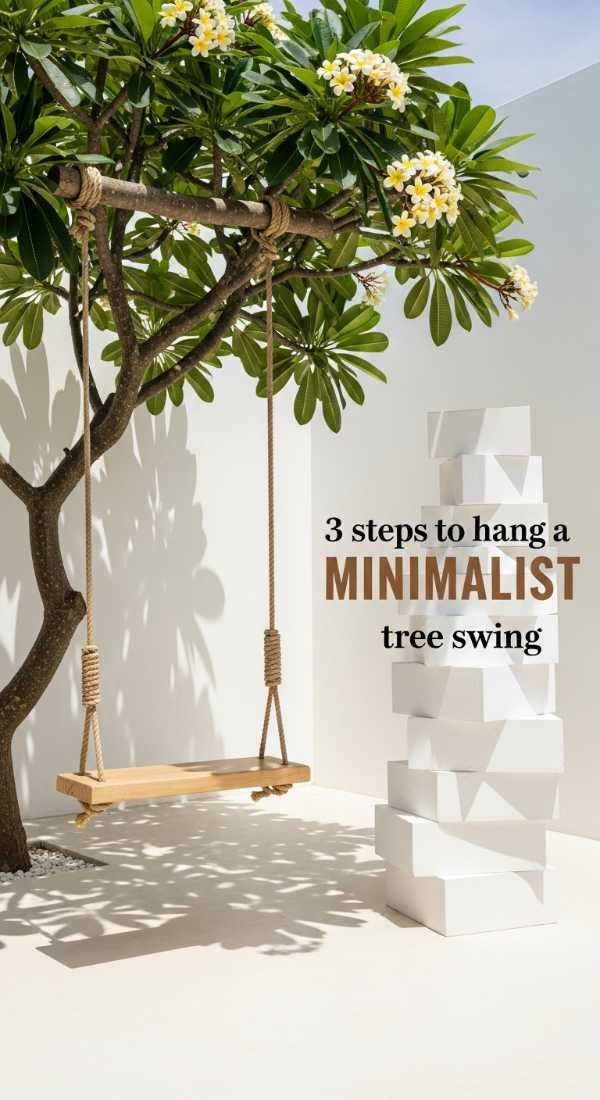
3 Steps to Hang a Minimalist Tree Swing
Why to love this Decor:
The simple arc of a wooden swing hanging from a sturdy branch is the epitome of childhood magic. By using thick manila rope and a clean-edged oak board, you create a timeless piece that looks like a high-end boutique find while offering endless moments of rhythmic peace.
Items needed:
- Solid Oak or Maple board
- 3/4 inch Manila or braided nylon rope
- Heavy-duty branch straps
How to Prepare:
- Drill two holes in your sanded wood board, slightly wider than your rope diameter.
- Loop your tree straps over a healthy, horizontal branch at least 8 inches thick.
- Thread the rope through the board and secure with a double-bowline knot.
Budget Range
- Hardwood Board: $30 – $50
- High-Quality Rope: $20 – $40
- Tree Straps: $15
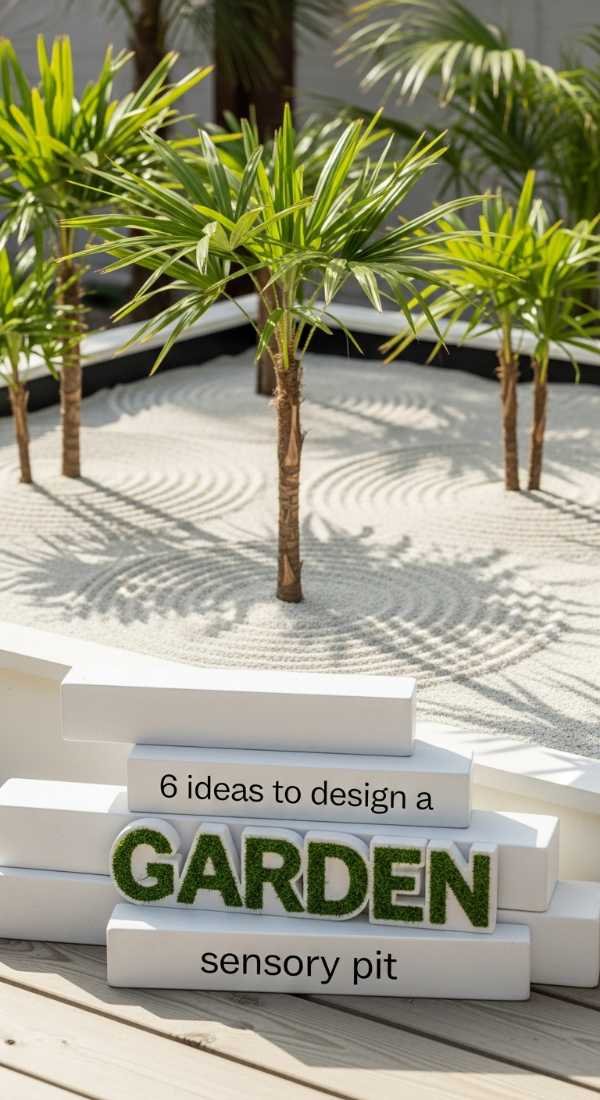
6 Ideas to Design a Garden Sensory Pit
Why to love this Decor:
A sensory pit is a sanctuary for the senses. Instead of bright plastic bins, we’re using smooth river stones, fragrant herbs, and light-toned wood. it encourages deep play and mindfulness, blending perfectly into a minimalist garden bed while keeping the little ones mesmerized for hours.
Items needed:
- Smooth Mexican Beach Pebbles
- White play sand
- Large driftwood pieces
- Lavender and Rosemary plants
How to Prepare:
- Define a geometric zone using low-profile landscape edging.
- Section the pit into areas for sand, smooth stones, and tactile mulch.
- Plant fragrant herbs around the perimeter for a scent-filled experience.
- Add driftwood and large flat stones for natural balance beams.
- Place wooden scoops and bowls for open-ended exploration.
- Cover the sand section when not in use to keep it pristine.
Budget Range
- Mexican Beach Pebbles: $100 – $150
- Play Sand: $30 – $50
- Herb Plants: $40
7 Tips to Plan Your Playground Zone
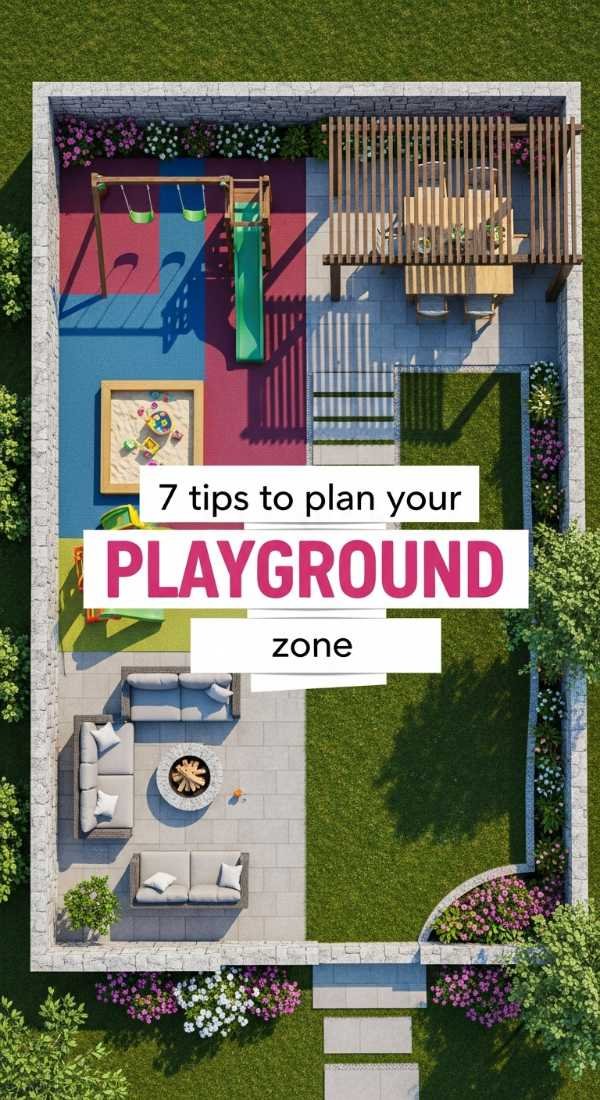
Why to love this Decor:
A well-planned zone is the secret to a peaceful home. By intentionally designing the flow of your yard, you ensure that play stays in its place while maintaining the architectural integrity of your outdoor living space. It’s about harmony, balance, and visual breathing room.
Items needed:
- Graph paper or design software
- Measuring tape
- Marking paint
How to Prepare:
- Identify sun and shade patterns throughout the day to place play structures.
- Keep ‘active’ zones (climbing) separate from ‘quiet’ zones (sand).
- Ensure sightlines are clear from the house for easy supervision.
- Use natural borders like ornamental grasses to define the area.
- Maintain a 6-foot ‘fall zone’ around all elevated equipment.
- Choose a color palette (whites, woods, sage greens) and stick to it.
- Incorporate seating for adults within the zone for shared moments.
Budget Range
- Design Tools: Free – $20
- Marking Supplies: $10
- Landscape Borders: $100 – $300
5 Easy Steps to Build a Backyard Rock Wall
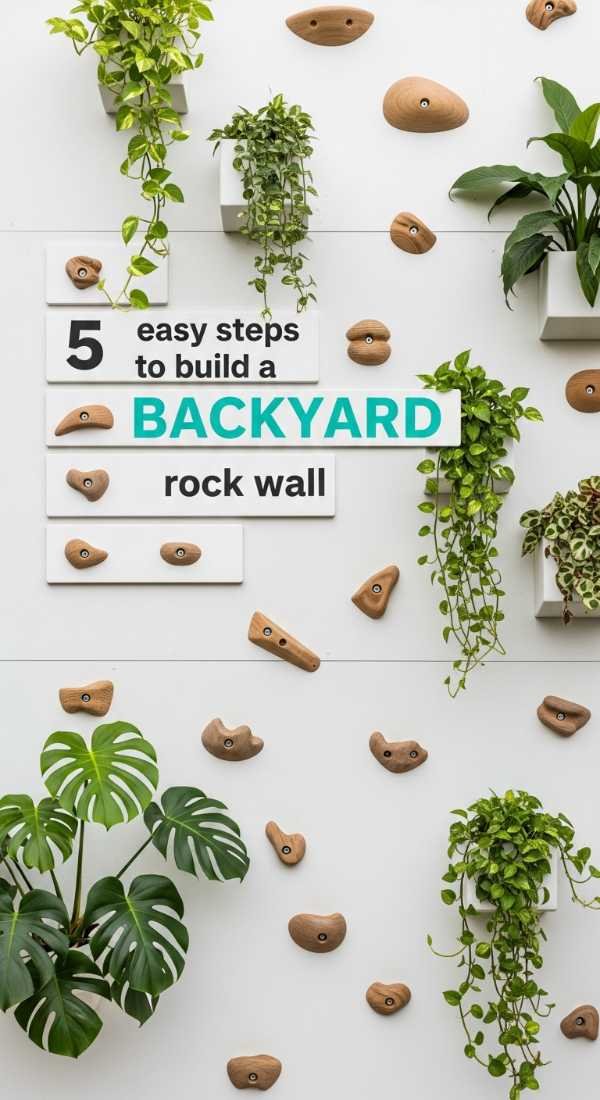
Why to love this Decor:
Climbing walls are the ultimate minimalist feature—they utilize vertical space without cluttering the ground. Using a chic plywood backdrop and custom-colored holds in muted earth tones, you create a functional art piece that builds strength and confidence in your little adventurers.
Items needed:
- 3/4 inch Marine-grade plywood
- Climbing holds in neutral tones
- Zinc-plated T-nuts
- Outdoor-rated wood stain
How to Prepare:
- Cut the plywood to size and drill holes in a randomized grid pattern.
- Sand and stain the plywood to match your home’s exterior or deck.
- Hammer the T-nuts into the back of the board at each hole.
- Secure the plywood to a sturdy frame or existing retaining wall.
- Bolt on the climbing holds in a variety of challenging positions.
Budget Range
- Marine Plywood: $80 – $120
- Climbing Hold Set: $60 – $100
- Hardware: $30
4 Simple Steps to Make a Cedar Sandbox
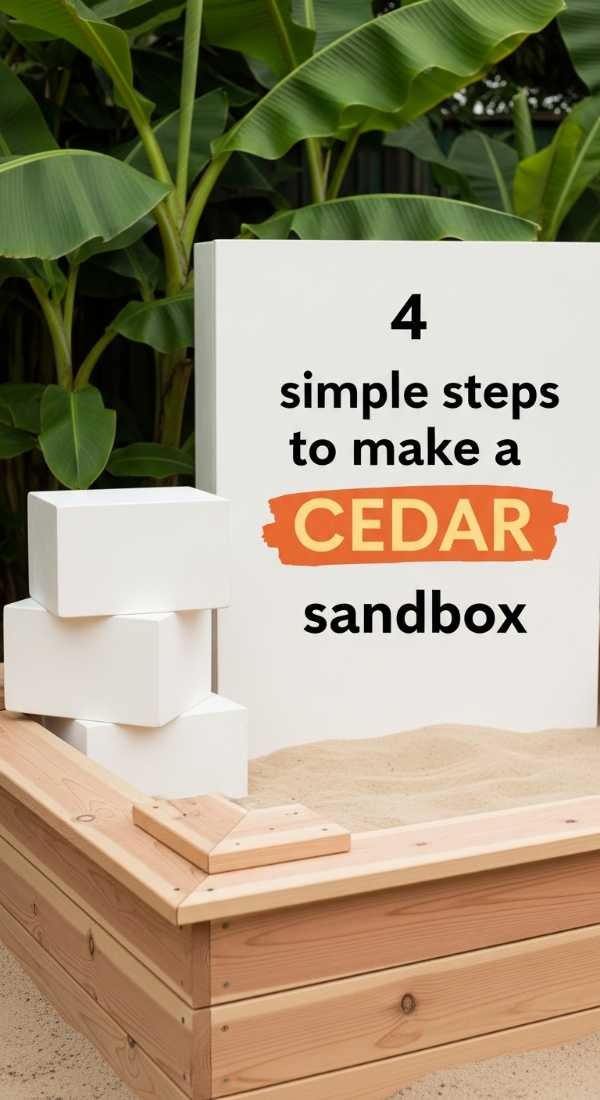
Why to love this Decor:
This isn’t your average sandbox; it’s a modern cedar box with a lid that cleverly transforms into benches. It keeps the sand clean and the yard looking sophisticated. The warm cedar tones pop beautifully against a white stucco wall or a green hedge, making it a true desert-modern staple.
Items needed:
- 1×6 Cedar boards
- Exterior hinges
- Landscape fabric (for the base)
- White play sand
How to Prepare:
- Assemble the square frame using cedar boards and corner supports.
- Attach landscape fabric to the bottom to allow drainage while blocking weeds.
- Build a folding lid in two sections that hinge back to form benches.
- Fill with fine, white sand for that premium beach-club feel.
Budget Range
- Cedar Lumber: $150 – $250
- Hinges and Screws: $40
- Sand: $40 – $80
8 Ways to Create a DIY Ninja Course
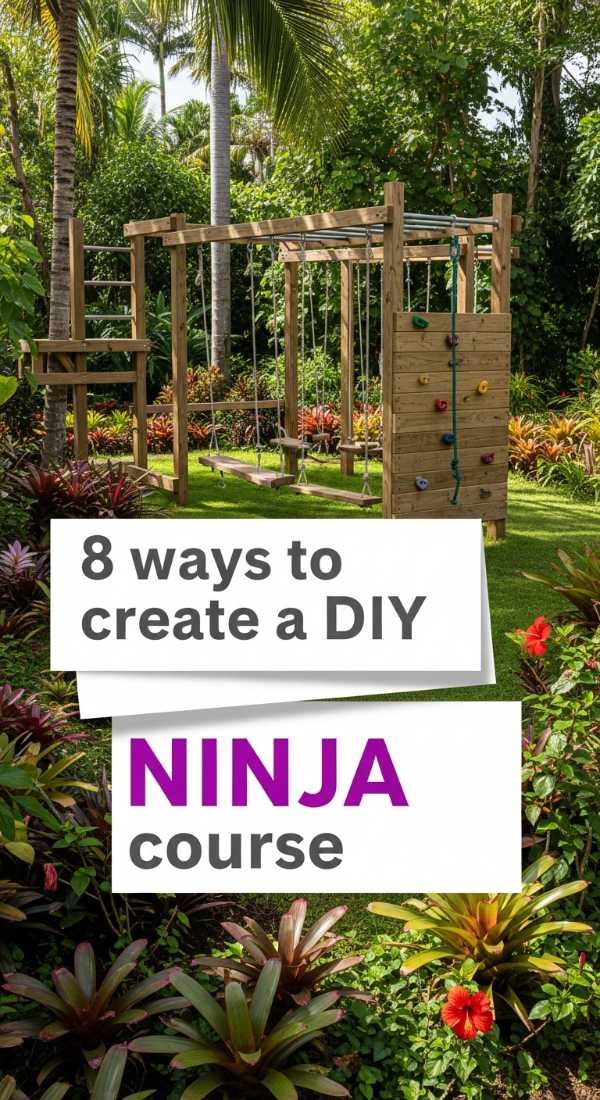
Why to love this Decor:
The Ninja course is for the wild hearts. It’s low-profile and can be set up between two trees or sturdy posts. By choosing black or tan ropes, it feels like professional athletic equipment rather than a cluttered toy, encouraging movement and resilience in a sleek, minimalist package.
Items needed:
- Slackline kit
- Hanging rings and monkey bars
- Tree protectors
- Rope ladder
How to Prepare:
- Select two strong trees at least 15-20 feet apart.
- Wrap tree protectors around the trunks at the desired height.
- Tension the main slackline according to manufacturer instructions.
- Space the hanging obstacles evenly for a balanced flow.
- Test the weight capacity personally before letting kids play.
- Add a rope ladder for easy access to the start of the course.
- Place soft mulch or turf underneath the entire length.
- Check tension weekly to ensure safety and stability.
Budget Range
- Ninja Line Kit: $80 – $150
- Extra Attachments: $50
- Tree Protectors: $20
6 Steps to Build a Modern Eco-Treehouse
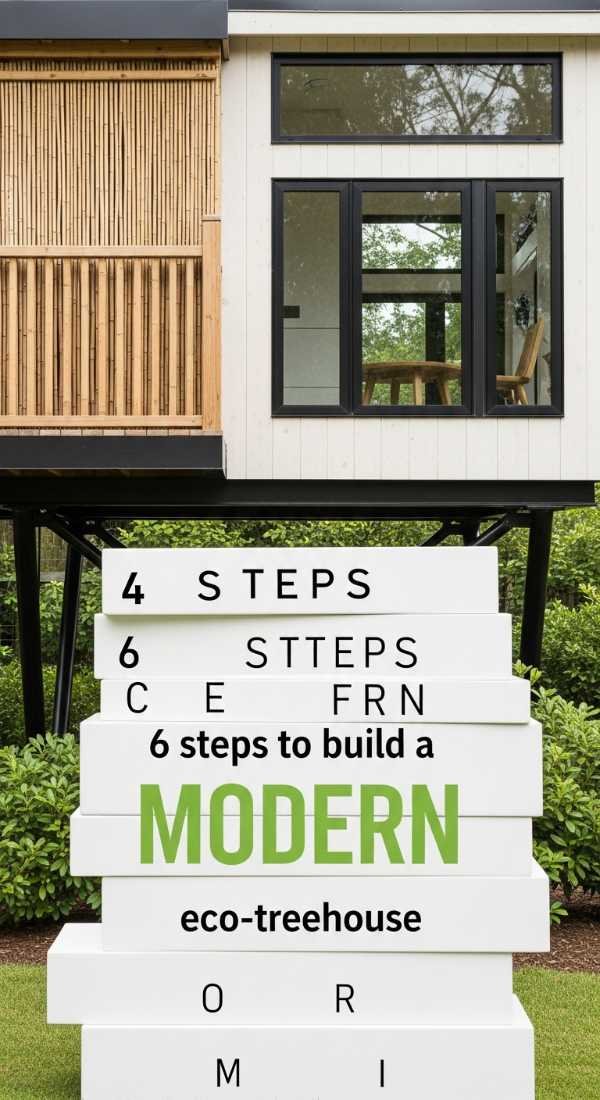
Why to love this Decor:
A modern eco-treehouse is the crown jewel of the minimalist jungle. With an open-air design, slatted walls for airflow, and sustainable materials, it’s a sanctuary in the sky. It provides a private nook for reading and dreaming while blending seamlessly into the canopy of your garden.
Items needed:
- FSC-certified lumber
- Polycarbonate roofing (clear)
- Galvanized bolts
- Recycled wood decking
How to Prepare:
- Select a multi-trunk tree or use support posts for an ‘island’ treehouse.
- Build the platform frame and secure it using tree-friendly bolts (TABs).
- Lay down the decking boards with small gaps for drainage.
- Frame the walls with a ‘slatted’ design to maintain views and light.
- Install a clear roof to let the sunshine in while keeping rain out.
- Add a simple ladder or a climbing ramp for access.
Budget Range
- Sustainable Lumber: $800 – $1,500
- Polycarbonate Panels: $150 – $300
- Specialized Hardware: $200
3 Safe Ways to Set Up a Backyard Zip Line
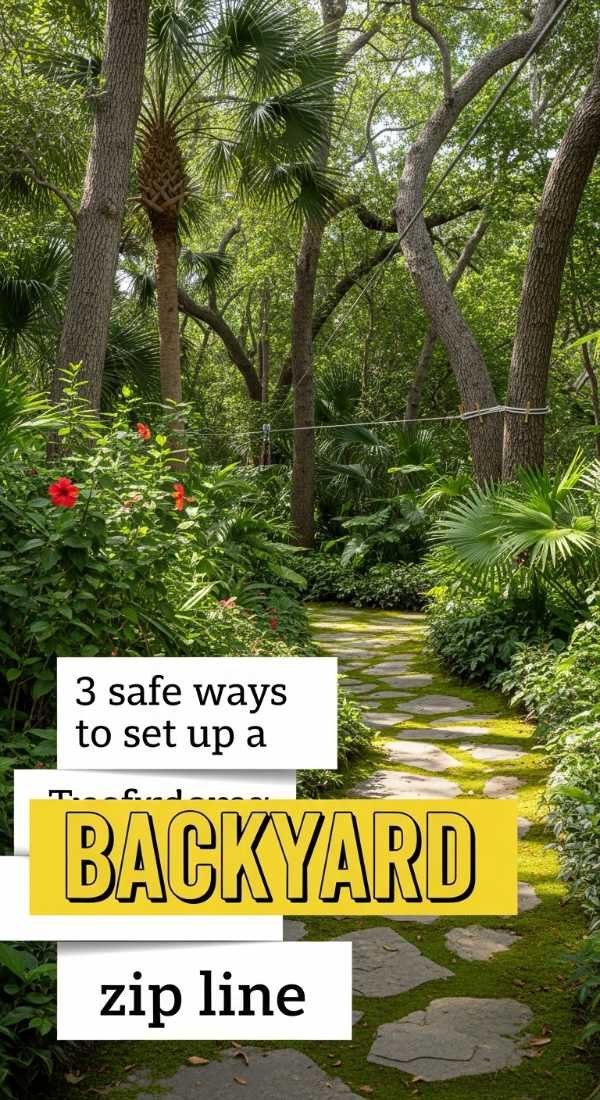
Why to love this Decor:
The thrill of a zip line is unmatched, and it can be done with such elegance. A single steel cable stretched across the lawn creates an invisible line of excitement. It’s the ultimate way to utilize a long, narrow yard without adding bulky permanent structures that block the view.
Items needed:
- Stainless steel cable kit
- Trolley with handles
- Braking system (bungee or spring)
How to Prepare:
- Determine your anchor points, ensuring a slight 3-6% decline for safety.
- Install the cable using heavy-duty turnbuckles for perfect tension.
- Install a reliable braking system at the finish line to ensure soft stops.
Budget Range
- Zip Line Kit: $150 – $300
- Braking System: $50 – $100
- Mounting Hardware: $40
Bringing the Oasis Home
Designing this space has been such a journey of the heart, loves. We don’t have to choose between a home that reflects our soul and a home that nurtures our children’s wild spirits. By choosing natural materials, focusing on clean lines, and leaning into that soft Palm Springs aesthetic, we create a world where everyone belongs. I hope these ideas inspire you to step outside, breathe in the fresh air, and start building your own little slice of paradise. You deserve a backyard that feels like a hug.