Crafting Your Own Kaleidoscope: A Beginner’s Guide to Mosaic Garden Paths
Hello, my beautiful loves. Have you ever stood in your garden, a cup of tea in hand, and felt like the earth was just waiting for a touch of your own magic? There is something so incredibly soul-soothing about pressing a piece of colored glass into the ground—it is like planting a permanent flower that never fades. Today, I want to wrap you in a warm hug and guide you through the process of turning your backyard into a sun-dappled sanctuary of color and texture.
Creating a mosaic path isn’t just a DIY project; it is a love letter to your home. It’s about those quiet moments of creativity where time slows down and your hands find their rhythm. Whether you have a sprawling meadow or a cozy little patio nook, adding a path of broken treasures and bright stones will make every step feel like a walk through a dreamscape. Let’s get our hands a little dusty together, shall we?
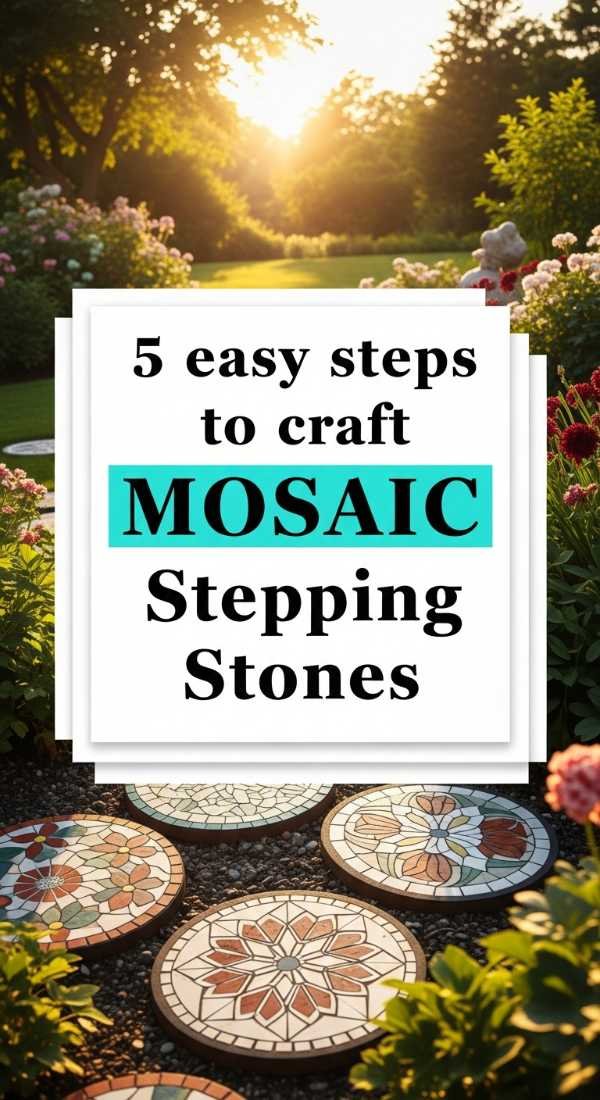
5 easy steps to craft Mosaic Stepping Stones
Why to love this Decor:
Oh, my darlings, these stepping stones are like little jewels for your lawn. They allow you to practice your art on a small scale without the pressure of a full renovation. They are perfect for guiding little feet through a flower bed or just adding a pop of whimsy to a shaded corner.
Items needed:
- Pre-cast concrete stepping stones
- Mastic or exterior-grade tile adhesive
- Assorted glass gems and ceramic shards
- Sanded grout (outdoor rated)
- Sponge and a bucket of water
How to Prepare:
- Clean your stone surface thoroughly to ensure the adhesive bonds perfectly.
- Lay out your design on a flat surface next to the stone to visualize your pattern.
- Apply a generous layer of adhesive to the stone and press your mosaic pieces into it.
- Let the adhesive dry for 24 hours until the pieces are firmly set.
- Spread grout over the top, wiping away the excess with a damp sponge to reveal your masterpiece.
Budget Range
- Basic Stepping Stone: $5.00
- Glass Gem Pack: $12.00
- Tub of Mastic: $15.00
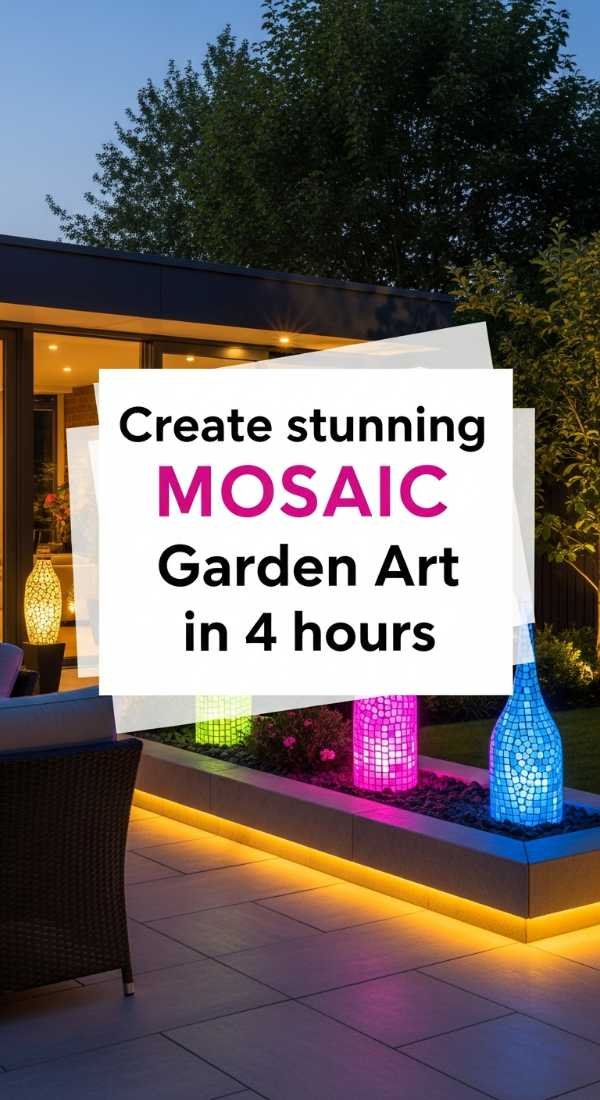
Create stunning Mosaic Garden Art in 4 hours
Why to love this Decor:
Sometimes we only have a quiet afternoon to ourselves, and this project is the perfect way to spend it. In just four hours, you can create a centerpiece that reflects the afternoon sun and makes your garden feel like an intentional art gallery. It’s quick, satisfying, and so very beautiful.
Items needed:
- A terracotta saucer or flat rock
- Glass nippers (for shaping pieces)
- Quick-dry mosaic glue
- Stained glass scraps
- Sealant spray
How to Prepare:
- Sketch a simple sunburst or floral design directly onto your base with a pencil.
- Nip your glass pieces into various sizes to create texture and depth.
- Glue the pieces down, starting from the center and working your way out.
- Apply a quick-setting grout and seal it once dry to protect it from the morning dew.
Budget Range
- Terracotta Saucer: $3.00
- Glass Nippers: $18.00
- Scrap Glass Bag: $10.00
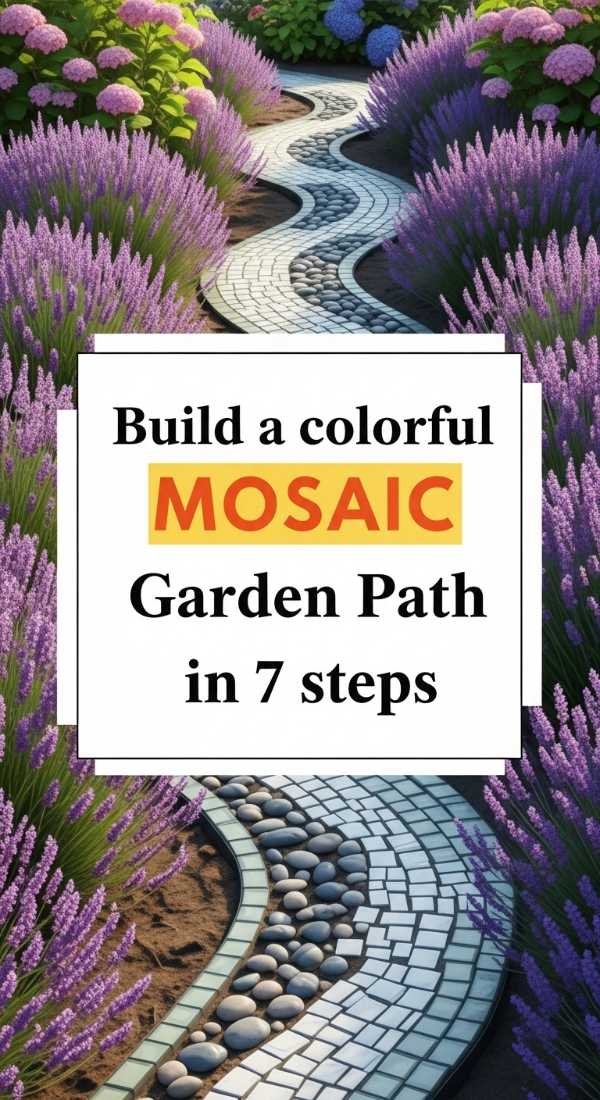
Build a colorful Mosaic Garden Path in 7 steps
Why to love this Decor:
This is the grand dream, my loves! A full path is a commitment to beauty that will last for years. Walking on a path you built yourself feels grounding and empowering. It turns a simple walk to the shed or the mailbox into a meditative experience filled with color.
Items needed:
- Paver base or crushed stone
- Concrete mix
- Large mosaic tiles or broken pottery
- Wooden forms (2x4s)
- Trowel
- Grout sealer
- Level
How to Prepare:
- Dig out the path area to a depth of about 4 inches and level the soil.
- Lay down a layer of paver base and tamp it down firmly to prevent shifting.
- Install wooden forms to hold the shape of your beautiful new path.
- Pour your concrete mix in sections, smoothing it as you go with your trowel.
- Press your mosaic treasures into the wet concrete, ensuring they are flush with the surface.
- Allow the concrete to cure for at least 48 hours under a plastic sheet.
- Seal the entire path with a high-quality grout sealer to keep the colors vibrant.
Budget Range
- Bag of Concrete: $6.00 each
- Paver Base: $5.00 per bag
- Sealant: $22.00
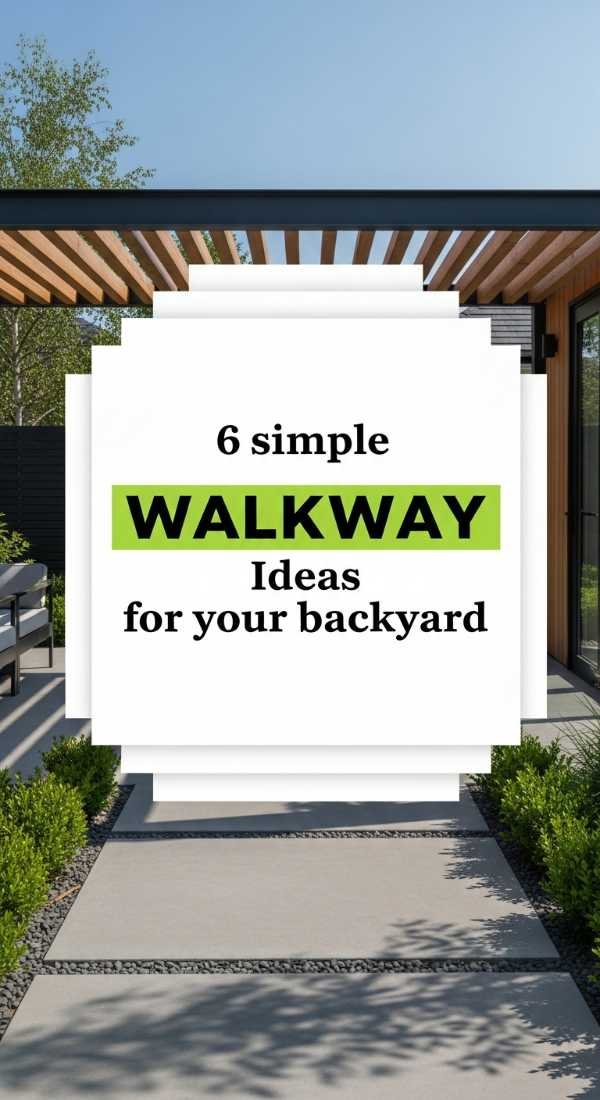
6 simple Walkway Ideas for your backyard
Why to love this Decor:
If you are looking for a gentle change, these simple ideas will breathe new life into your space without a massive overhaul. Simplicity is its own kind of magic, and these ideas are meant to spark joy in every corner of your backyard sanctuary.
Items needed:
- Mulch or wood chips
- Flagstones
- Pea gravel
- Landscape fabric
- Solar lanterns
- Border edging
How to Prepare:
- Lay landscape fabric to prevent weeds from interrupting your peace.
- Arrange flagstones in a natural, “staggered” pattern for a soft look.
- Fill the gaps between stones with pea gravel or soft wood chips.
- Edge the path with stones or timber to keep everything neatly tucked in.
- Place solar lanterns along the edge to light your way at twilight.
- Add a few potted lavender plants at the entrance for a sweet scent.
Budget Range
- Pea Gravel Bag: $4.50
- Solar Lantern Set: $25.00
- Edging Kit: $30.00
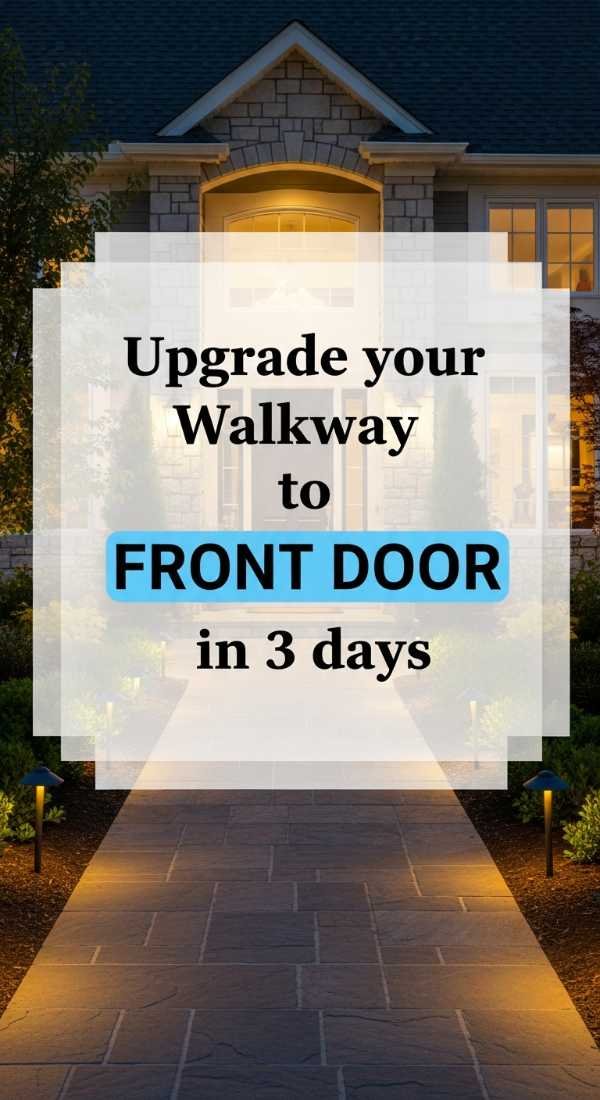
Upgrade your Walkway to Front Door in 3 days
Why to love this Decor:
Your front door is the handshake of your home. Upgrading this path makes every arrival feel like a warm embrace. Over a long weekend, you can transform a tired old concrete slab into a stunning, mosaic-accented entrance that welcomes you home with open arms.
Items needed:
- Concrete resurfacer
- Thin-set mortar
- Exterior porcelain tiles
- Tile spacers
- Heavy-duty grout
How to Prepare:
- Day 1: Thoroughly clean the existing walkway and repair any cracks with resurfacer.
- Day 2: Layout your porcelain tiles and mosaic accents, then set them in mortar.
- Day 3: Grout the joints and clean the surface once it starts to haze over.
Budget Range
- Concrete Resurfacer: $35.00
- Porcelain Tile Box: $40.00
- Thin-set: $20.00
9 modern Walkway Paths to transform your yard
![]()
Why to love this Decor:
Modern design can still be soulful, my loves. These paths focus on clean lines and contrasting textures, creating a sophisticated frame for your wild and beautiful garden. It’s about that perfect balance between structure and nature.
Items needed:
- Large rectangular pavers
- Black basalt gravel
- Aluminum edging
- Ground cover plants (like Creeping Thyme)
- Leveling sand
- Weed barrier
- Landscape staples
- Plate compactor (optional)
- String line
How to Prepare:
- Clear the area and use string lines to ensure perfectly straight, modern edges.
- Install aluminum edging to create a sharp contrast between materials.
- Lay down a weed barrier and secure it with staples.
- Spread a layer of leveling sand and smooth it out perfectly.
- Set large pavers at equal intervals to create a “floating” effect.
- Fill the surrounding areas with dark gravel for a high-contrast look.
- Plant ground covers in small gaps for a touch of organic softness.
- Compact the gravel lightly to ensure it stays in place.
- Sweep any dust off the pavers to keep the look crisp and clean.
Budget Range
- Modern Pavers: $8.00 per stone
- Basalt Gravel: $10.00 per bag
- Aluminum Edging: $45.00
Design Front Walkway Landscaping in 10 minutes
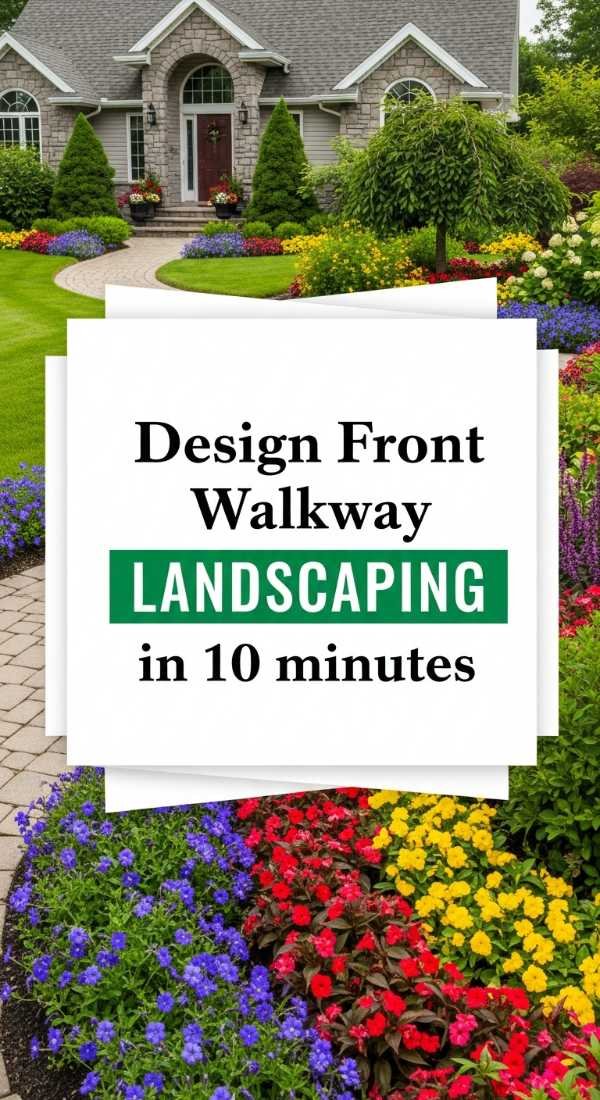
Why to love this Decor:
Sometimes we just need a quick vision to get our hearts racing! You can sketch out a professional-looking landscaping plan in just ten minutes. This process is about dreaming big and seeing the potential in your curb appeal before you ever pick up a shovel.
Items needed:
- Graph paper and a pencil
- Photos of your current yard
- Plant catalogs
- A measuring tape
How to Prepare:
- Measure the width and length of your current front path area.
- Sketch the outline on graph paper, noting where the sun hits at noon.
- Circle areas where you want “hero” plants or mosaic focal points.
- List three colors you want to feature (like sage, lavender, and cream).
Budget Range
- Sketching Kit: $10.00
- Measuring Tape: $12.00
- Inspiration Magazines: $8.00
8 budget Front Walkway Ideas for curb appeal
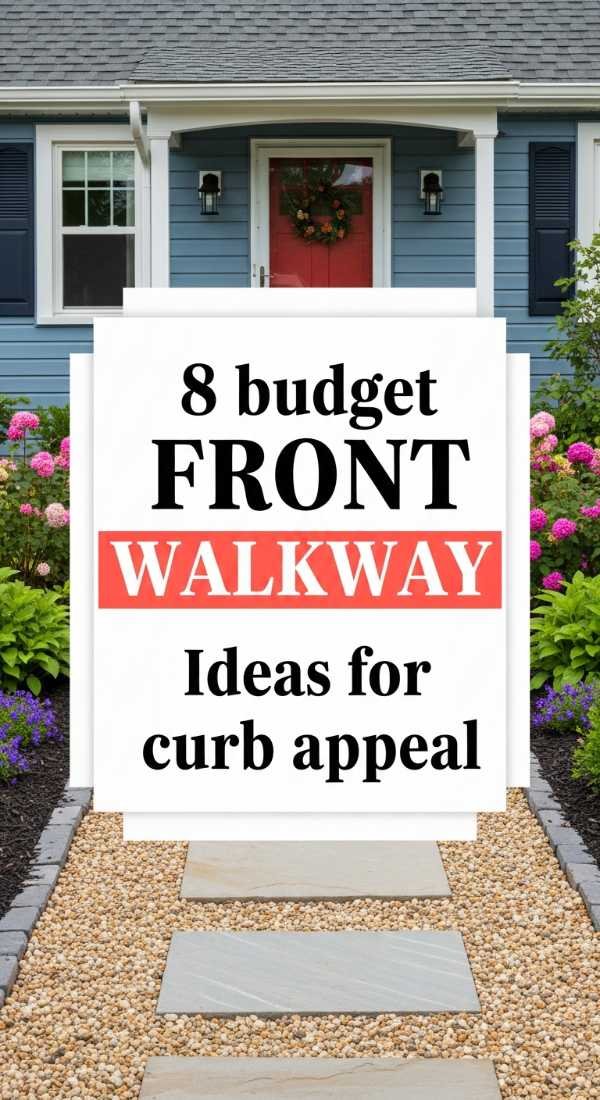
Why to love this Decor:
Beauty doesn’t have to be expensive, my darlings. Using found materials and clever tricks, you can create a front walkway that looks like a million dollars on a shoestring budget. It’s all about the love and care you put into the details.
Items needed:
- Recycled bricks
- River rocks
- Stencils and outdoor paint
- Wood mulch
- Solar rope lights
- Discounted perennials
- Large flower pots
- Pea shingle
How to Prepare:
- Scour local marketplaces for free or cheap recycled bricks.
- Lay a simple mulch path and line it with the found bricks for structure.
- Paint a mosaic-style pattern onto old concrete using stencils and masonry paint.
- Group large pots at the entrance to create a focal point.
- Line the path with budget-friendly river rocks for a natural feel.
- Use solar rope lights tucked under the edge for a magical glow.
- Plant fast-growing perennials to fill in the gaps quickly.
- Spread pea shingle for a satisfying “crunch” underfoot.
Budget Range
- Recycled Bricks: $0.00 – $20.00
- Stencil Kit: $15.00
- Mulch Bag: $4.00
Install a Side House Walkway in 4 easy steps
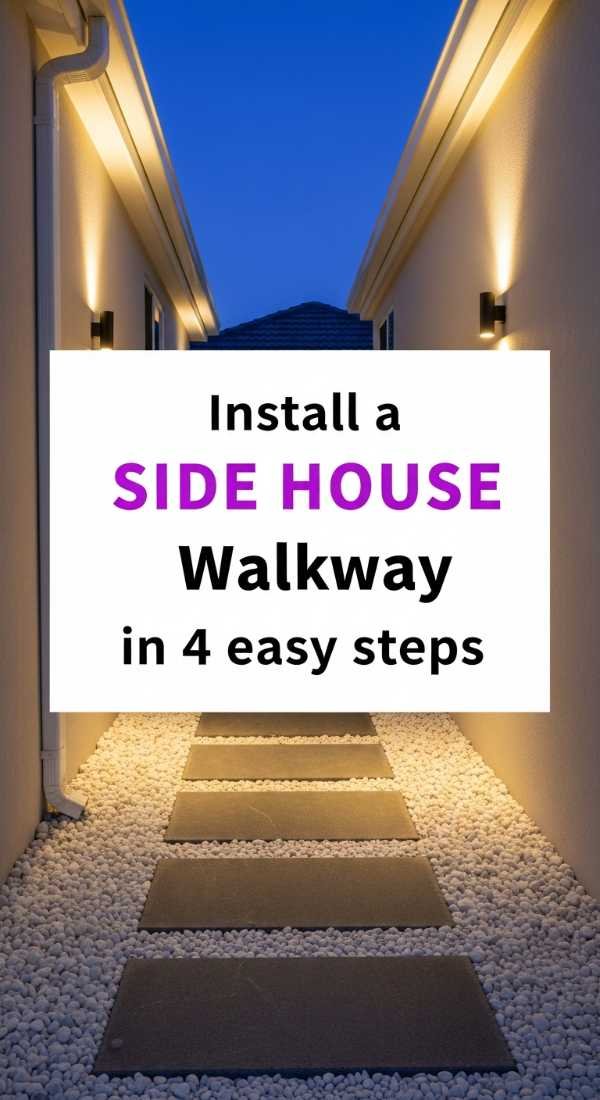
Why to love this Decor:
The side of the house is often forgotten, but it deserves beauty too! This quick project turns a utilitarian space into a charming passage that makes your entire property feel finished and loved.
Items needed:
- Stepping stones
- In-fill gravel
- Edging
- Landscape fabric
How to Prepare:
- Clear away weeds and lay down fabric to keep the area maintenance-free.
- Place your stepping stones at a natural walking distance apart.
- Install edging to prevent gravel from migrating into your lawn.
- Pour in your gravel and sweep it level with the tops of the stones.
Budget Range
- Stepping Stones: $4.00 each
- Landscape Fabric: $15.00
- Gravel: $5.00 per bag
Prepare your Mosaic Garden decor in 6 steps
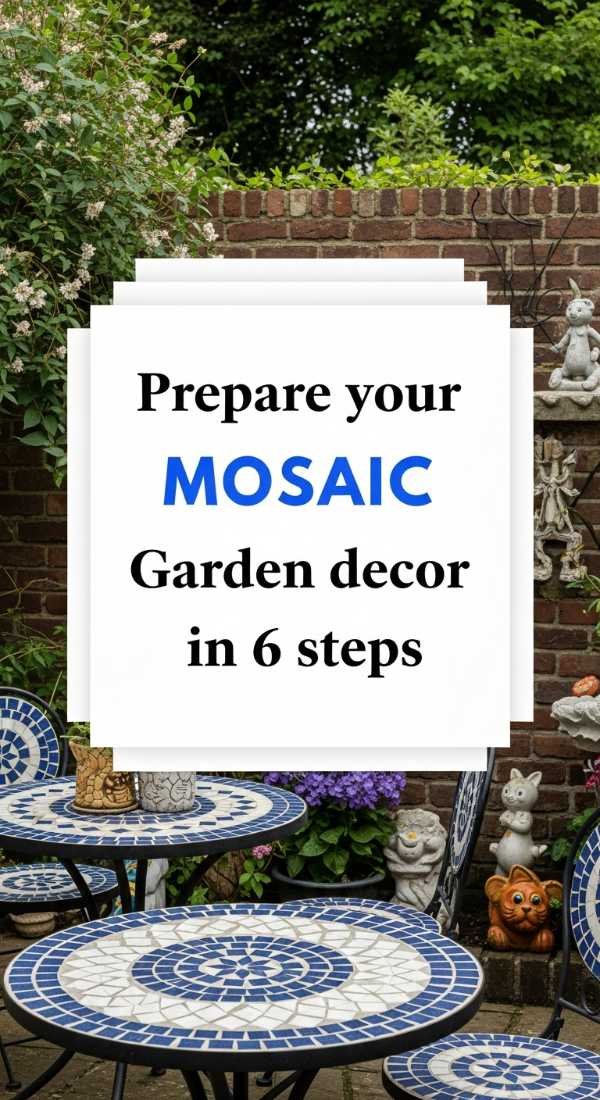
Why to love this Decor:
Preparation is where the soul of the project lives. Taking the time to prep your materials ensures that your mosaic garden decor will stand the test of time and weather. It’s a slow, beautiful process of gathering and organizing your treasures.
Items needed:
- Safety goggles
- Hammer (for breaking tile)
- Buckets for sorting colors
- Old towels
- Mild soap
- Wire brush
How to Prepare:
- Collect all your broken china, glass, and stones in one place.
- Wash every piece with mild soap to remove oils and dirt.
- Wrap tiles in an old towel and gently tap with a hammer to create shards.
- Sort your pieces by color into buckets so you can “paint” with them later.
- Scrub the surface you plan to decorate with a wire brush to roughen it up.
- Always wear your safety goggles to keep your eyes sparkling and safe!
Budget Range
- Safety Goggles: $8.00
- Wire Brush: $5.00
- Sorting Buckets: $2.00 each
Step Into Your New Sanctuary
My loves, I hope your heart is full of ideas and your hands are itching to start creating. Remember, there are no mistakes in a mosaic—only unique details that make your garden path truly yours. Every time you walk across those colors, I want you to remember the joy of making something beautiful. Go forth and create your kaleidoscope! I can’t wait to see what you dream up. Sending you so much love and light.
Frequently Asked Questions
How long does a mosaic path last?
With proper sealing and a solid concrete base, a mosaic path can last for decades! Just be sure to use exterior-grade materials that can handle your local climate’s temperature swings.
Can I use regular indoor tiles?
It’s best to use porcelain or frost-proof tiles. Regular ceramic indoor tiles can soak up water and crack when the temperature drops, which would be such a heartbreak for your hard work!
Is a mosaic path slippery when wet?
It can be, but you can mix a little non-slip additive into your sealer, or choose unglazed ceramic pieces for the areas where you’ll be walking the most.