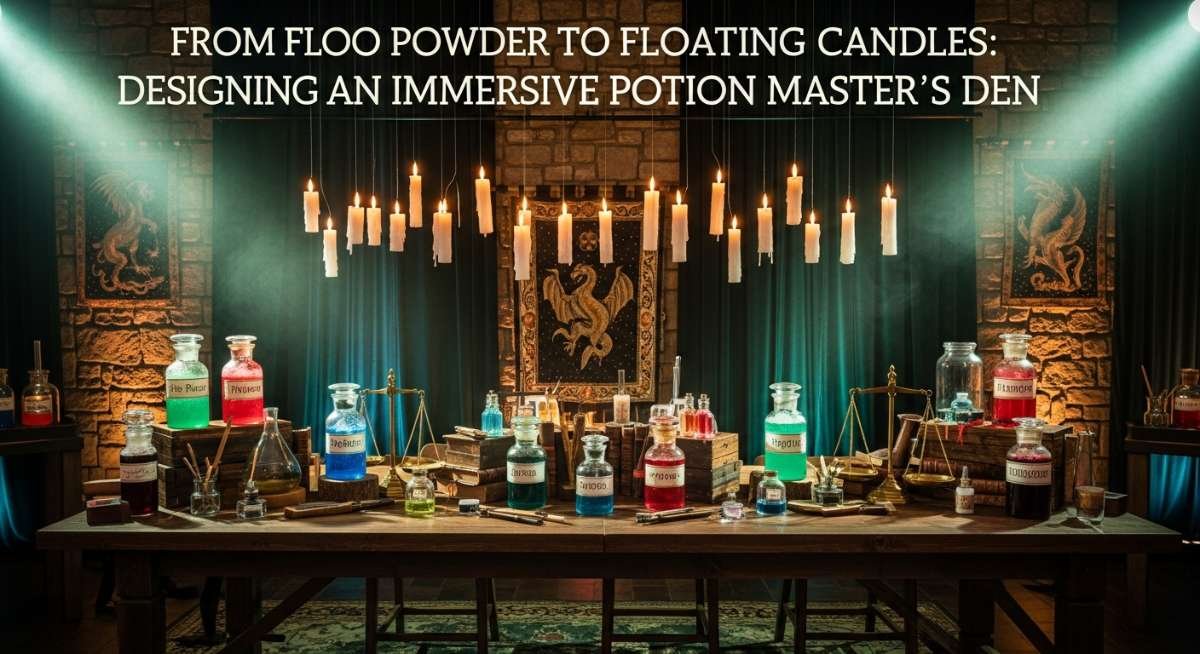
Imagine stepping through a brick wall and into a world where the air smells of dragon’s blood and ancient parchment. As an event stylist, there is nothing more rewarding than transforming a mundane space into a Potion Master’s Den, where every vial tells a story and every flickering candle feels like it’s held aloft by a silent charm. I remember my first attempt at this theme for a close friend’s 30th—we spent hours distressing paper with tea bags and scouring antique shops for the perfect mismatched glassware. The moment we dimmed the lights and let the dry ice spill over the edges of a copper cauldron, the room didn’t just look like a party; it felt like magic.
Designing an immersive wizarding world requires more than just a few plastic wands and a lightning bolt sticker. It’s about layering textures, mastering ambient lighting, and creating a sensory experience that transports your guests to the dungeons of a mystical castle. Whether you’re planning a dark and moody Halloween bash or a sophisticated birthday celebration, the Potion Master’s Den aesthetic offers a perfect blend of mystery, elegance, and whimsical charm that appeals to the inner child and the stylish adult alike.
Why You’ll Love This Party Decor Theme
- Total Immersion: This theme moves beyond basic party supplies to create a 360-degree environment that feels like a movie set.
- Budget-Friendly DIY: Many of the most effective props—like ‘aged’ potion bottles and ‘ancient’ books—can be made using recycled materials from your own kitchen.
- Sophisticated Aesthetic: Unlike cartoonish party themes, this ‘Dark Academia’ inspired look uses rich textures and deep colors that look stunning in photos.
- Interactive Elements: Guests can interact with the decor, from pouring their own ‘elixirs’ to choosing a wand from a curated display.
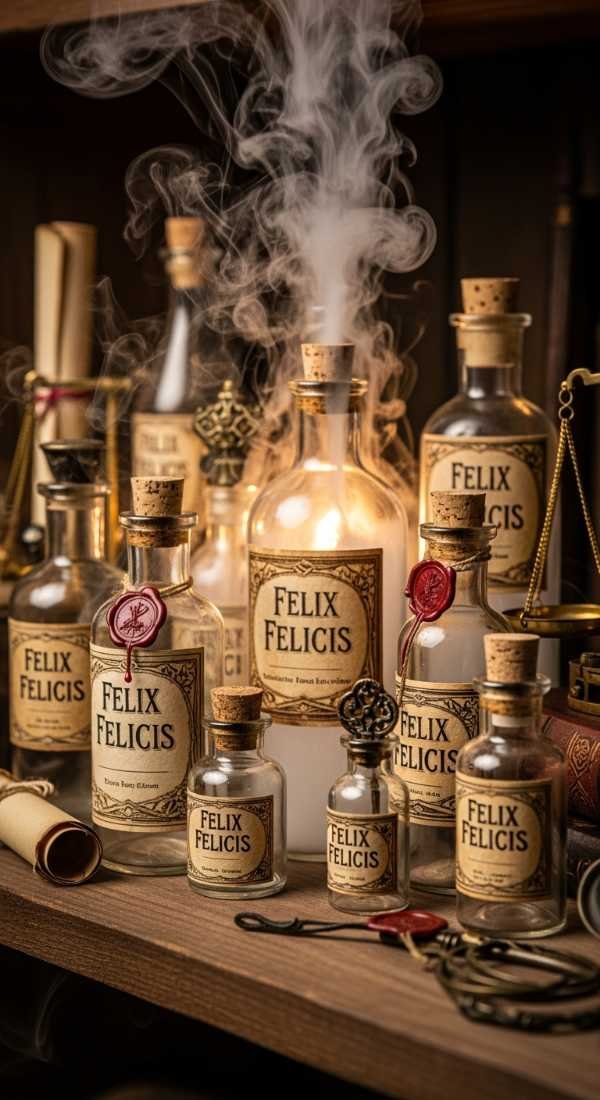
Essential Decor Items & Supplies Needed
- Apothecary Jars & Glass Vials: Various shapes and sizes for the potion ingredients.
- LED Floating Candles: Taper candles that can be suspended using clear fishing line.
- Fishing Line (Monofilament): Essential for the ‘floating’ effect for candles and keys.
- Dark Velvet Tablecloths: Deep emerald, burgundy, or midnight black fabrics to anchor the tablescapes.
- Backdrop Stands & Black Drapes: To hide modern walls and create a ‘dungeon’ feel.
- Gold & Copper Accents: Candelabras, trays, and chargers to add a touch of royal wizardry.
- Dried Florals & Moss: Eucalyptus, dark roses, and Spanish moss for an earthy, ‘herbology’ touch.
- Smoke Machine or Dry Ice: To create that signature bubbling cauldron effect.
When it comes to the color palette, think deep, ‘jewel-toned’ moody hues. I recommend a base of obsidian black and slate grey, accented with rich emerald green and antique gold. This combination mimics the feel of stone walls and hidden treasures. Texture plays a massive role here—mix the roughness of old wood crates with the smoothness of glass bottles and the soft luxury of velvet runners to create a visual landscape that feels lived-in and authentic.
Lighting is your best friend in a Potion Master’s Den. Avoid harsh overhead lights at all costs! Instead, rely on layers of warm light. Use string lights hidden inside jars to look like ‘captured fireflies,’ low-wattage amber bulbs in lamps, and, of course, dozens of flickering LED candles. The goal is to create shadows and highlights that make the room feel much larger and more mysterious than it actually is. 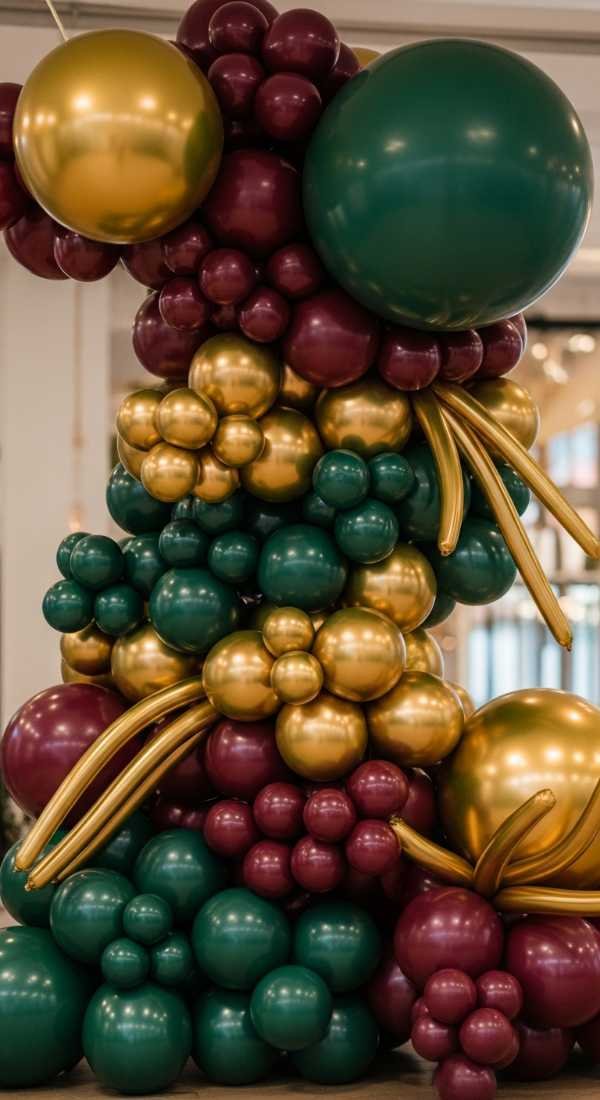 Your focal point should be the ‘Potion Bar’ or the main banquet table, where the largest concentration of themed items will live.
Step-by-Step DIY Setup Guide
- Prep your apothecary collection by cleaning old glass jars and applying custom ‘potion’ labels. You can find printable labels online or hand-write them on tea-stained paper for an authentic look.
- Secure your floating candles to the ceiling using clear fishing line and adhesive hooks. Vary the heights of the candles to create a more natural, ‘magical’ movement throughout the space.
- Drape your tables in heavy velvet and layer with lace or cheesecloth. This creates the foundation for your potion ingredients and helps hide any cords from electronic props.
- Arrange your bottles and jars in clusters of three or five to create visual interest. Use books or small wooden crates to vary the height of your display, ensuring the eye moves across the entire table.
- Fill a central cauldron with water and use a small mist maker or dry ice just before guests arrive. This provides the ‘bubbling’ effect that serves as a perfect conversation starter.
- Scatter ‘enchanted’ accessories like old keys, crystal balls, and loose feathers. These small details fill the gaps between larger props and complete the narrative.
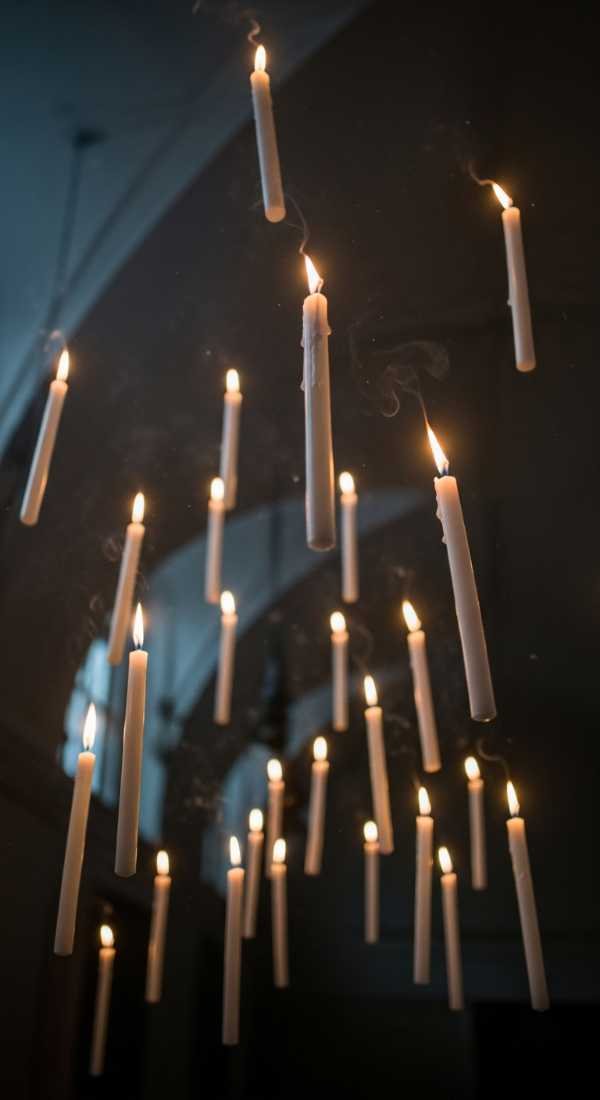
Pro Styling Tips for Enchanted Wizarding World Party Decor
- Layer your textures to prevent the decor from looking flat; use burlap, velvet, and lace together on one surface.
- Incorporate organic elements like twisted branches or dried moss to give the impression of a room built into the side of a mountain or forest.
- Use scent to your advantage by burning candles that smell like cedarwood, parchment, or pipe tobacco to engage all the senses.
- Hide modern technology by draping black fabric over TVs or using hollowed-out vintage books to hide speakers.
- Group items by color within your potion jars—blue ‘mermaid scales’ next to blue ‘gillyweed’—to create a curated, professional look.
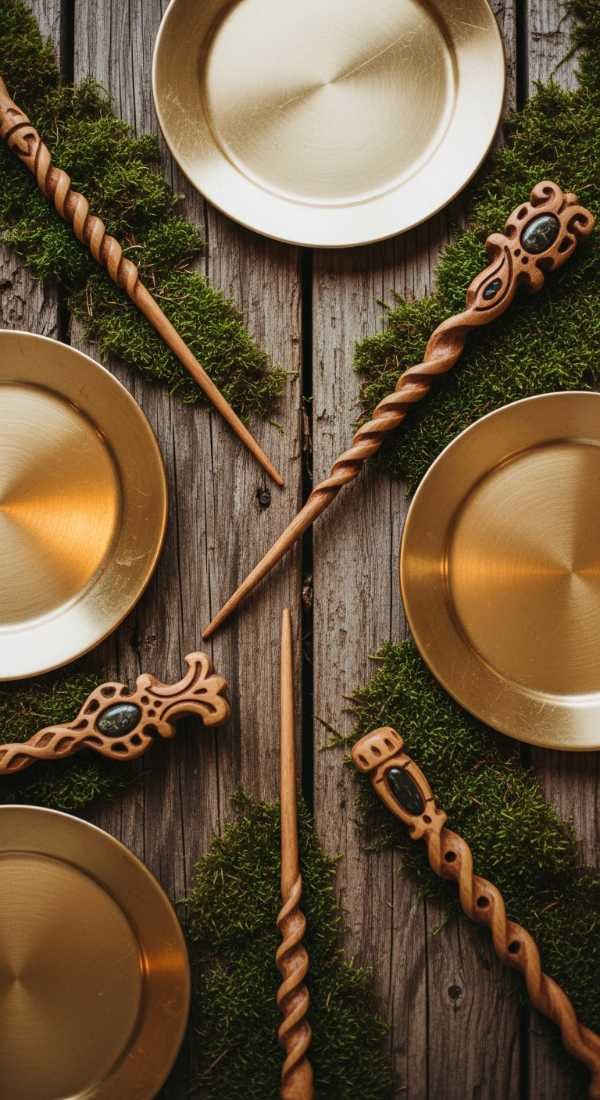
Theme Variations & Table Setting Ideas
- The Forbidden Forest Feast: Focus heavily on greenery, brown woods, and fairy lights hidden in thick moss.
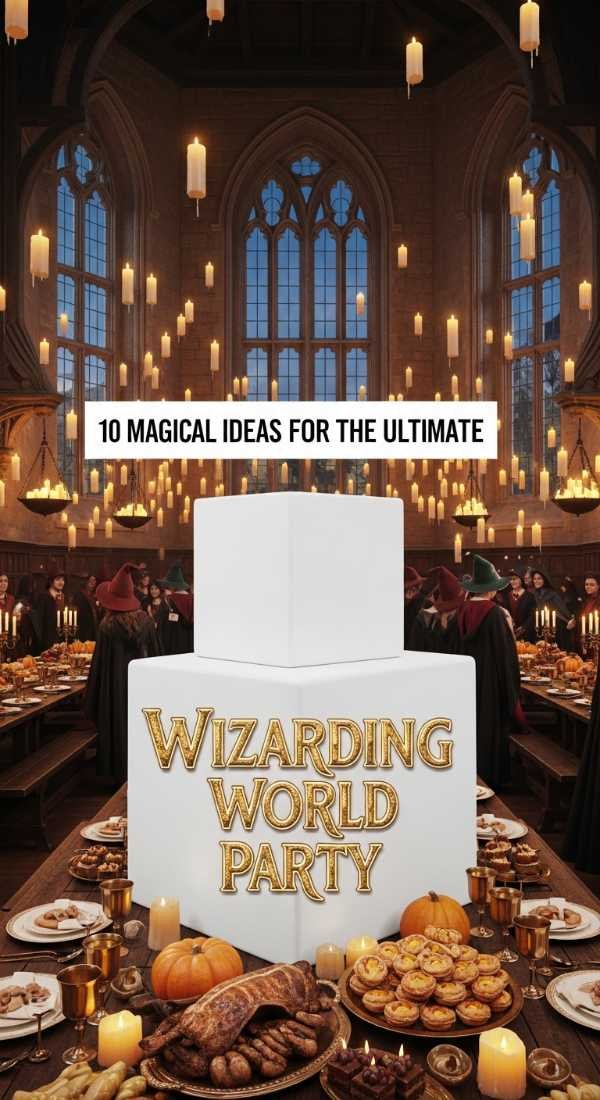
- The Great Hall Banquet: Use long trestle tables, gold chargers, and high-reaching candelabras for a more formal, regal vibe.
- The Herbology Greenhouse: Swap the dark vials for terracotta pots, hanging plants, and garden lanterns.
- The Astronomy Tower: Utilize navy blue silks, star-shaped confetti, and vintage telescopes as centerpieces.
For the ultimate table setting, I love using ‘parchment’ menus at each seat and small, individual ‘vial’ party favors filled with colored salts or sweets. Arrange your backdrop so that it frames the main table; a simple black curtain can be transformed with a few hanging birdcages and some strategically placed ‘cobwebs’ (white batting stretched thin). Remember, the magic is in the details, so don’t be afraid to over-decorate the small corners of the room. 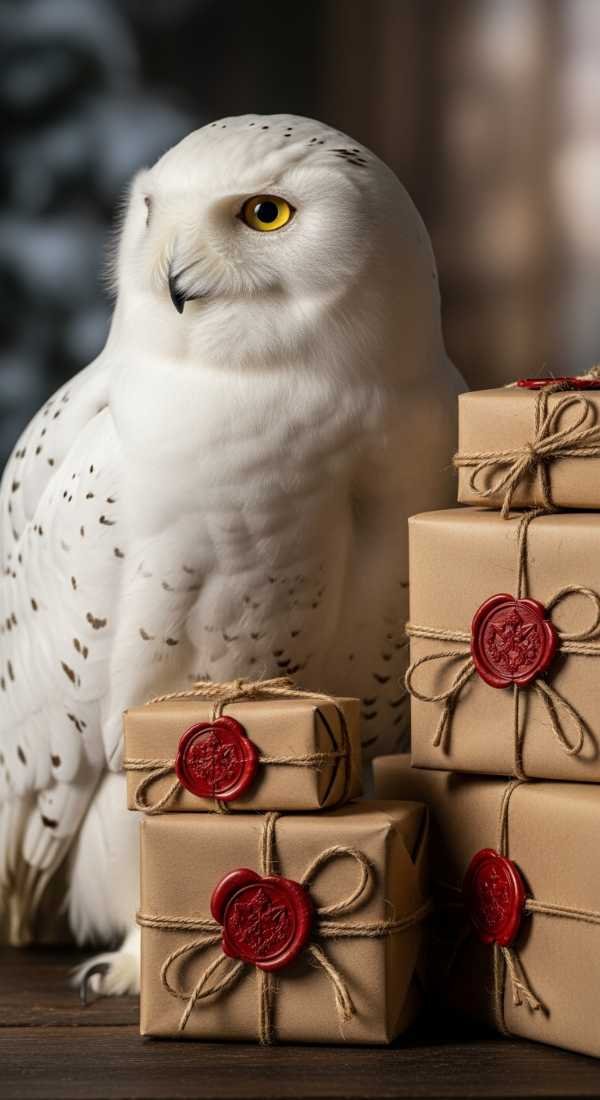
Pre-Party Setup Timeline, Assembly & Teardown
Start your preparation at least two weeks in advance. This is the time for all your ‘heavy lifting’ DIY projects, such as aging paper, printing labels, and sourcing your vintage glassware. If you are making ‘potion’ liquids (colored water with mica powder), do a test run to ensure the colors don’t stain your containers. Order any specialty lighting or bulk candles now to account for shipping times.
On the day before the event, set up your furniture and hang your floating candles. This is the most time-consuming part of the process, and you don’t want to be on a ladder while trying to ice cupcakes! Fill your jars, arrange your velvet linens, and set out your larger props. 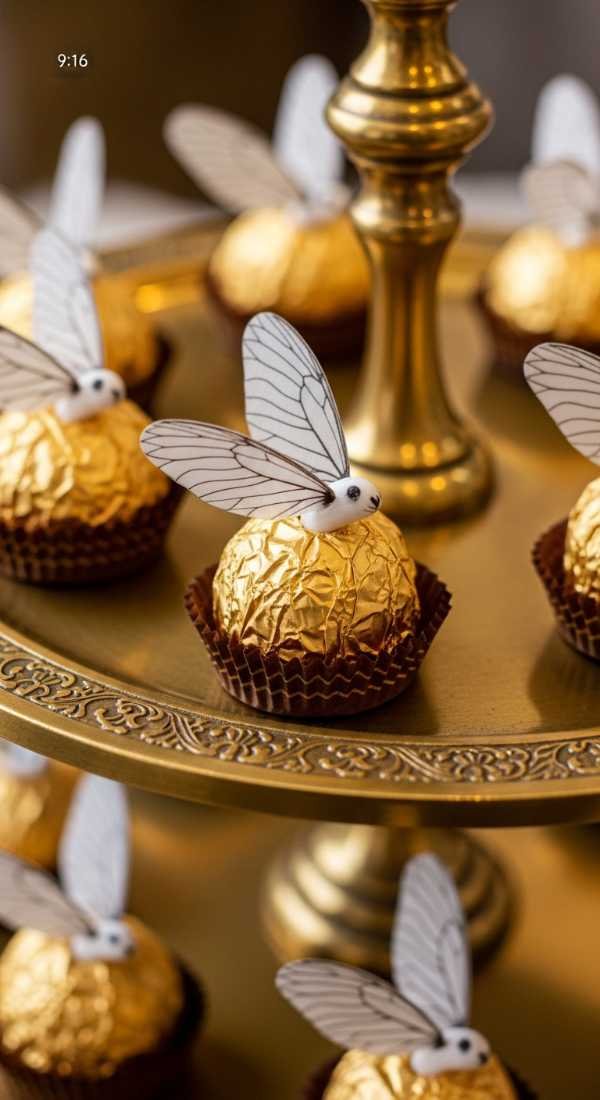 This allows you to step back and adjust the composition of your ‘den’ before the final rush of the party day.
Teardown is relatively straightforward since most items are non-perishable. Start by carefully removing the floating candles—wind the fishing line around a piece of cardboard to prevent tangling for future use. Drain your potion jars and store the glassware in padded boxes. If you used moss or real greenery, compost what you can and wipe down your velvet linens before storing them in a cool, dry place to prevent mildew.
Frequently Asked Questions
How do I make the ‘floating candles’ stay up safely?
Use clear 3M Command hooks on the ceiling and 4lb-6lb monofilament fishing line. Ensure your LED candles are lightweight and use fresh batteries so they last the entire night without needing to be taken down.
What is the best way to make the water in potion jars look magical?
Add a tiny pinch of edible luster dust or mica powder to colored water. When you swirl the jar, the dust creates a mesmerizing, pearlescent ‘vortex’ effect that looks just like a moving potion.
Can I do this theme in a small apartment?
Absolutely! Focus on one ‘impact zone’ like a bar cart or a dining table. By concentrating your decor in one area, you create a powerful focal point without making the whole apartment feel cluttered.
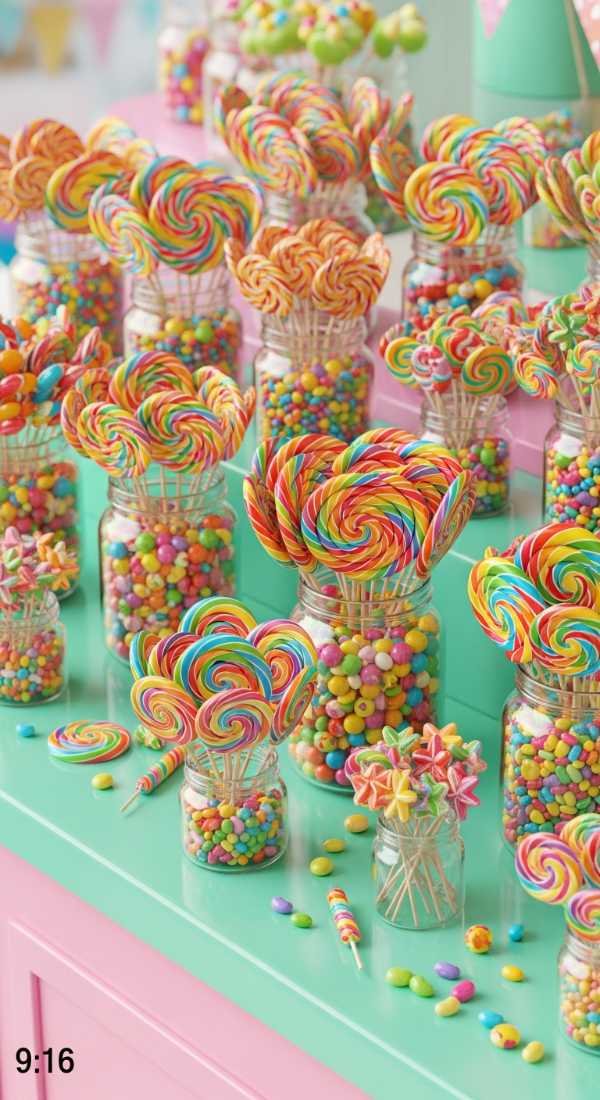
Where can I find cheap ‘vintage’ looking props?
Thrift stores and estate sales are gold mines for brass candlesticks, old books, and unique glassware. Don’t worry if things don’t match—the eclectic, mismatched look actually adds to the ‘Potion Master’ charm.
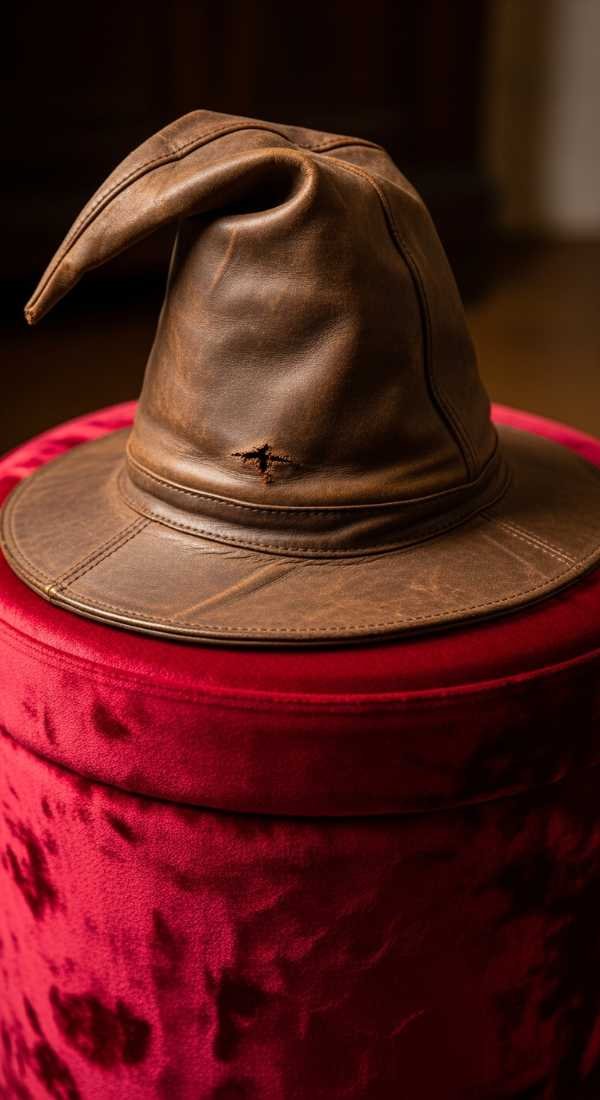
Final Thoughts & Party Checklist
Transforming your space into an Enchanted Wizarding World is a labor of love that pays off the moment your guests gasp as they walk through the door. It’s a theme that encourages curiosity and playfulness, inviting everyone to look a little closer at the ‘dragon hearts’ in jars and the ‘phoenix feathers’ on the mantel. By focusing on lighting, texture, and those tiny ‘Easter egg’ details, you create a night that will be whispered about long after the last candle flickers out.
As you wrap up your planning, remember that the best parties are those where the host feels as magical as the environment. Don’t stress over perfection—a little bit of ‘dust’ (or intentionally placed cobwebs) only adds to the atmosphere! Take the time to enjoy the process of curation; finding that one perfect green bottle or the right shade of gold ribbon is part of the fun of being an event stylist. 
Before you start your transformation, make sure you have your essentials ready. Use the checklist below to ensure no magical detail is left behind. From the ‘Floo Powder’ jars to the flickering tapers, you are now ready to host the most enchanting evening of the year. Happy styling, and may your potions always turn out perfectly!
Enchanted Wizarding World Party Decor Setup Guide
A moody, immersive setup designed to mimic a high-end wizarding dungeon or potion laboratory. Perfect for those who love Dark Academia and magical aesthetics.
Stylist: Professional Event Planner Personality
Setup Time: 4-6 Hours
Difficulty Level: Moderate
Ideal Occasion: Halloween, Adult Birthdays, Movie Marathons
Estimated Budget: $100 – $300 (depending on DIY efforts)
Key Color Palette: Emerald Green, Obsidian Black, Antique Gold, Slate Grey
Essentials & Materials
- 20-30 Glass jars and bottles of varying sizes
- 12-24 LED Taper candles with remote
- Roll of clear fishing line
- 3M Ceiling hooks
- Black velvet table runners
- Dry ice or a small mist machine
- Printable apothecary labels & tea-stained paper
- Gold candelabras and chargers
Setup Instructions
- Clean and label all potion jars 48 hours before the event.
- Install ceiling hooks and hang floating candles at varying heights.
- Drape the main table with dark velvet and layered lace.
- Build height using old books or crates, then place glassware on top.
- Fill jars with colored water and luster dust for a ‘potion’ effect.
- Add finishing touches like moss, feathers, and old keys.
- Activate the mist machine or dry ice 5 minutes before guests arrive.
Decor Specs & Ambience
The lighting style should be strictly warm and low, utilizing ‘flicker’ mode on all LED candles to simulate real flame. The main focal point is the Potion Bar, which should be backed by a dark, draped curtain to hide modern room features. Table arrangements should be dense and ‘cluttered’ in a curated way, mixing hard glass surfaces with soft moss and velvet textures. Use ‘hidden’ lighting (puck lights or fairy lights) behind jars to make the colored liquids glow from within.