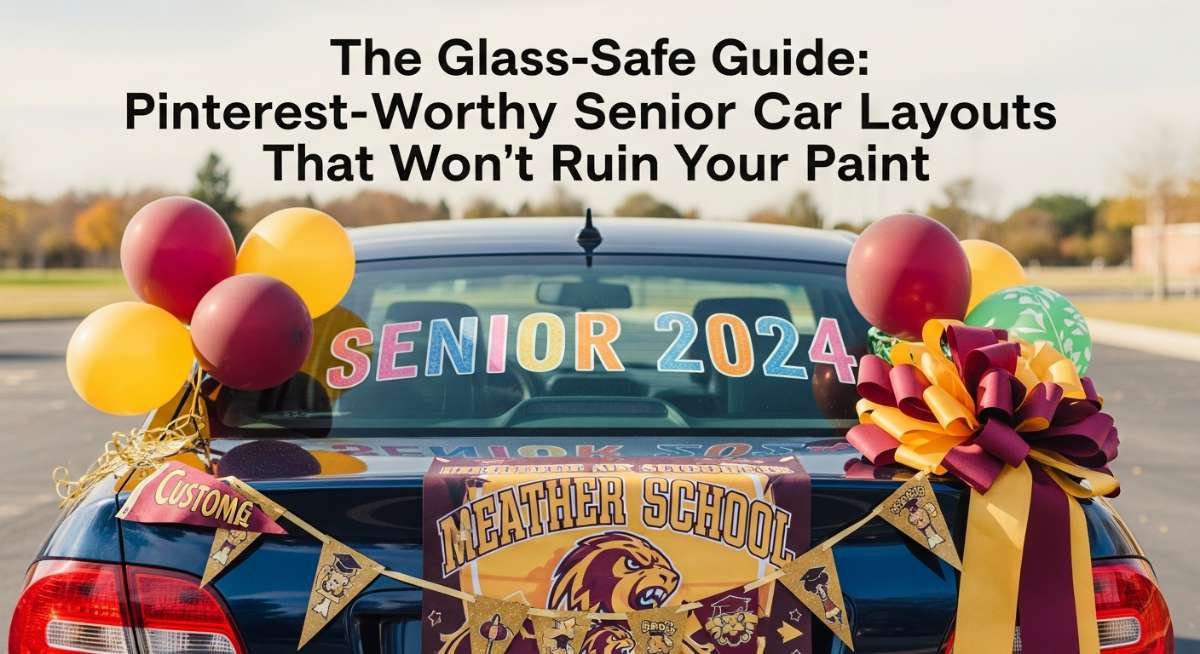
The Glass-Safe Guide: Pinterest-Worthy Senior Car Layouts That Won’t Ruin Your Paint
Senior year is a whirlwind of ‘lasts’ and ‘firsts,’ but nothing quite captures the high-energy, ‘main character’ energy of a graduation season like a beautifully decorated car. As an event stylist, I’ve seen it all—from the messy shoe-polish scrawls of the 90s to today’s curated, Instagram-ready masterpieces. I remember my own senior year car, covered in sticky tape that took three washes to remove, and I promised myself I’d find a better way for the next generation of stylish graduates.
The secret to a viral senior car isn’t just about how much glitter you can throw at it; it’s about intentionality, color theory, and, most importantly, protecting your (or your parents’) investment. This guide is born out of a love for high-end event design translated to the mobile canvas of your vehicle. We are moving away from the ‘messy’ look and stepping into a world of sophisticated palettes and glass-safe techniques.
Whether you’re prepping for the traditional Senior Sunrise, a homecoming parade, or the final drive out of the school parking lot, these layouts are designed to turn heads and keep your paint job pristine. Let’s dive into the ultimate aesthetic toolkit for the class of the year!

Why You’ll Love This Party Decor Theme
- Instant Photo Op: Your car becomes a moving photo booth backdrop for you and your besties.
- Paint Safety: By focusing on glass-safe markers and suction-cup attachments, we avoid the dreaded clear-coat damage.
- Customization: This theme allows you to express your personality, whether you’re a minimalist ‘Clean Girl’ aesthetic or a vibrant ‘maximalist’ lover.
- Community Spirit: It’s a beautiful way to celebrate your achievements and bond with your graduating class.
- High Visibility: These designs are curated to be legible and striking even from a distance.
Essential Decor Items & Supplies Needed
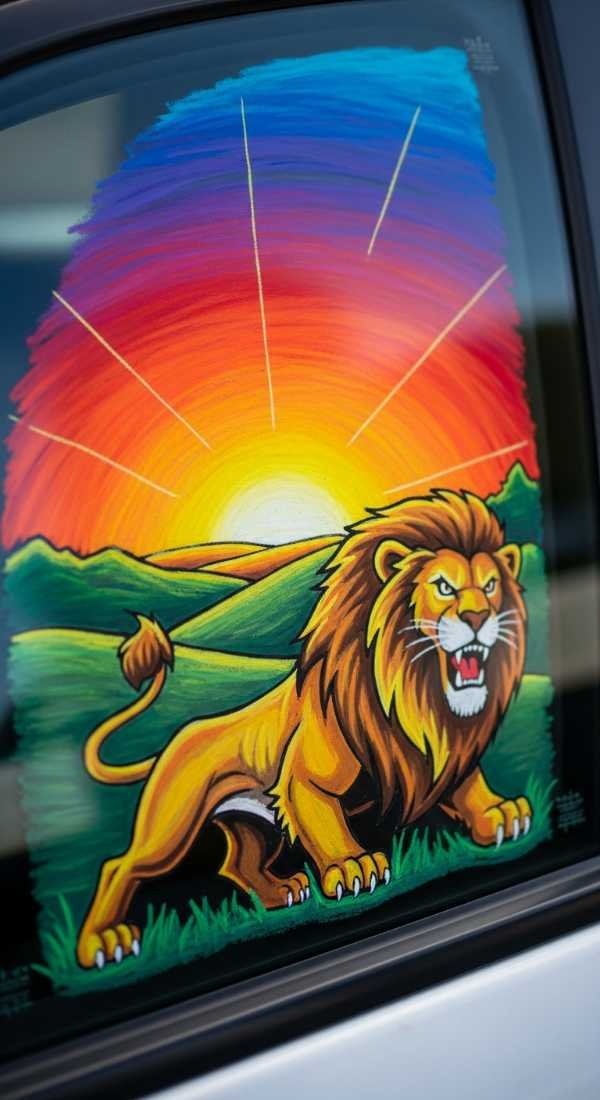
- Liquid Chalk Markers: Premium, high-pigment markers specifically for glass (avoid oil-based!).
- Suction Cup Hooks: Heavy-duty cups with clips to hold 3D elements like ribbons or florals.
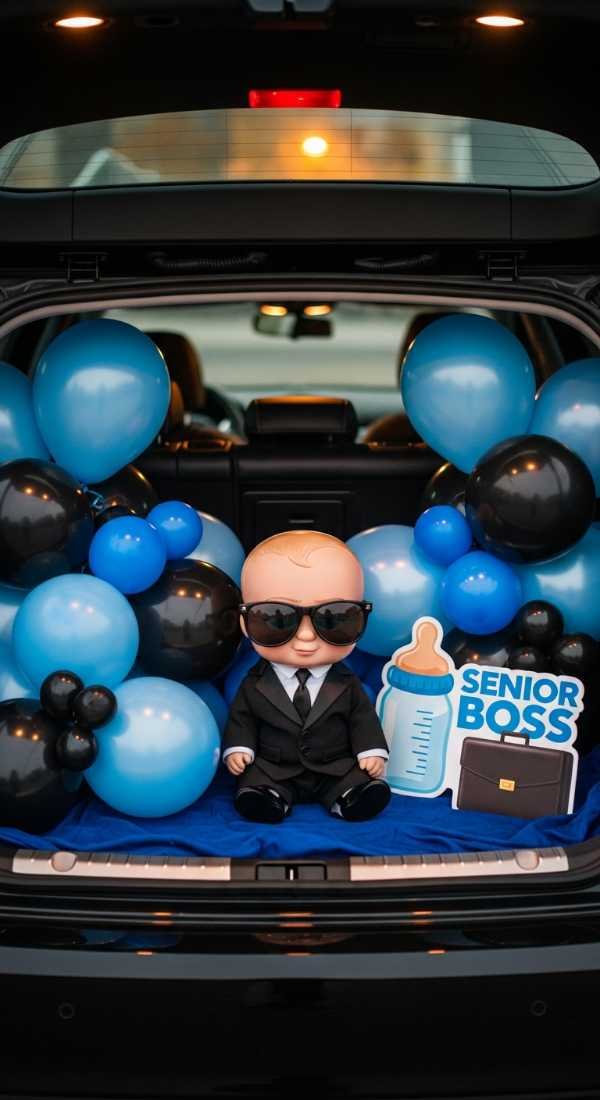
- Oversized Latex Balloons: 18-inch or 24-inch balloons for that high-end, editorial look.
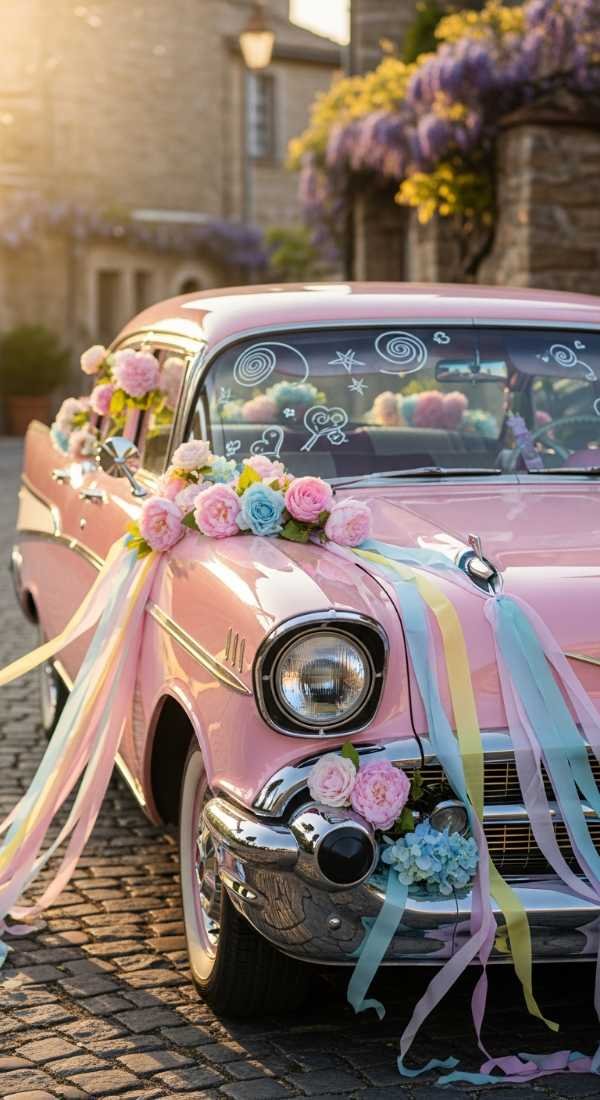
- Silk Floral Garlands: Lightweight faux flowers that won’t wilt in the sun.
- Tulle and Satin Ribbons: For creating movement and texture in the wind.
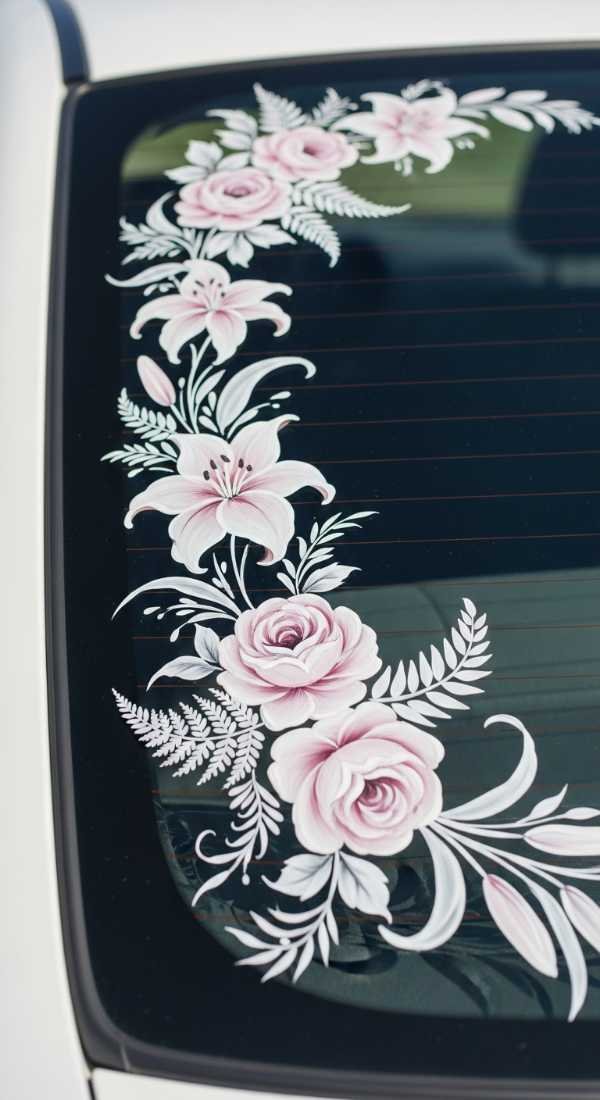
- Removable Window Decals: Custom vinyl cut-outs for that professional, ‘crisp’ finish.
- Microfiber Cloths & Glass Cleaner: Essential for prep and mistakes.
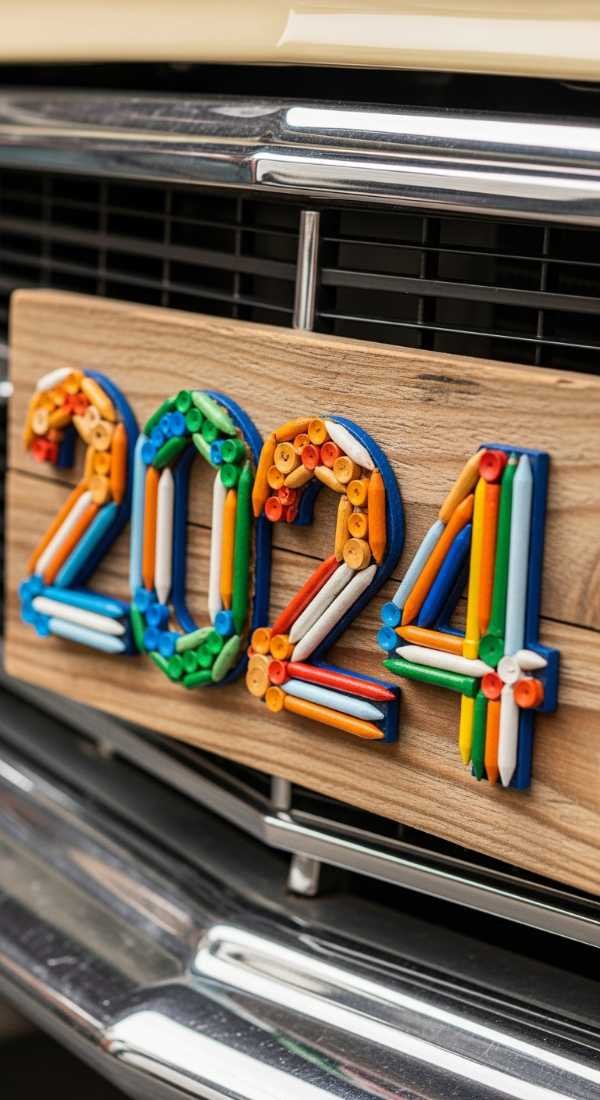
When it comes to the aesthetic, think beyond standard school colors. While spirit is great, ‘Pinterest-worthy’ often means leaning into tonal palettes like ‘Desert Sunset’ (terracotta, cream, and mustard) or ‘Ethereal Cloud’ (icy blue, silver, and white). Texture is your best friend here; the contrast between the hard, reflective surface of the glass and the soft, flowing nature of silk ribbons or tulle creates a multi-dimensional look that pops in photos.
Lighting plays a huge role if your event is at dawn or dusk. Battery-operated fairy lights can be safely taped to the *inside* of the windows, facing out, to create a magical glow without the risk of them flying off on the road. Always remember to keep your focal points balanced—if you have a large ‘CLASS OF 2024’ on the back window, keep the side windows more minimalist with simple stars or line art.
Step-by-Step DIY Setup Guide
- Deep clean the canvas. Use a high-quality glass cleaner to remove all oils, dirt, and wax from the windows to ensure your markers and decals adhere perfectly.
- Map out your design with a ‘ghost’ sketch. Use a light-colored chalk marker to lightly dot your layout before committing to heavy lines.
- Apply your primary lettering. Start from the center of the window and work outward to ensure your ‘Class of’ message is perfectly centered.
- Add your 3D ‘Anchor’ elements. Attach suction cups to the top corners of the rear window to hang your silk garlands or ribbon streamers.
- Layer in the ‘filler’ details. Use smaller markers to add stars, sparkles, or doodles around the main text to fill in the gaps.
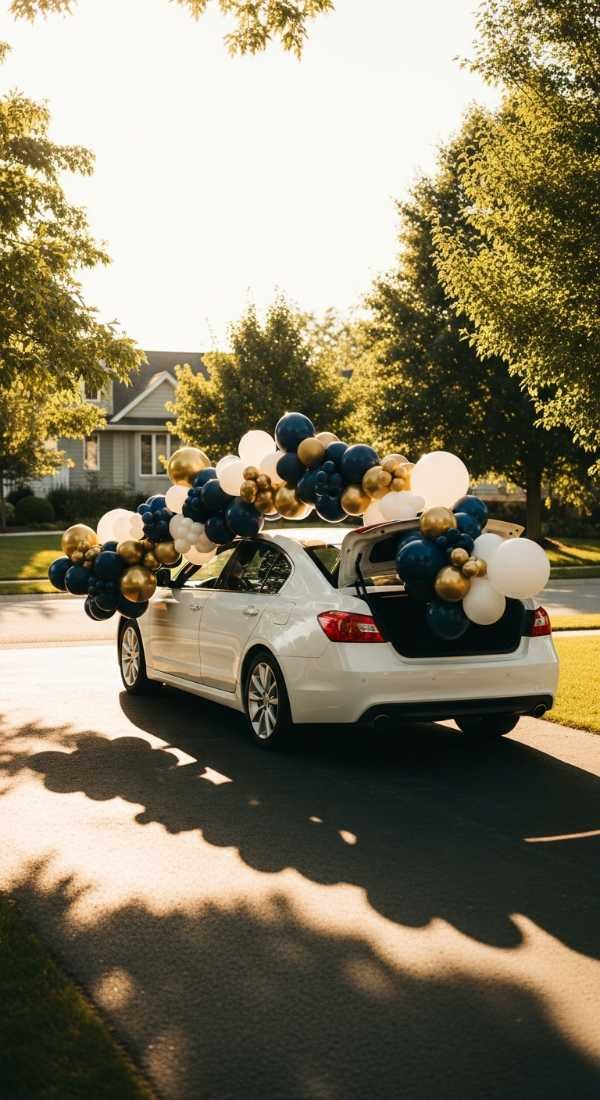
- Secure the ‘Exit’ decor. If using balloons, tie them securely to the side mirrors or roof rack using soft twine that won’t scratch the paint.
Pro Styling Tips for Aesthetic Senior Car Decorating
- Work in the shade. Never apply window markers on hot glass, as the paint will dry too quickly and streak.
- Layer your textures. Pair a matte window decal with a shiny satin ribbon for a high-contrast, professional look.
- Use ‘Negative Space’. Don’t cover every inch; leaving some glass clear makes your designs look more deliberate and ‘high-fashion.’
- Check your visibility. Always ensure your driver-side view and rearview mirror visibility aren’t blocked by your beautiful decor.
- Go for oversized accents. One or two giant 24-inch balloons look much more ‘styled’ than a bunch of small, sagging ones.
Theme Variations & Table Setting Ideas
- The ‘Retro Groovy’ Senior: Use warm oranges, pinks, and daisy motifs with bubble lettering for a 70s inspired vibe.
- The ‘Minimalist Chic’: Stick to all-white chalk markers with simple, elegant cursive and a single white silk ribbon.
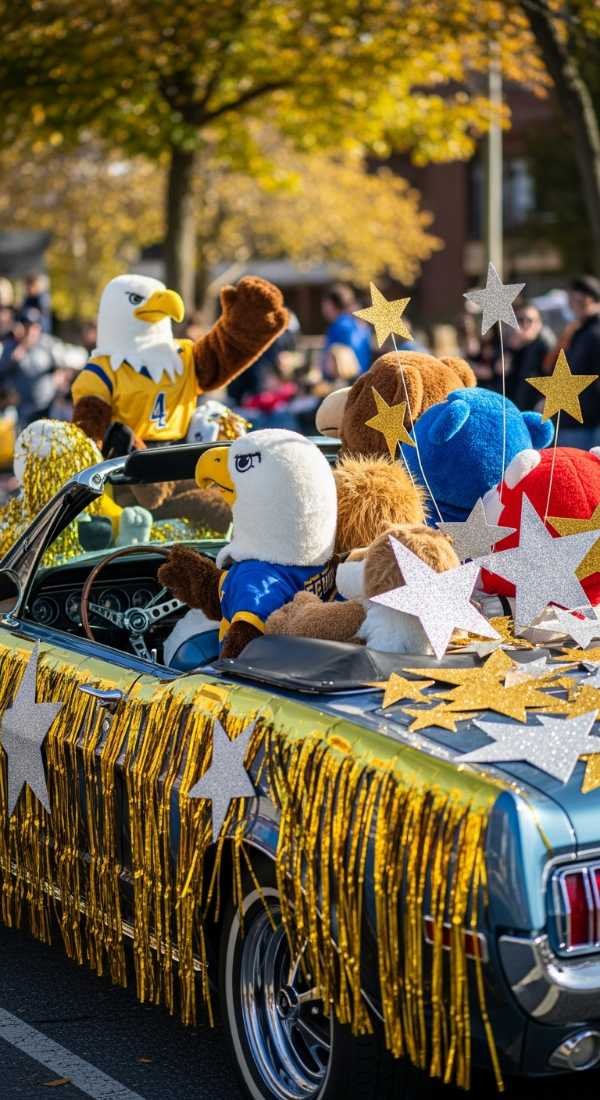
- The ‘Sporty Varsity’: Incorporate your jersey number and school mascot using bold, blocky typography and high-contrast colors.
- The ‘Boho Dreamer’: Use earthy tones, faux pampas grass (secured well!), and delicate line-art suns and moons.
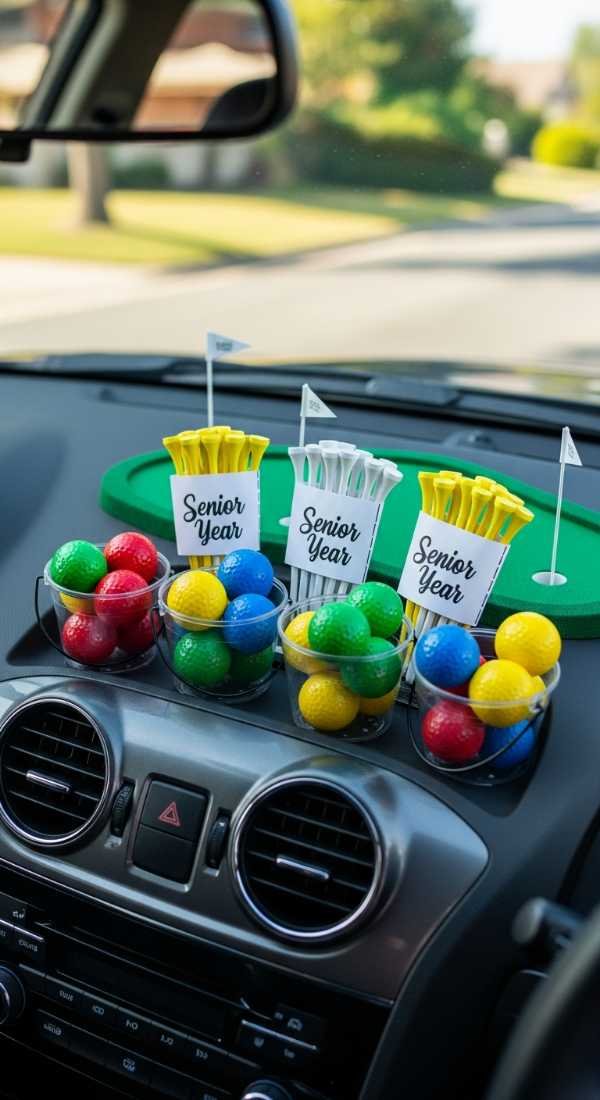
For the ‘Table Setting’ equivalent in car decorating, think about the interior dash. You can place a small floral arrangement or a personalized ‘Senior Year’ dashboard sign that faces outward. This creates a layered effect where the viewer sees the window art first, followed by the curated interior details, making the whole vehicle feel like a cohesive ‘party on wheels.’
Pre-Party Setup Timeline, Assembly & Teardown
Preparation should begin at least 48 hours before the big day. Start by finalizing your color palette and ordering any custom vinyl decals. If you’re using fresh-looking silk florals, take them out of their packaging early so they can fluff up and lose any unsightly creases from shipping. This is also the time to test your markers on a small corner of the glass to ensure they wipe away easily with your chosen cleaner.
The day before the event, take the car through a touchless car wash. Once dry, spend about 60 to 90 minutes applying the window art and suction-cup elements. It’s much better to do this in the cool evening air than in a rush the morning of the parade. Keep the car in a garage if possible to protect the art from morning dew or unexpected sprinkles.
Teardown is just as important as setup. To remove liquid chalk markers, use a mixture of water and a little dish soap or a dedicated glass cleaner with a microfiber towel. Avoid using scrapers or abrasive sponges, as these can scratch the glass. For any stubborn residue from suction cups, a quick wipe with rubbing alcohol will leave the glass sparkling and ready for your next adventure.
Frequently Asked Questions
Will liquid chalk markers ruin my car’s paint if it rains?
While liquid chalk is designed for glass, if it rains, the pigment can run onto the paint. However, because it is water-based, it should wash off easily with a standard car wash. To be safe, try to keep the design contained to the glass area only.
How do I make my handwriting look like the professional ‘Pinterest’ style?
The trick is ‘faux calligraphy.’ Write your word in normal cursive first, then go back and thicken the ‘downstrokes’ of every letter. This gives it that expensive, hand-lettered look without needing years of practice.
Are balloons safe to drive with on the highway?
It is not recommended to drive at high speeds (over 25-30 mph) with balloons or heavy streamers attached. These are best saved for slow-moving parades or stationary photo shoots. Always remove them before hitting the freeway!
What is the best way to attach ribbons without tape?
Suction cups with hooks are the gold standard for car styling. They provide a strong anchor point on the glass and can be removed instantly without leaving a sticky residue that attracts dirt.
Final Thoughts & Party Checklist
Decorating your senior car is more than just a DIY project; it’s a celebration of how far you’ve come. By choosing an ‘aesthetic’ approach, you’re creating a memory that looks as good in your camera roll as it feels in the moment. Remember that the best designs are the ones that reflect your unique journey through high school—so don’t be afraid to add a personal quote or an inside joke with your friend group.
As you pull out of the driveway, take a second to soak it all in. You’ve worked hard for four years, and you deserve to arrive in style. These glass-safe methods ensure that the only thing you’re leaving behind are the memories, not a permanent mark on your car’s finish. It’s all about the balance of being bold and being smart with your styling choices.
Before you head out, double-check your visibility and make sure your ‘Class of’ year is legible for all those drive-by waves. You’ve got the supplies, the steps, and the styling tips—now go make that car the talk of the campus! Congratulations, Senior!
Aesthetic Senior Car Decorating Setup Guide
A sophisticated, glass-safe approach to senior year car decor featuring tonal palettes, 3D textures, and professional-grade window art.
Stylist: Professional Event Planner | Setup Time: 90 Minutes | Difficulty Level: Intermediate | Ideal Occasion: Senior Sunrise, Graduation Parade, Last Day of School | Estimated Budget: $40 – $75 | Key Color Palette: Sage, Cream, and Gold
Essentials & Materials
- Liquid Chalk Markers (White & Gold)
- 3-inch Suction Cup Hooks
- 6 Yards of Chiffon Ribbon
- Silk Eucalyptus Garland
- Windex & Microfiber Towel
- 24-inch Cream Latex Balloon
Setup Instructions
- Clean all windows thoroughly with glass cleaner and a microfiber cloth.
- Sketch your ‘Class of [Year]’ design using a light-colored marker.
- Apply thick coats of liquid chalk, using ‘faux calligraphy’ for the main text.
- Affix suction cups to the top corners of the rear windshield.
- Loop your ribbon and eucalyptus garland through the suction hooks.
- Tie a single oversized balloon to the rear tow hook or side mirror for a final flourish.
Decor Specs & Ambience
The lighting style should be natural and bright, ideally during the ‘Golden Hour’ for maximum photo impact. Focal points are centered on the rear windshield with secondary designs on the back side-windows. The backdrop is the car’s natural finish, enhanced by the flowing movement of chiffon ribbons. The overall ambience is ‘Elevated Celebration’—refined, joyful, and effortlessly cool.