DIY Crochet I ❤️ U Bouquet: Free Amigurumi Pattern-There is no better way to express heartfelt affection than with a handmade gift that lasts forever. Forget traditional roses that wilt within a week; this adorable Crochet ‘I Love U’ Bouquet transforms simple yarn into a timeless declaration of love. Featuring a plump red heart flanked by two stylish white letters, and accented by sweet, simple filler flowers, this amigurumi project is perfect for Valentine’s Day, anniversaries, or just because. This pattern is suitable for intermediate crocheters familiar with working in the round, increasing, and decreasing. The tight gauge ensures minimal stuffing shows through, giving the finished pieces that clean, professional look seen in boutique floral shops. Working with floral wire can be a bit tricky, but the assembly process is incredibly rewarding, culminating in a beautiful, personalized, and unforgettable present. Gather your supplies and get ready to crochet a gift that speaks volumes.
Project Details
- Difficulty: Intermediate
- Time Estimate: 4 hours
Materials Needed
- Worsted Weight (Category 4) Yarn in Red, White, Cream, and Green
- 3.0 mm or 3.5 mm Crochet Hook (to achieve tight fabric)
- Stuffing (Poly-Fil fiberfill)
- Tapestry Needle
- Scissors
- Floral Wire (16 or 18 gauge) and Floral Tape (Green)
- Brown Kraft Paper or Cellophane for wrapping
- Red Sheer Ribbon
Abbreviations
- ch: chain
- sc: single crochet
- inc: increase (2 single crochet in one stitch)
- dec: decrease (single crochet 2 together)
- sl st: slip stitch
- dc: double crochet
- MR: Magic Ring
- FO: Fasten off
Instructions
Step 1: Crocheting the Heart (‘❤️’ Component)
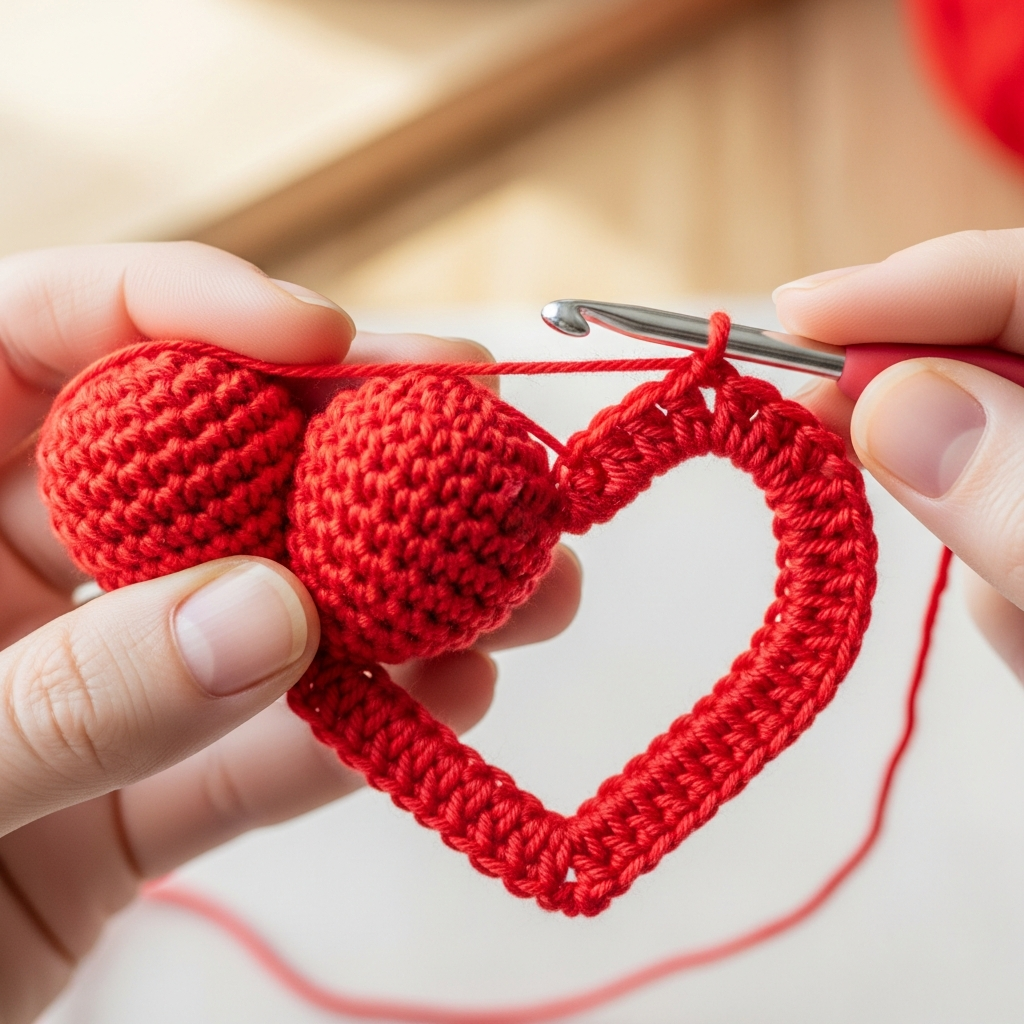
Using Red yarn, you will create two half-spheres first, then join them to form the top of the heart. 1. MR, 6 sc (6) 2. Inc in each st around (12) 3. (Sc 1, inc) repeat 6 times (18) 4. Sc 18 (Rounds 4-6). FO the first half-sphere. Do not FO the second. 7. Join: Sc 18 around the first piece, then sc 18 around the second piece (36). 8. Sc 36 (Rounds 8-9). 10. (Sc 4, dec) repeat 6 times (30) 11. Sc 30 12. (Sc 3, dec) repeat 6 times (24). Begin stuffing firmly. 13. (Sc 2, dec) repeat 6 times (18) 14. (Sc 1, dec) repeat 6 times (12) 15. Dec 6 times (6). Cinch closed and weave in end. Insert floral wire through the bottom center before closing.
Step 2: Creating the Letters ‘I’ and ‘U’ Tubes
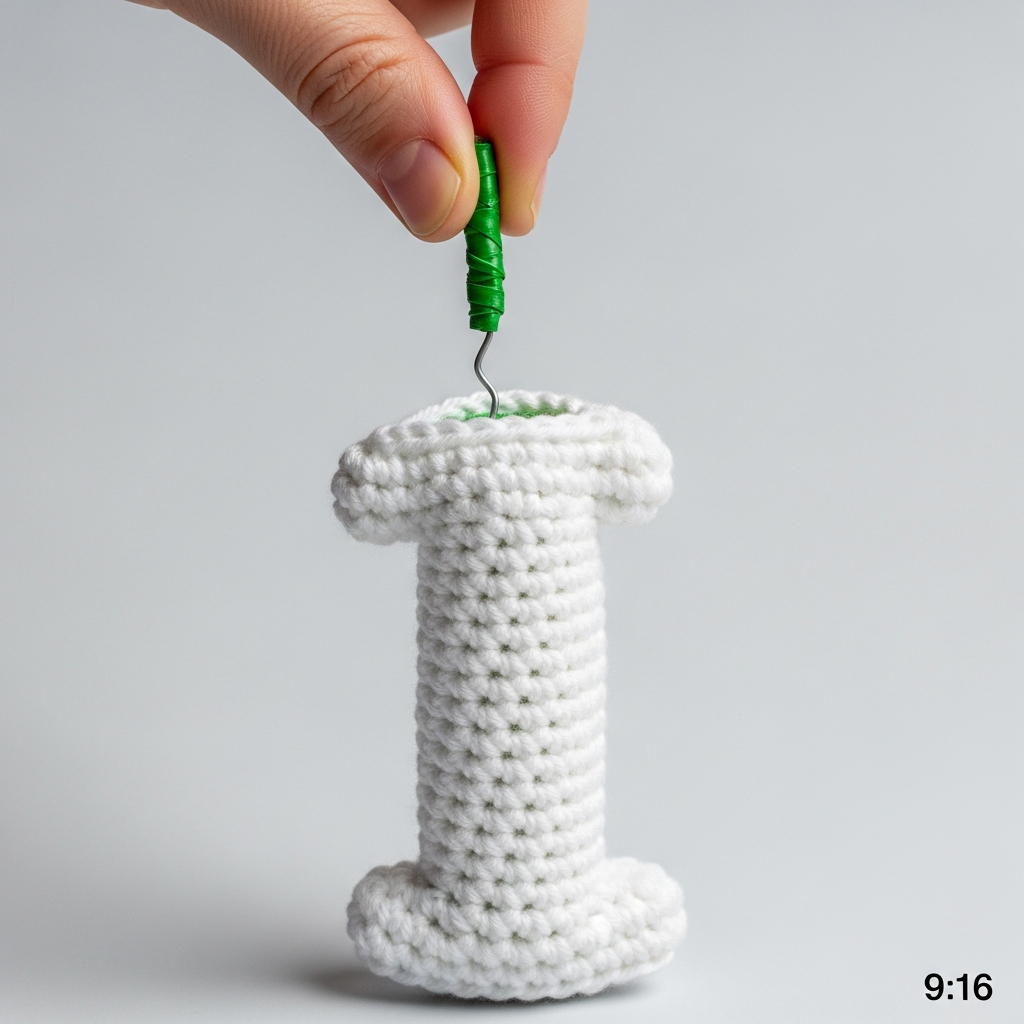
Both letters are simple, tight cylinders worked in continuous rounds using White yarn. 1. MR, 6 sc (6) 2. Inc in each st around (12) 3. Sc 12 (Rounds 3-10). Total 8 rounds of straight sc. FO, leaving a long tail for sewing. Create two identical tubes. Prepare the Stems: Cut two lengths of floral wire approximately 10-12 inches long. Wrap the wire tightly with green floral tape for a finished look. Insert the wire through the center of the first tube (‘I’), ensuring the top is securely fixed to prevent it from sliding. Stuff the tube lightly but firmly. Secure the bottom opening with the remaining tail. Repeat for the second tube (‘U’).
Step 3: Shaping the ‘U’ and Heart Stems

After inserting the wire into the heart and the two white tubes, you must shape them. 1. For the ‘I’: Keep the stem straight. 2. For the ‘U’: Gently bend the white tube and the wire underneath it into a smooth, rounded U shape. Ensure the bend is centralized. 3. For the Heart: Ensure the wire stem is straight and securely taped up to the base of the red heart.
Step 4: Crocheting the Filler Flowers (Appliqué)
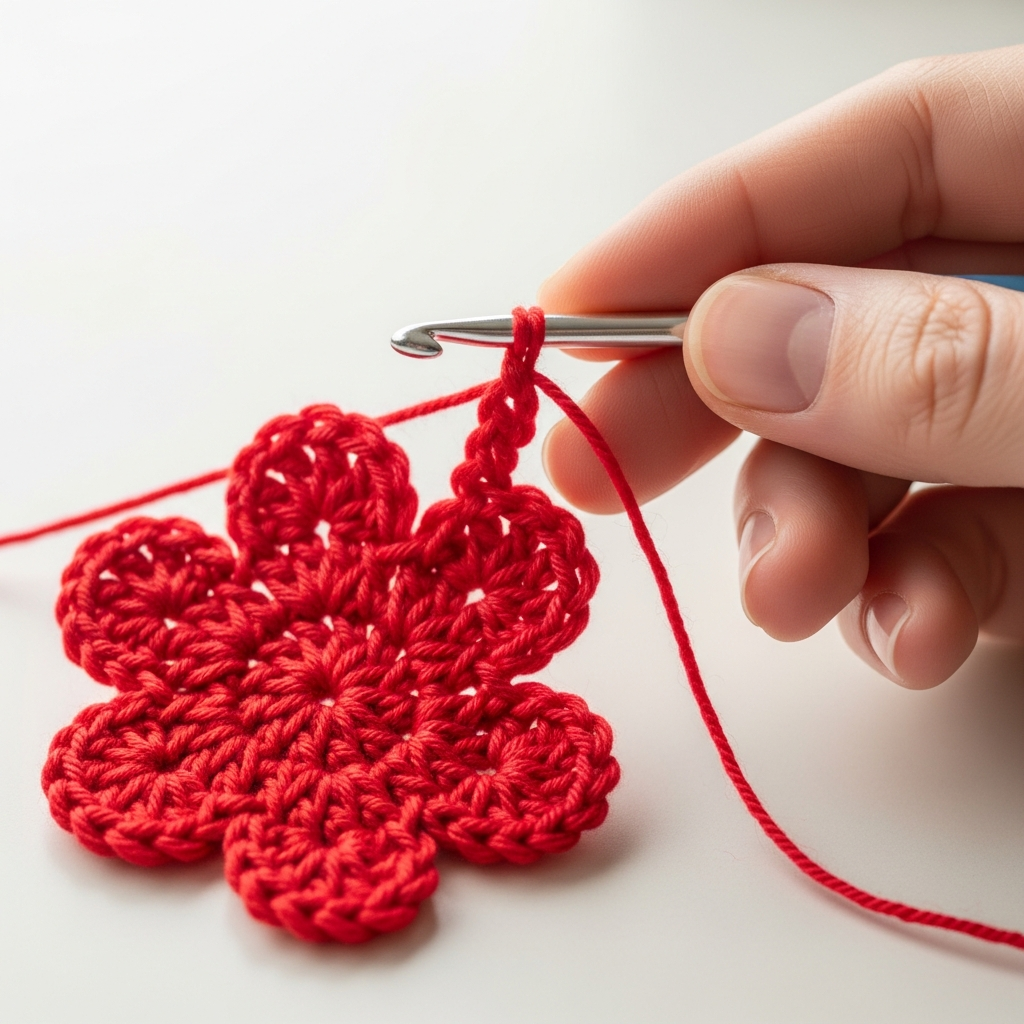
You need two Red flowers and one Cream flower. These are flat, simple 5-petal motifs. 1. Using Red or Cream yarn: MR. 2. Petal 1: Ch 3, 2 dc into the MR, ch 3, sl st into the MR. (This forms one petal). 3. Repeat Step 2 four more times until you have 5 petals. 4. Sl st to join the last petal base to the first. FO, leaving a long tail. Optional Center: Using a contrasting color (White for Red flowers, Red for Cream flower), use the tapestry needle to stitch a small French knot or a simple straight stitch cluster in the center of the flower. Attach the flower to a floral-taped wire stem using the tails, securing it firmly behind the petals.
Step 5: Arrangement and Wrapping the Bouquet
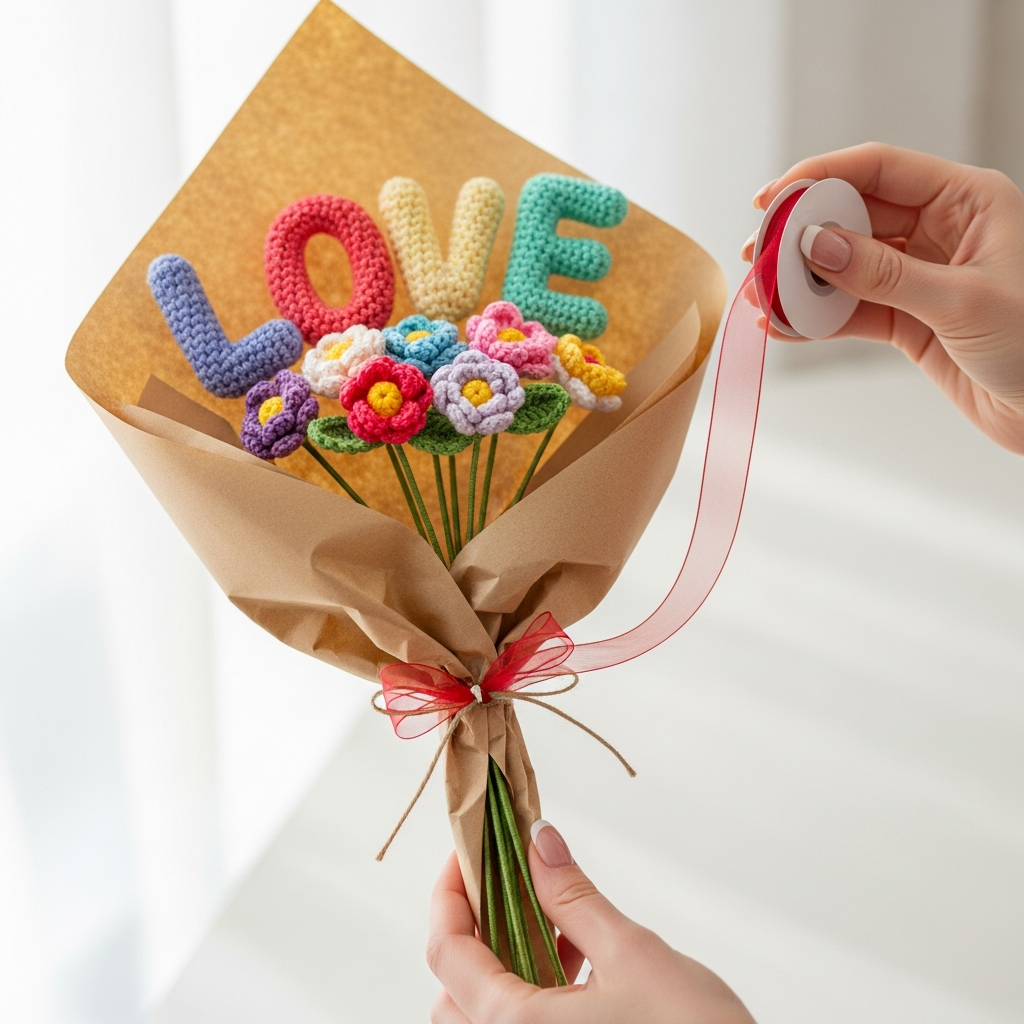
Gather all five finished stemmed pieces (I, Heart, U, 3 Flowers). 1. Arrange the primary pieces (I, Heart, U) in the center, ensuring the heart is slightly higher than the letters. 2. Tuck the smaller filler flowers (2 Red, 1 Cream) underneath the letters and heart to add depth and color balance, covering any gaps between the main stems. 3. Use green floral tape to tightly bind all the stems together near the base of the elements and continue taping down the entire length of the bouquet handle for stability and a neat finish. 4. Wrap the bouquet handle tightly with brown kraft paper, shaping the top edges to fan out slightly behind the elements. 5. Secure the wrapping paper with a length of sheer red ribbon, tying a decorative bow around the center of the handle.
Frequently Asked Questions
Can I substitute the yarn weight for this pattern?
Yes, you can. If you use DK (light worsted) yarn, your bouquet will be smaller and more delicate. If you choose bulky yarn, the components will be significantly larger. Remember to adjust your hook size accordingly (usually 1-2 sizes smaller than recommended for the yarn weight) to maintain a tight fabric necessary for amigurumi.
How do I make the letters stand up straight and hold their shape?
The stiffness comes entirely from the internal floral wire. You must use 16 or 18 gauge wire—thinner wire (like 24 gauge) will be too flimsy. Ensure the wire runs the entire length of the crocheted piece and is secured firmly at the top, preventing the crochet piece from sliding down.
How should I care for a finished crochet bouquet?
Since this item contains floral wire, spot cleaning is highly recommended. Use a damp cloth and mild soap to gently clean soiled areas. Do not machine wash or submerge, as water could cause the wire to rust or weaken the structural integrity of the stems.
Congratulations! You have successfully created a beautiful, personalized ‘I Love U’ Amigurumi Bouquet—a permanent symbol of affection. These projects are wonderful because they combine the creativity of crochet with the thoughtful gesture of giving a handmade gift. Whether this bouquet is for a wedding, an anniversary, or just a surprise for someone special, it is sure to be cherished. I encourage you to personalize your arrangement further with different color schemes or extra small appliqués. Don’t forget to take a picture of your finished work and share it online! Happy Hooking!