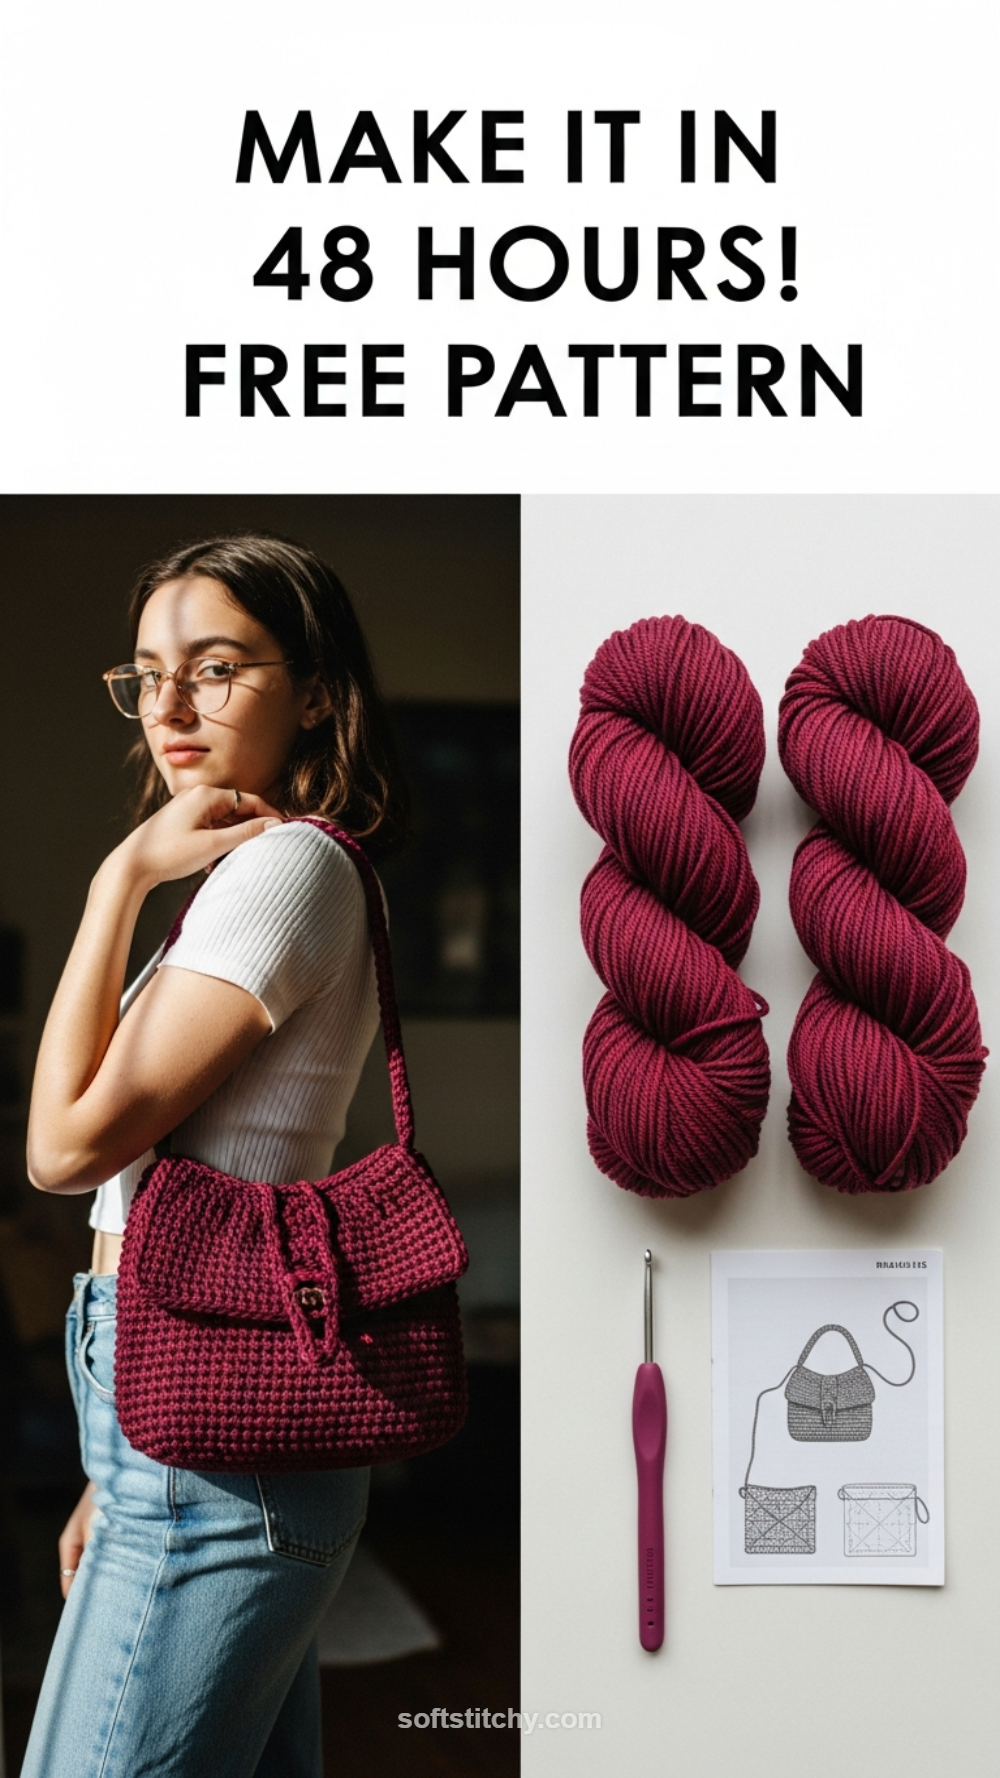
Welcome to the Retro Crochet Mesh Tote Bag Pattern: The Daisy Chain Purse! This project captures the essence of nostalgic, bohemian style with its deep, rich burgundy color and airy, lightweight mesh construction. This isn’t just a market tote—it’s a stylish, oversized crochet purse designed for daily wear, offering both capacity and effortless vintage charm. We will focus intently on creating a sturdy base that prevents sagging, a dense strap that distributes weight comfortably across your shoulder, and the delicate filet mesh body that defines its relaxed, slouchy shape. The finishing touch is the sweet, detachable flower charm, adding a perfect pop of cottagecore aesthetic. The combination of solid framing and open stitchwork makes this a fun and rewarding project for intermediate crocheters looking to expand their accessory wardrobe. Grab your hooks and let’s create a timeless piece!
Project Details
- Difficulty: Intermediate
- Time Estimate: 8 – 12 hours
Materials Needed
- Approx. 600 yards of Worsted Weight (Category 4) Yarn in Main Color (MC – Deep Burgundy/Maroon)
- Approx. 20 yards of Worsted Weight Yarn in Accent Color (AC1 – Cream/White)
- Approx. 5 yards of Worsted Weight Yarn in Accent Color (AC2 – Red/Center)
- 4.5 mm (G/7) Crochet Hook
- Stitch Markers
- Tapestry Needle
- Scissors
- Optional: 1-inch Metal D-Ring or Split Ring for charm attachment
Abbreviations
- ch: chain
- sc: single crochet
- hdc: half double crochet
- dc: double crochet
- sl st: slip stitch
- sk: skip
- st(s): stitch(es)
- MC: Main Color
- AC: Accent Color
Instructions
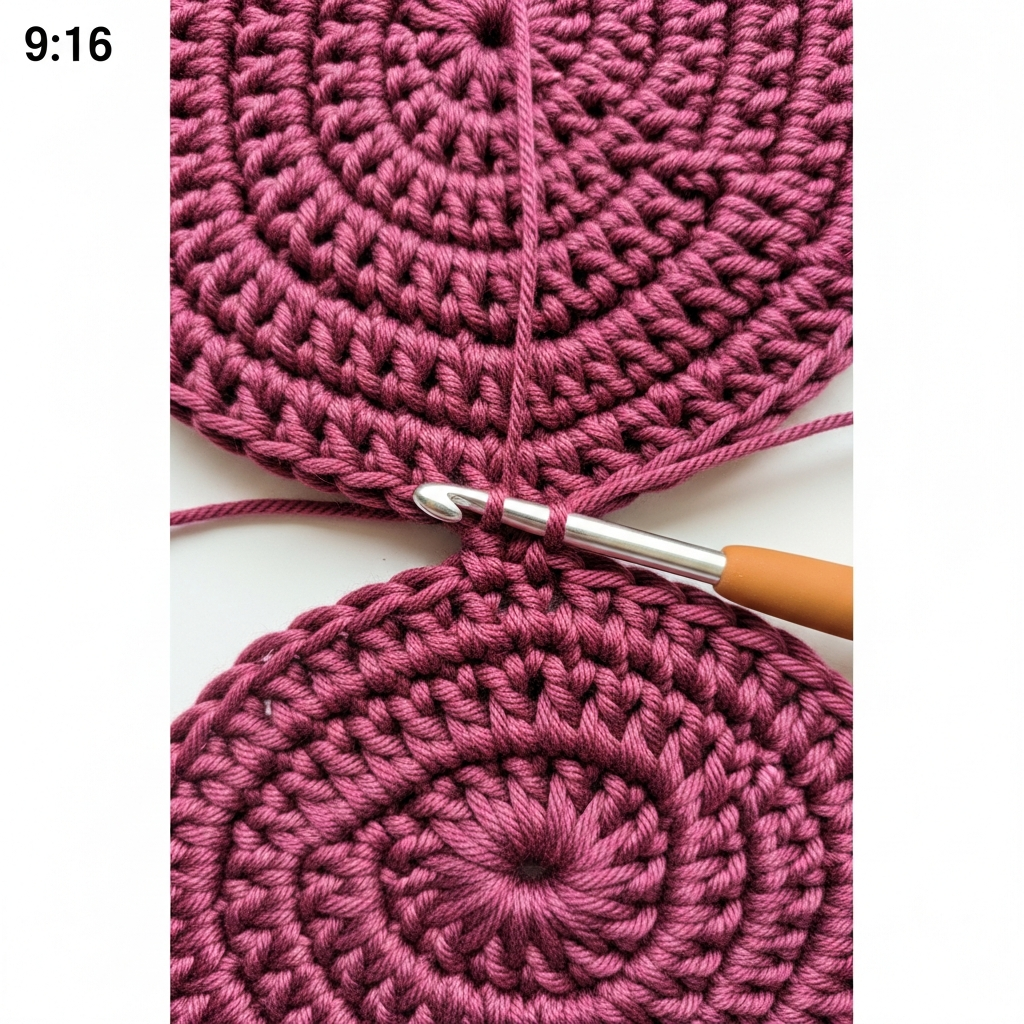
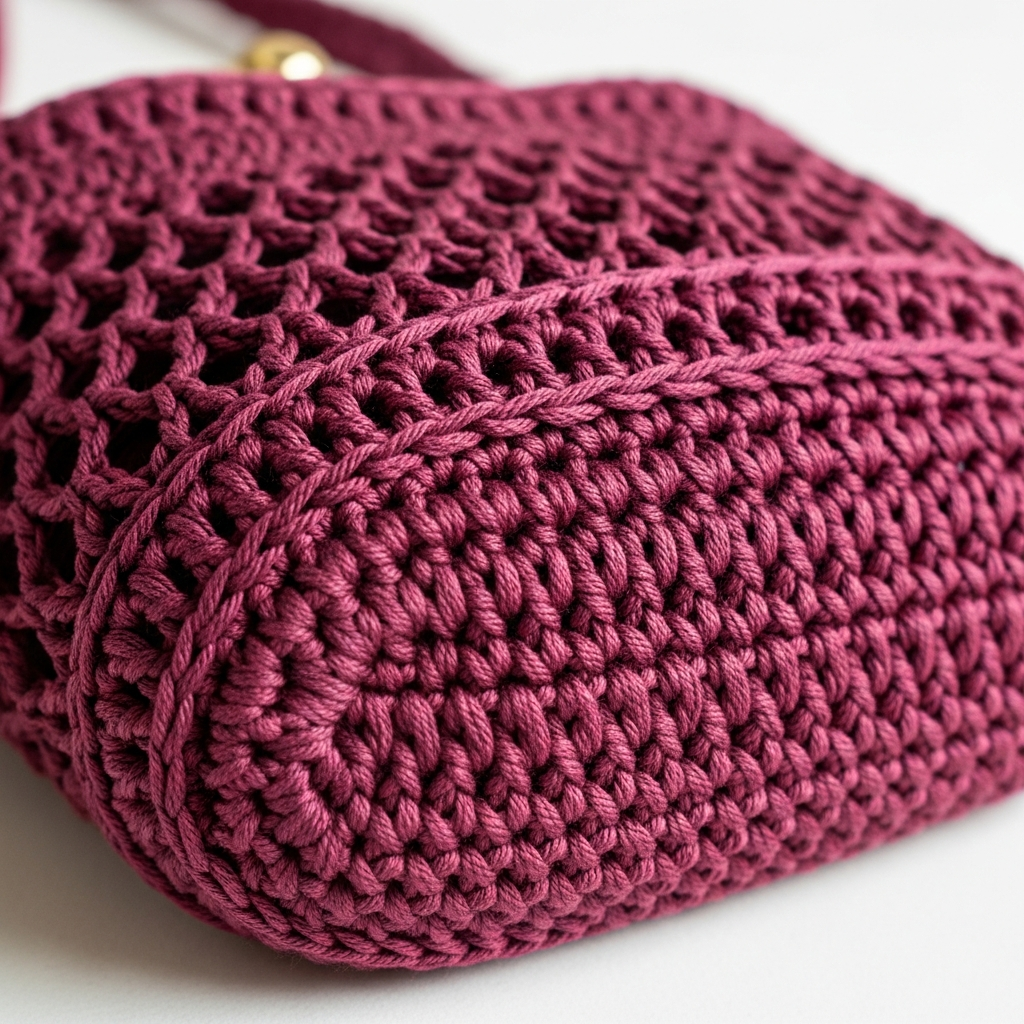
Step 1: Creating the Oval Base (MC)
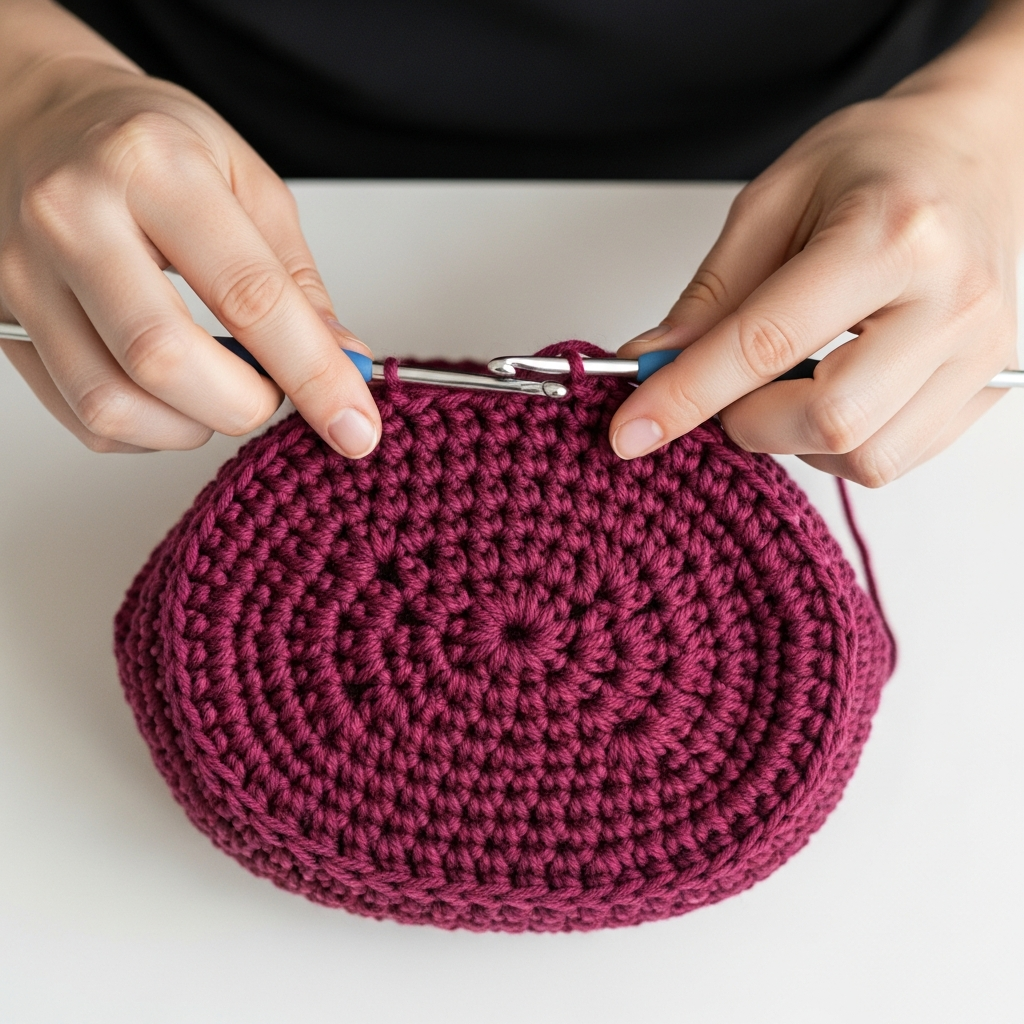
We begin working in the round to form the flat oval bottom of the purse. This shaping is key for the bag to stand correctly. Ch 32. R1: Hdc in the 2nd ch from hook and in the next 29 chs. 5 hdc in the last ch. Rotate to work along the opposite side of the chain: Hdc in the next 29 sts. 4 hdc in the last st. Join with a sl st to the first hdc. (68 sts total). R2: Ch 1 (does not count as st). 2 hdc in the first st, hdc in the next 29 sts. (2 hdc in next st) 5 times. Hdc in the next 29 sts. (2 hdc in next st) 4 times. Join with sl st. (78 sts). Continue increasing by following standard oval base patterns until the base measures approximately 10-12 inches long. Ensure the final round uses SC for maximum firmness.
Step 2: Establishing the Body Walls
Work several solid rounds before introducing the mesh pattern to give the purse structure and depth. R1 (Solid Up): Ch 1. Sc in the back loop only (BLO) around the entire perimeter. Sl st to join. (This round creates a defined edge where the sides begin). R2-R3 (Solid Walls): Ch 1. Sc in every st around. Sl st to join. (Ensure your stitch count remains consistent from the final base round.)
Step 3: The Filet Mesh Body Section (MC)
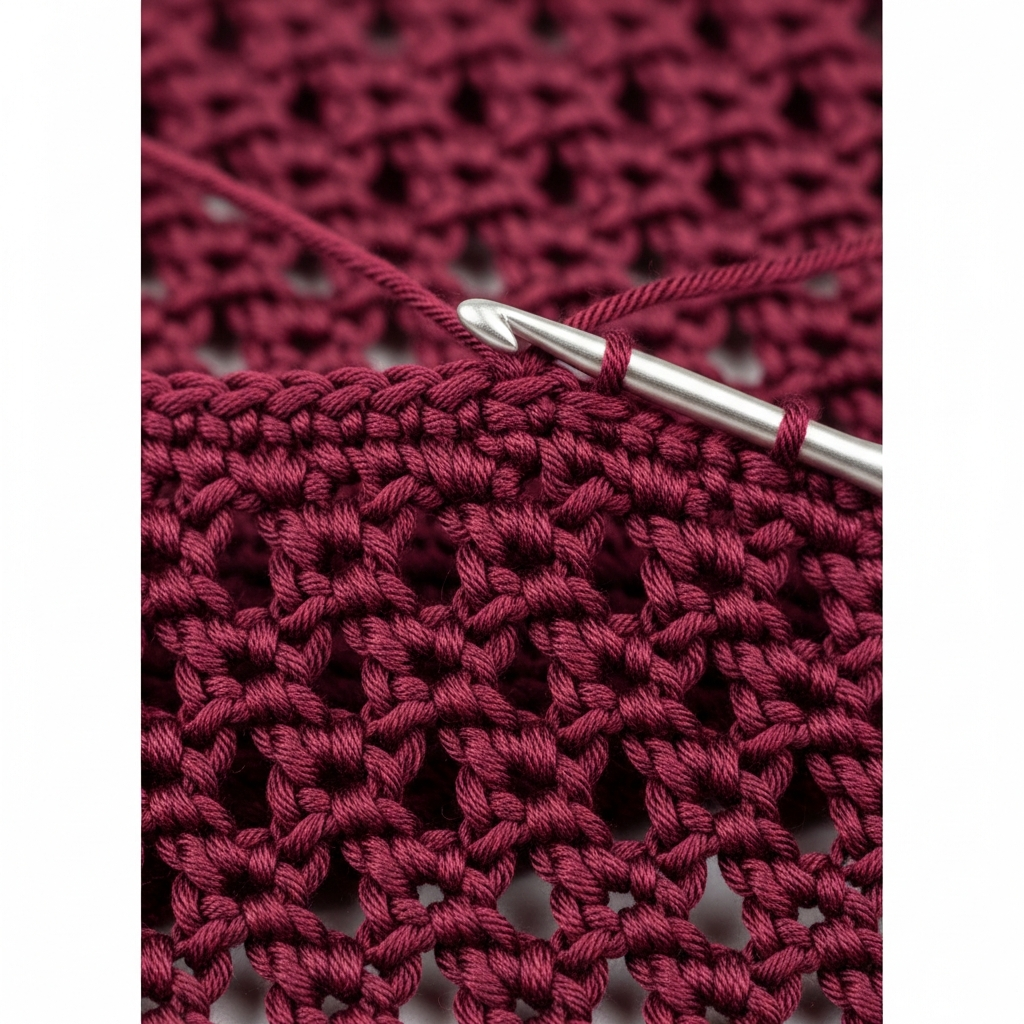
This open mesh creates the lightweight drape of the purse. R4: Ch 3 (counts as first dc). Dc in the same st. *Ch 1, sk 1 st, dc in the next st.* Repeat from * to * around. End with Ch 1, sl st to the top of the starting Ch 3. R5: Ch 3 (counts as dc). Dc in the Ch-1 space below. *Ch 1, sk the dc, dc in the next Ch-1 space.* Repeat from * to * around. End with Ch 1, sl st to the top of the starting Ch 3. Repeat R5 until the bag reaches the desired height (approximately 14-16 inches from the base).
Step 4: Finishing the Top Edge
To reinforce the top opening where the strap will attach, switch back to solid stitches. R (Edge 1): Ch 1. Sc in every DC and every Ch-1 space around. Sl st to join. R (Edge 2-3): Ch 1. Sc in every st around. Sl st to join. Fasten off MC, leaving a long tail for weaving.
Step 5: Constructing the Durable Strap (MC)
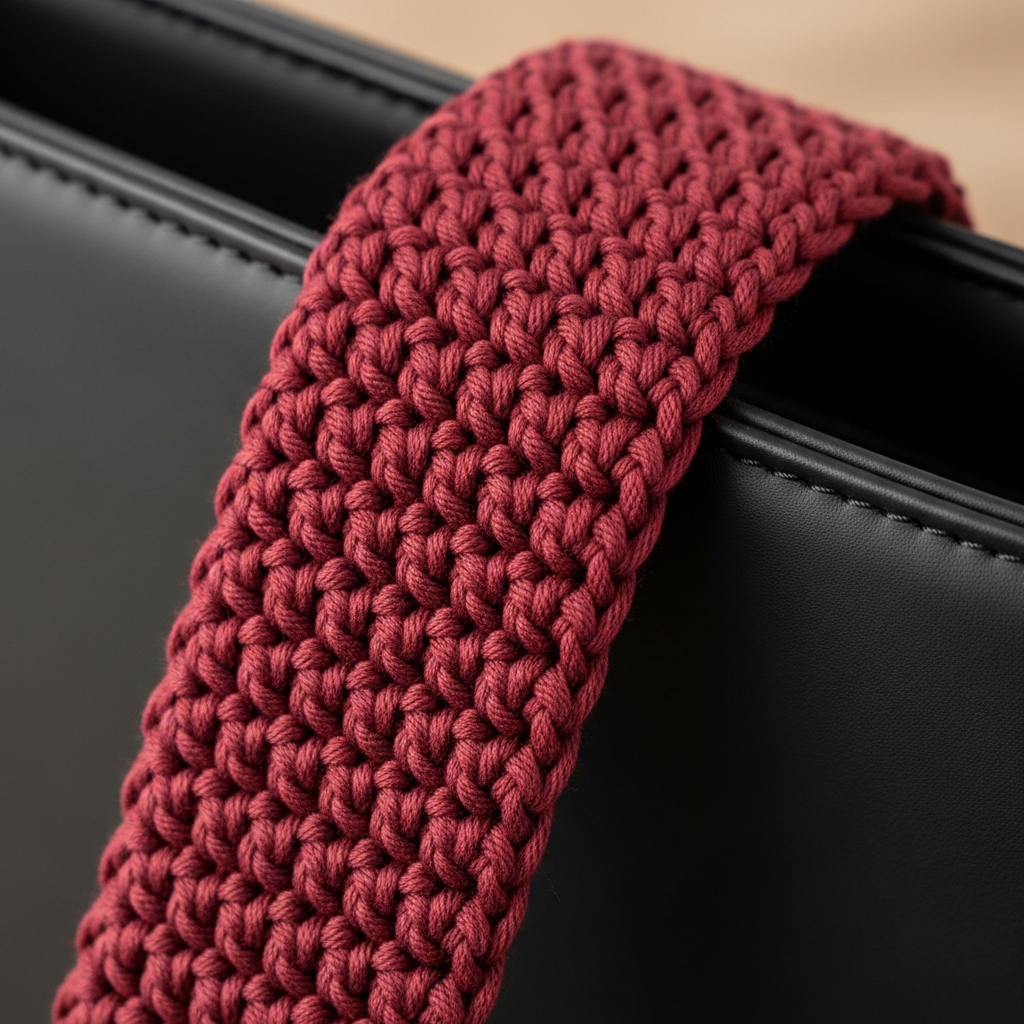
Ch 150 (adjust length based on desired shoulder drop, 40-45 inches recommended). R1: Sc in the 2nd ch from hook and sc across. (149 sts). R2: Ch 1, turn. Sc across in the back loop only (BLO) to create a slightly ribbed, dense texture. Repeat R2 until the strap is about 1 inch wide (approx. 4-5 rows). Fasten off, leaving long tails. Fold the strap slightly and securely sew the ends to the inner sides of the bag opening (at the center points of the front and back panels).
Step 6: The Daisy Charm Applique
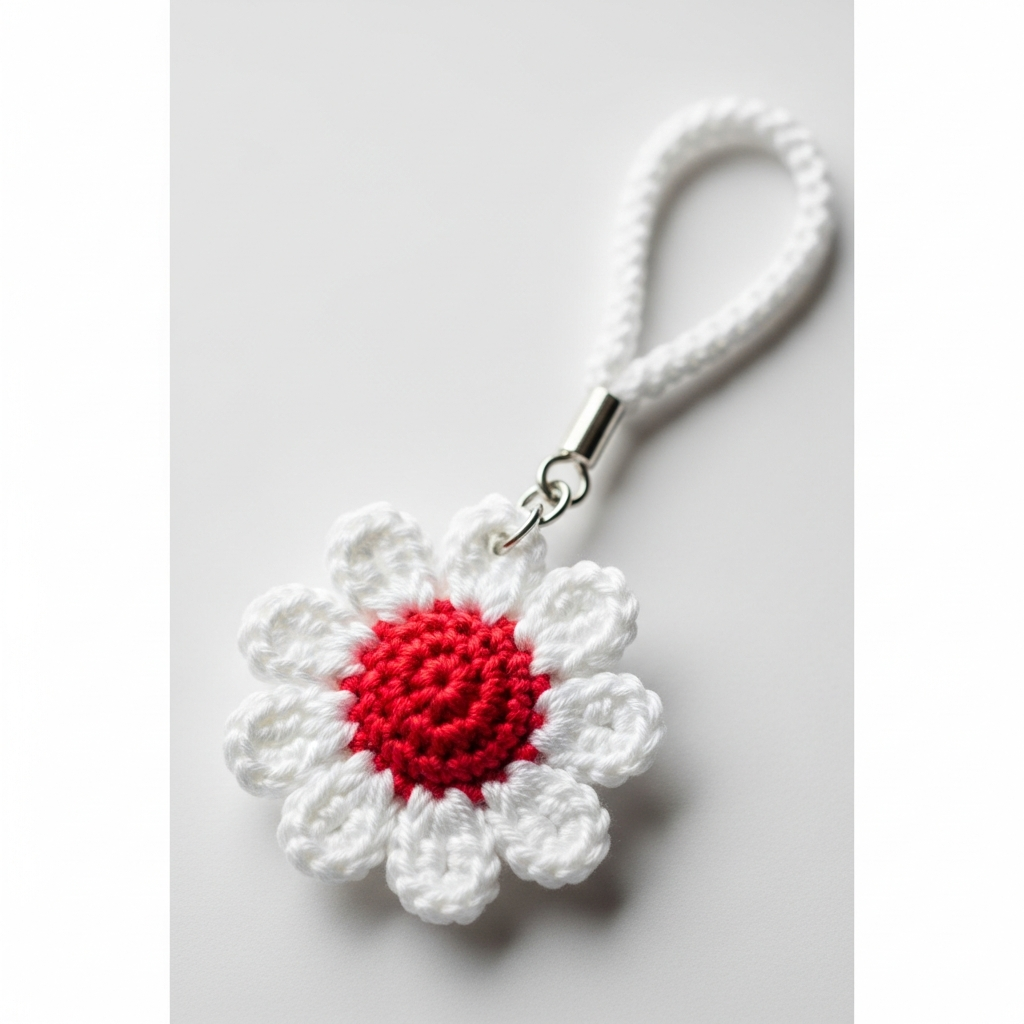
Using AC2 (Red) for the center: Create a Magic Ring (MR). Ch 2 (does not count as st). 10 dc into MR. Sl st to first dc. Fasten off AC2. Using AC1 (Cream/White) for petals: Join AC1 in any st. *Ch 3, 3 dc in the same st, ch 3, sl st in the same st.* Sl st to the next st. Repeat from * to * 5 times total (6 petals). Fasten off, leaving a tail. Attach a small chain of 15-20 sc to the back of the flower using AC1, loop it through the D-ring, and attach the ring to the top edge of the purse.
Frequently Asked Questions
My bag seems too stretchy. How do I prevent it from stretching out of shape?
Because this purse uses a mesh pattern, it will naturally have some stretch. To minimize stretching, use a cotton or cotton-blend yarn instead of acrylic, as cotton holds its shape better. For extra stability, consider sewing a simple fabric liner into the purse after completion.
Can I use a different yarn weight?
Yes, you can substitute DK (Weight 3) or even bulky yarn (Weight 5), but be aware that using lighter yarn will result in a smaller bag, and bulky yarn will create a much larger, stiffer tote. Always adjust your hook size to maintain the proper gauge for the filet mesh.
What are the recommended care instructions for this crochet purse?
Hand washing in cool water with a gentle detergent is recommended. Lay the bag flat and reshape it carefully while wet, allowing it to air dry completely. Avoid high heat or machine drying, as this can severely distort the shape and tension of the crochet stitches.
Congratulations! You have successfully crafted the beautiful Daisy Chain Purse. Whether you chose the deep burgundy for a classic look or opted for bright, modern colors, this mesh tote is the perfect accessory for market trips, casual outings, or simply carrying your everyday essentials in style. The combination of the sturdy construction and the playful daisy charm makes this a truly unique piece. We encourage you to personalize it further—try different charm designs or add pockets to the interior! Don’t forget to share your finished crochet purse creation on social media and tag us. Happy crocheting!