How to Crochet the Elegant Floral Vine Color-Block Tote Bag: A Professional Guide-Welcome to our latest masterclass! Today we are learning how to create this beautiful piece.
Materials Needed
- 400g Worsted weight (Size 4) cotton yarn in Dusty Rose
- 100g Worsted weight (Size 4) cotton yarn in Cream/White
- 50g DK weight yarn in Teal for embroidery
- 5.0 mm (H) crochet hook
- 4.0 mm (G) crochet hook (for handles and flowers)
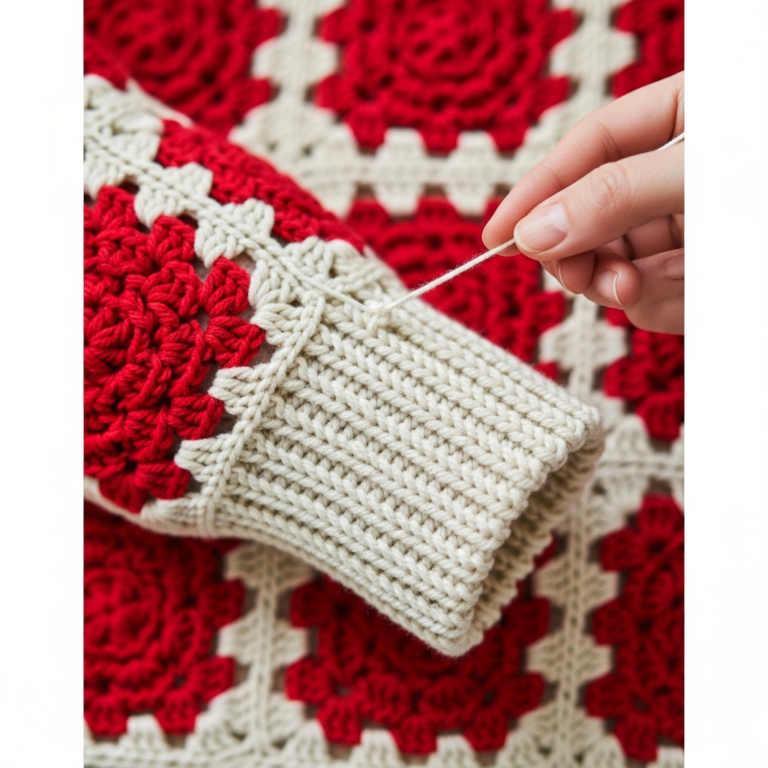
- Tapestry needle
- Stitch markers
- Scissors
Step-by-Step Instructions
Step 1
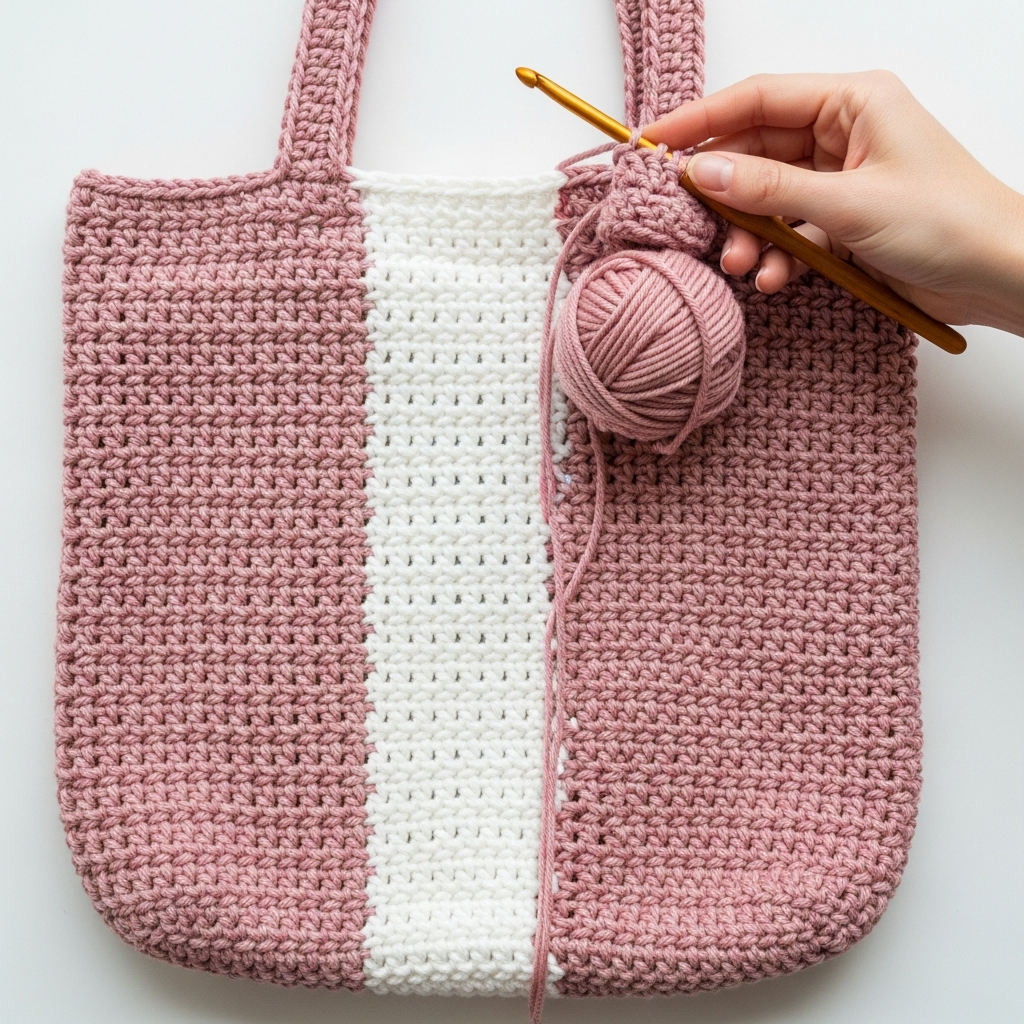
Begin with the rectangular base using the 5.0mm hook and Dusty Rose yarn. Ch 31. Rnd 1: Sc in the second ch from hook and the next 28 chs. Work 3 sc in the last ch to turn the corner. Continue working on the opposite side of the foundation chain: 28 sc, then 2 sc in the final ch. [62 sts]. Continue in rounds of sc for 8 more rounds, increasing by 4 sts at the corners in every round to keep the base flat. Your final base should measure approx 11×4 inches.
Step 2
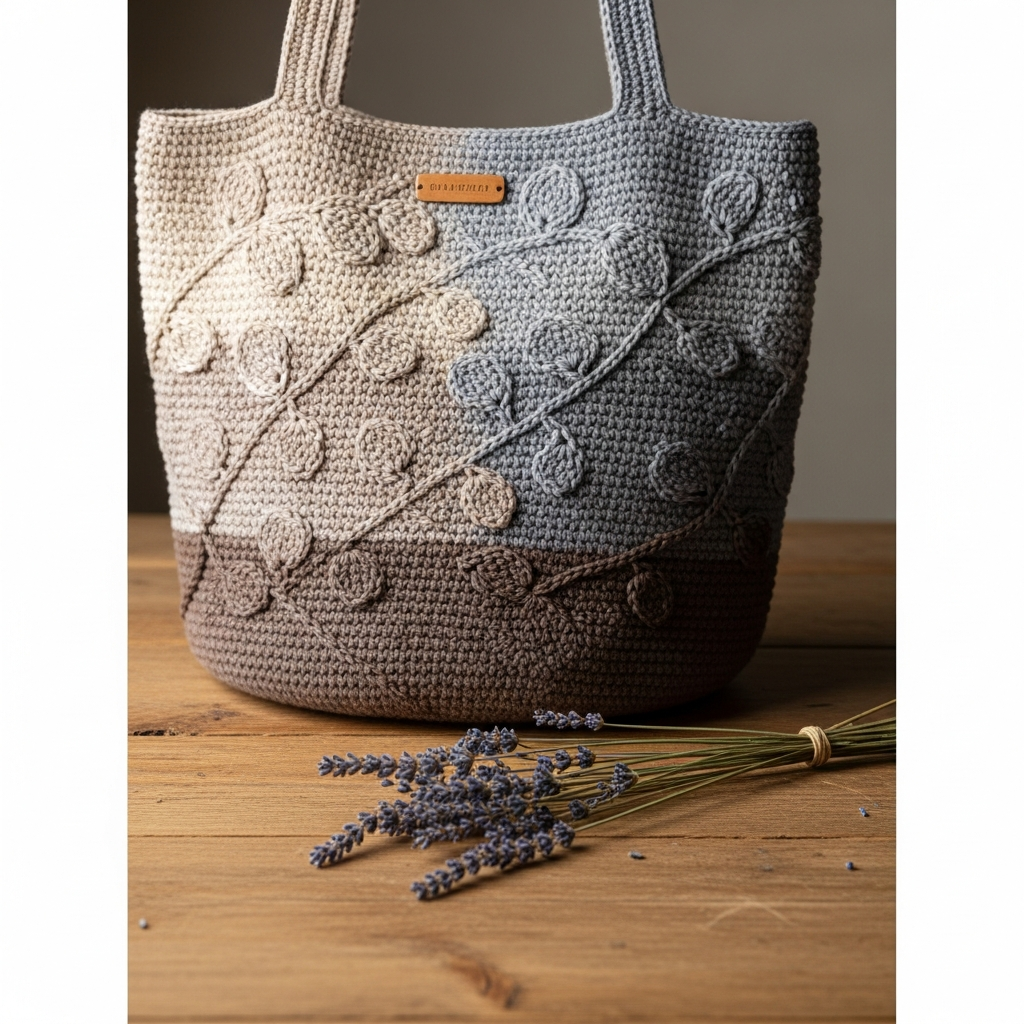
Transition to the body. Round 1: Work in the Back Loops Only (BLO) to create a sharp edge, hdc in each st around. Rnds 2-25: Transition to the color-block pattern. Use tapestry crochet to carry yarn. For the front panel, work 18 hdc in Pink, 14 hdc in White, and the remaining sts in Pink. Ensure you switch colors on the final pull-through of the previous stitch to maintain clean vertical lines. Repeat this for 24 rounds to build height.
Step 3
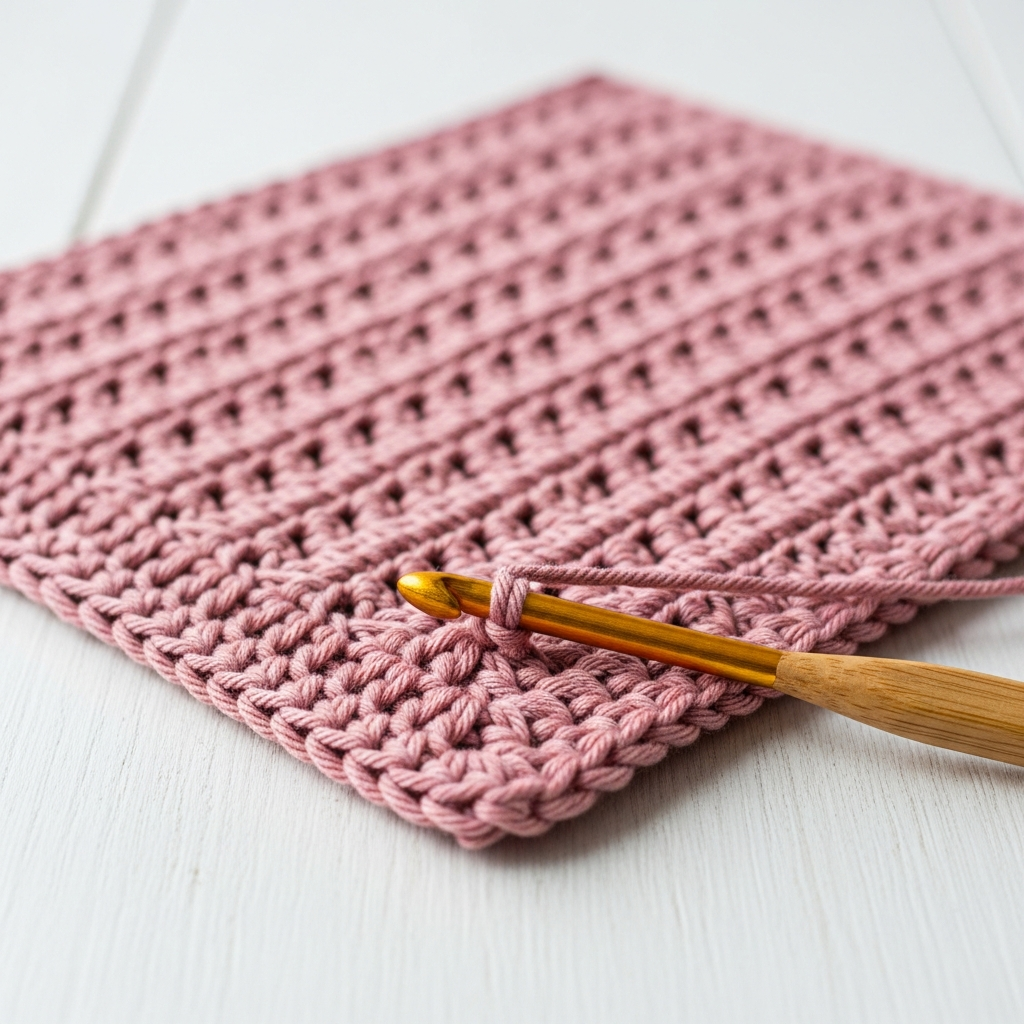
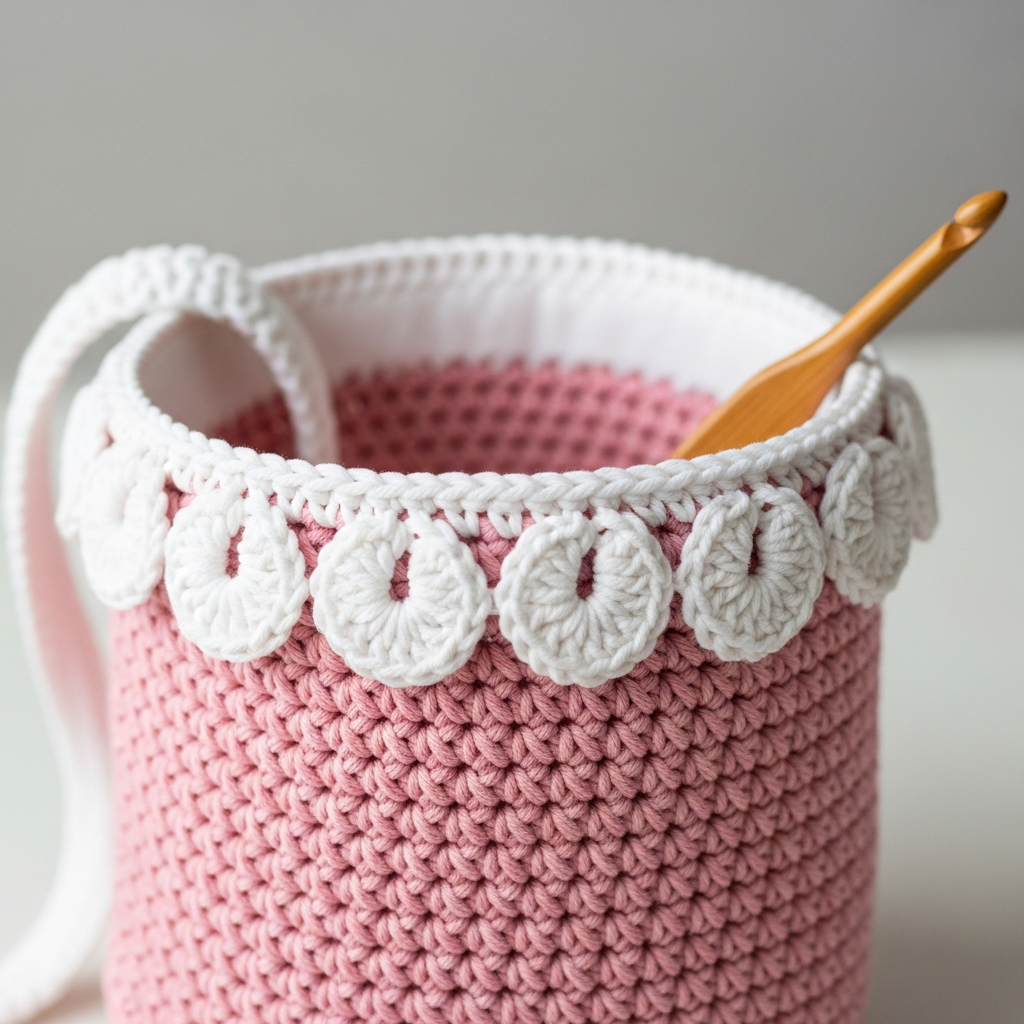
Finish the top edge with the textured trim. Switch entirely to White yarn. Work 2 rounds of sc in every st. On the final round, create the textured border: *sc in first st, skip 1 st, 5 dc in next st (shell), skip 1 st*. Repeat from * to * around. Fasten off and weave in all ends with a tapestry needle to ensure the top rim is sturdy and decorative.
Step 4
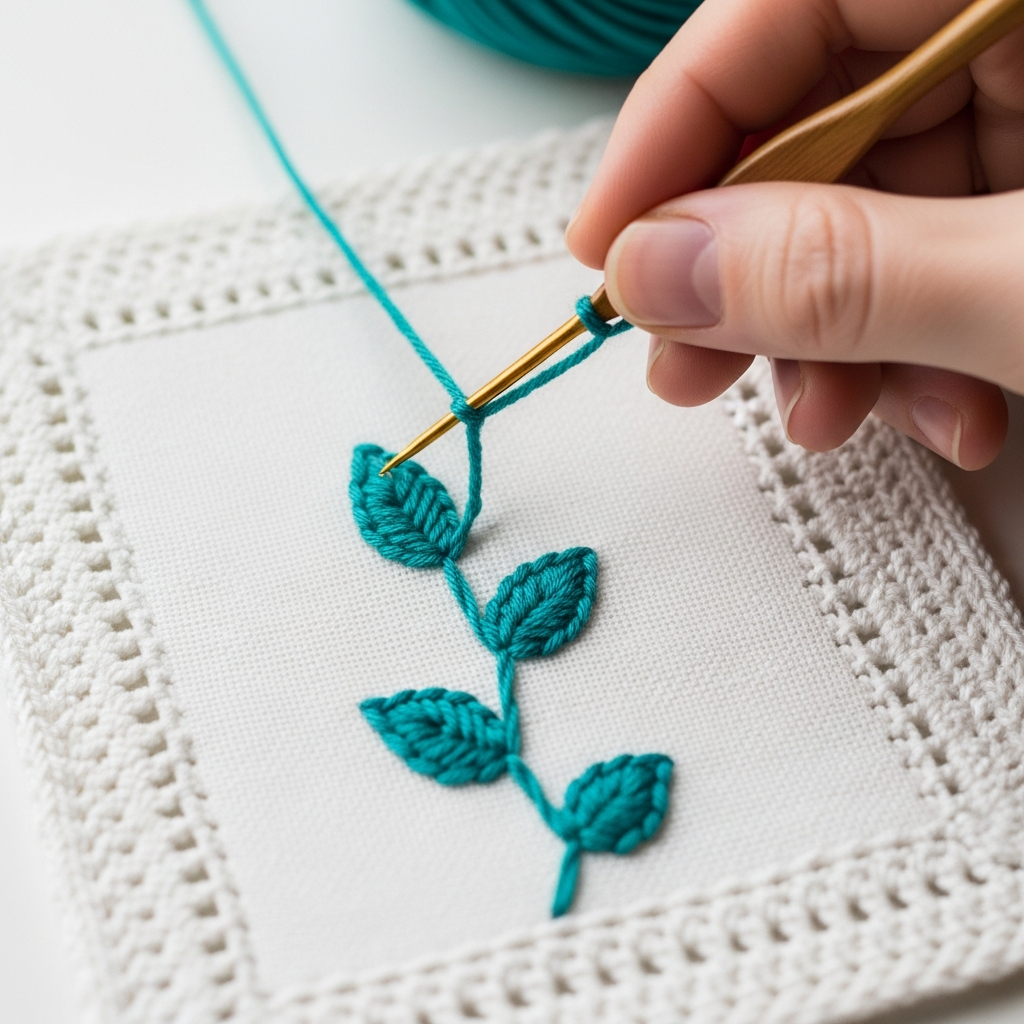
Embroider the vine detail on the center white panel. Using the Teal yarn and a tapestry needle, identify the center column of the white section. Use a ‘surface slip stitch’ or ‘stem stitch’ to create a wavy vertical vine. To create leaves, work a ‘Lazy Daisy’ stitch or small V-shapes every 3 rows alternating sides. Ensure the tension of the embroidery is loose enough not to pucker the crochet fabric.
Step 5
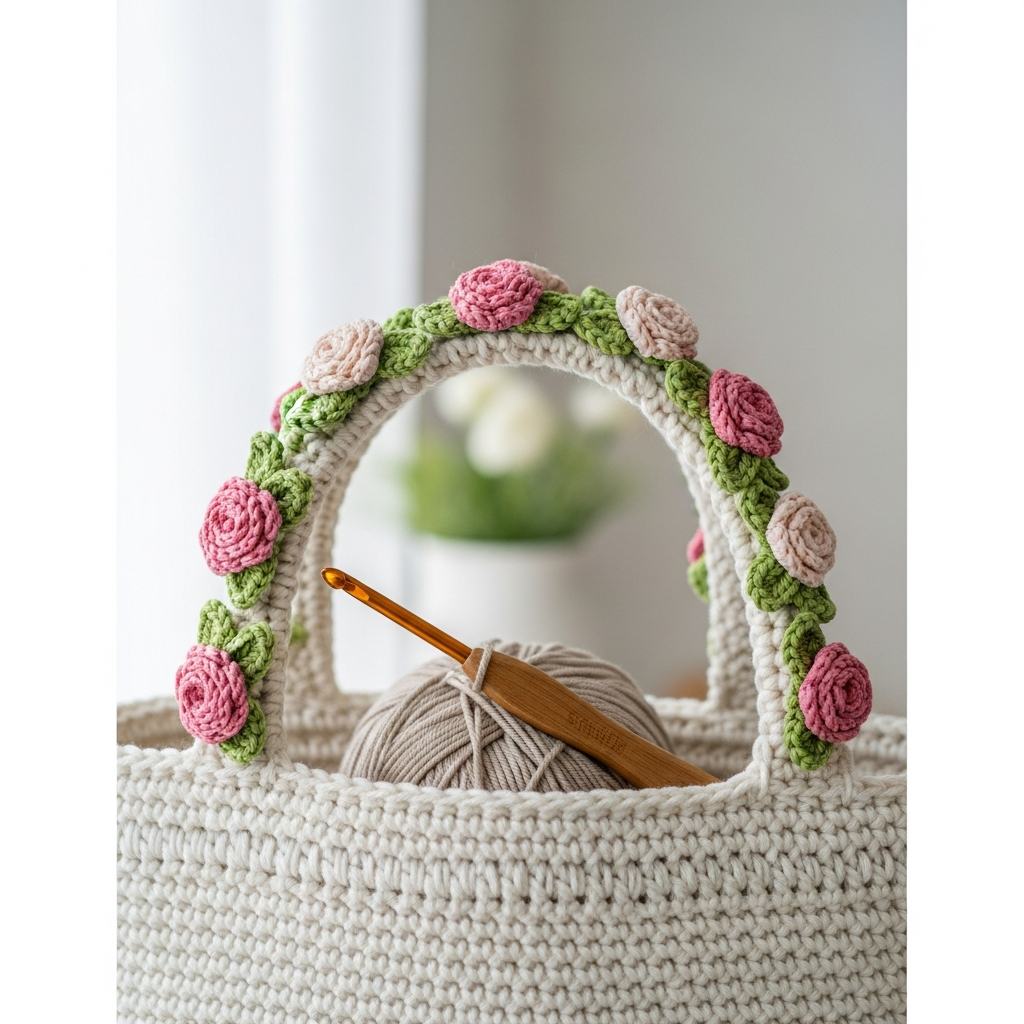
Construct the reinforced handles. Using the 4.0mm hook, Ch 80 with Pink yarn. Row 1-4: Sc in each st. Fold the strip in half lengthwise and sl st the edges together to create a sturdy cord. For the floral accents, crochet 10 mini-roses using White and Pink: Ch 10, 2 hdc in each ch, roll into a spiral and sew to the handle. Attach the handles securely to the inside of the bag 4 inches from the side seams.
Final Showcase
Frequently Asked Questions
Q: How can I make the bag sturdier so it doesn’t stretch when full?
A: Using 100% cotton yarn is key as it has less stretch than acrylic. For extra support, you can line the bag with canvas fabric or crochet the base with a smaller hook to create a very dense, stiff fabric.
Q: My color changes look messy. How do I get those straight vertical lines?
A: Always change your color on the ‘last pull-through’ of the stitch before the color change. When working the white panel, make sure to pull the carried yarn (the color not in use) slightly to keep it taut, which prevents it from peeking through the stitches.
Q: Can I adjust the size of this tote?
A: Yes! To make it wider, add chains to your foundation in multiples of 2. To make it taller, simply add more rounds to the body before starting the white trim. Remember that changing the width will require you to recalculate the center of the white panel.
Conclusion
Congratulations on finishing your Floral Vine Tote! This project combines structural crochet with delicate embroidery to create a truly professional, boutique-quality accessory. Whether you’re heading to the farmer’s market or gifting it to a friend, this bag is sure to turn heads. Don’t forget to share your photos and tag us—we love seeing your unique color combinations!