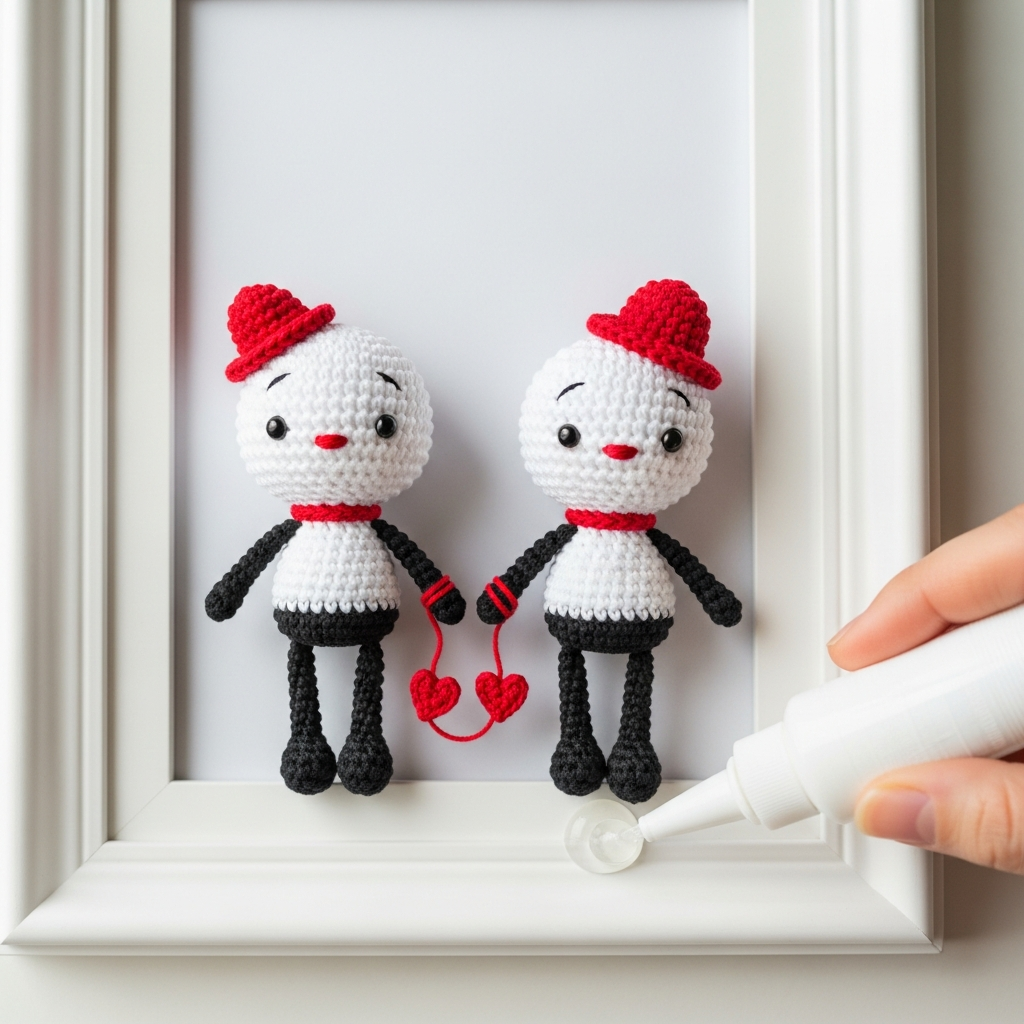
Amigurumi Shadow Box: DIY Crochet Love Keepsake Pattern-Welcome to the pattern guide for creating this stunning Amigurumi Love Keepsake Shadow Box! This project transcends traditional crochet—it’s a piece of handcrafted three-dimensional art. Featuring two charming, minimalist figures holding heart balloons beneath a sweeping ‘LOVE’ script, this item makes an unforgettable personalized gift for weddings, anniversaries, or Valentine’s Day. The design is deliberately clean and modern, allowing the bold red accents and the tight amigurumi texture to take center stage. While the components themselves use basic stitches, the assembly and integrating the wire structure for the lettering elevate this to an Intermediate project, offering a rewarding challenge. We will focus on creating dense, uniformly stuffed pieces suitable for display rather than handling, ensuring your final framed artwork is professional and durable. Get ready to crochet a gift that captures true affection and memories, perfect for decorating any mantlepiece or bedside table.
Project Details
- Difficulty: Intermediate
- Time Estimate: 6-8 hours
Materials Needed
- DK (Weight 3) Cotton Yarn in White (approx. 50g)
- DK (Weight 3) Cotton Yarn in Red (approx. 30g)
- DK (Weight 3) Cotton Yarn in Black (small amount)
- 2.5mm or 3.0mm Crochet Hook (depending on desired tightness)
- Poly-fil Fiber Stuffing
- Tapestry Needle for assembly and facial details
- 18 Gauge Craft Wire (for the ‘LOVE’ text structure)
- Shadow Box Frame (approx. 8×10 or 9×9 inches)
- Strong Craft Glue (hot glue or fabric glue recommended)
Abbreviations
- MR: Magic Ring
- ch: Chain
- sc: Single Crochet
- inc: Increase (2 sc in the next stitch)
- dec: Decrease (sc 2 stitches together)
- sl st: Slip Stitch
- st(s): Stitch(es)
- BLO: Back Loop Only
Instructions
Step 1: Crochet the Main Bodies (x2)

Using White yarn, we will create a tightly stuffed spherical body/head unit for each figure using continuous rounds (spiral method). Round 1: MR, 6 sc (6) Round 2: inc in each st (12) Round 3: (sc, inc) x 6 (18) Round 4: (2 sc, inc) x 6 (24) Round 5: (3 sc, inc) x 6 (30) Round 6-12 (7 rows): sc around (30) Start stuffing firmly. Round 13: (3 sc, dec) x 6 (24) Round 14: (2 sc, dec) x 6 (18) Round 15: (sc, dec) x 6 (12) Round 16: dec x 6 (6) Fasten off, weave tail through the remaining loops, pull tight to close. Leave a long tail for attachment if needed, though they will mostly be glued.
Step 2: Creating the Limbs and Accessories (Black & Red)
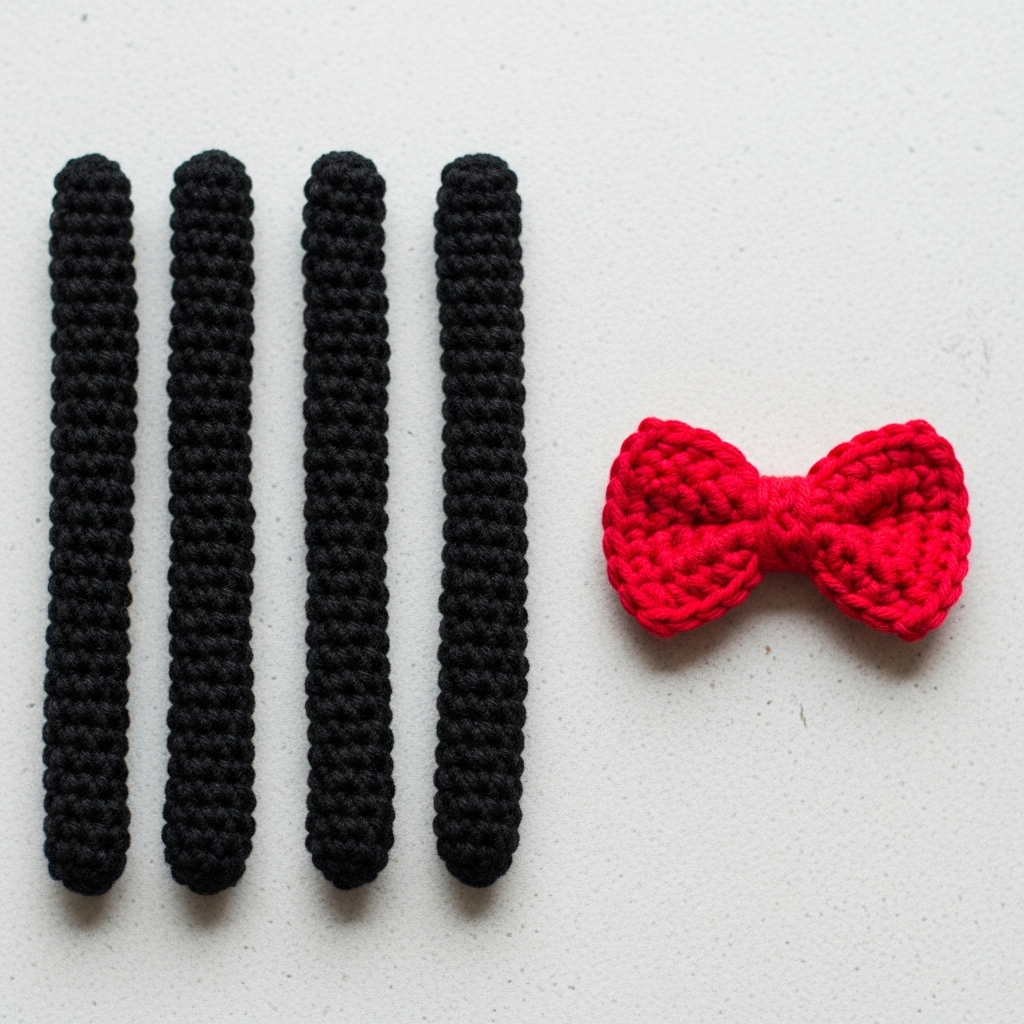
A. Limbs (Arms x4, Legs x4): Using Black yarn. Start with MR, 6 sc. sc around for 6 rows (6). Do not stuff. Flatten the end of the Legs slightly before closing (optional for the ‘feet’). Fasten off, leaving long tails for sewing/gluing. B. Bow Tie (Red, x1): Ch 4, starting in the 2nd ch from hook, sl st, sc, sl st. Fasten off. Wrap a small piece of red yarn around the center to cinch the bow shape. C. Hair Bow (Red, x1): Repeat the Bow Tie instructions, or simply create a small ch 5 loop and fold it into a simple bow shape. D. Facial Details: Use black embroidery floss to stitch a simple inverted V for the mouth/expression onto the white heads before final assembly.
Step 3: Patterning the Amigurumi Hearts (x3)
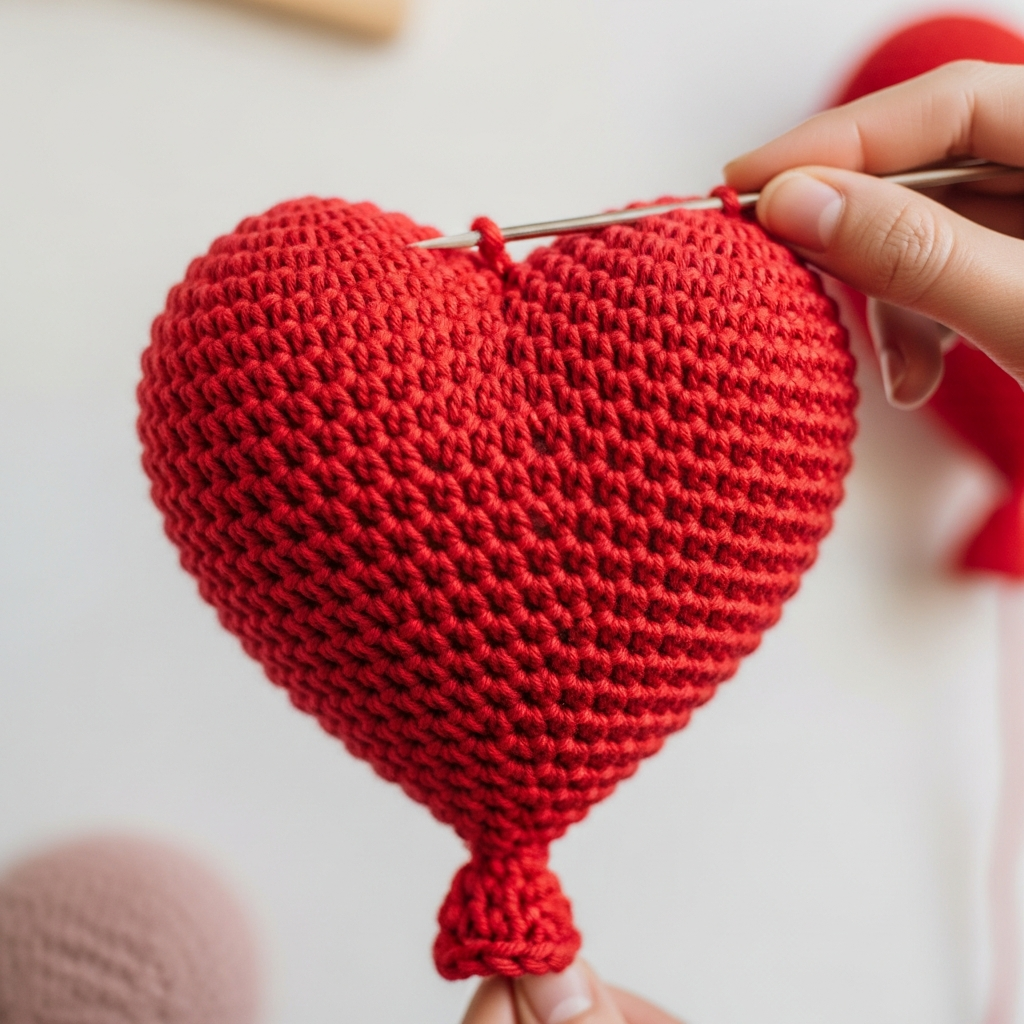
Hearts are made by crocheting two small dome pieces and joining them before decreasing to the point. Dome (Make 6 total, 3 pairs): Using Red yarn. Round 1: MR, 6 sc (6) Round 2: inc in each st (12) Round 3: (sc, inc) x 6 (18) Round 4: sc around (18). Fasten off one dome. Do not fasten off the second one. Join: sc 18 around the first dome, then continue sc 18 around the second dome (36 st total). This joins the two domes. Round 5-6: sc around (36) Round 7: (4 sc, dec) x 6 (30) Round 8: (3 sc, dec) x 6 (24). Start stuffing. Round 9: (2 sc, dec) x 6 (18) Round 10: (sc, dec) x 6 (12) Round 11: dec x 6 (6) Fasten off, close securely. Attach thin red yarn (or embroidery floss) to the bottom point to serve as the balloon string.
Step 4: Creating the Structured ‘LOVE’ Text
This step uses craft wire to maintain the cursive shape. 1. Measure and cut a piece of craft wire slightly longer than the desired span of the word ‘LOVE’. Bend the wire gently into the cursive shape (L-O-V-E). 2. Using Red yarn, create a tight sc tube around the wire. Start by chaining 100 stitches (adjust length based on frame size). Slip stitch into the 2nd chain from the hook to form a small tube. 3. Row 1: sc around the tube for the entire required length, continuously feeding the bent wire through the center as you crochet. Ensure the sc rounds are tight to hide the wire completely and prevent stretching. 4. Once the desired length is achieved and the wire is fully encased, fasten off and weave in the ends. Gently reshape the crocheted tube to perfectly match the cursive ‘LOVE’ structure.
Step 5: Final Assembly and Framing
1. Position the ‘LOVE’ text: Using strong craft glue, carefully adhere the crocheted ‘LOVE’ text to the top inside edge of the shadow box frame. 2. Glue Figures: Apply glue to the back and bottom of the white amigurumi bodies and place them side-by-side inside the frame, sitting them on the bottom edge of the frame. 3. Attach Limbs: Glue the black arms and legs onto the figures. Position the arms so they are interlocking (holding hands) and the legs so they dangle over the edge (as pictured). 4. Accessorize: Glue the red bow tie and hair bow in place. Attach the red heart strings to the joined hands of the figures. Use a small dab of glue to adhere the actual hearts slightly higher up on the white background, ensuring the strings look like they are floating. 5. Let all glue cure completely before standing the shadow box upright. Ensure all components are firmly affixed to withstand display.
Frequently Asked Questions
What is the best yarn substitute for this pattern?
Since this is a structured art piece, using mercerized cotton or acrylic yarn in DK or sport weight (Weight 3 or 2) is ideal. Cotton offers the best stitch definition and weight for amigurumi that needs to maintain its shape, but ensure your gauge is tight to prevent stuffing showing through.
How can I customize the figures for a specific couple?
You can easily customize skin tone by changing the body yarn color. Change the accessories to represent hobbies (e.g., small glasses, tiny scarves), or change the colors of the hearts to match a wedding theme. You can also embroider initial letters onto the body instead of the faces.
Care instructions for the finished shadow box?
Because this is a framed textile art piece, it should not be washed. Dust gently using a soft, dry paintbrush or a can of compressed air. Keep it out of direct sunlight to prevent the red and black yarn colors from fading over time.
Congratulations on completing your Amigurumi Love Keepsake! This project is a true testament to the warmth and personalized touch that only handmade gifts can offer. Whether you created this for a special someone or as a unique piece of home decor, you now have a beautiful, durable piece of art that symbolizes enduring affection. We would absolutely love to see your finished creation—don’t forget to share photos of your shadow box on social media and tag us! Happy crafting, and may your hook continue to bring joy!