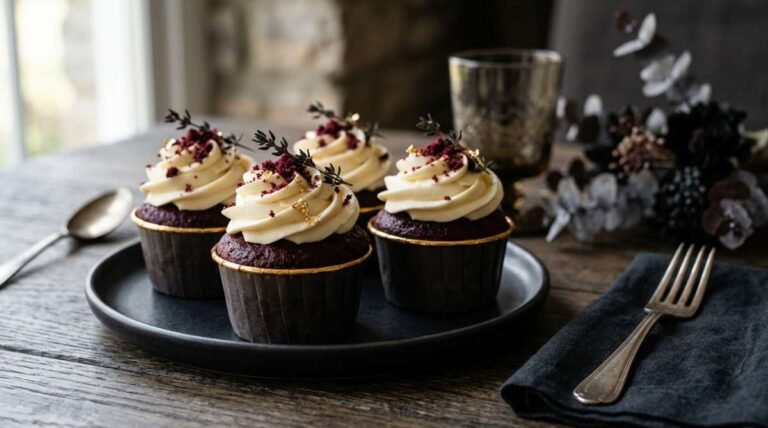
There is something inherently romantic about Red Velvet. I remember the first time I truly fell in love with it; I was at a tiny, sun-drenched bakery in Charleston, sitting on a wrought-iron chair, when I bit into a cupcake that felt like eating a cloud. It wasn’t just ‘red chocolate cake.’ It was a sophisticated, tangy, and velvety masterpiece that stayed with me for years. Since that day, I’ve been on a quest to replicate that specific, five-star gourmet experience in my own kitchen.
After countless batches—some too dry, some too red, and some that just didn’t have that signature tang—I finally cracked the code to what I call ‘The Velvet Vault.’ These cupcakes are the crown jewels of my baking repertoire. They aren’t just for birthdays or Valentine’s Day; they are for those moments when you want to treat yourself and your loved ones to something truly extraordinary. Get ready, because your kitchen is about to smell like a high-end patisserie.
Why You’ll Love This Recipe
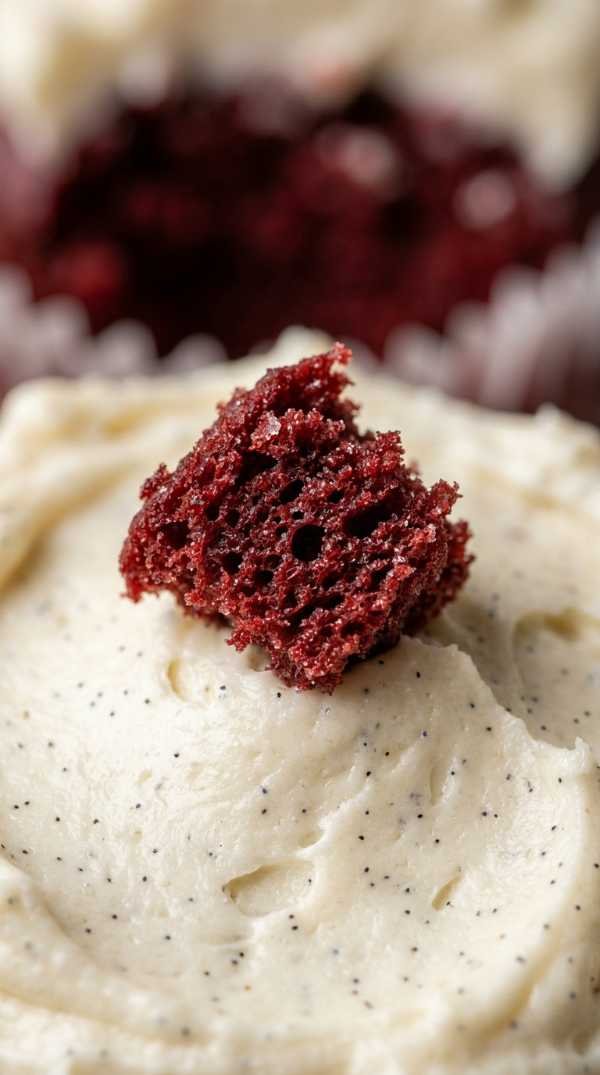
- The Perfect Texture: Thanks to the buttermilk and vinegar reaction, these cupcakes have a fine, tight crumb that is incredibly moist.
- Balanced Flavor: It’s not overly sweet; the light cocoa notes perfectly complement the tangy cream cheese frosting.
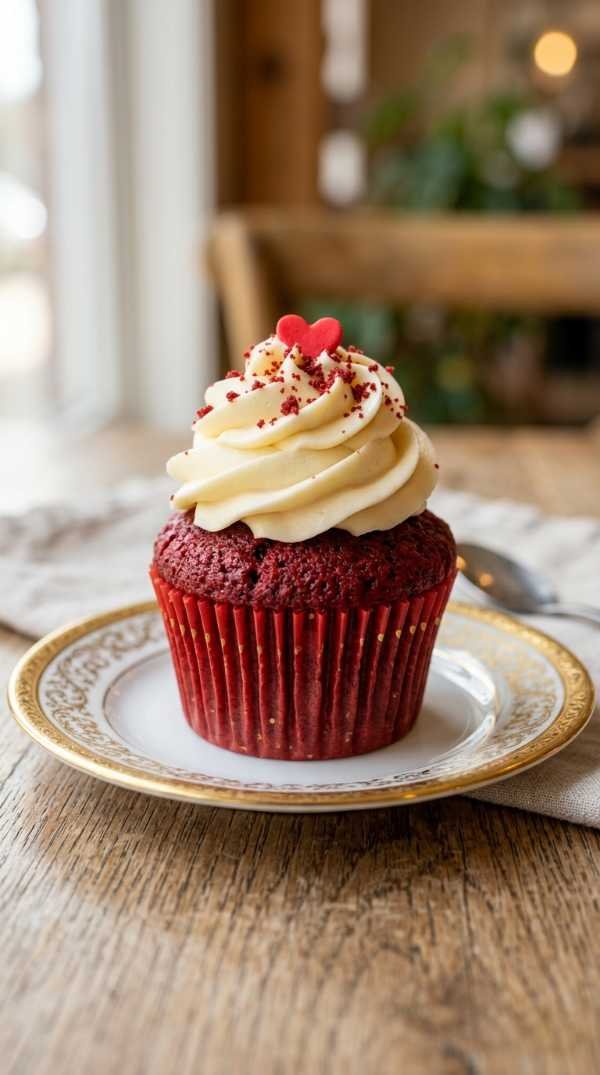
- Visual Showstopper: The deep, vibrant crimson color makes these a stunning centerpiece for any dessert table.
- Gourmet Quality: This recipe uses professional-grade techniques simplified for the home baker.
Ingredients
- 1 ½ cups all-purpose flour
- 1 cup granulated sugar
- 1 teaspoon baking soda
- 1 teaspoon fine sea salt
- 1 tablespoon unsweetened cocoa powder
- 1 cup vegetable oil (or melted coconut oil)
- 1 cup room-temperature buttermilk
- 1 large egg, room temperature
- 2 tablespoons liquid red food coloring (or 1 tsp gel)
- 1 teaspoon distilled white vinegar
- 1 teaspoon pure vanilla extract
- For the Frosting: 8 oz full-fat cream cheese (softened), 1/2 cup unsalted butter (softened), 4 cups powdered sugar, 1 teaspoon vanilla extract.
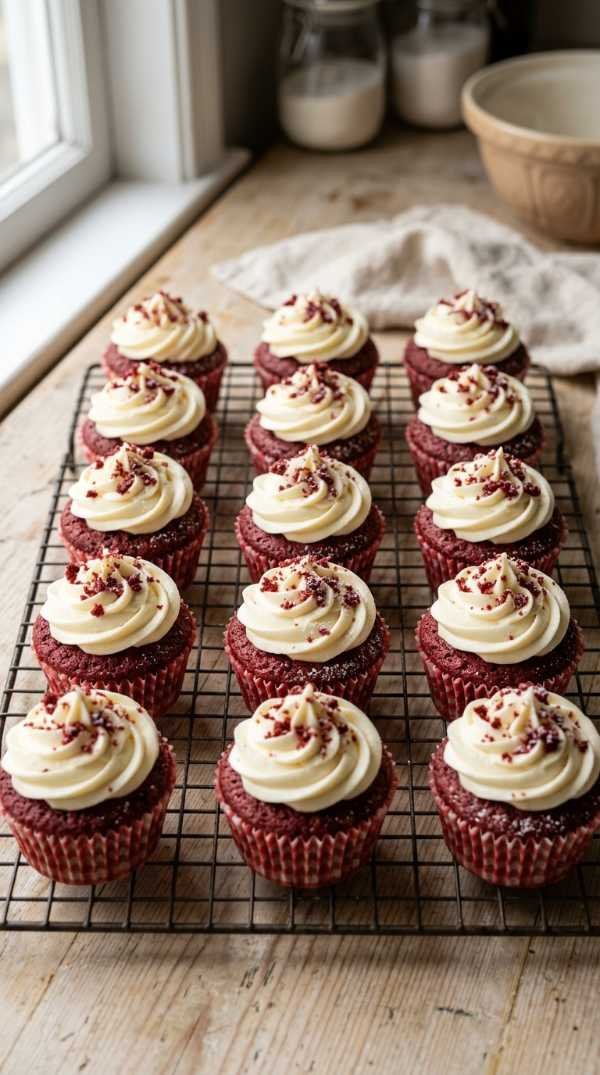
When it comes to the key ingredients, never underestimate the power of buttermilk. It’s the secret weapon that provides the tender texture and that classic Red Velvet tang. If you don’t have buttermilk on hand, you can make a quick substitute with milk and lemon juice, but for the gourmet version, the real deal is always better.
The cocoa powder is another critical component. We only use a small amount because Red Velvet isn’t supposed to be a heavy chocolate cake. It’s a delicate balance where the cocoa acts more as a background note to enhance the other flavors. Use a high-quality Dutch-processed cocoa if you can find it for the smoothest finish.
Step-by-Step Instructions
- Preheat your oven and prepare your pans. Set your oven to 350°F (175°C) and line a standard 12-cup muffin tin with high-quality paper liners.
- Sift your dry ingredients together. In a medium bowl, whisk together the flour, sugar, baking soda, salt, and cocoa powder until perfectly combined and lump-free.
- Whisk the wet ingredients in a separate bowl. Combine the oil, buttermilk, egg, food coloring, vinegar, and vanilla, whisking until the mixture is a uniform, vibrant red.
- Merge the two mixtures gently. Gradually add the dry ingredients to the wet ingredients, whisking by hand just until no large streaks of flour remain—do not overmix!
- Fill the cupcake liners. Divide the batter evenly among the 12 liners, filling each about 2/3 of the way full to allow for a perfect dome.
- Bake to perfection. Place the tin in the center of the oven and bake for 18-22 minutes, or until a toothpick inserted into the center comes out clean.
- Cool completely before frosting. Let the cupcakes rest in the tin for 5 minutes before transferring them to a wire rack to cool entirely.
- Whip up the signature cream cheese frosting. Beat the softened cream cheese and butter together until fluffy, then slowly add powdered sugar and vanilla until you reach a pipeable consistency.
Pro Tips for the Best Gourmet Red Velvet Cupcakes
- Room temperature is non-negotiable. Ensure your egg, buttermilk, butter, and cream cheese are all at room temperature to prevent the batter or frosting from curdling.
- Use gel food coloring for intensity. While liquid works, gel food coloring provides a much deeper hue without adding extra liquid to the batter.
- Don’t overbake your cakes. Start checking the cupcakes at the 18-minute mark; even two extra minutes can turn a moist cupcake into a dry one.
- Sift your powdered sugar. For a professional, silky-smooth frosting, always sift your sugar to remove those tiny stubborn lumps.
- The vinegar-soda reaction is key. Add the vinegar at the very end of the wet mix to ensure the leavening power is at its peak when it hits the oven.
Variations & Serving Ideas
- Chocolate Chip Surprise: Fold in half a cup of mini semi-sweet chocolate chips into the batter for an extra cocoa punch.
- The “Inside-Out” Cupcake: Use a small paring knife to core the center and fill it with extra frosting before topping.
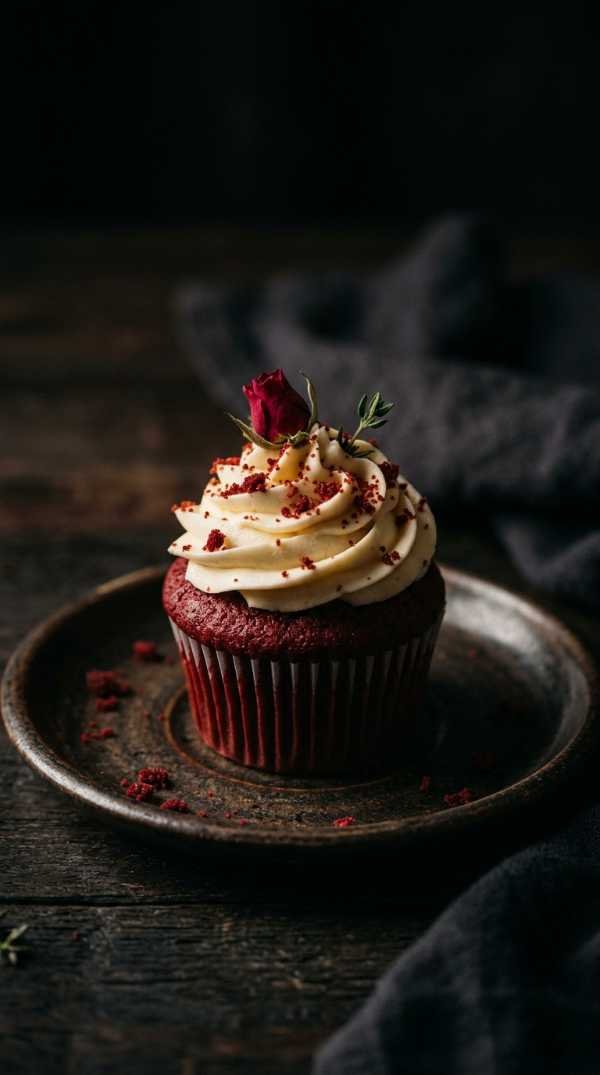
- Nutty Velvet: Top the finished frosting with toasted crushed pecans for a classic Southern twist.
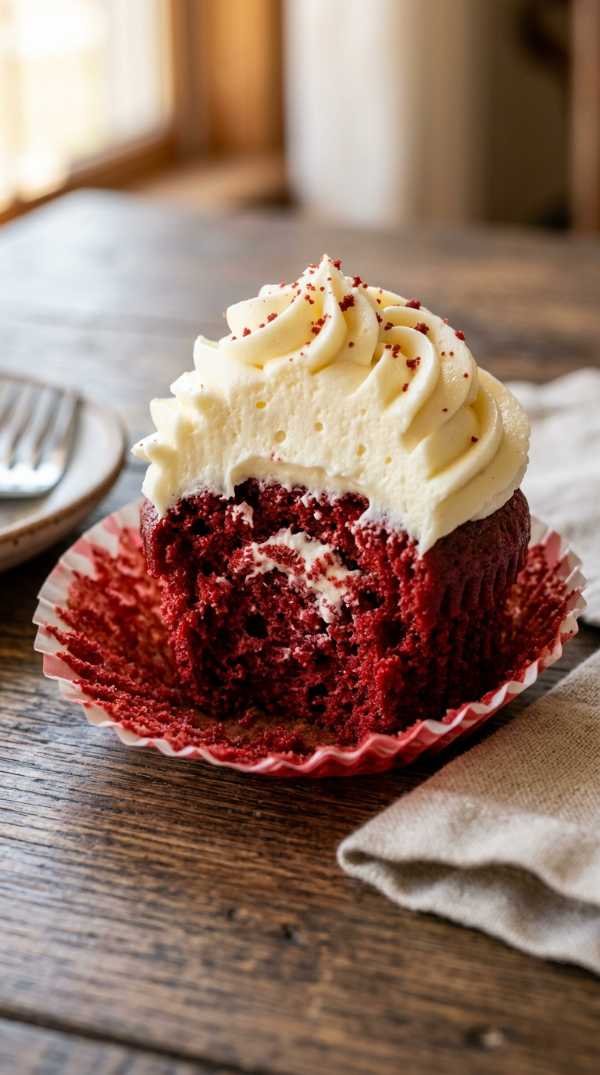
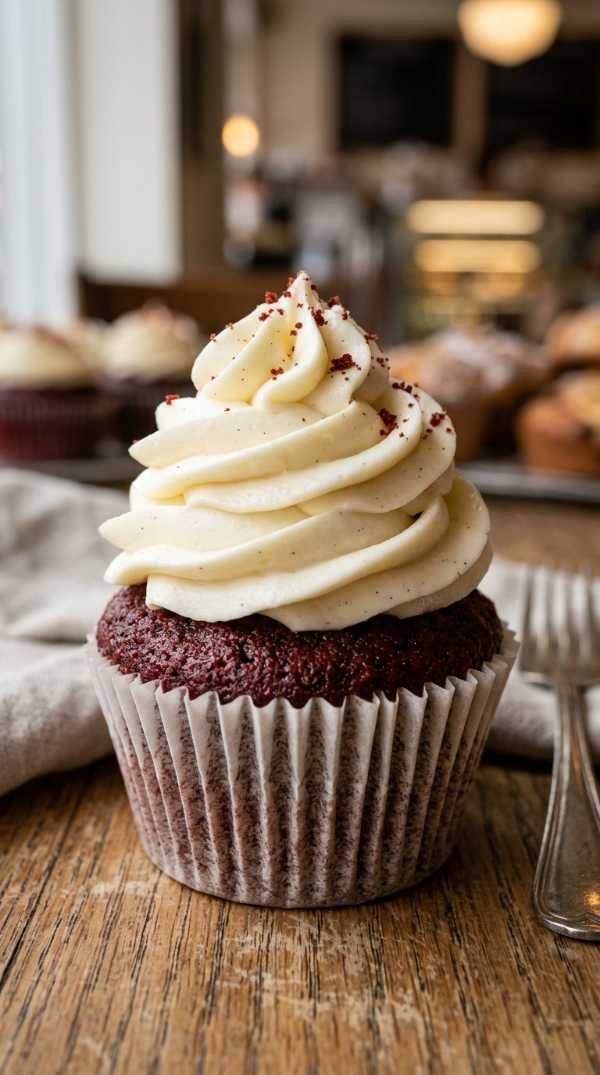
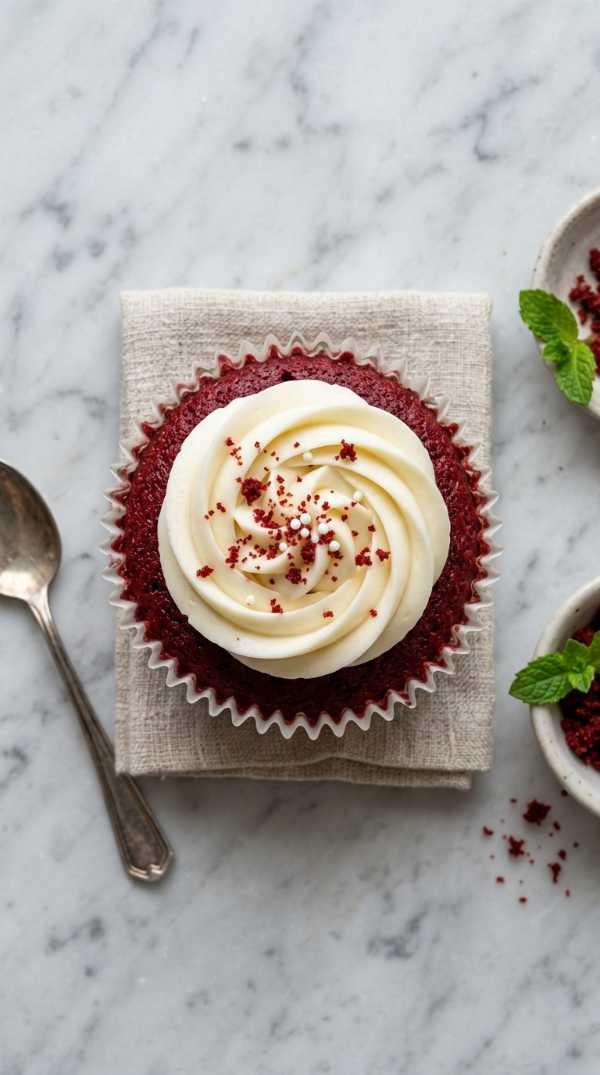
When serving these masterpieces, I love to garnish them with a few crumbs saved from one of the cupcake tops. It gives them that professional “bakery window” look. Pair them with a glass of cold milk or a dry sparkling rosé for a truly elevated dessert experience.
Storage, Make-Ahead & Reheating
Because of the cream cheese frosting, these cupcakes must be stored in the refrigerator. Place them in an airtight container where they will stay fresh and delicious for up to 4 days. If you find the frosting gets a bit firm in the fridge, let them sit at room temperature for about 20 minutes before serving to soften up.
You can easily make these ahead of time! The cupcakes themselves can be baked a day in advance and stored (unfrosted) at room temperature. The frosting can also be made ahead and kept in the fridge; just give it a quick re-whip with a hand mixer before you’re ready to decorate. You can even freeze the unfrosted cakes for up to 3 months.

I don’t generally recommend reheating frosted cupcakes as the cream cheese will melt into a puddle. However, if you have unfrosted cupcakes that have been frozen, let them thaw at room temperature. If you crave a warm cake, a quick 5-10 second zap in the microwave for an unfrosted cupcake can restore that fresh-out-of-the-oven softness.
Frequently Asked Questions
Can I use natural food coloring like beet juice?
You can, but be aware that the color may shift to a brownish-red during the baking process due to the pH levels. For that vibrant, classic “Red Velvet” look, professional food coloring is usually the best bet.
What is the difference between Red Velvet and Chocolate cake?
Red Velvet has a much lower cocoa content and relies on the chemical reaction between buttermilk, vinegar, and baking soda for its unique texture. It is also significantly tangier than a standard chocolate cake.
Why did my cupcakes sink in the middle?
This usually happens if the oven door was opened too early or if the baking soda was expired. Ensure your leavening agents are fresh and keep that oven door closed until they are nearly finished!
How do I get the frosting to stay stiff?
The key is using full-fat, brick-style cream cheese (not the spreadable kind in a tub) and making sure your butter is softened but not oily. If it’s too soft, chill the frosting for 30 minutes before piping.
Final Thoughts
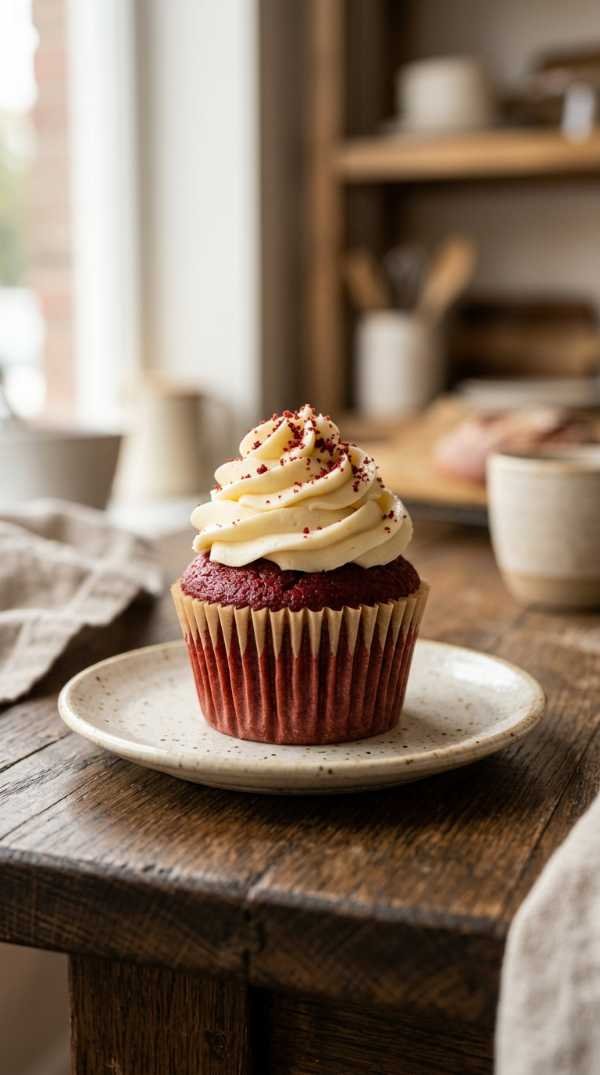
Baking these Gourmet Red Velvet Cupcakes is more than just following a recipe; it’s an act of love. There is something so rewarding about seeing that bright red center revealed after the first bite, contrasted against the snow-white frosting. It’s a recipe that never fails to impress, whether you’re bringing them to a dinner party or just treating yourself on a Tuesday night.
I hope this recipe brings a little bit of that boutique bakery magic into your home. Don’t be afraid to get creative with your piping or decorations—after all, the best part of being the baker is putting your own personal stamp on every batch. Remember, the secret ingredient is always a little bit of patience and a lot of heart.
Once you master ‘The Velvet Vault,’ you’ll find yourself looking for any excuse to bake a batch. Share them with your friends, your neighbors, or keep them all for yourself (I won’t tell!). Happy baking, and may your kitchen always be filled with the sweet scent of cocoa and vanilla.
Gourmet Red Velvet Cupcakes
A luxurious, bakery-style red velvet cupcake with a moist, tender crumb and a decadent cream cheese frosting.
Author: The Velvet Vault Kitchen
Prep Time: 20 mins
Cook Time: 20 mins
Total Time: 40 mins
Yield: 12 Cupcakes
Category: Dessert
Method: Baking
Cuisine: American
Ingredients
- 1 ½ cups all-purpose flour
- 1 cup sugar
- 1 tsp baking soda
- 1 tsp salt
- 1 tbsp cocoa powder
- 1 cup vegetable oil
- 1 cup buttermilk
- 1 egg
- 2 tbsp red food coloring
- 1 tsp vinegar
- 1 tsp vanilla extract
- Frosting: 8oz cream cheese, 1/2 cup butter, 4 cups powdered sugar, 1 tsp vanilla.
Instructions
- Preheat oven to 350°F and line cupcake tin.
- Whisk dry ingredients (flour, sugar, soda, salt, cocoa) in a bowl.
- In a separate bowl, whisk wet ingredients (oil, buttermilk, egg, color, vinegar, vanilla).
- Fold dry ingredients into wet until just combined.
- Fill liners 2/3 full and bake for 18-22 minutes.
- Cool completely.
- Beat frosting ingredients until smooth and pipe onto cupcakes.
Nutrition
Serving Size: 1 cupcake | Calories: 385 | Total Fat: 18g | Sodium: 210mg | Total Carbohydrates: 52g | Sugars: 42g | Protein: 3g