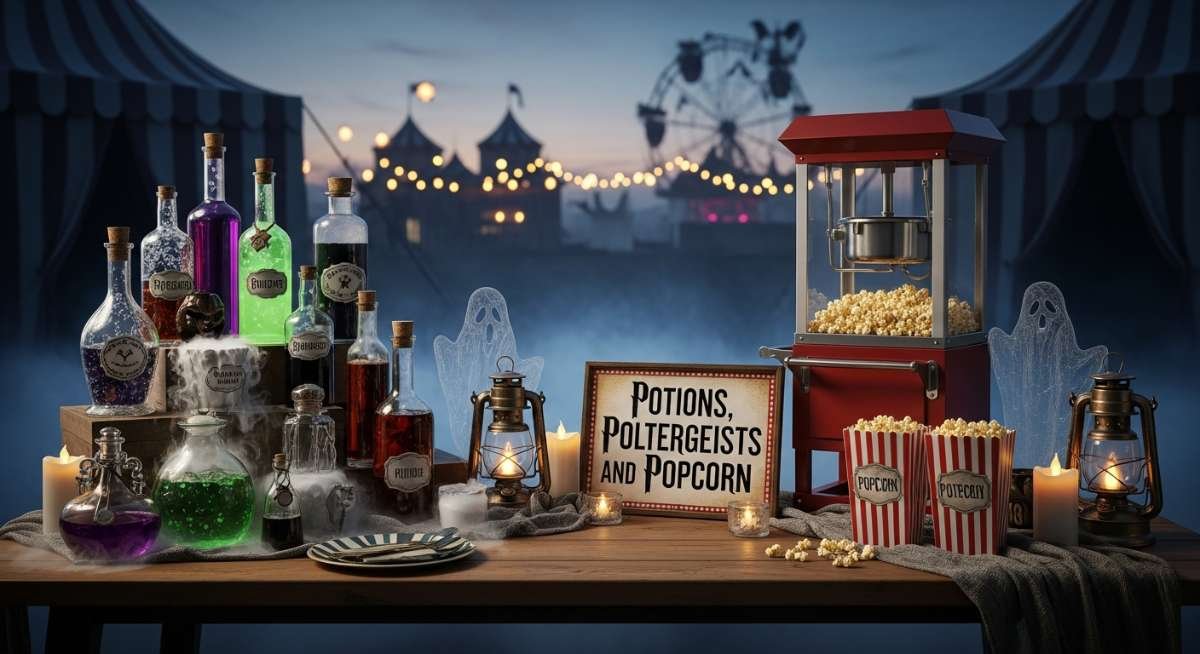
Potions, Poltergeists, and Popcorn: My Night at the Cursed Carnival
Imagine the whimsical chaos of a Victorian-era traveling circus colliding with the dark, moody aesthetics of a hidden magical academy. As an event stylist, I am constantly searching for that perfect ‘pivot’ point where classic themes feel entirely fresh again. This Halloween, I decided to ditch the standard orange-and-black and instead leaned into the eerie, enchanting world of a ‘Cursed Carnival.’ It’s the kind of party where the fortune teller knows your darkest secrets and the popcorn is dusted with literal ‘stardust’—or at least some very convincing edible glitter.
The inspiration hit me while browsing an old antique shop; I found a tarnished brass carousel horse and realized it looked exactly like something that might reside in a haunted room at a wizarding boarding school. From there, the ‘Haunted Wizarding World Halloween Carnival’ was born. It’s a theme that allows for maximalism at its finest—think velvet drapes, floating candles, and oversized striped backdrops that feel like they’ve been pulled straight from a nightmare-version of Diagon Alley. It’s sophisticated enough for adults but possesses enough ‘wow factor’ to keep every guest enchanted.
Why You’ll Love This Party Decor Theme
- The Ultimate Mash-Up: It blends the nostalgia of a vintage circus with the cult-favorite aesthetic of wizarding lore.
- High Visual Impact: The contrast between deep jewel tones and circus stripes creates a backdrop that is incredibly ‘Instagrammable.’
- Versatile Styling: You can lean more ‘dark arts’ for an adult crowd or ‘whimsical carnival’ for a family-friendly vibe.
- Mood Lighting Goldmine: This theme thrives on low, ambient lighting, making it easy to mask any home imperfections with shadows and glow.
Essential Decor Items & Supplies Needed
- Balloons: A mix of matte black, chrome gold, and deep burgundy for organic arches.
- Backdrop Stands: Sturdy frames to hold heavy velvet drapes or striped fabric panels.
- Floral Garlands: Dried eucalyptus, dark roses, and faux ‘dead’ vines.
- Tableware: Gold-rimmed plates, black crystal glassware, and pewter-style cutlery.
- Apothecary Jars: Various sizes for candy, popcorn, and ‘potions.’
- Fairy Lights & Floating Candles: To create that signature magical ceiling effect.
- Vintage Props: Old trunks, tarot cards, and antique birdcages.
The color scheme for this event is paramount. We are moving away from bright primary circus colors and embracing a ‘Cursed Palette’ of midnight plum, charcoal grey, tarnished gold, and a muted crimson. These colors should be reflected in your textures; think heavy velvets for tablecloths, tattered lace overlays, and rough-hewn wood for serving trays. The goal is to make every surface feel like it has a history—as if this carnival has been traveling through time for centuries.
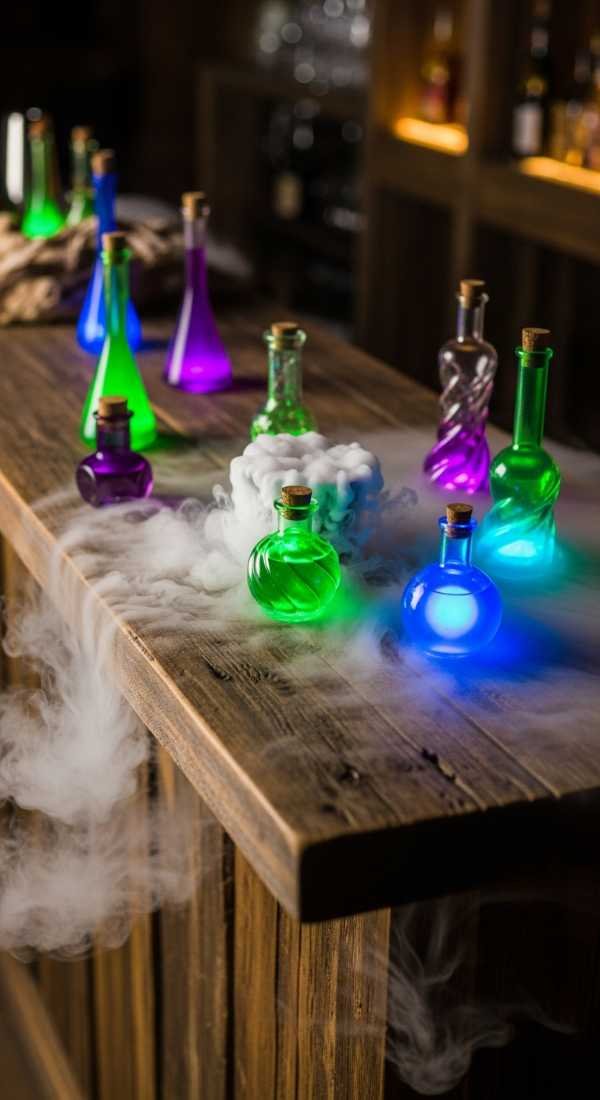
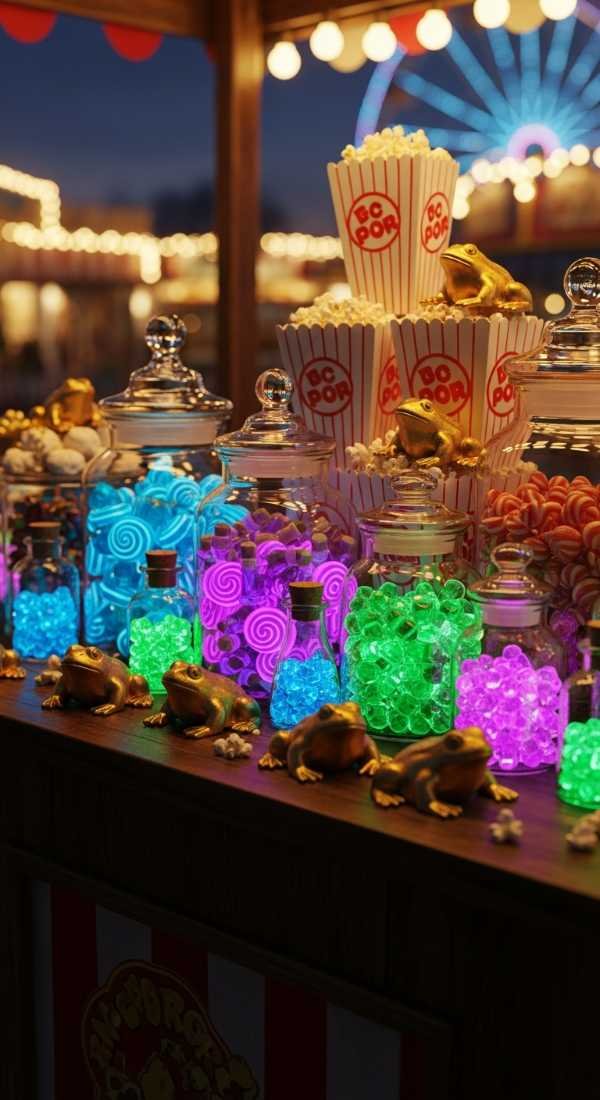
Lighting and focal points are where the magic truly happens. To achieve a ‘haunted’ atmosphere, avoid overhead lights at all costs. Instead, layer your light sources using flickering LED candles, amber-hued string lights hidden within floral arrangements, and perhaps a low-lying fog machine near the entrance. Your key focal point should be the ‘Concessions of the Dark Arts’ table, where traditional carnival snacks are reimagined with a magical twist, framed by a massive striped canopy.
Step-by-Step DIY Setup Guide
- Define the Perimeter with Drapes. Use tension rods or backdrop stands to hang dark-striped fabric or black velvet around your main party area to create the ‘inside the tent’ feel.
- Construct the Floating Candle Ceiling. Tie fishing line to battery-operated LED taper candles and suspend them at varying heights from your ceiling using clear adhesive hooks.
- Assemble the Potion Popcorn Bar. Set up a long table with a dark linen, and arrange apothecary jars filled with different flavored popcorns, labeling them with ‘Dragon Scales’ or ‘Ghost Wisps.’
- Install the Organic Balloon Arch. Build a lopsided, ‘overgrown’ balloon installation around your main entrance, weaving in faux cobwebs and dried moss for a weathered look.
- Layer the Table Scape. Start with a base cloth, add a lace runner, and place your gold-rimmed settings atop chargers; finish with a small ‘spell scroll’ as a place card.
Pro Styling Tips for Haunted Wizarding World Halloween Carnival
- Scent the Space. Use candles or diffusers with notes of cedarwood, toasted marshmallow, and crisp autumn air to immerse guests immediately.
- Incorporate ‘Living’ Portraits. Frame digital tablets or old-fashioned photos with eyes cut out and moving lights behind them to mimic the enchanted paintings of a wizarding castle.
- Texture Overload. Don’t just use flat fabrics; mix in faux fur, tattered cheesecloth, and silk to create a sensory experience that feels ‘old world.’
- Soundscape Matters. Play a loop of distorted carnival calliope music mixed with low thunder and owl hoots for a truly eerie vibe.
Theme Variations & Table Setting Ideas
- The Forbidden Forest Midway: Focus on heavy greenery, dark woods, and ‘creature’ inspired snacks like spider-web cotton candy.
- The Dark Arts Sideshow: A more gothic approach using strictly black and silver decor, focusing on ‘cursed’ artifacts and skulls.
- The Hufflepuff Harvest Festival: A lighter, more rustic version with sunflowers, pumpkins, and ‘golden’ carnival games.
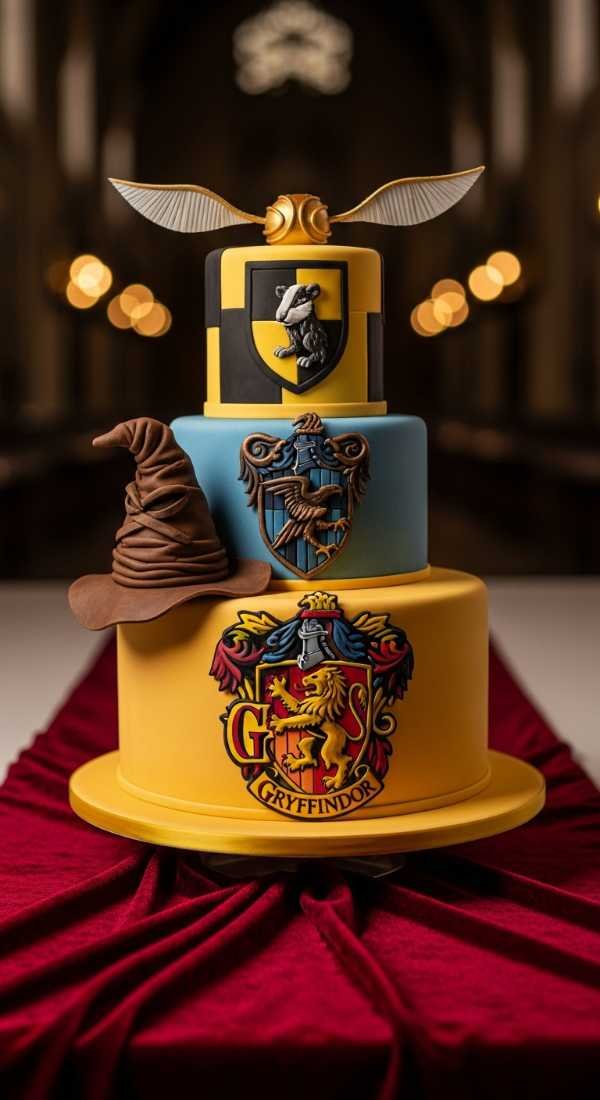
For the ultimate backdrop arrangement, try staggering your heights. Use vintage suitcases or wooden crates to elevate certain elements of your display. Behind your main table, hang a large, ornate mirror that you’ve ‘distressed’ with glass frosting spray to make it look like a portal to another realm. Surround this with your ambient lighting to create a glow that reflects off the glassware, making the entire setup feel like it’s vibrating with magical energy.
Pre-Party Setup Timeline, Assembly & Teardown
Preparation begins one week out by sourcing your vintage props and printing custom potion labels. Three days before the event, assemble your ‘everlasting’ elements like the dried floral garlands and the base of your balloon arch. This is also the time to test your floating candle battery lives and ensure your fog machine is in working order. Setting these up early prevents ‘day-of’ panic.
On the day of the carnival, focus on the perishables and the final lighting layers. Start four hours before guests arrive by hanging your drapes and securing the ceiling elements. Save the table settings and food displays for the final two hours. The goal is to have the candles flickering and the music playing at least thirty minutes before the first guest knocks, allowing you time to change into your ‘Ringmaster of the Dark Arts’ attire.
Teardown should be handled systematically to preserve your props for next year. Start by removing all battery-operated candles to prevent corrosion. Deflate balloons and save any reusable frames or floral wires. Since many of these items (like apothecary jars and velvet cloths) are high-quality, pack them in padded bins. The fabric drapes should be folded carefully to avoid wrinkles, ensuring your cursed carnival is ready to rise again whenever the moon is right.
Frequently Asked Questions
Can I host this party outdoors?
Absolutely! An outdoor setting like a backyard or a wooded area actually enhances the ‘Forest’ vibe. Just ensure you have weighted bases for your backdrop stands and a backup plan for wind, as floating candles and drapes can be finicky in a breeze.
How do I make the theme kid-friendly?
To tone down the ‘haunted’ aspect, increase the bright gold accents and focus on the magic tricks and ‘magical creature’ stuffed animals. Swap the eerie music for more upbeat wizarding soundtracks and use ‘magic wands’ as the primary party favor.
What is the most cost-effective way to get the ‘Vintage’ look?
Thrift stores are your best friend. Look for old brass candlesticks, mismatched crystal, and wooden crates. You can use black spray paint or ‘rub-n-buff’ gold wax to unify disparate pieces into the theme’s color palette without spending a fortune.
How do I hang the floating candles without damaging my ceiling?
Use high-quality clear command hooks. They are designed to hold the weight of a light LED candle and fishing line, and they peel off cleanly after the party is over. Always test one hook on a hidden area of your ceiling first.
Final Thoughts & Party Checklist
Creating a Haunted Wizarding World Halloween Carnival is all about the details. It’s the smudge of ‘soot’ on the invitation, the way the velvet feels under a guest’s hand, and the flickering shadows that make everyone look twice. By blending the structure of a carnival with the mystery of a magic school, you create an environment where guests feel like they’ve stepped out of reality and into a storybook. It’s a labor of love, but the look on your guests’ faces when they walk into your transformed space is worth every minute of prep.
Remember that the best parties are those where the host is just as immersed as the guests. Once the setup is complete, let go of the perfectionism and embrace the ‘cursed’ nature of the night. If a candle goes out or a balloon pops, call it ‘poltergeist activity’ and keep the party moving. The atmosphere you’ve built is robust enough to handle a little chaos—in fact, in a cursed carnival, chaos is part of the charm.
Before you start your transformation, make sure you have your essentials ready. From the heavy drapes to the tiniest potion vial, every element plays a role in the final enchantment. Good luck, fellow stylist, and may your Halloween be more magical than macabre!
Haunted Wizarding World Halloween Carnival Setup Guide
A sophisticated blend of dark magic and vintage circus aesthetics, perfect for a high-impact Halloween event that focuses on mood, texture, and ‘magical’ details.
Stylist: Professional Event Planner Style
Setup Time: 4-6 Hours
Difficulty Level: Advanced DIY / Intermediate
Ideal Occasion: Halloween Parties, Themed Birthdays, Immersive Events
Estimated Budget: $200 – $500 (Depending on prop sourcing)
Key Color Palette: Midnight Plum, Charcoal, Tarnished Gold, Crimson
Essentials & Materials
- Heavy velvet or striped fabric drapes
- LED floating taper candles & fishing line
- Gold-rimmed tableware & apothecary jars
- Organic balloon arch kit (black/burgundy/gold)
- Fog machine & amber string lights
Setup Instructions
- Drape the walls or designated ‘booths’ to create a tent-like enclosure.
- Suspend floating candles from the ceiling using clear hooks and fishing line.
- Set up the main concession table with themed treats and apothecary jar displays.
- Install the balloon arch around the focal point, weaving in cobwebs and florals.
- Adjust lighting to ensure no overhead lights are on; use only amber and candlelight.
Decor Specs & Ambience
The lighting should be ‘Low & Warm’ with flickering effects to mimic candlelight. Focal points include the Concession Bar and a ‘Cursed Mirror’ backdrop. Tables are arranged with layered textures (velvet/lace) and gold accents. The backdrop uses height and shadow to create depth, featuring vintage props like trunks and birdcages for an immersive, ‘old-world’ magical feel.