Artisan Crochet Cap Overlay: The Pink Heart Streetwear Edition-Welcome to the world of custom streetwear where traditional craft meets modern style. In this masterclass, we will guide you through creating a bespoke crochet overlay for a classic baseball cap. This project transforms a standard hat into a unique, textured masterpiece featuring romantic tapestry motifs and a vibrant pink palette, perfect for those looking to elevate their accessory game with a handmade touch.
Materials Needed
- 100g Medium weight cotton/acrylic yarn in Light Pink
- 25g Medium weight yarn in Dark Red and Dusty Rose
- 4.0mm (G) crochet hook
- Structured baseball cap (base)
- Tapestry needle
- Embroidered logo patch (e.g., NY logo)
- Fabric glue or heavy-duty thread for assembly
Abbreviations
- ch: chain
- sc: single crochet
- dc: double crochet
- sl st: slip stitch
- inc: increase (two stitches in one)
- st(s): stitch(es)
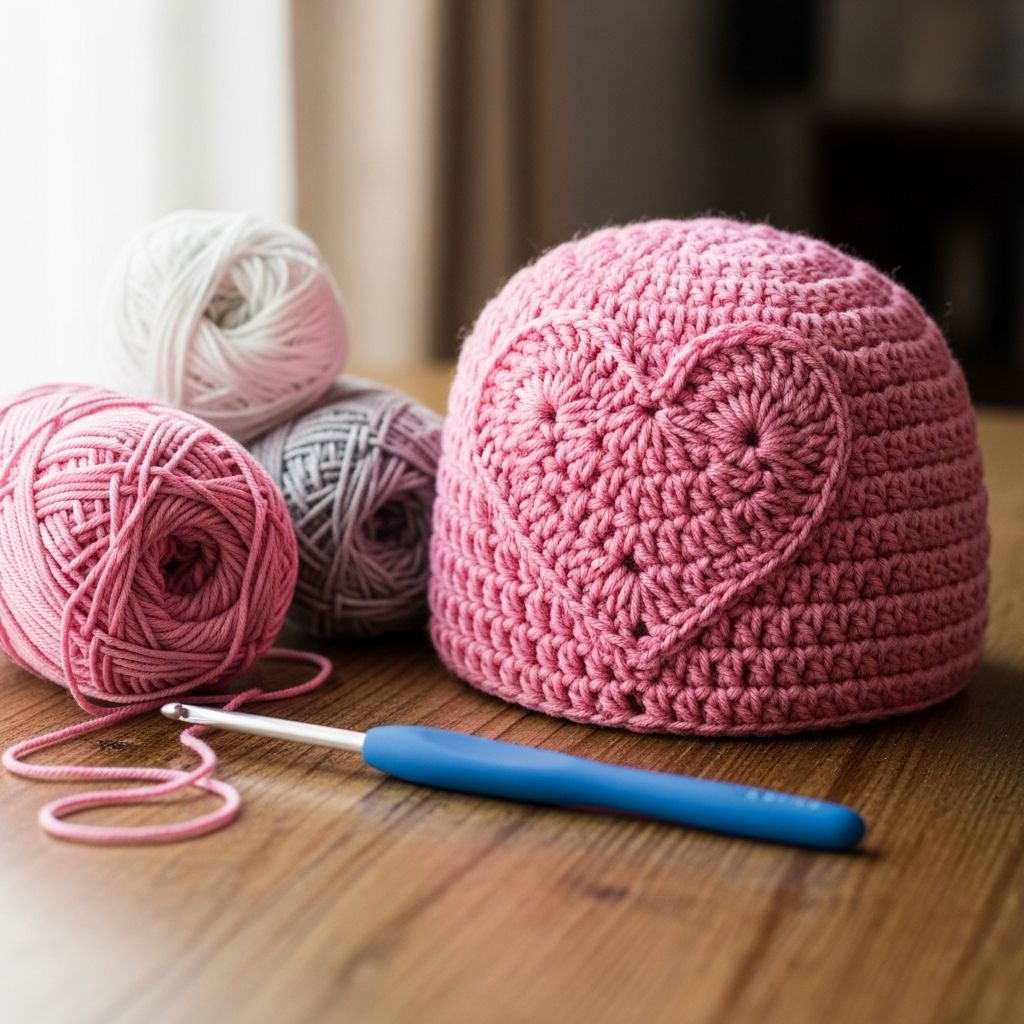
Step 1: The Crown Base

- Begin by creating a magic ring with the Light Pink yarn to ensure a tight, hole-free center.
- Work 12 double crochet (dc) stitches into the center of the ring.
- Join the round with a slip stitch to the top of the first dc and pull the tail tight.
- Maintain a consistent tension to ensure the top of the cap sits flat against the base hat.
Step 2: Increasing for the Dome

- In Round 2, work 2 dc into every stitch around to reach a total of 24 stitches.
- In Round 3, follow the pattern of 1 dc in the first stitch and an increase (2 dc) in the next stitch.
- Continue increasing in subsequent rounds (e.g., 2 dc then inc) until the diameter matches the top flat portion of your base cap.
- Regularly flatten the work against a table to check for ‘ruffling’—if it waves, your tension is too loose.
Step 3: Integrating Tapestry Motifs

- Introduce the Dark Red and Dusty Rose yarns to create the heart/splotch motifs seen in the design.
- Use the tapestry crochet technique, carrying the non-working yarn behind your stitches to hide the floats.
- Change colors on the final pull-through of the stitch preceding the color change for a sharp, professional look.
- Space the motifs organically around the crown, ensuring they are at least three stitches apart to maintain structural integrity.
Step 4: Working the Side Walls

- Stop increasing once the piece covers the top curve of the hat and begin working one dc in each stitch around.
- Place the crochet shell onto the base cap every few rows to ensure the ‘walls’ are hugging the structure tightly.
- Continue the motif patterns into these side rows to create a cohesive visual flow from top to bottom.
- Work until the crochet fabric reaches the bottom edge of the hat’s crown, just above the brim.
Step 5: Crafting the Visor Cover

- Identify the front center of your cap and attach the Pink yarn to the row where the brim begins.
- Work in rows back and forth across the top of the visor, using single crochet for a denser, more durable fabric.
- Increase by one stitch at the beginning and end of every second row to accommodate the widening curve of the brim.
- Finish the final row by working a slip stitch border around the entire edge of the visor for a clean, rounded silhouette.
Step 6: Assembly and Security

- Weave in all yarn tails on the underside of the crochet shell using a tapestry needle.
- Stretch the crochet overlay over the base cap, aligning the visor cover and the crown seams.
- Use a matching pink thread to whip-stitch the edge of the crochet to the inner sweatband or the base fabric of the hat.
- Ensure the fabric is taut across the surface to prevent any sagging or shifting during wear.
Step 7: Final Embellishments

- Position your embroidered logo patch (like the white NY logo) centered on the front of the crown.
- Sew the patch through both the crochet layer and the base cap material for a secure, permanent bond.
- If desired, re-attach the gold ’59Fifty’ style sticker to the brim to maintain the authentic streetwear aesthetic.
- Steam the hat lightly to settle the stitches and give the project a crisp, retail-ready finish.
Frequently Asked Questions
Q: What type of yarn provides the best structure?
A: A cotton-acrylic blend is ideal. The cotton provides the necessary rigidity to hold the shape, while the acrylic adds a slight stretch that helps the overlay fit snugly over the base cap.
Q: How do I clean my crochet cap?
A: Because of the structured base and the adhesive/embroidery, it is best to spot clean only with a damp cloth and mild detergent. Avoid submerging the entire hat in water.
Q: The crochet piece is too loose for the hat. How can I fix this?
A: If the overlay is baggy, try using a smaller hook size (3.5mm) or reducing the number of increase rounds in Step 2. The crochet should be slightly smaller than the hat so it stretches to fit perfectly.
Conclusion
Congratulations! You’ve successfully merged the cozy texture of crochet with the sharp silhouette of urban headwear. This project is a testament to your skill and creativity. Wear your custom cap with pride, or use these techniques to create a whole collection of personalized streetwear for friends and family. Happy hooking!