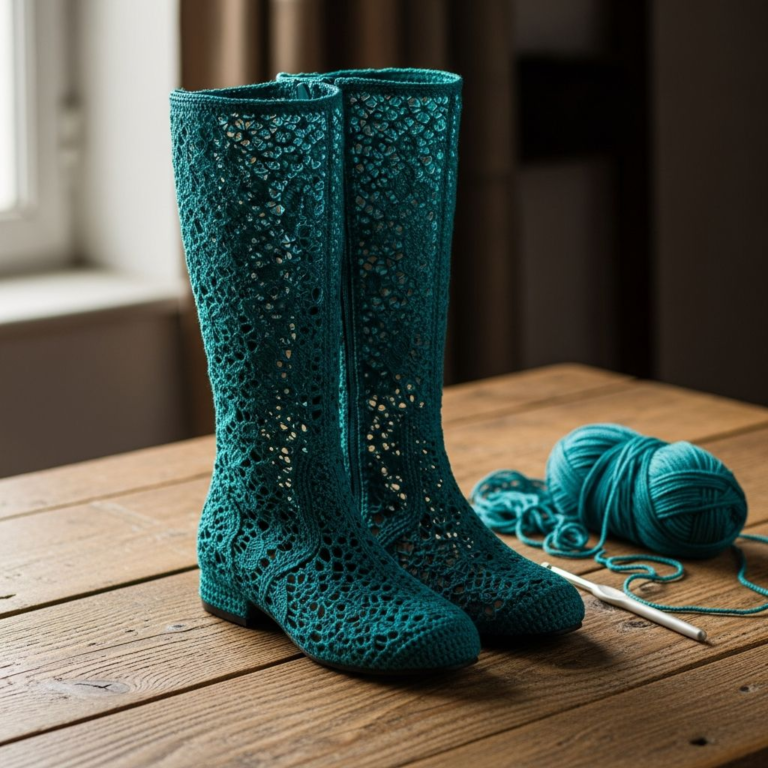
Bohemian Lattice Crochet Sandal Transformation-Elevate your summer footwear by transforming a basic pair of flip-flop soles into high-fashion bohemian sandals. This pattern utilizes a sophisticated lattice-work technique and durable cotton cord to create a custom-fitted upper that rivals boutique designs. Whether you’re heading to the beach or a summer festival, these handcrafted slippers provide the perfect blend of artisanal style and personalized comfort.
Materials Needed
- 1 pair of rubber flip-flop soles (straps removed)
- 100g Mercerized Cotton Yarn or 2mm Macrame Cord (Beige)
- 3.5mm Crochet Hook (or size needed for gauge)
- 2.5mm Crochet Hook (for working into the sole)
- Sharp Awl or leather punch for piercing the sole
- 3 Red heart-shaped crystals or glass beads
- Tapestry needle and heavy-duty scissors
Abbreviations
- ch: chain
- sc: single crochet
- dc: double crochet
- sl st: slip stitch
- sk: skip
- sp: space
- st: stitch
Step 1: Preparing the Foundation

- Use your awl or leather punch to create small holes around the perimeter of the sole, spaced approximately 1cm apart.
- Insert the 2.5mm hook into a hole at the heel and pull up a loop of yarn to begin your foundation row.
- Work 2 single crochets into every hole around the entire sole to create a sturdy base for the upper.
- Join with a slip stitch to the first single crochet and fasten off or prepare to transition to the toe section.
Step 2: Constructing the Toe Bridge

- Locate the center point between the big toe and second toe on the front of the sole.
- Attach yarn to the foundation row at this center point and chain 5 to create the initial toe post height.
- Work 3 sc into the chain to provide comfort and stability against the skin.
- Secure the end of this post back to the foundation row, ensuring it is centered and tight enough to hold the foot in place.
Step 3: Working the Lattice Upper

- Starting from the toe bridge, begin Row 1 by chaining 5 and skipping 2 stitches, then sc into the next stitch to create a loop.
- Repeat the loop pattern across the top of the foot for a total of 5 diamond-shaped meshes.
- Turn and work Row 2 by chaining 5 and anchoring the center of each loop from the previous row with a single crochet.
- Continue this mesh pattern for 6-8 rows, increasing the number of loops slightly as you move toward the wider part of the foot (the instep).
Step 4: Shaping the Side Support

- Once the lattice reaches the ankle area, transition from mesh loops to solid rows of single crochet on the left and right sides.
- Work 4 rows of sc along the edge of the lattice to create a ‘wing’ that will connect to the heel strap.
- Decrease by 1 stitch at the top edge of each row to create a gradual slope toward the back of the foot.
- Ensure both sides are symmetrical by counting stitches and measuring against the wearer’s foot.
Step 5: Creating the Heel Strap

- Attach yarn to the back-left side panel and chain a length sufficient to reach around the back of the heel to the right panel.
- Slip stitch the chain to the corresponding spot on the right side panel, ensuring the strap sits comfortably above the heel bone.
- Turn and work 3 rows of sc back across the chain to add thickness and prevent the strap from stretching out over time.
- Reinforce the join points with extra slip stitches or a tapestry needle for maximum durability.
Step 6: Embellishment and Finishing

- Position the three red heart-shaped crystals at the center-top of the toe bridge where the lattice begins.
- Using a tapestry needle and matching thread, sew the crystals securely through the crochet stitches.
- Weave in all remaining yarn tails on the underside of the crochet work to ensure they don’t rub against the skin.
- Apply a small dab of fabric glue to the knots for extra security, then let the sandals dry completely before wearing.
Frequently Asked Questions
Q: What type of yarn is best for these sandals?
A: A mercerized cotton or a nylon-blend cord is best. These fibers are ‘inelastic,’ meaning they won’t stretch out as you walk, and they handle moisture much better than wool or standard acrylic.
Q: How do I make sure they fit my specific foot size?
A: The best method is ‘fit-as-you-go.’ Place your foot on the sole after every few rows of the lattice and side panels. If the lattice feels too loose, skip fewer stitches between loops; if too tight, add an extra chain to your loops.
Q: Are these sandals machine washable?
A: Because of the rubber soles and the delicate crystal embellishments, hand washing is recommended. Use a soft brush with mild soap and air dry them away from direct sunlight to prevent the rubber from cracking.
Conclusion
Congratulations on completing your designer-style crochet sandals! By combining traditional crochet techniques with a modern silhouette, you’ve created a unique piece of wearable art. Don’t be afraid to experiment with different yarn colors or bead styles to make your next pair truly one-of-a-kind. Happy crafting!