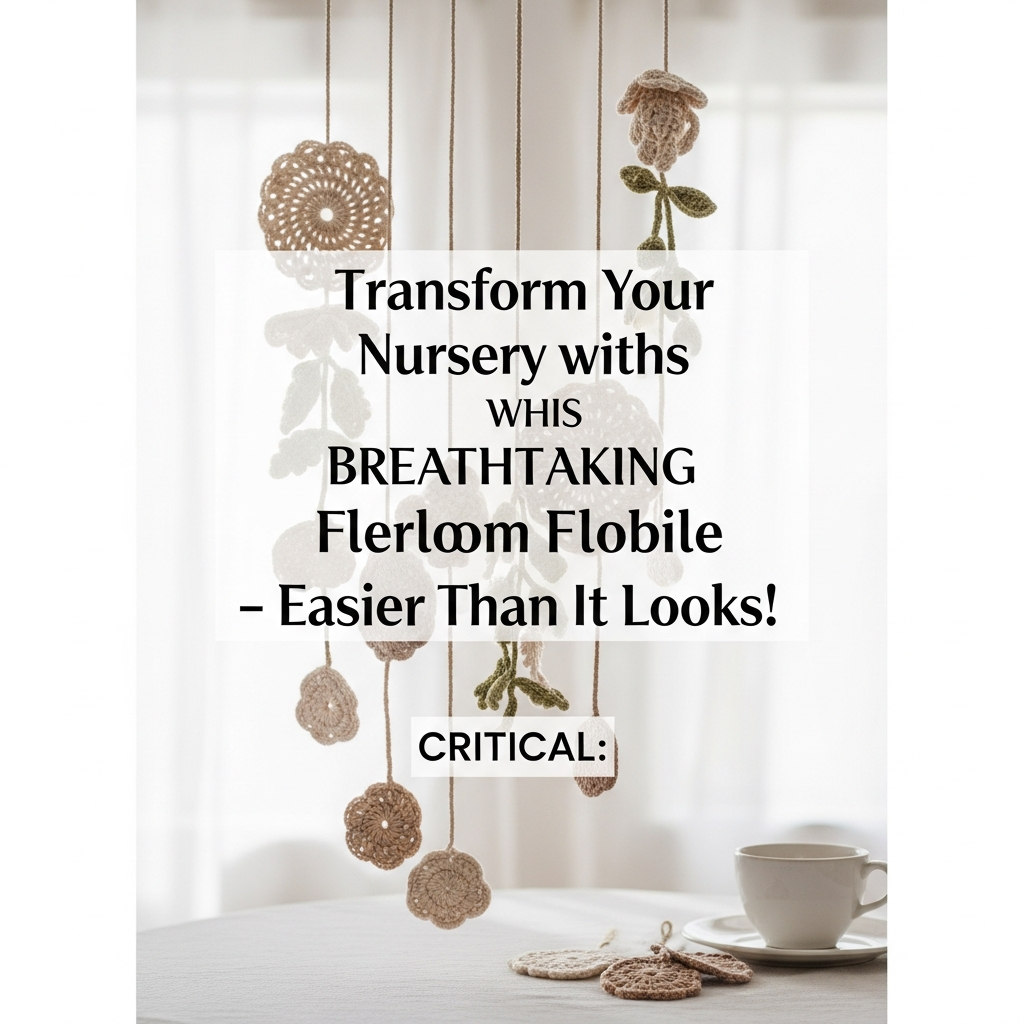
DIY Handmade Floral Crochet Baby Mobile: A Complete Step-by-Step Pattern-Welcome to our latest masterclass! Today we are learning how to create this beautiful piece.
Materials Needed
- DK Weight Cotton Yarn (Cream, Dusty Rose, Soft Peach, Sage Green)
- 3.0mm Crochet Hook
- 8-inch (20cm) Wooden Embroidery Hoop or Bamboo Ring
- Polyester Fiberfill Stuffing
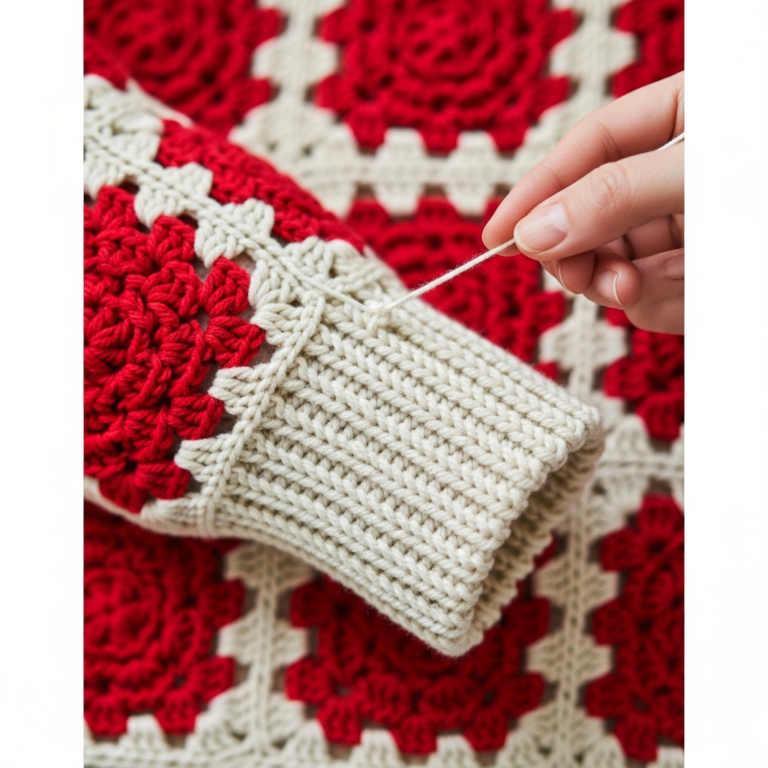
- Tapestry Needle and Sharp Scissors
- White Cotton Twine or Macrame Cord (for hanging)
- Stitch Markers
Step-by-Step Instructions
Step 1
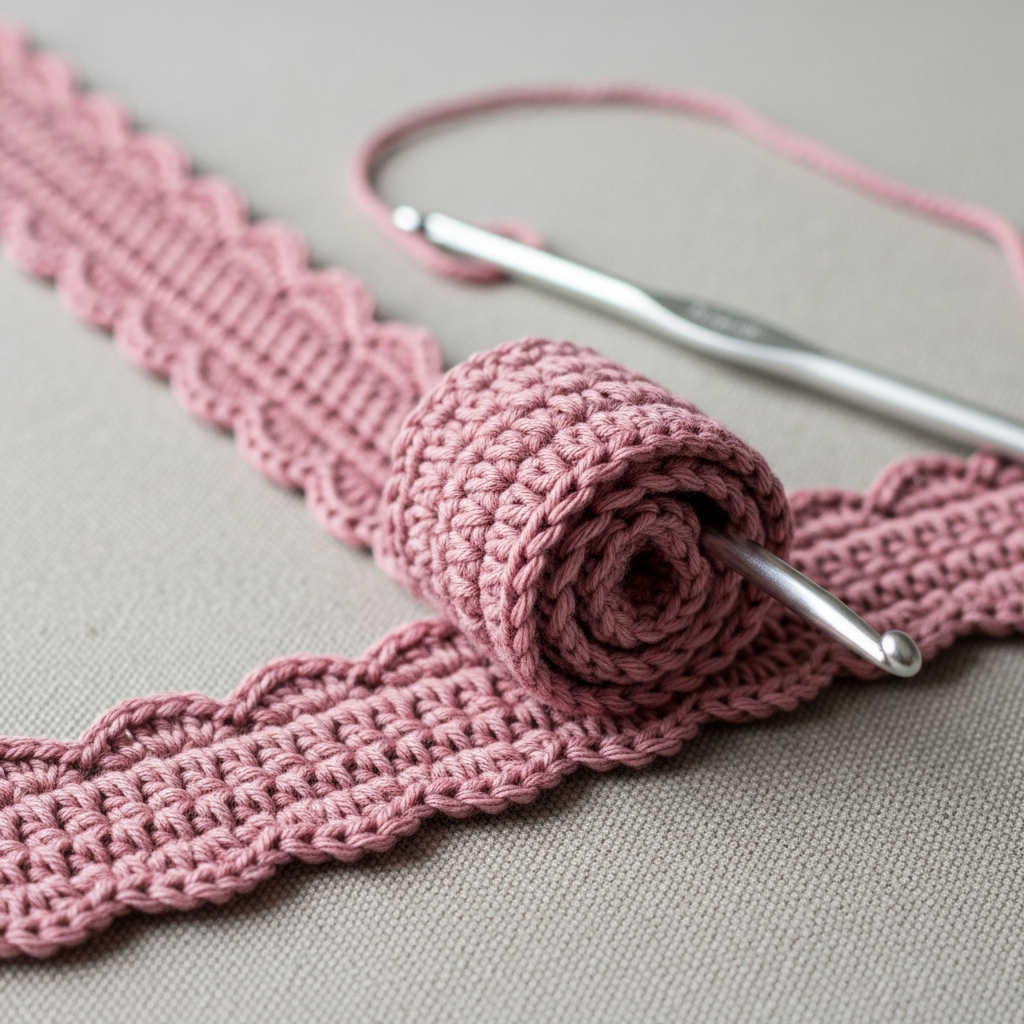
Begin by creating the large Roses. Foundation: Ch 51. Row 1: Sc in the 2nd ch from hook and in each ch across, turn (50 sc). Row 2: Ch 1, *sc in first st, skip 1 st, 5 dc in next st (shell made), skip 1 st; repeat from * across to the end. Fasten off leaving a 12-inch tail. Roll the long strip tightly to form a rose shape and use the tapestry needle to sew through the base layers to secure the flower.
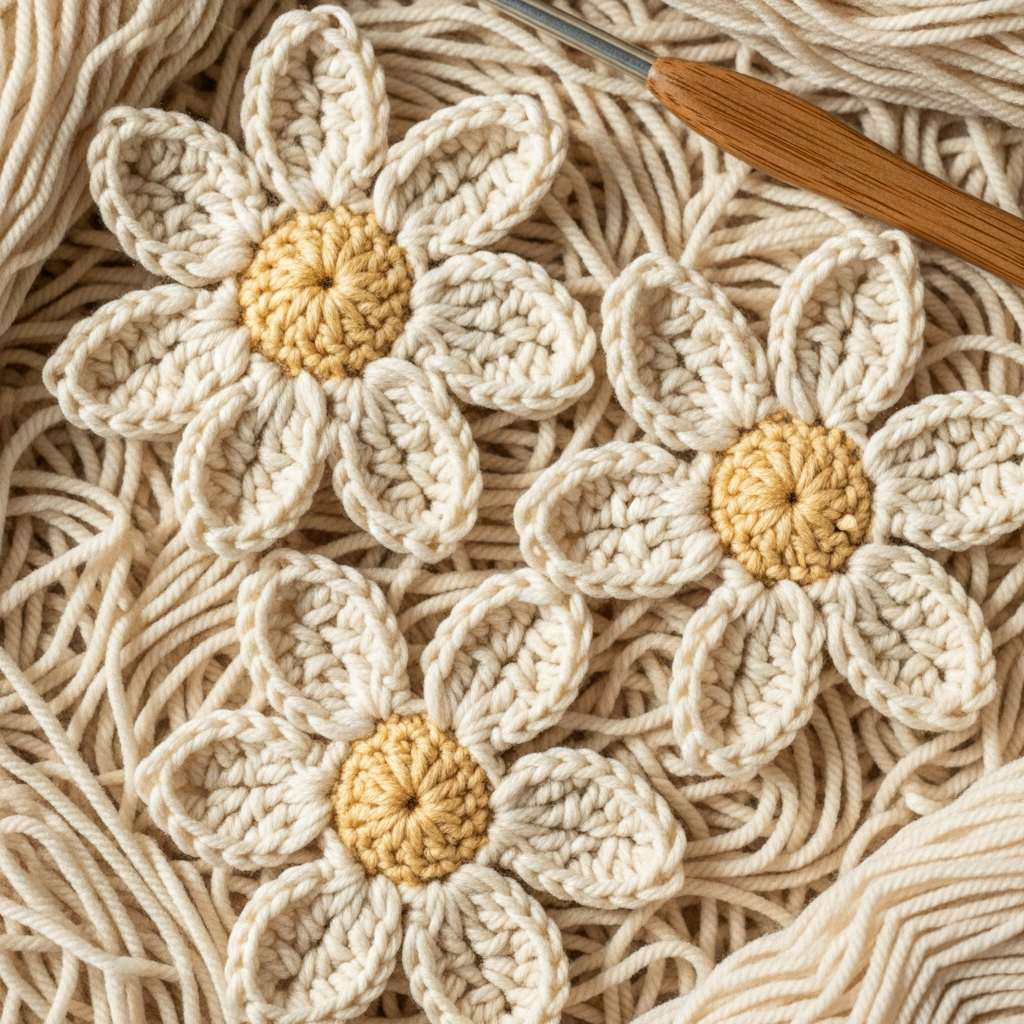
Step 2
Create the 6-Petal Daisies in Cream and Peach. Start with a Magic Ring (MR). Round 1: 6 sc into MR, sl st to join (6 sc). Round 2: *Ch 3, 2 tr in the same st, ch 3, sl st in the same st, sl st in the next st; repeat from * 5 more times to create 6 petals. Fasten off and weave in ends. For the center, create a small ball: MR, 6 sc, fasten off and sew to the center of the daisy.
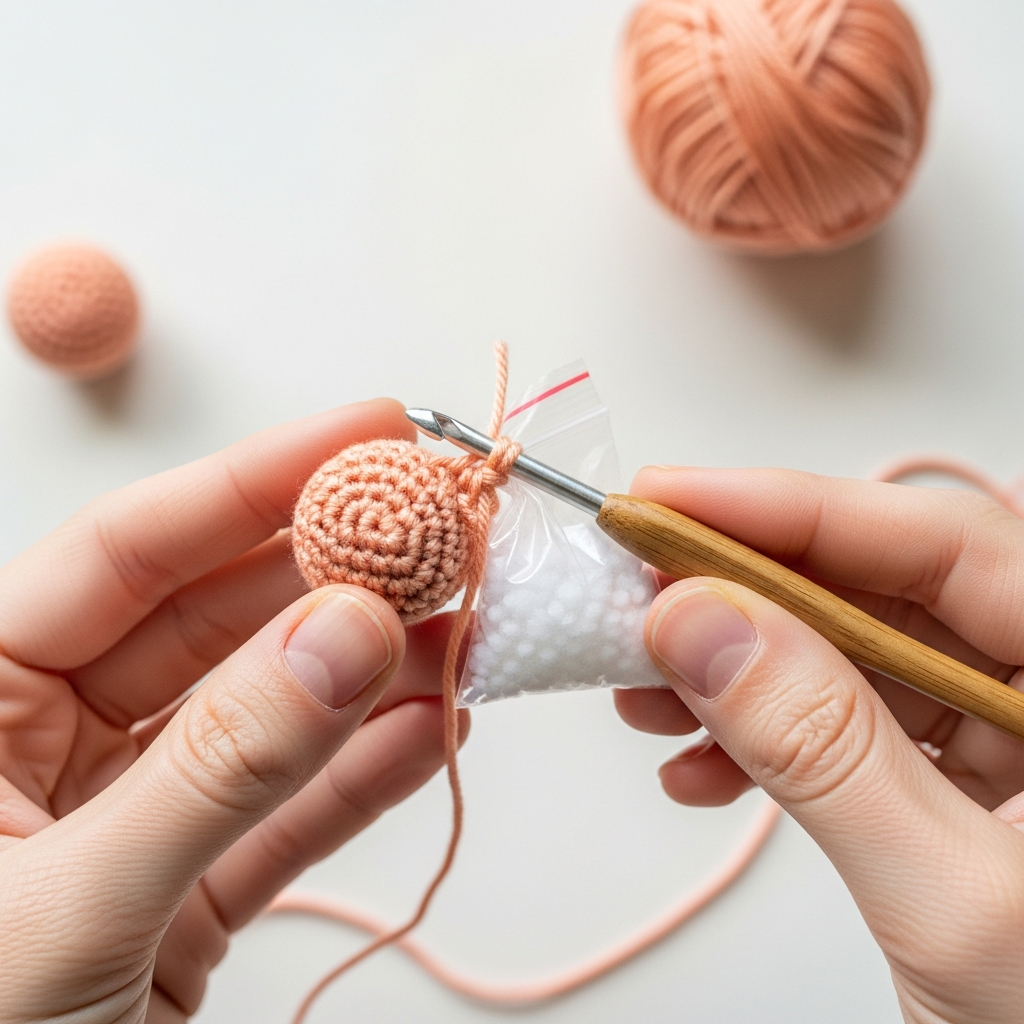
Step 3
Crochet the decorative Beads (Spheres) to add height. Round 1: MR, 6 sc (6). Round 2: 2 sc in each st around (12 sc). Round 3-4: Sc in each st around (12). Round 5: *Sc 1, inv dec; repeat from * 3 more times. Lightly stuff with fiberfill. Round 6: 6 inv dec. Fasten off and use the needle to weave the tail through the front loops to close the hole tightly.
Step 4
Craft the Sage Green Leaves. Foundation: Ch 12. Row 1: Sc in 2nd ch from hook, hdc in next, dc in next 7 sts, hdc in next, (sc, ch 2, sc) in the last ch to turn the corner. Working along the opposite side of the foundation chain: hdc, dc in 7 sts, hdc, sc in the last st. Sl st to the first sc to join. Fasten off leaving a tail for attachment.

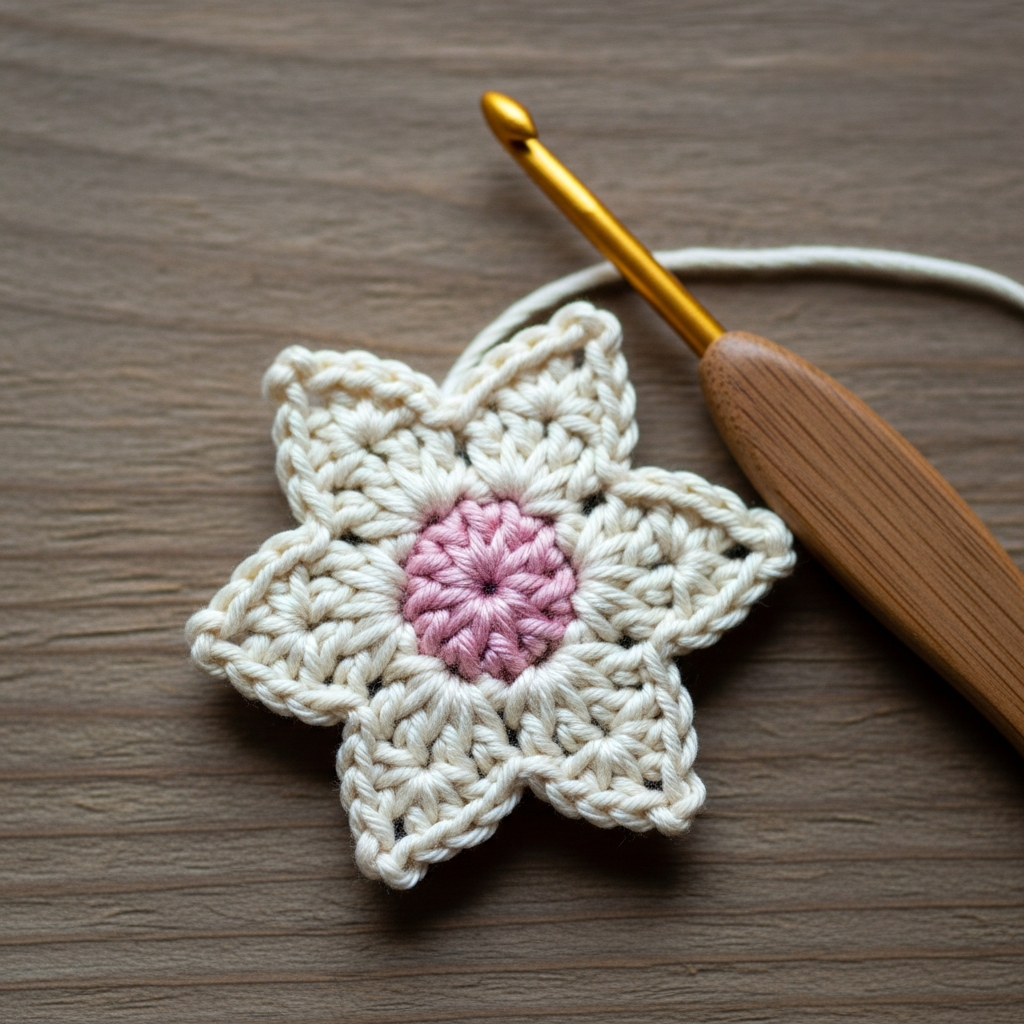
Step 5
Construct the Star-shaped Flowers. MR, 5 sc. Round 2: *Ch 5, sc in 2nd ch from hook, hdc in next ch, dc in next 2 chs, sl st into the next sc of the MR; repeat from * 4 more times to create 5 pointed petals. For the center, work a small MR with 5 sc in pink and sew it directly onto the cream star base.
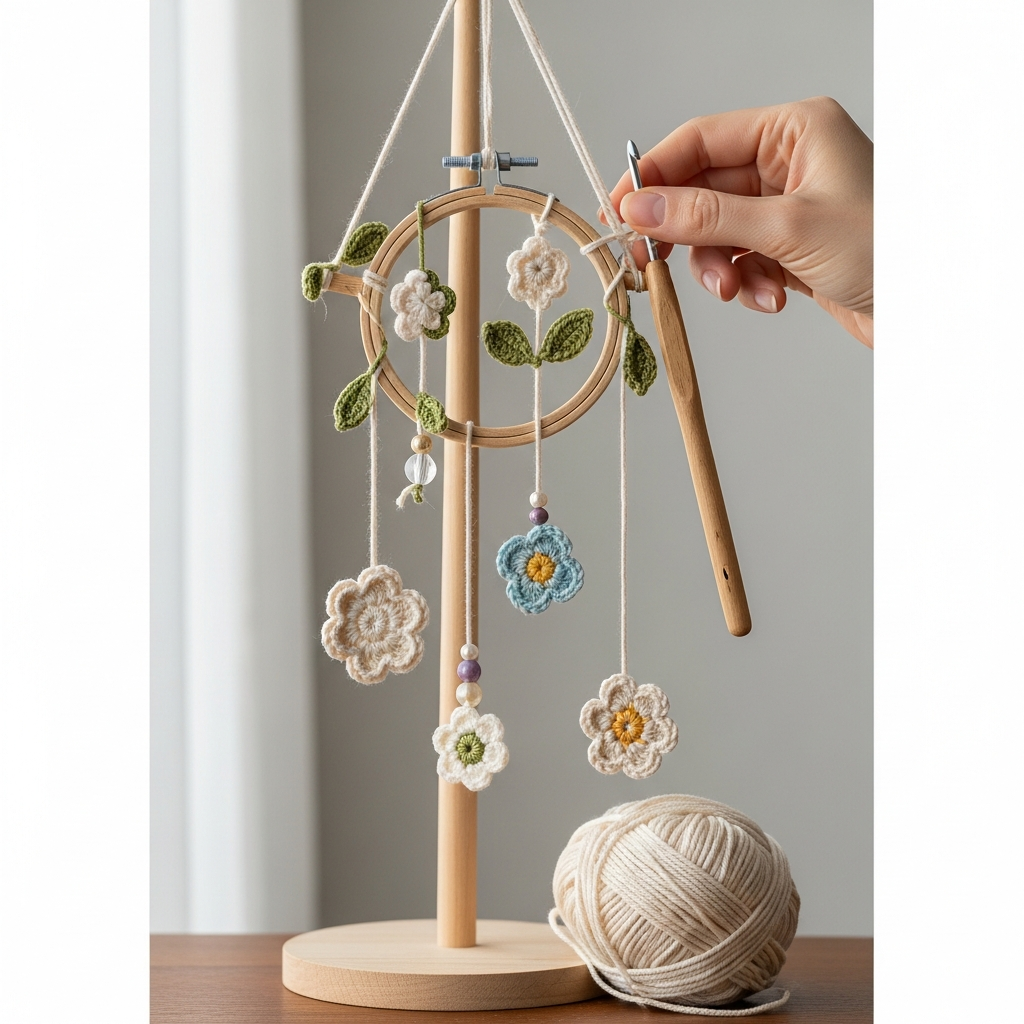
Step 6
Assemble the Mobile. Cut five lengths of cotton cord (approx. 24 inches each). Tie the cords to the wooden hoop at equal intervals using Lark’s Head knots. Thread your tapestry needle with the cord and string the components: start with a leaf, then a bead, then a flower, securing each with a hidden knot underneath. Ensure the weights are balanced so the hoop hangs level. Gather the top strings and tie them to a central hanging ring.
Final Showcase

Frequently Asked Questions
Q: How do I ensure my flowers don’t sag over time?
A: Use a cotton yarn rather than acrylic, as cotton has less ‘stretch’ and holds the structural shape of petals much better. If your tension is loose, drop down a hook size (e.g., to 2.5mm) to create a stiffer fabric.
Q: What is the best way to clean the mobile if it gets dusty?
A: Because of the wooden hoop and delicate assembly, do not machine wash. Use a lint roller or a canned air duster for regular maintenance. For spots, gently dab with a damp cloth and mild soap, then air dry.
Q: My mobile is tilting to one side. How do I fix the balance?
A: Balance is usually affected by the placement of the large roses. Ensure your roses are spaced exactly 72 degrees apart (if using 5 strings) on the hoop. You can also slide the knots along the hoop slightly to find the perfect center of gravity.
Conclusion
Congratulations on finishing your Handmade Floral Baby Mobile! This project is more than just nursery decor; it is a labor of love that will catch the light and the eyes of your little one for months to come. By combining these classic botanical shapes, you’ve created a piece that is both timeless and trendy. Happy crocheting!