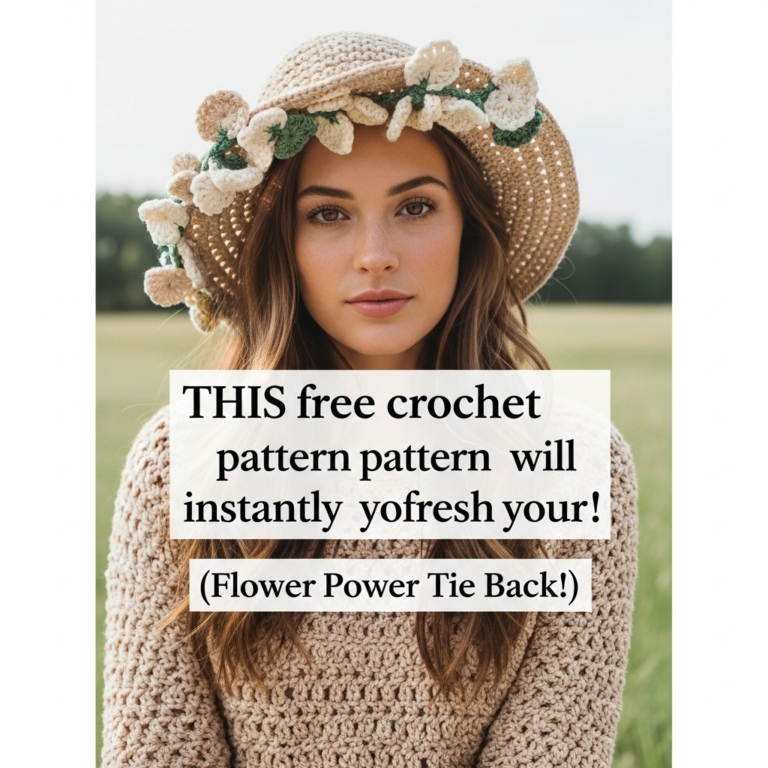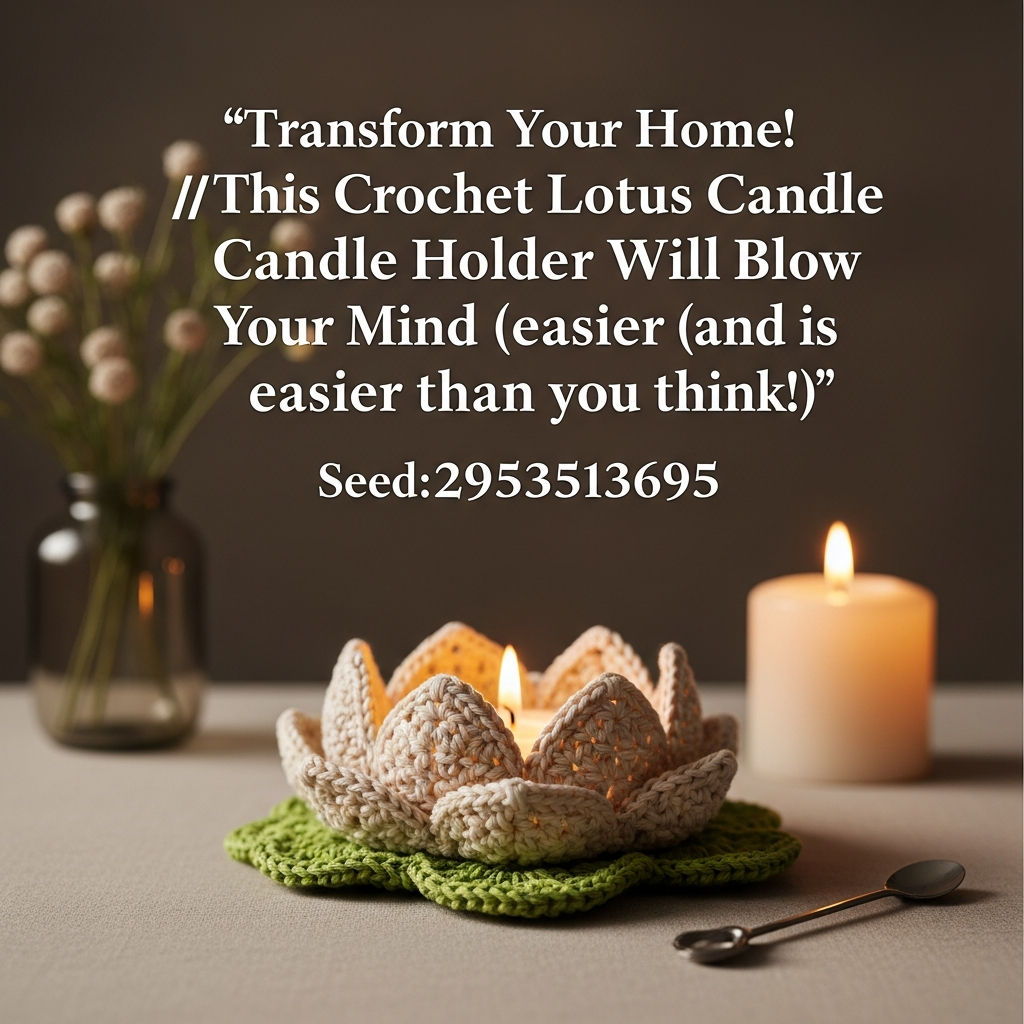
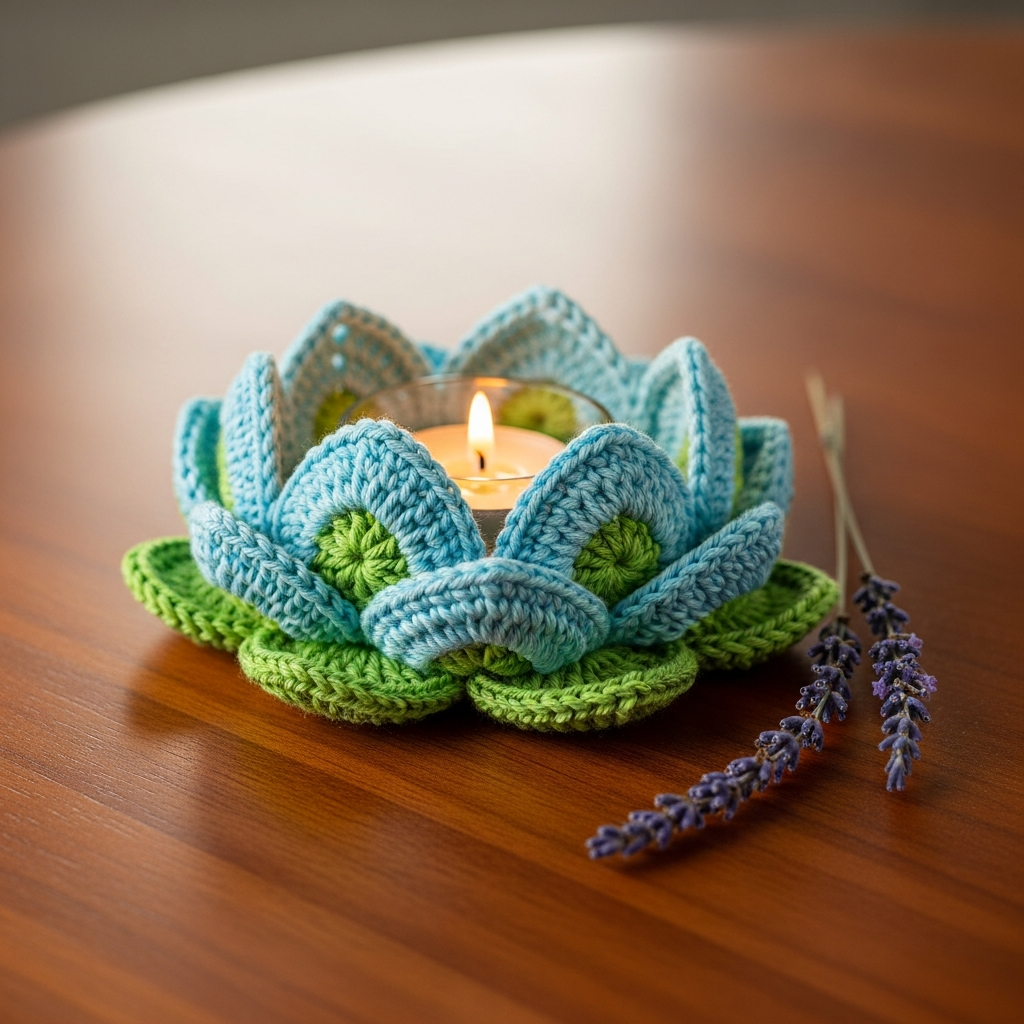
Masterclass Crochet Lotus Candle Holder Pattern | Detailed Tealight TutorialWelcome to our latest masterclass! Today we are learning how to create this beautiful piece.
Materials Needed
- Worsted weight (Aran) cotton yarn, approximately 50g in main color (e.g., lavender/light purple)
- Worsted weight (Aran) cotton yarn, approximately 10g in accent color (e.g., darker pink/magenta)
- 4.0mm (G/6) crochet hook
- Yarn needle (tapestry needle) for weaving in ends and assembly
- Scissors
- Standard tealight candle (for sizing and use)
Step-by-Step Instructions
Step 1
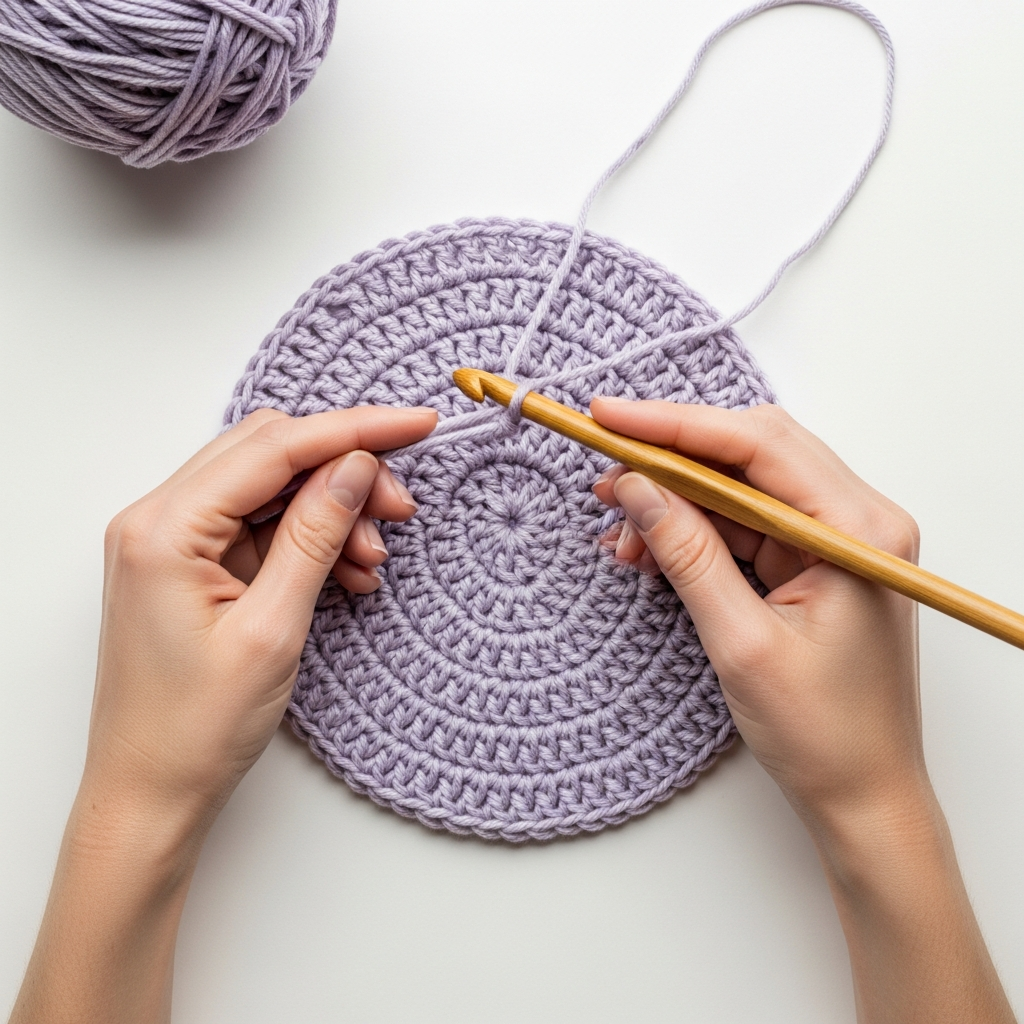
To begin, using your main color yarn and a 4.0mm (G/6) crochet hook, initiate with a magic ring (also known as a magic circle or adjustable ring). Work 6 single crochet (SC) stitches into the magic ring, then pull the tail tight to close the ring securely. For Round 2, place 2 SC into each stitch around, resulting in 12 SC. Continue increasing evenly in each subsequent round by adding 6 SC stitches per round (e.g., Round 3: *1 SC, 2 SC in next st*, repeat around for 18 SC; Round 4: *2 SC, 2 SC in next st*, repeat around for 24 SC, and so forth). Maintain this increasing pattern until your circular base measures approximately 4-5 inches in diameter, creating a flat, sturdy disc that will serve as the stable foundation for your lotus.
Step 2
Switch to your accent color yarn for the inner tealight holder. Begin with a magic ring and work 6 SC stitches into it, then pull to close. For Round 2, increase to 12 SC by working 2 SC into each stitch. Continue increasing evenly in the following rounds (e.g., Round 3: *1 SC, 2 SC in next st*, repeat around for 18 SC; Round 4: *2 SC, 2 SC in next st*, repeat around for 24 SC) until the diameter of your circle is slightly smaller than the base of a standard tealight candle. Once the desired diameter is achieved (typically 4-5 rounds depending on tension), proceed to crochet several rounds without any increases (1 SC in each stitch around) to build up the vertical walls of the cup. Work approximately 5-7 rounds of even SC to create a snug cup that will securely hold a tealight, ensuring a clean, upright edge.
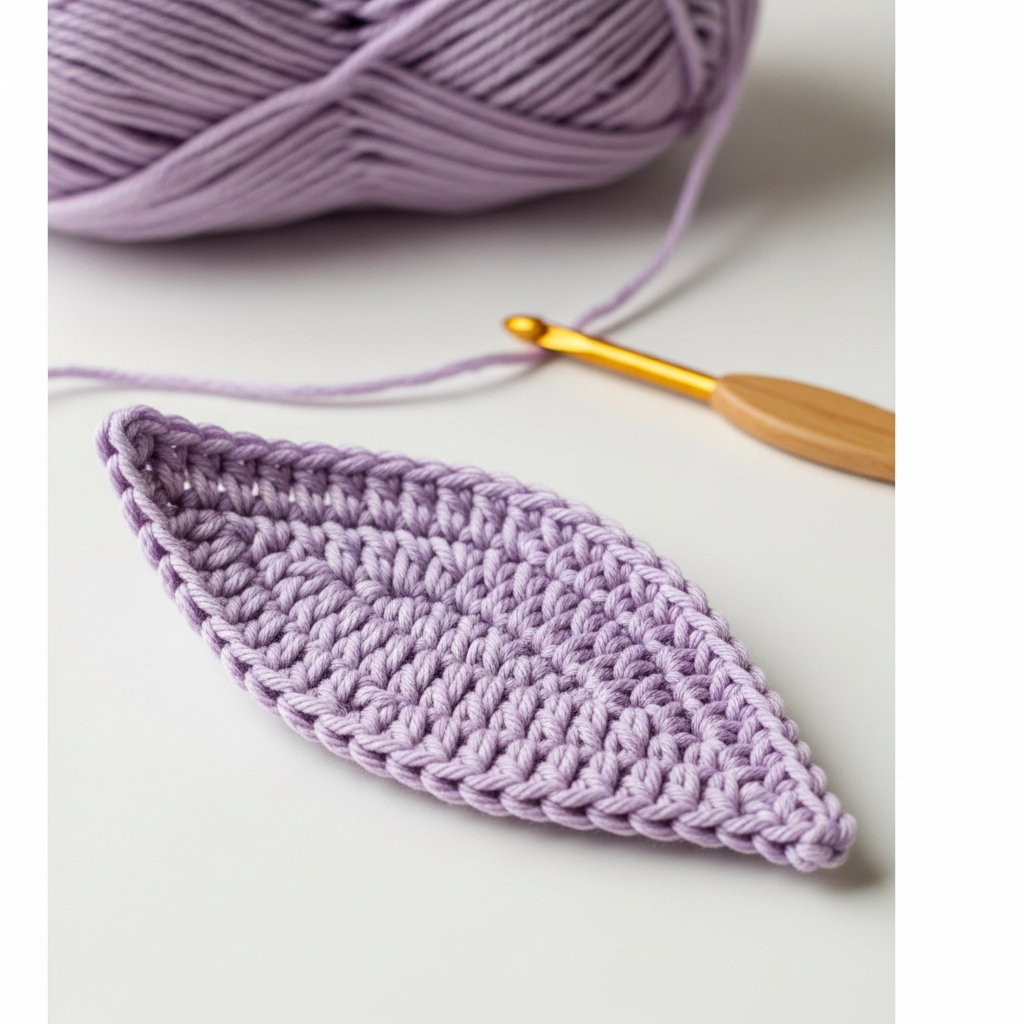
Step 3
Using your main color yarn, you will now create the inner layer of petals. For each petal, begin by chaining 8 stitches. Starting from the second chain from the hook, work 1 SC in the next 2 stitches, 1 half double crochet (HDC) in the next 3 stitches, and 1 double crochet (DC) in the last 2 stitches. Chain 1 and turn. For the subsequent rows, continue to follow the natural curve of the petal, decreasing stitches at the beginning and end of rows (e.g., using SC2tog or HDC2tog) to form a gentle, pointed oval shape. Work approximately 5-6 rows in total for each petal, ensuring they are approximately 2 inches tall and 1.5 inches wide at their widest point. Create a total of 6-8 identical petals for the inner layer, cutting the yarn and leaving a long tail for sewing after each petal is completed.
Step 4
Now, create the larger, outer layer of petals using the main color yarn. For each outer petal, start by chaining 10 stitches. Beginning in the second chain from the hook, work 1 SC in the next 2 stitches, 1 HDC in the next 3 stitches, 1 DC in the next 3 stitches, and 1 treble crochet (TR) in the last stitch. Chain 1 and turn. Similar to the inner petals, work subsequent rows by strategically decreasing stitches at the edges (e.g., SC2tog, HDC2tog, DC2tog) to shape a wider, slightly longer, and more open petal. Aim for approximately 7-8 rows in total for each petal, resulting in a finished size of about 2.5-3 inches tall and 2-2.5 inches wide at its widest point. Create a total of 8-10 identical outer petals, cutting the yarn and leaving a long tail after each for sewing.
Step 5
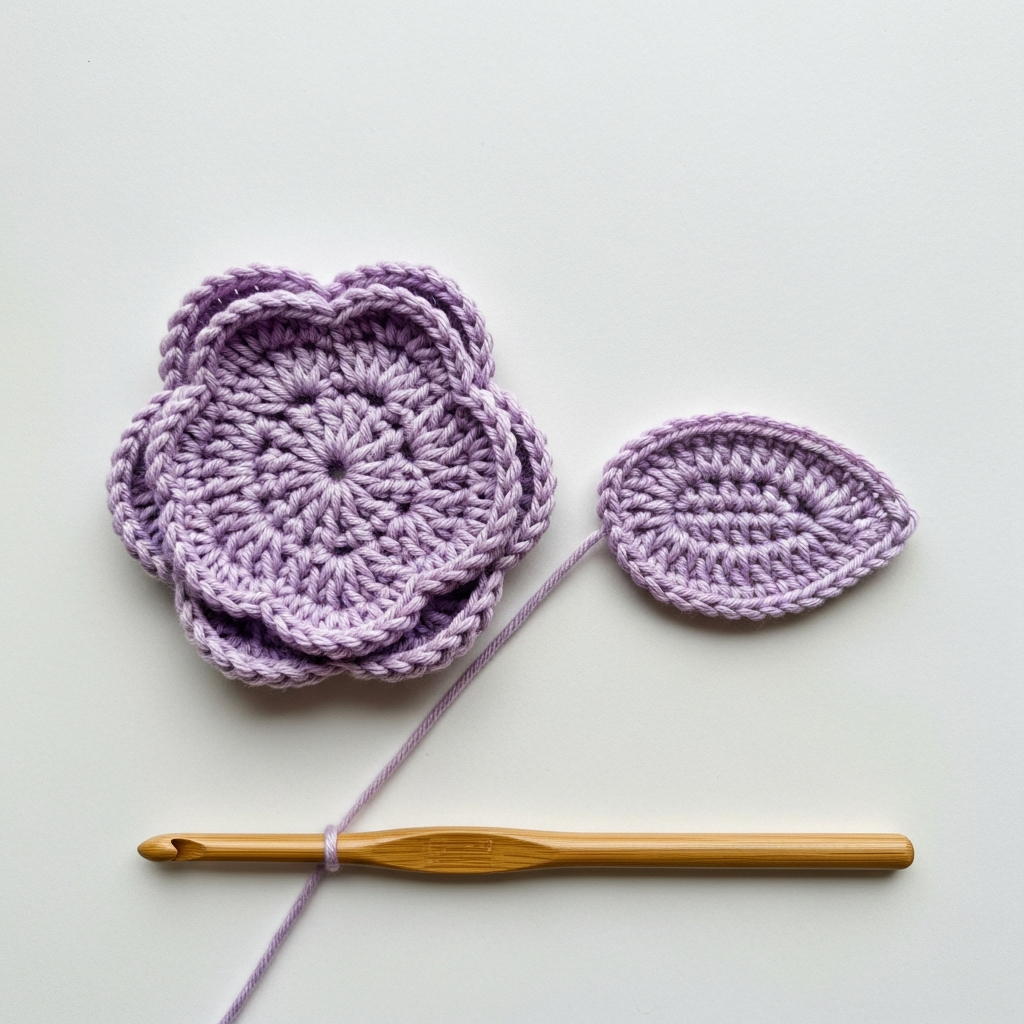
With all components crocheted, it’s time for assembly using your yarn needle. First, center the smaller Tealight Holder Cup (from Step 2) onto the larger Foundation Base (from Step 1). Using the accent color tail, carefully whip stitch or mattress stitch the base of the cup to the center of the foundation, ensuring it is securely attached. Next, take the 6-8 Inner Petals (from Step 3). Arrange them evenly around the perimeter of the Tealight Holder Cup, slightly overlapping each other and angling them to cup inwards, creating the initial lotus bloom. Using the long tails left on each petal, meticulously sew them onto the foundation base and along the bottom edges of the inner cup. Finally, position the 8-10 Outer Petals (from Step 4) around the outside of the inner petals, attaching them to the Foundation Base. These should overlap and spread outwards, creating a fuller, multi-layered lotus effect. Securely weave in all remaining yarn tails into the fabric to hide them completely, leaving a neat and professional finish.
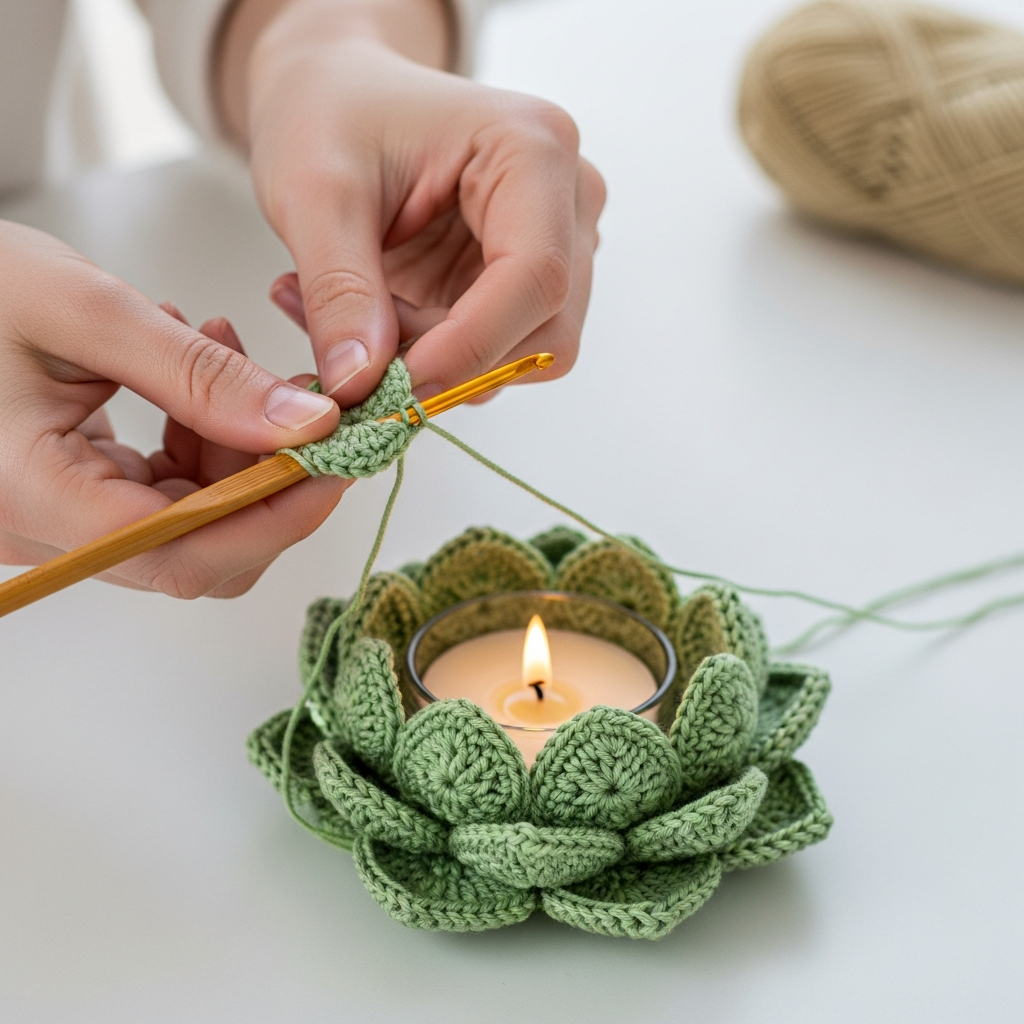
Final Showcase
Frequently Asked Questions
Q: Can I use a different yarn weight for this project?
A: While you can experiment with different yarn weights, it’s highly recommended to stick with worsted weight (Aran) cotton yarn as specified. Cotton yarn is less flammable than acrylic and provides the necessary structure and density for the petals and base. If you use a different weight, you may need to adjust your hook size and stitch counts significantly to achieve the desired dimensions and stability.
Q: Is it safe to use a real flame candle with this crocheted holder?
A: When using a real flame, always exercise extreme caution. Cotton yarn is more heat-resistant than synthetic fibers, but direct contact with a flame or excessive heat can still pose a fire risk. It is strongly recommended to use LED tealights or ensure any real flame tealight is contained within a metal or glass holder that completely isolates the flame and hot wax from the crocheted material. Never leave a burning candle unattended.
Q: How can I adjust the size of the lotus holder for a different candle type?
A: To adjust the size, primarily modify the initial rounds of the Foundation Base (Step 1) and the Tealight Holder Cup (Step 2). For a larger candle, add more increase rounds to both parts until they reach the desired diameter. For the petals, you’ll need to increase your starting chain for each petal and add more rows to ensure they are proportionate to the larger base and cup. Conversely, for a smaller candle, reduce the number of increase rounds and potentially shorten the petal chains and rows.
Conclusion
Embrace the tranquility and beauty of handmade decor with your very own crocheted Lotus Flower Tealight Holder. This project not only enhances your crafting skills but also adds a touch of serene elegance to any space, making it perfect for meditation, relaxation, or as a thoughtful gift.