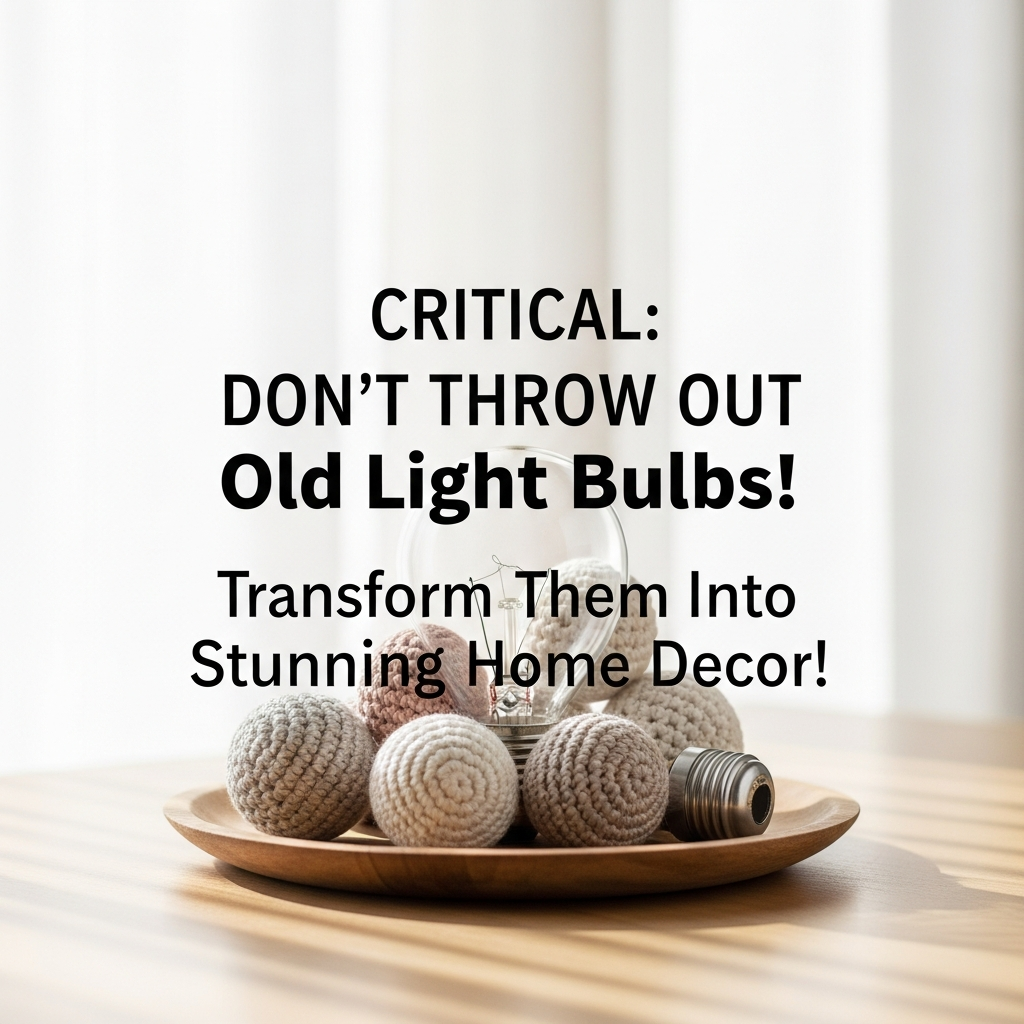
Upcycled Light Bulb Vases | DIY Hanging Flower Decor | Handmade Home Craft-Welcome to our latest masterclass! Today we are learning how to create this beautiful piece.
Materials Needed
- Old incandescent light bulbs (standard A19 shape recommended)
- Acrylic paint (various pastel colors, white, yellow)
- Small paintbrushes (flat and detail brushes)
- Jute twine or rustic string
- Strong adhesive (e.g., hot glue gun and sticks, or super glue)
- Wire or clear fishing line for hanging
- Pliers (needle-nose or combination pliers)
- Safety gloves
- Safety glasses
- Cloth or paper towels for cleaning
Step-by-Step Instructions
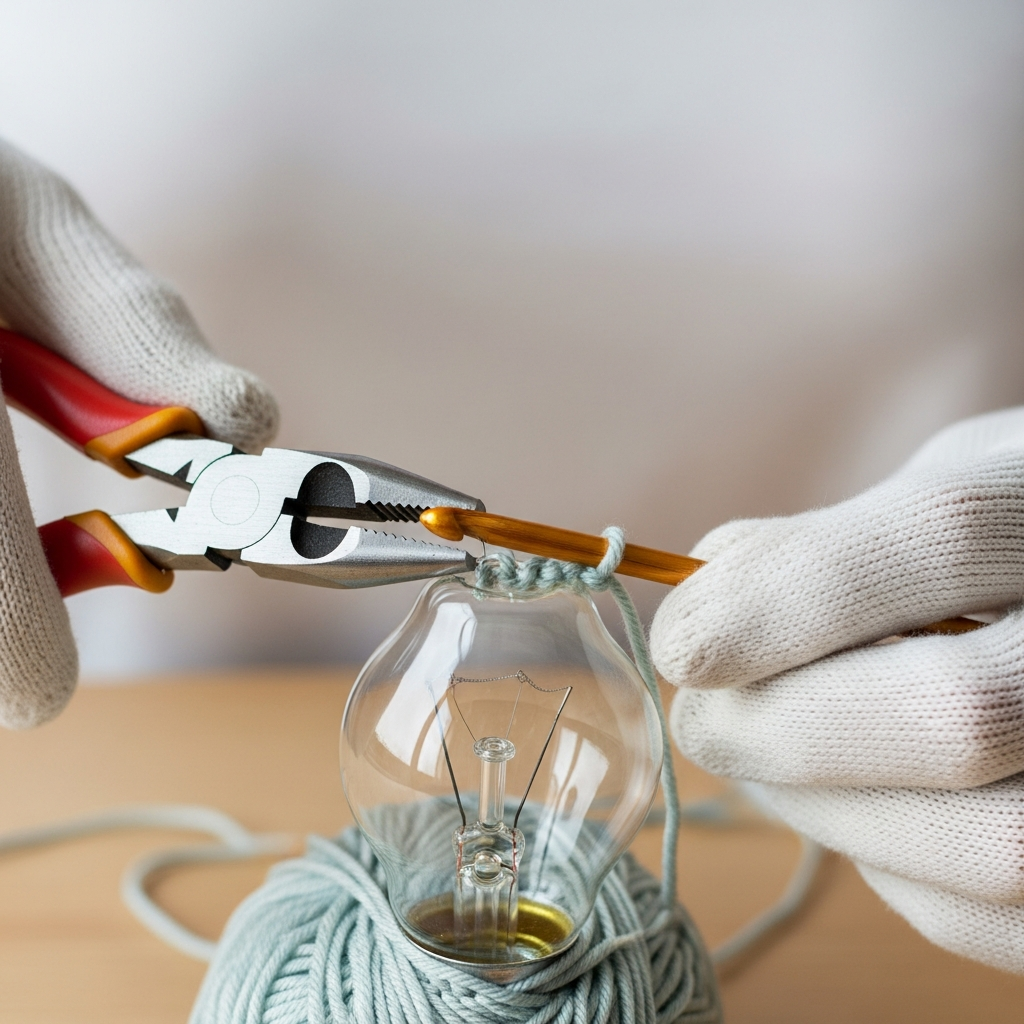
Step 1
Carefully prepare the light bulb by removing its internal components. Wear safety gloves and glasses. Use pliers to twist and pry off the metal cap, then gently break and extract the filament and glass stem from inside the bulb, leaving a hollow glass shell. Clean the inside thoroughly.
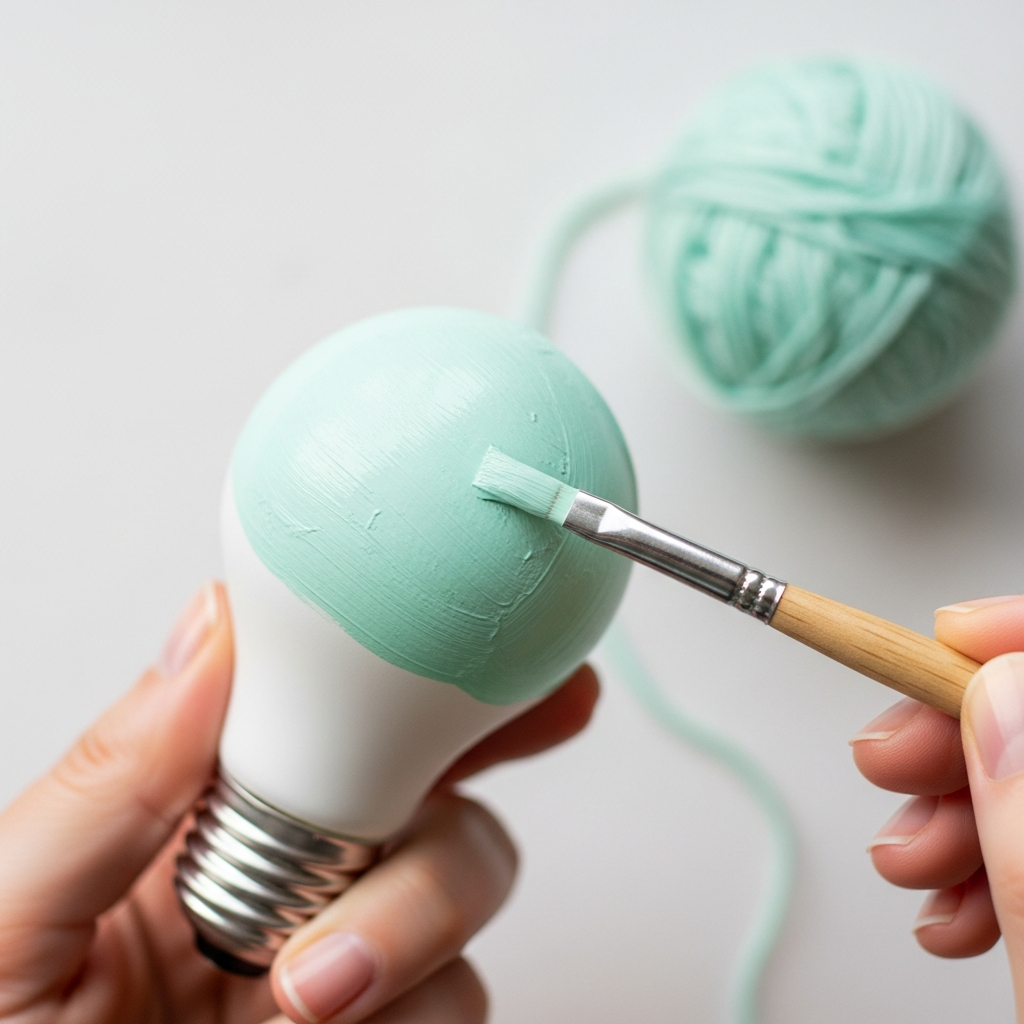
Step 2
Apply a base coat of your chosen pastel acrylic paint to the exterior of the light bulb. Ensure an even coating and allow it to dry completely. You may need two coats for opaque coverage.
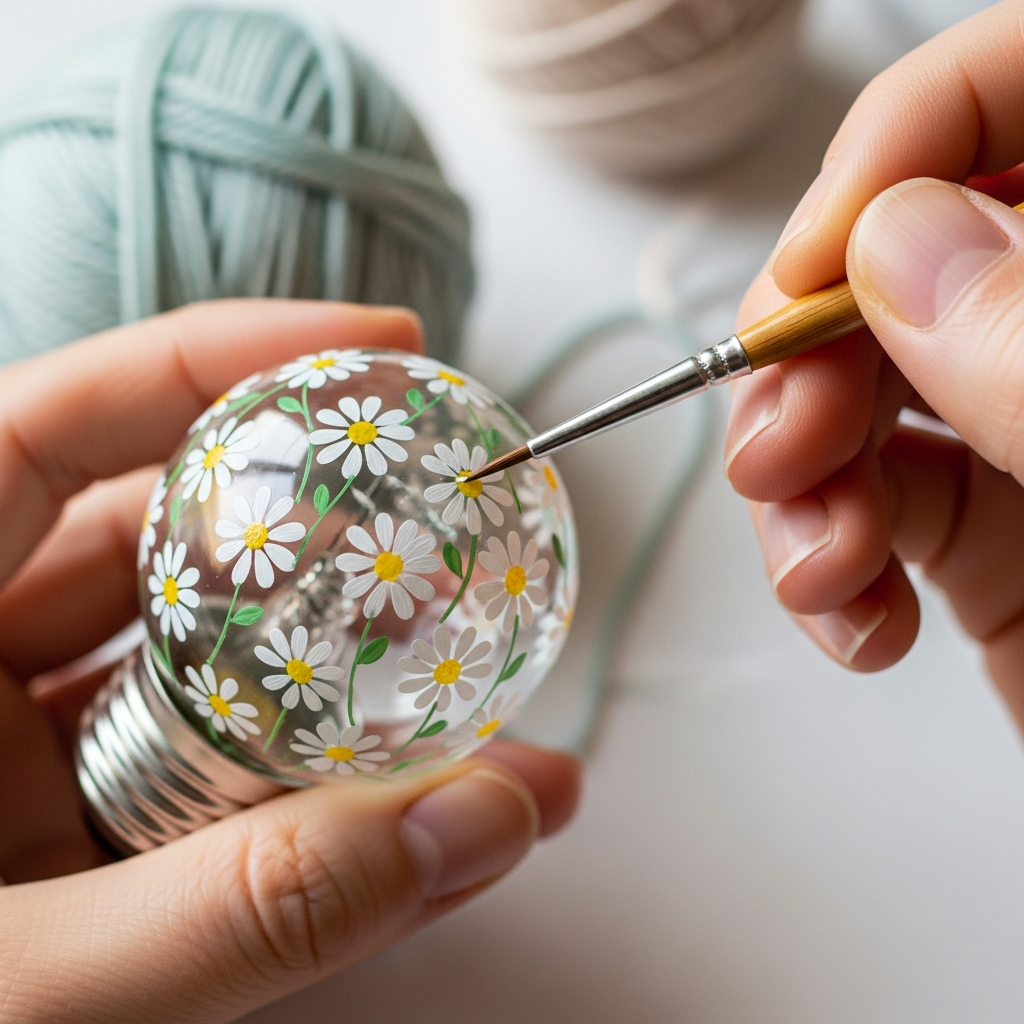
Step 3
Once the base coat is dry, use a fine detail brush to paint small decorative elements, such as the daisy patterns seen in the example. Start with a yellow dot for the center, then add small white petals around it.
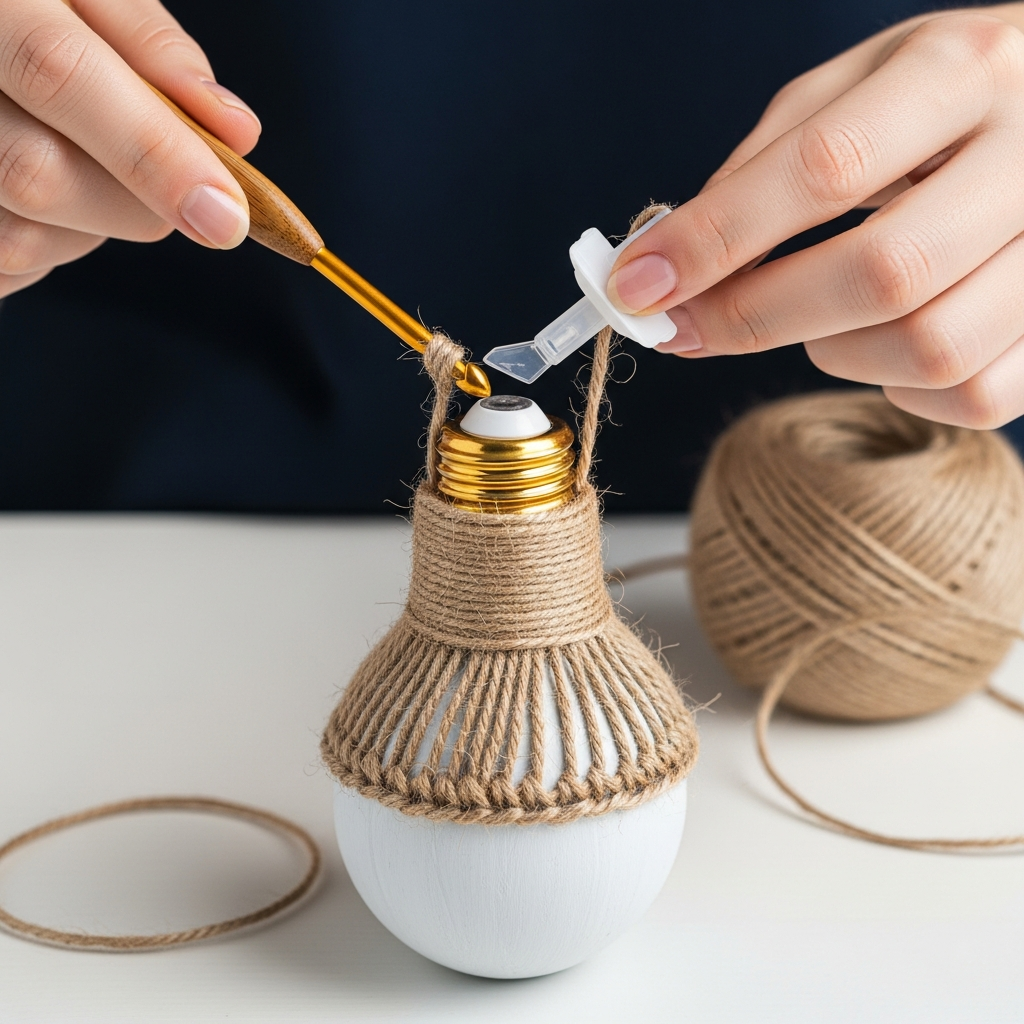
Step 4
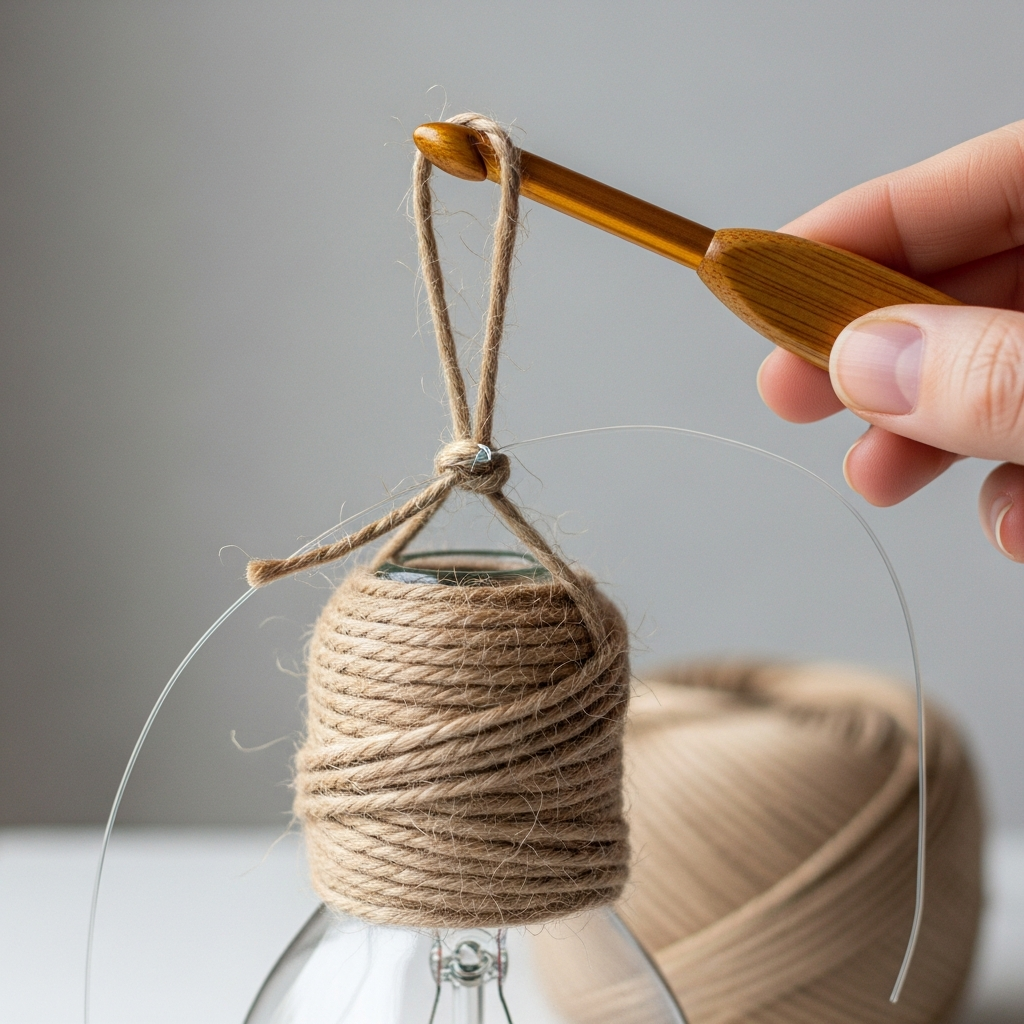
Apply a thin line of strong adhesive around the neck of the light bulb, just below the opening. Begin wrapping the jute twine tightly and evenly around the neck, working your way up to cover the base opening for a rustic finish.
Step 5
Cut a length of wire or strong fishing line and create a loop for hanging. Securely attach this loop around the twine-wrapped neck of the light bulb, ensuring it’s stable enough to hold the weight of the bulb and flowers.
Step 6
Allow all paint and glue to dry and cure completely according to product instructions. Once dry, your upcycled light bulb vase is ready! Fill it with a small amount of water and arrange your favorite fresh or artificial flowers inside.
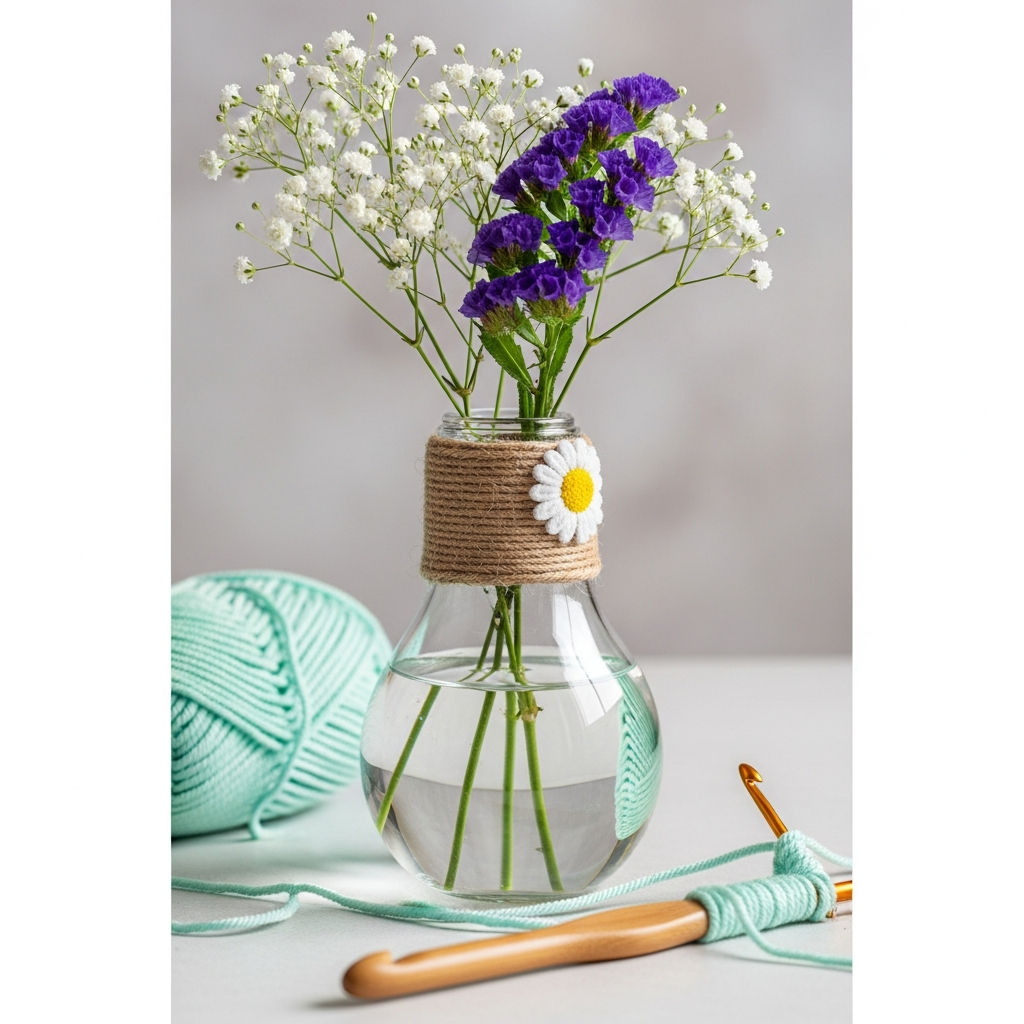
Final Showcase

Frequently Asked Questions
Q: Is it safe to put water in a hollowed-out light bulb?
A: Yes, once the light bulb is completely emptied of its internal components and thoroughly cleaned, the glass shell can safely hold water for fresh flowers. Ensure the bulb is fully intact with no cracks.
Q: What kind of paint works best for decorating glass light bulbs?
A: Acrylic paints are a great choice for glass, as they adhere well and come in a wide range of colors. For added durability and to protect against moisture, you might consider applying a clear sealant or varnish over your painted design once it’s dry.
Q: How can I safely remove the internal components of a light bulb?
A: Always wear safety gloves and glasses to protect yourself from glass shards. Use pliers to carefully twist and pry off the metal cap at the base. Once the cap is off, you can gently break and remove the internal glass stem and filament with your pliers. Work slowly and dispose of glass fragments properly.
Conclusion
Transform ordinary into extraordinary with these charming upcycled light bulb vases! This simple DIY project adds a touch of whimsical elegance to any space, proving that beauty can indeed be found in unexpected places.