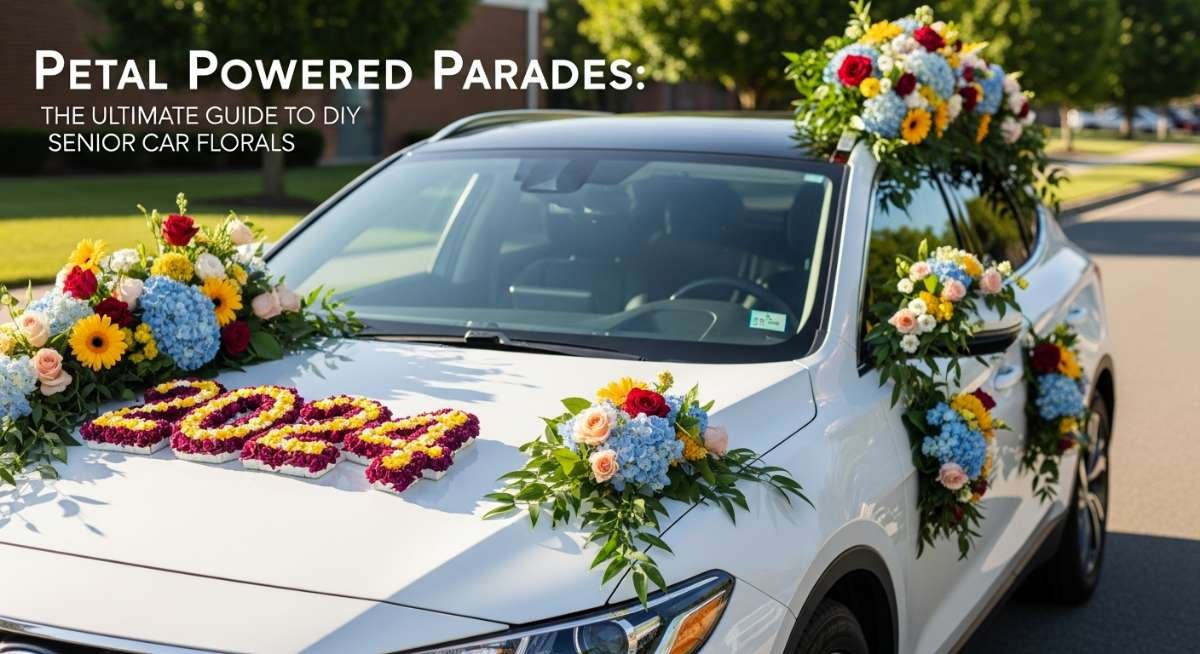
Petal-Powered Parades: The Ultimate Guide to DIY Senior Car Florals
There is something truly magical about that final drive through campus, the wind in your hair, and the realization that one chapter is closing while another begins. As an event stylist, I’ve seen graduation trends come and go, but the evolution of the car parade into a high-fashion, floral-adorned spectacle is my absolute favorite. It transforms a standard vehicle into a moving botanical garden, celebrating a milestone with the grace and vibrancy that a senior deserves.
I remember styling my first graduation parade during a year when traditional ceremonies were sidelined. We decided to go beyond the basic window paint and crepe paper. We wanted texture, fragrance, and an ‘editorial’ look. By the time we finished weaving faux peonies and trailing eucalyptus around the grille and side mirrors, the car looked like a float from the Rose Parade. That moment of joy when the graduate saw their ‘flower power’ ride for the first time was unforgettable, and today, I’m showing you exactly how to recreate that aesthetic magic.

Why You’ll Love This Party Decor Theme
- High Visual Impact: Unlike standard car decor, florals offer a sophisticated, high-end look that stands out in any parade line.
- Completely Customizable: You can easily swap flower types and colors to match school branding or the graduate’s personal style.
- Eco-Friendly Options: By using high-quality silk florals or dried pampas, you create a keepsake that can be repurposed for a dorm room or graduation brunch later.
- Perfect for Photos: The car becomes a mobile photo booth backdrop, ensuring every angle of the celebration is Instagram-ready.
Essential Decor Items & Supplies Needed
- High-Quality Silk Floral Garlands: Opt for eucalyptus, rose, or peony strands for a lush base.
- Removable Magnetic Hooks or Suction Cups: Essential for securing decor without damaging the car’s paint.
- Zip Ties and Floral Wire: To keep everything tight against the wind.
- Pastel or Metallic Balloons: 5-inch and 11-inch sizes for organic clusters.
- Chalk Ink Window Markers: For elegant calligraphy on the glass.
- Satin or Grosgrain Ribbons: To add movement and a touch of softness.
- Battery-Operated Fairy Lights: If the parade happens at dusk, these add a whimsical glow.
When selecting your color scheme, I always recommend a ‘monochromatic plus’ approach. For instance, if the school colors are blue and gold, use various shades of blue florals—from dusty slate to vibrant cornflower—and accent with gold-painted leaves or metallic balloons. This creates depth and prevents the car from looking cluttered. Texture is your best friend here; mix large, ruffly blooms like dahlias with wispy elements like baby’s breath or ferns to create a sense of movement even when the car is stationary.
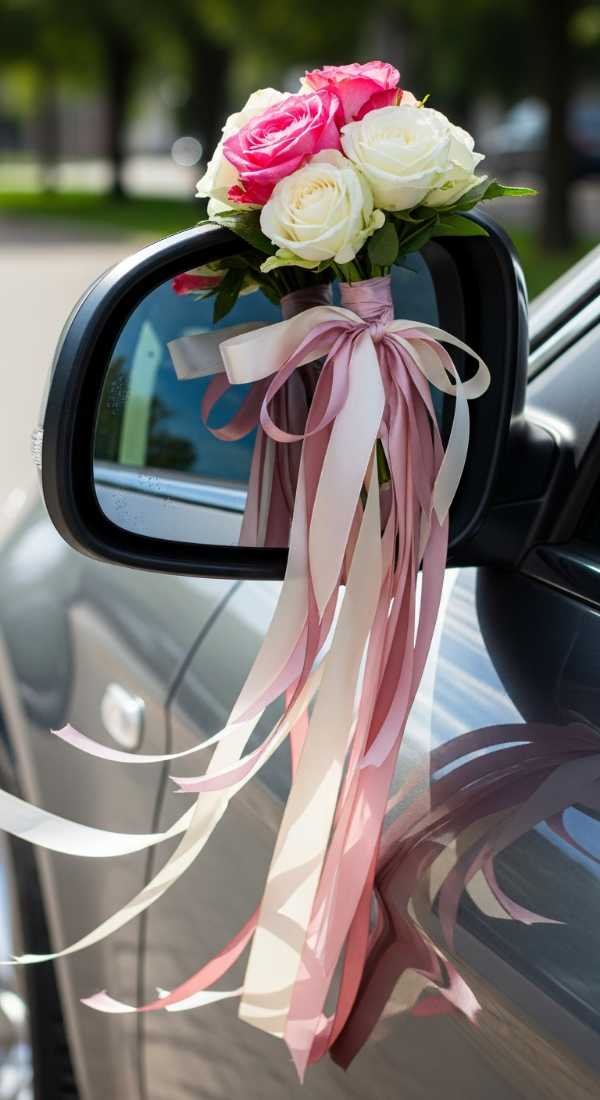
Don’t forget the lighting and focal points. The hood and the trunk are your primary ‘stages,’ but the side mirrors and door handles offer perfect opportunities for ‘mini-bouquets.’ If you are using fairy lights, weave them deep into the floral garlands so they illuminate the petals from within, creating a magical aura as the sun goes down. The contrast between the sleek, hard surface of the car and the soft, organic flow of the flowers is what makes this theme so visually striking.
Step-by-Step DIY Setup Guide
- Clean the exterior of the car thoroughly. Ensure the surfaces where you’ll be attaching magnets or suction cups are free of wax and dust for maximum grip.
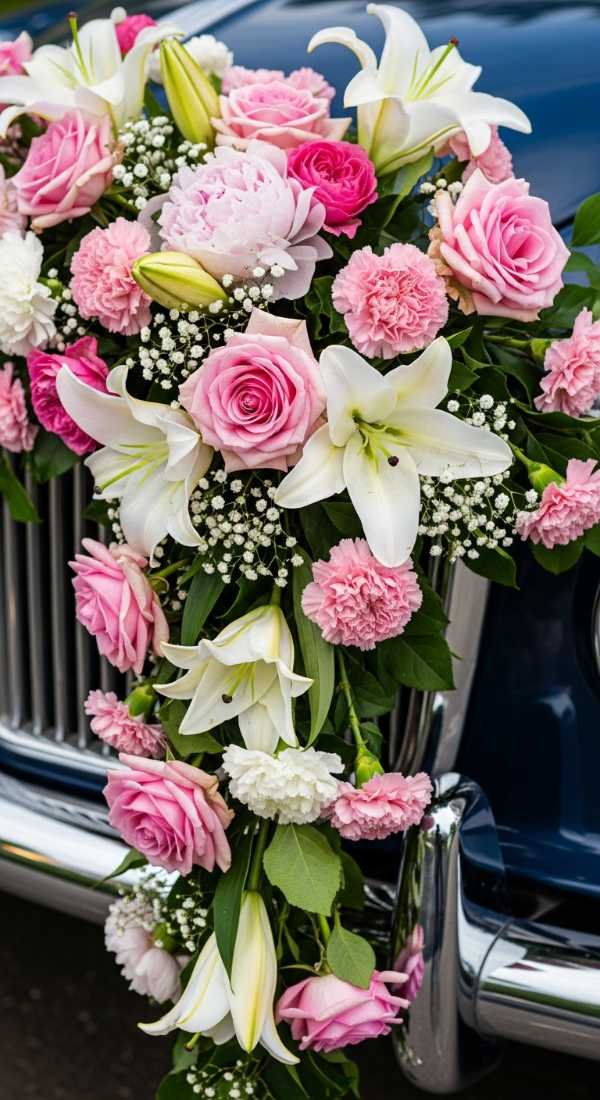
- Map out your floral ‘pathway’ across the vehicle. Start from the front grille, work up over the hood, and trail down toward one side of the trunk to create a sweeping asymmetrical look.
- Secure the heavy floral garlands first. Use zip ties to anchor garlands to the grille and magnetic clips to guide the path across the hood, ensuring nothing obstructs the driver’s view.
- Layer in your secondary blooms. Use floral wire to attach individual large flower heads to the garland base to fill in gaps and add ‘pops’ of color.
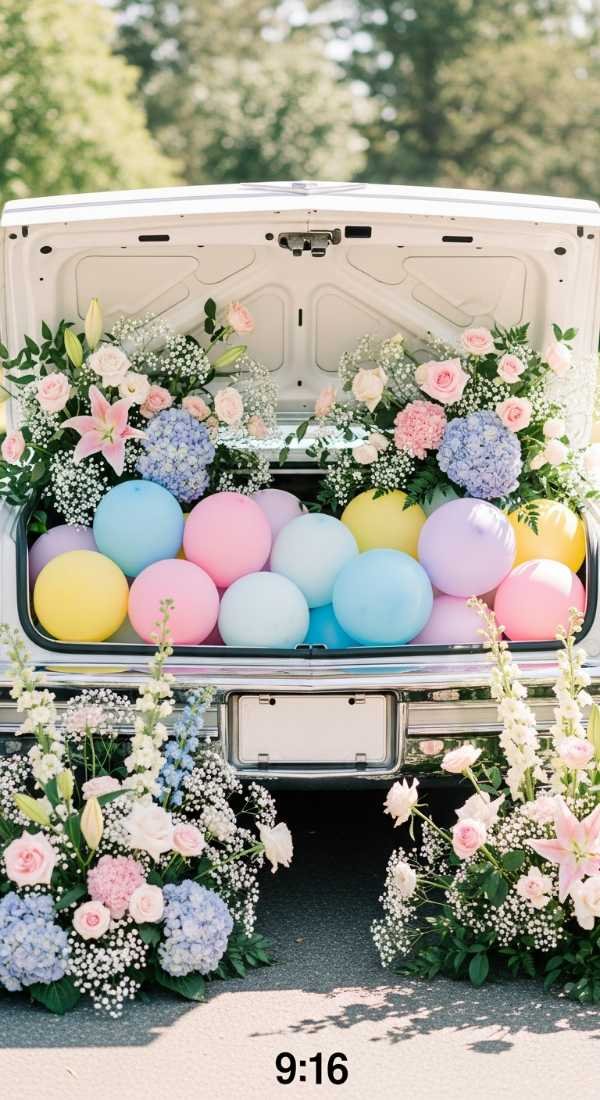
- Add the balloon clusters. Inflate balloons to varying sizes and tie them together in groups of three, then nestle them into the floral arrangement at the corners of the trunk.
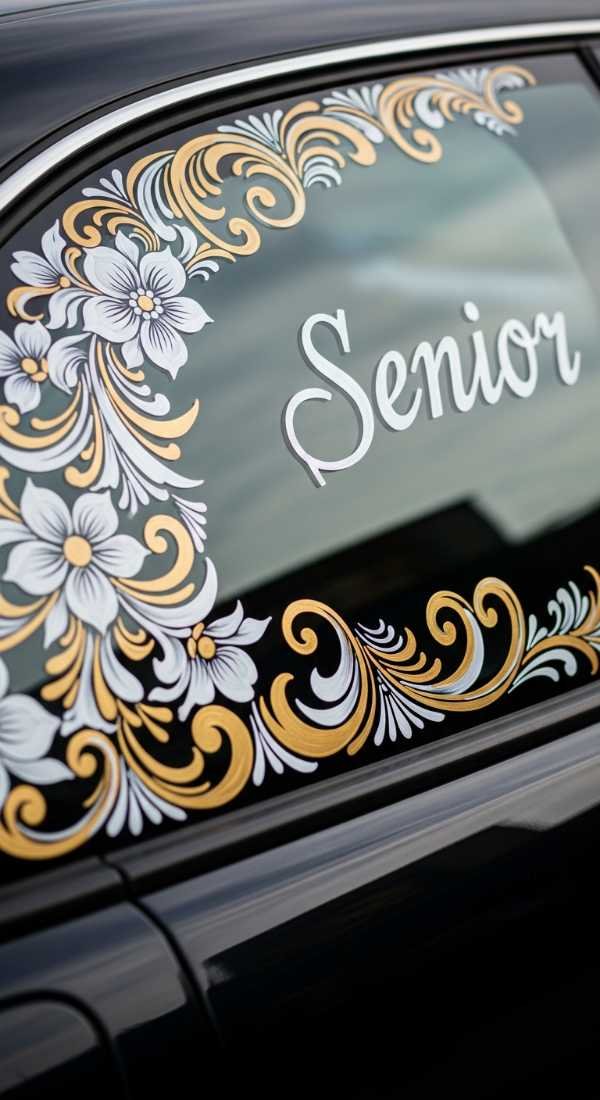
- Write your messages on the windows. Use calligraphy-style strokes with white window markers for a clean, sophisticated look rather than messy scribbles.
- Perform a ‘tug test’ on all attachments. Gently pull on the decor to ensure it can withstand a low-speed drive without shifting.
Pro Styling Tips for Floral Senior Graduation Car Decor
- Weather-proof your design: Use silk flowers instead of real ones to prevent wilting in the sun or petal loss during the drive.
- Create a ‘tapered’ look: Start with thicker floral arrangements at the front and let them thin out into delicate ribbons at the back for an aerodynamic aesthetic.
- Mix your mediums: Don’t just use flowers; incorporate tulle or organza fabric to bridge the gaps between floral clusters for a more cohesive, ‘wrapped’ feel.
- Safety first: Always ensure that no decorations cover the license plate, headlights, or tail lights, and that the driver’s visibility remains 100% clear.
Theme Variations & Table Setting Ideas
- The Boho Graduate: Use pampas grass, dried palms, and terracotta-colored roses for a desert-chic vibe.
- Classic Academic: Stick to crisp white hydrangeas and navy blue ribbons for a traditional, preppy look.
- Tropical Send-off: Use hibiscus, monster leaves, and bright pink orchids for a high-energy, summer-ready parade car.
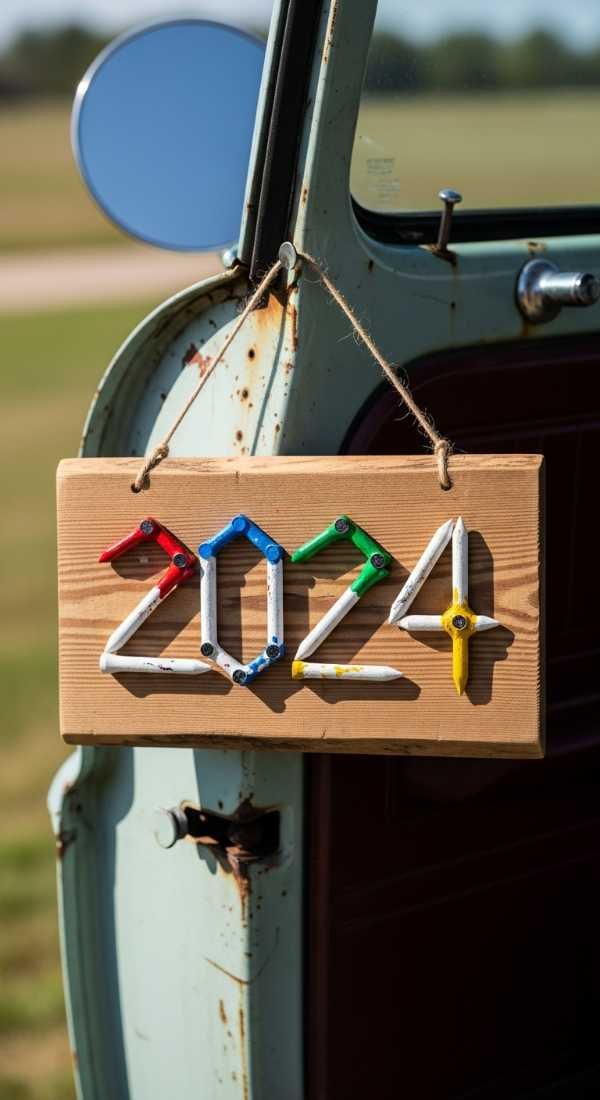
If you’re hosting a small gathering before or after the parade, carry the floral theme to your table setting. Use a simple white linen cloth and create a ‘living runner’ using the same floral garlands used on the car. Add some ambient lighting with glass hurricane candles and place the graduate’s cap as the centerpiece. A simple backdrop of draped fabric and a ‘Class of 2024’ floral hoop will tie the entire event together beautifully.
Pre-Party Setup Timeline, Assembly & Teardown
Preparation should begin at least two days before the parade. This is when you should assemble your floral garlands and balloon clusters indoors. By prepping the ‘sections’ of decor beforehand, you reduce the actual car-side assembly time and ensure you have all the necessary clips and ties. If you are using real flowers for small accents, keep them in a cool place until the very last moment.
On the morning of the event, allow yourself at least 90 minutes for the car assembly. It always takes longer than you think to get the positioning just right. Start with the ‘bones’ of the design (the garlands) and finish with the ‘jewelry’ (the ribbons and window writing). Having a second pair of eyes to stand back and check for symmetry is incredibly helpful during this stage.
Teardown should be done immediately after the parade to prevent any adhesive or suction cups from baking onto the car’s finish in the sun. If you used zip ties on the grille, use a pair of wire cutters to snip them carefully. Most of the floral elements can be boxed up and kept as a memento or used to decorate the graduate’s celebratory dinner table that evening.
Frequently Asked Questions
Will the decor damage my car’s paint?
If you use the right tools, it won’t! Avoid traditional tapes. Instead, use plastic-coated magnetic hooks, high-quality suction cups, or zip ties on the plastic grille. Always ensure the car is clean before applying any attachments to prevent scratching.
How fast can I drive with the floral decor attached?
This design is intended for low-speed car parades (typically under 15-20 mph). If you need to drive on a highway to get to the parade start, it is best to attach the decor once you arrive at the staging area.
Can I use real flowers for the car decor?
While real flowers look and smell amazing, they are heavy and wilt quickly in the wind and sun. If you must use real blooms, choose hardy varieties like carnations or orchids and secure them into water-soaked floral foam cages that are very firmly attached to the car.
What is the best way to write on the windows?
Use liquid chalk markers specifically designed for glass. They provide a vibrant, opaque color that looks much better than standard markers and they wipe off easily with a damp cloth and a little glass cleaner.
Final Thoughts & Party Checklist
Designing a floral senior car is about more than just aesthetics; it’s about making the graduate feel celebrated in a way that is as unique as their journey. The transition from high school or college is a monumental milestone, and arriving in a vehicle that looks like a work of art adds a layer of ceremony and joy to the day. It turns a simple commute into a core memory.
As you plan your petal-powered parade, remember to breathe and enjoy the creative process. Whether you go full maximalist with overflowing blooms or opt for a sleek, modern floral accent, the effort you put into the details will be felt by everyone who sees the car pass by. It is a literal ‘passing of the torch’ wrapped in beauty.
Don’t forget to take plenty of photos before the parade starts! Find a scenic spot with good natural light to capture the car in all its glory. Once the parade begins, the movement and the excitement will be a blur, so those stationary shots will be your treasures for years to come. Congratulations to the graduate—now let’s get styling!
Floral Senior Graduation Car Decor Setup Guide
A sophisticated and botanical approach to the traditional graduation car parade, featuring lush silk garlands and organic balloon accents.
Stylist: Boutique Event Designer | Setup Time: 90 Minutes | Difficulty Level: Intermediate | Ideal Occasion: Graduation Parades, Senior Send-offs | Estimated Budget: $100 – $250 | Key Color Palette: Pastel Rose, Sage Green, and Gold
Essentials & Materials
- 3-4 Long Silk Floral Garlands (Eucalyptus or Willow base)
- 20-30 Large Silk Blooms (Peonies, Roses, Dahlias)
- Assorted 5″ and 11″ Balloons
- Magnetic Cable Tie Mounts or Suction Hooks
- Heavy Duty Zip Ties
- White Liquid Chalk Window Markers
Setup Instructions
- Clean car exterior and windows thoroughly with glass cleaner.
- Mount magnetic hooks along the hood and trunk lines to create an anchor path.
- Secure the main garlands to the hooks using zip ties, following an asymmetrical ‘S’ curve.
- Wire individual silk blooms into the garland to add volume and focal points.
- Attach small balloon clusters to the mirror stems and the trunk corners.
- Complete the look with window calligraphy and satin ribbons on the antenna.
Decor Specs & Ambience
The lighting style should be natural and bright, though battery-operated fairy lights can be woven through the florals for evening parades. The main focal points are the front grille and the rear passenger-side trunk. The arrangement should feel organic and flowing, rather than stiff. If paired with a backdrop at home, use a simple ‘Class of’ banner framed by the leftover floral stems for a cohesive look.