3D Rose Granny Square Sweater: Free Crochet Pattern & Guide-Welcome to the ultimate guide for creating the iconic 3D Rose Granny Square Sweater! This maximalist, cottagecore-inspired garment has taken the crochet world by storm, offering a stunning blend of texture, color, and vintage charm. The design relies on the modular construction of individual granny squares, each featuring a beautifully puffed, three-dimensional rose at its center. This project is ideal for the intermediate crocheter ready to tackle color work and shaping through square assembly. The finished sweater boasts a relaxed, oversized fit with a dramatic texture that catches the eye. While it requires time and patience due to the repetitive nature of creating many squares (approximately 50-60 for a standard size medium), the result is a wearable piece of art that will garner compliments everywhere you go. We will guide you through creating the intricate rose motif, squaring it off, joining the pieces seamlessly, and finishing with professional ribbing for structure and drape. Get ready to dive into this joyful and rewarding project!
Project Details
- Difficulty: Intermediate
- Time Estimate: 40+ hours (Project Dependent)
Materials Needed
- Approx. 1200 – 1500 yards Worsted Weight Yarn (Medium 4)
- Color A (Cream/Off-White): Approx. 800 – 1000 yards
- Color B (Deep Red/Burgundy): Approx. 400 – 500 yards
- 5.0 mm Crochet Hook (US H/8)
- 4.0 mm Crochet Hook (for Ribbing)
- Tapestry Needle
- Scissors
Abbreviations
- ch: chain
- sl st: slip stitch
- sc: single crochet
- hdc: half double crochet
- dc: double crochet
- tr: treble (triple) crochet
- MR: Magic Ring
- BLO: Back Loop Only
- Cl: Cluster (3 dc)
Instructions
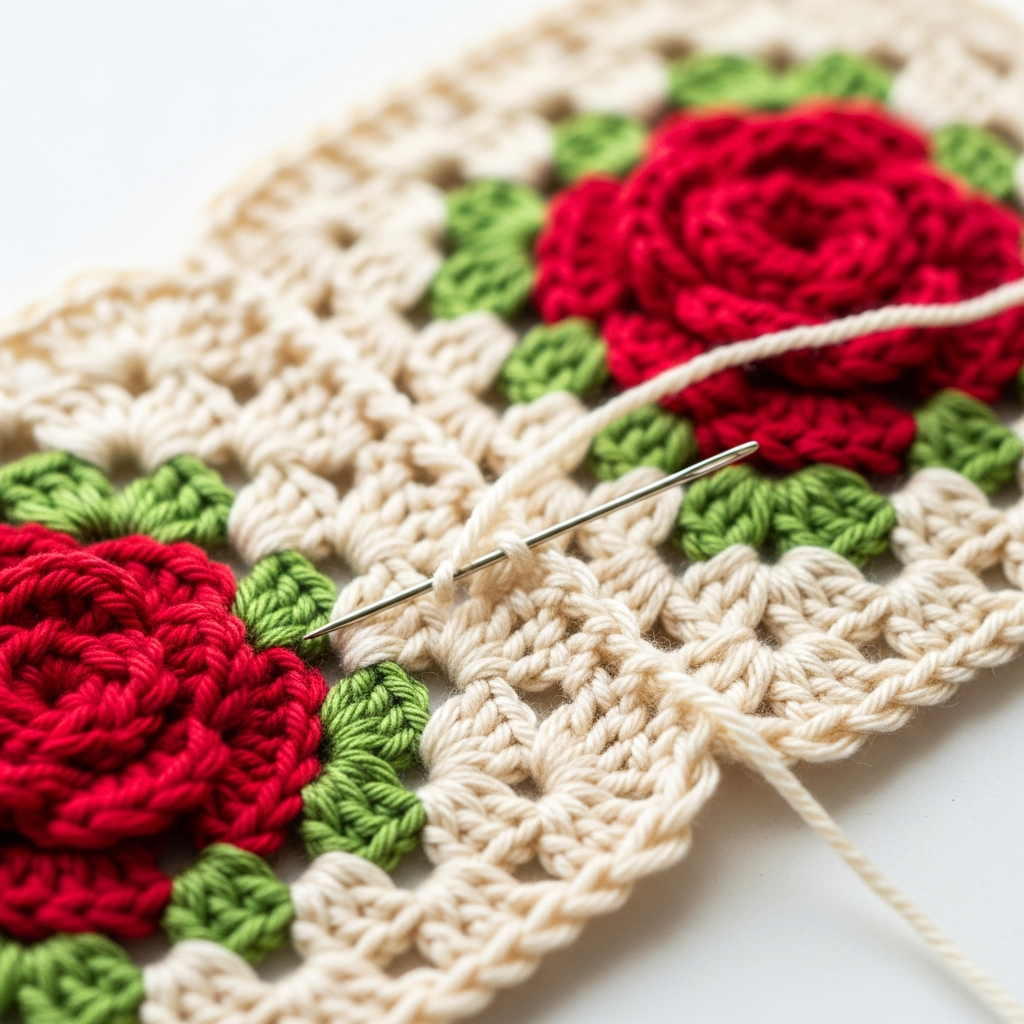
Step 1: Creating the 3D Rose Motif (Color B)
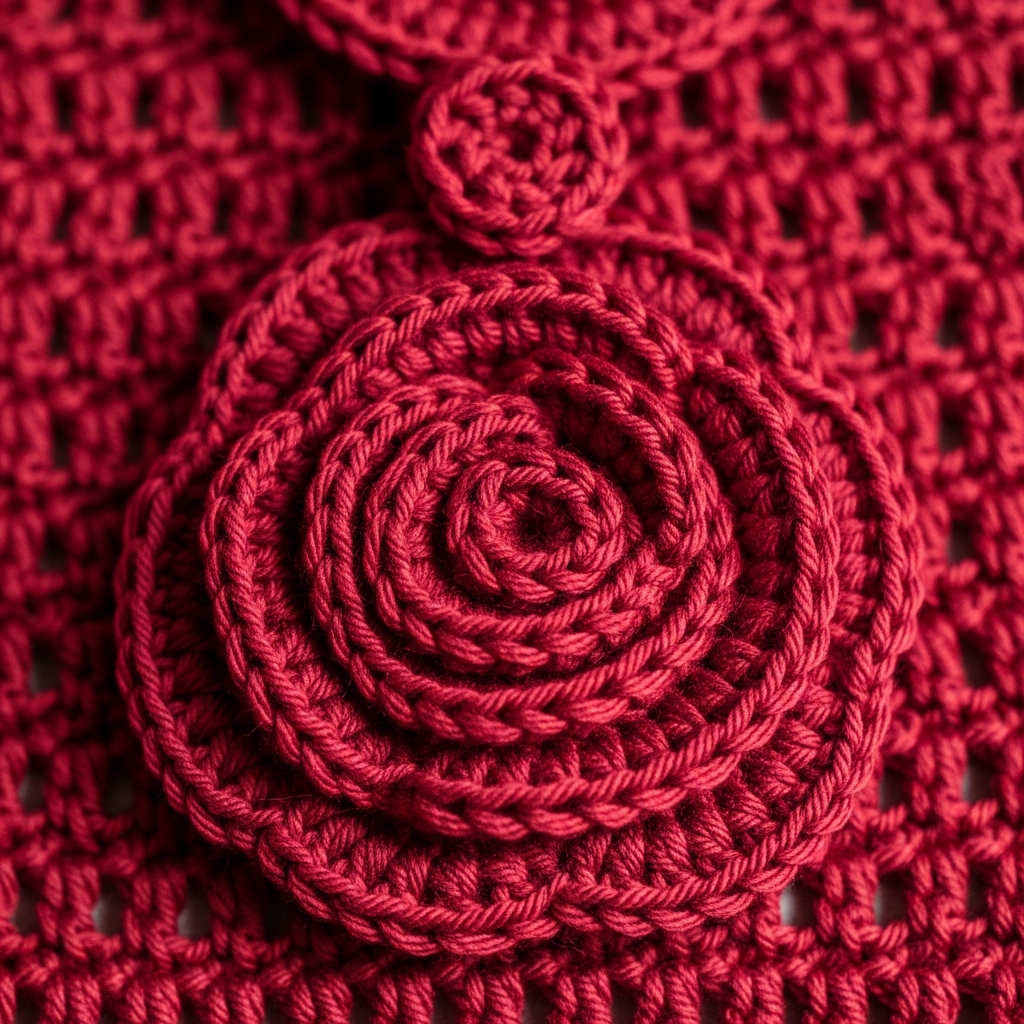
Using Color B (Deep Red) and the 5.0mm hook, start with a MR. Round 1: Ch 2 (does not count as st), 12 hdc into MR. Sl st to join. (12 sts). Round 2 (Small Petals): *Ch 2, dc in the same stitch, tr in the next st, dc in the same st, ch 2, sl st in the next st.* Repeat from * to * 6 times. (You should have 6 small petals). Round 3 (Medium Petals): Working into the back loops of Round 1, *Ch 3, skip 1 st, sl st in the next st.* Repeat around (6 chain spaces). Round 4: Working into the ch-3 spaces: *Sl st into ch-3 space, ch 3, 4 dc, ch 3, sl st into the same space.* Repeat 6 times. Fasten off Color B, leaving a tail for weaving.
Step 2: Squaring the Rose (Color A)
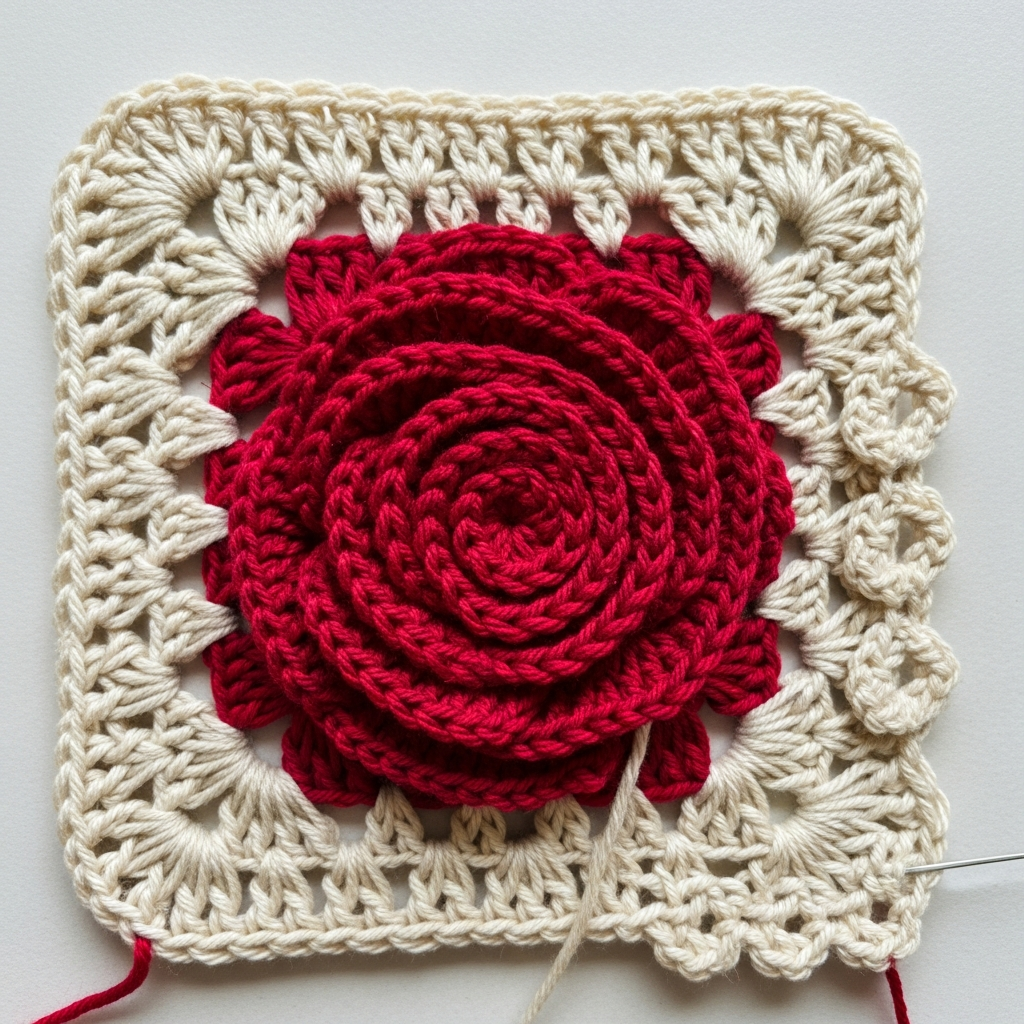
Attach Color A (Cream/Off-White) into any chain space behind the rose. Round 5: Ch 3 (counts as dc). Work 2 more dc into the same space (first Cl made). Ch 1. Work 3 Cl stitches evenly spaced around the back of the rose, separated by ch 1. (4 Cl). Round 6 (Forming Corners): Work a standard granny square round. Ch 3 (counts as dc), dc in the next 2 sts. Ch 1. In the next ch-1 space, work (3 dc, ch 2, 3 dc) – this forms the corner. Continue Cl clusters (3 dc) into the sides, separated by ch 1, placing a corner (3 dc, ch 2, 3 dc) in the next ch-1 space. Repeat until the square is formed. Round 7: Continue increasing the sides with Cl and corners with (3 dc, ch 2, 3 dc) until the square measures your desired size (typically 4.5 to 5 inches per side). Fasten off, leaving long tails for joining.
Step 3: Gauge and Square Count Calculation
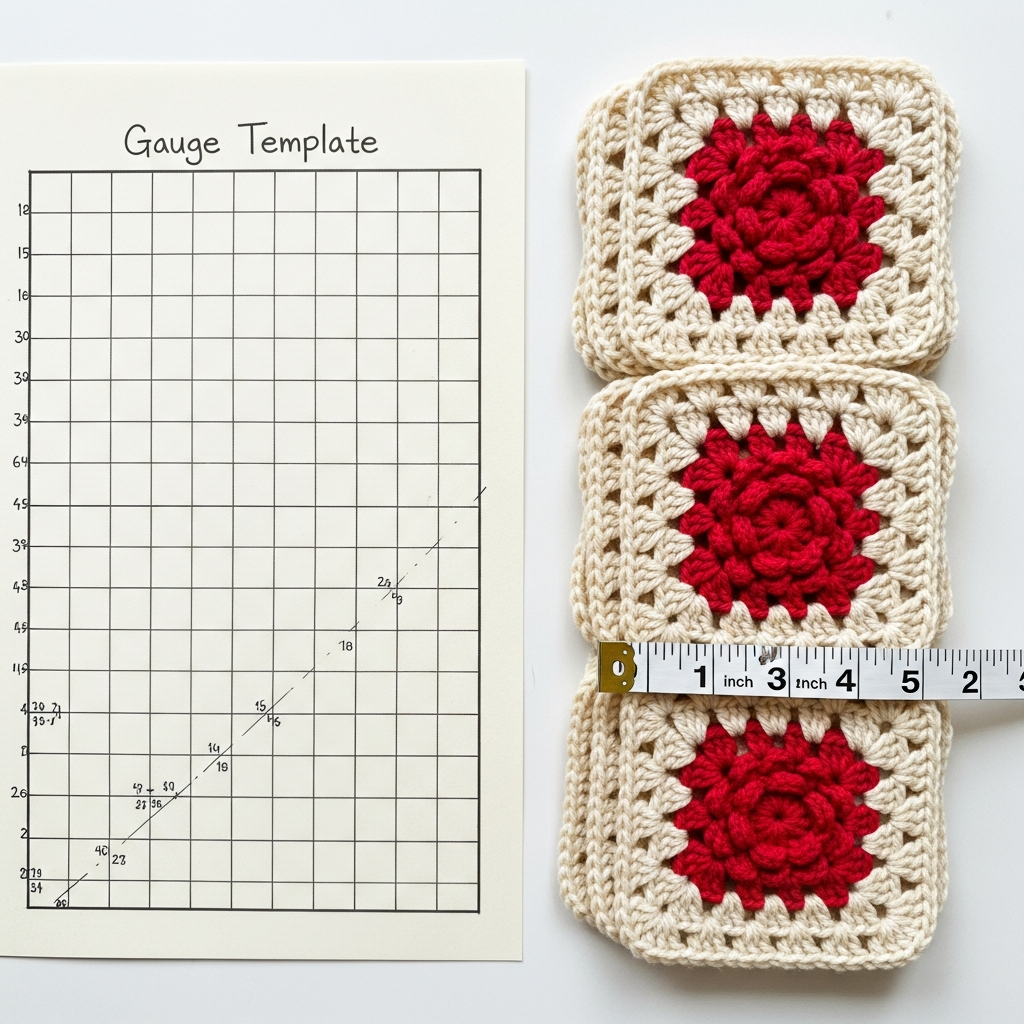
Determine your necessary square count based on your size (S, M, L, etc.). Measure your finished square’s size (W x L). Measure your chest circumference (C). Divide C by the width of the square (W) to find the number of squares needed across the front. For a typical relaxed fit, you will need approximately 5 squares across the front and 5 across the back. The sleeves generally require 4 squares across. Example (Size M): 10 rows high for the body (front and back) and 10 rows for the sleeves, totaling approximately 60 squares.
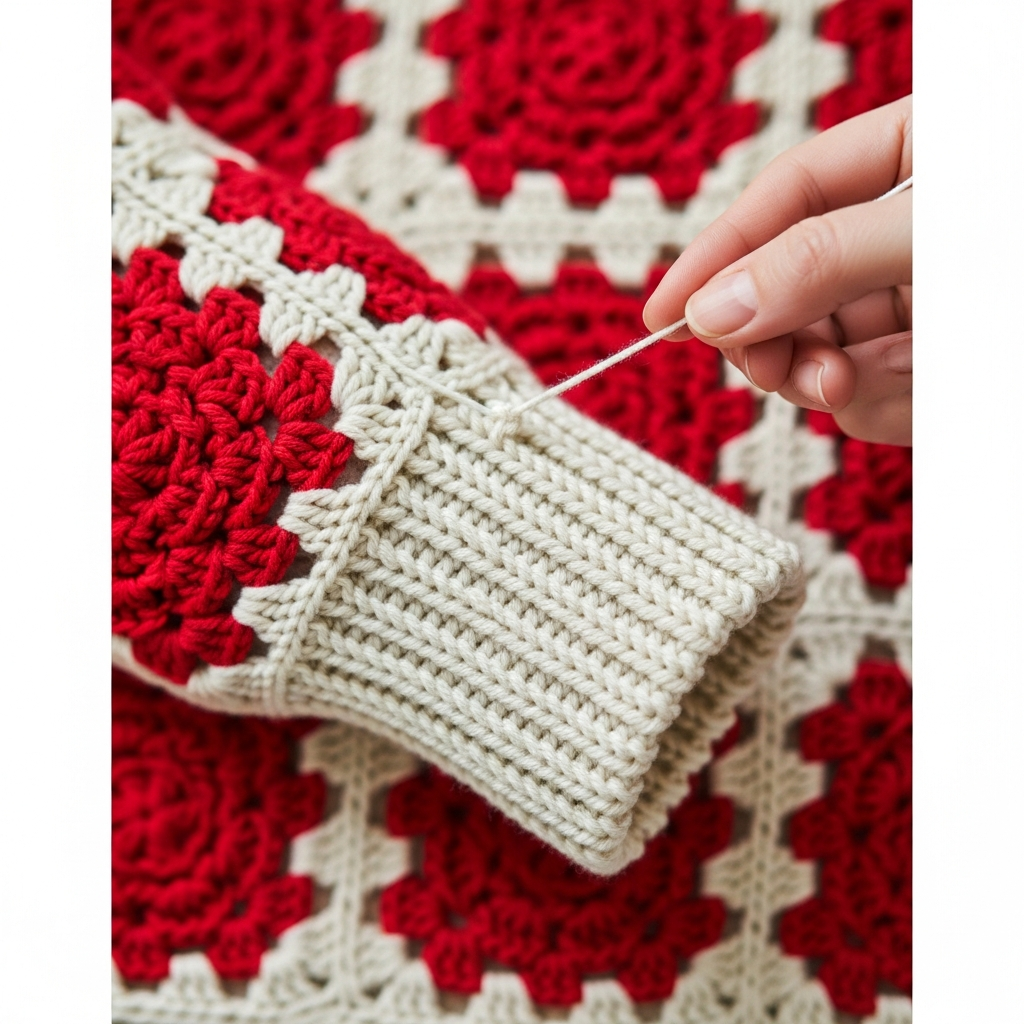
Step 4: Joining the Squares and Forming the Body
Lay out the squares according to your calculated design schematic (Front Panel, Back Panel, Two Sleeve Panels). Use the mattress stitch (if sewing) or the slip stitch join (if crocheting) for invisible seams. Join the squares for the back panel first, then the front panel. Seam the shoulder squares together. Leave the armhole opening unsewn. Next, join the side seams from the hem up to the armpit opening, allowing for ample space for comfortable sleeve attachment.
Step 5: Attaching Sleeves and Adding Ribbing
Lay the sleeve squares flat and join them to form tubes. Attach the sleeve tubes to the armhole openings (the main body). Once the structure is complete, switch to the 4.0mm hook and attach Color A to the bottom hem, sleeve cuffs, and neckline. Work Ribbing: Round 1: Sc evenly around the edge. Round 2 onwards: Work back loop single crochet (sc BLO) for 5-8 rows until the desired rib length is achieved. For a more defined rib, use front post/back post double crochet (fpdc/bpdc) for the neckband. Sl st to join at the end of each round. Weave in all remaining ends securely.
Frequently Asked Questions
How do I adjust the sizing for a tighter or looser fit?
Since this is a modular pattern, sizing is adjusted by changing the number of squares. For a tighter fit, use fewer squares across the width (e.g., 4 across instead of 5). For a looser fit or larger size, add squares (e.g., 6 across). Ensure that the height and sleeve dimensions remain proportionate to the width.
Can I substitute the yarn weight?
Yes, but be cautious. Using DK weight (Light 3) will result in a smaller, lighter square, requiring more squares overall and potentially a smaller hook (e.g., 4.0mm). Using Chunky (Bulky 5) will result in a much larger, heavier garment. Always swatch both the rose and the border to ensure the 3D effect maintains its structure.
What are the best care instructions for this garment?
Due to the three-dimensional nature of the roses, machine washing is not recommended. Hand wash gently in cold water using a mild wool wash detergent. Never wring or twist. Lay flat to dry, reshaping the roses slightly while damp. Avoid hanging, as the weight of the garment can stretch the delicate seams.
Congratulations! You have successfully crafted the magnificent 3D Rose Granny Square Sweater. This garment is not just a sweater; it is a testament to your dedication and skill, bringing a burst of color and unique texture into your wardrobe. Whether you customized the colors or followed the classic red and cream scheme, your hand-made piece is truly one-of-a-kind. We encourage you to wear your new sweater with pride and share your beautiful finished project with our community online. Happy hooking!